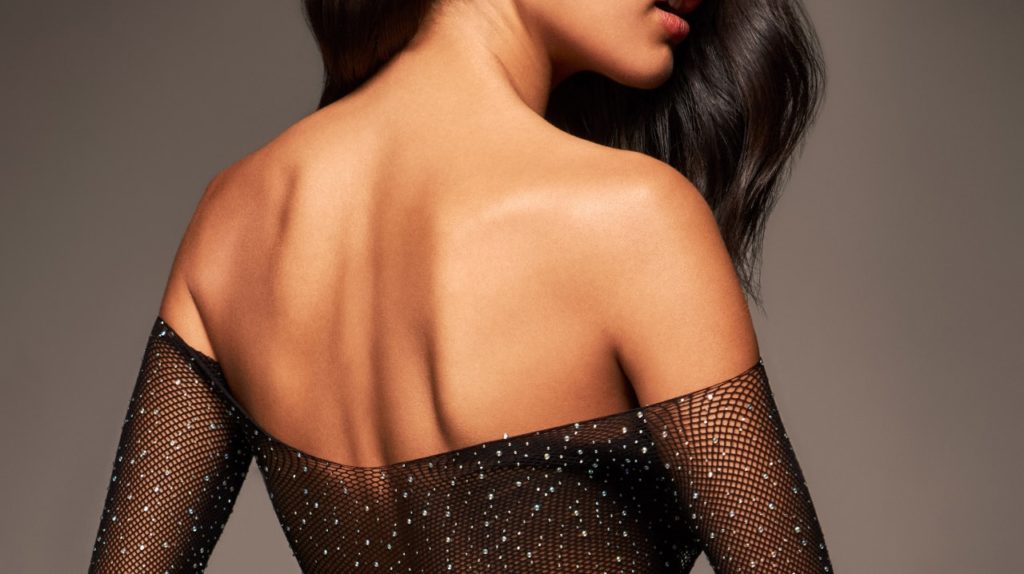
More than the sum of its parts

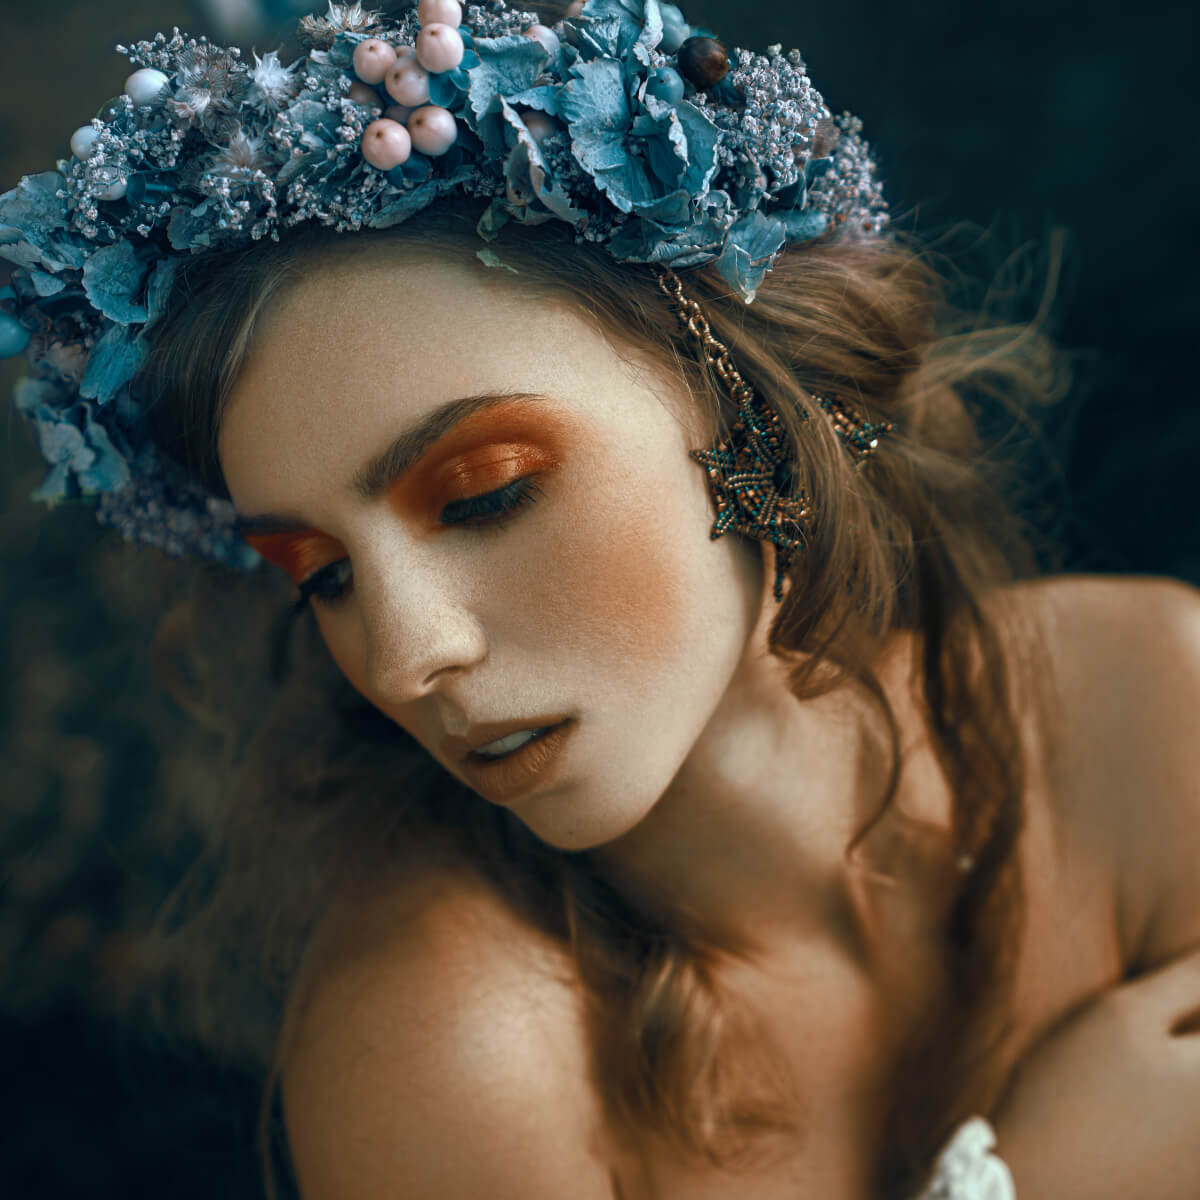
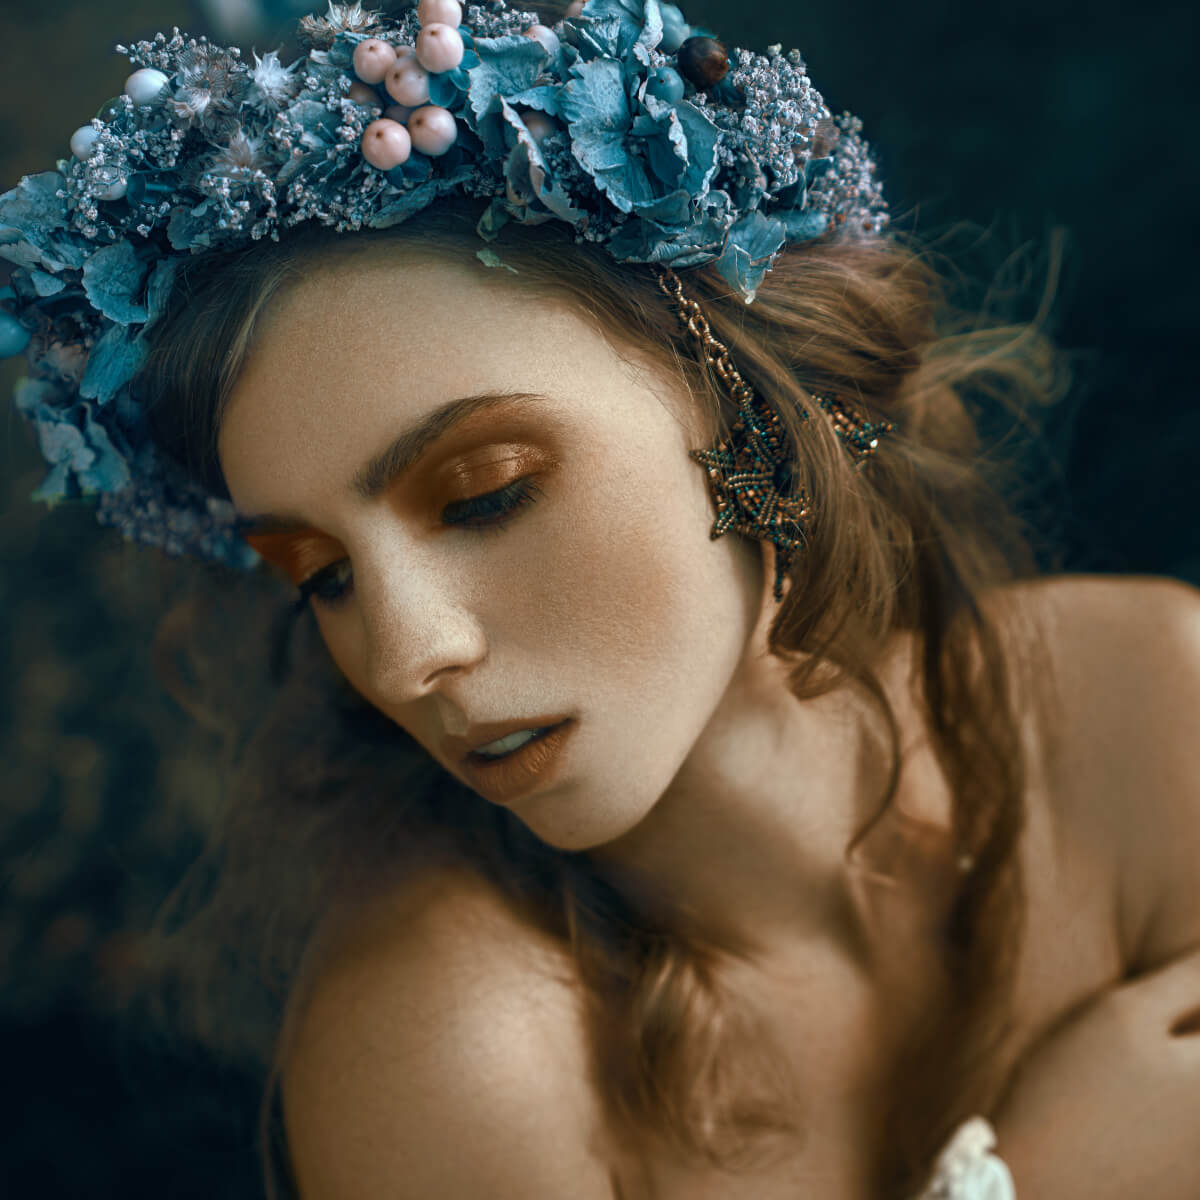
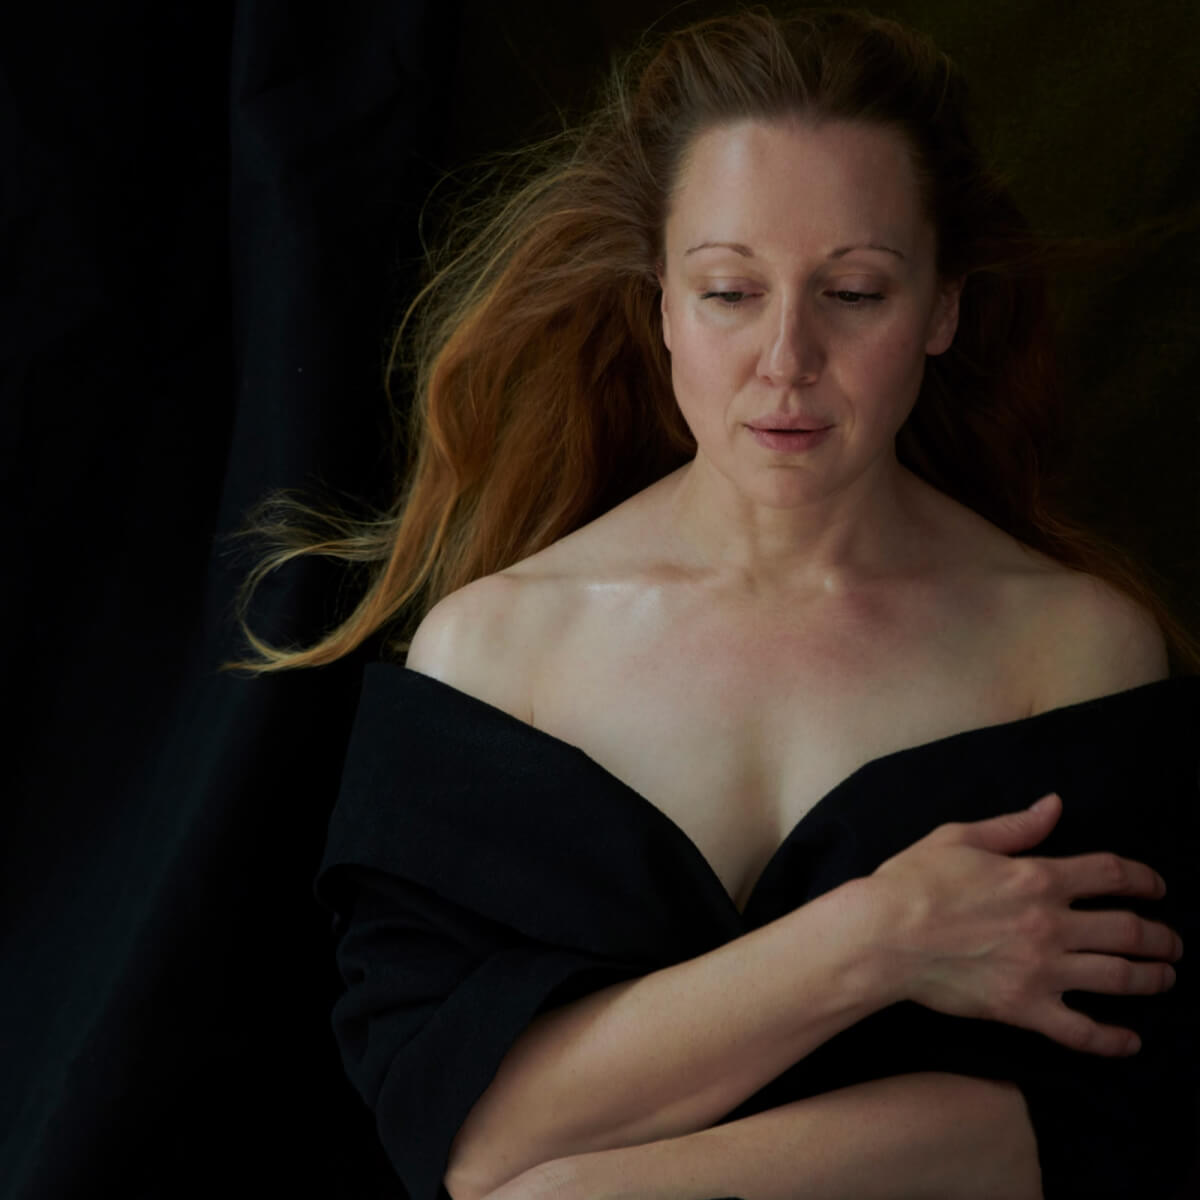
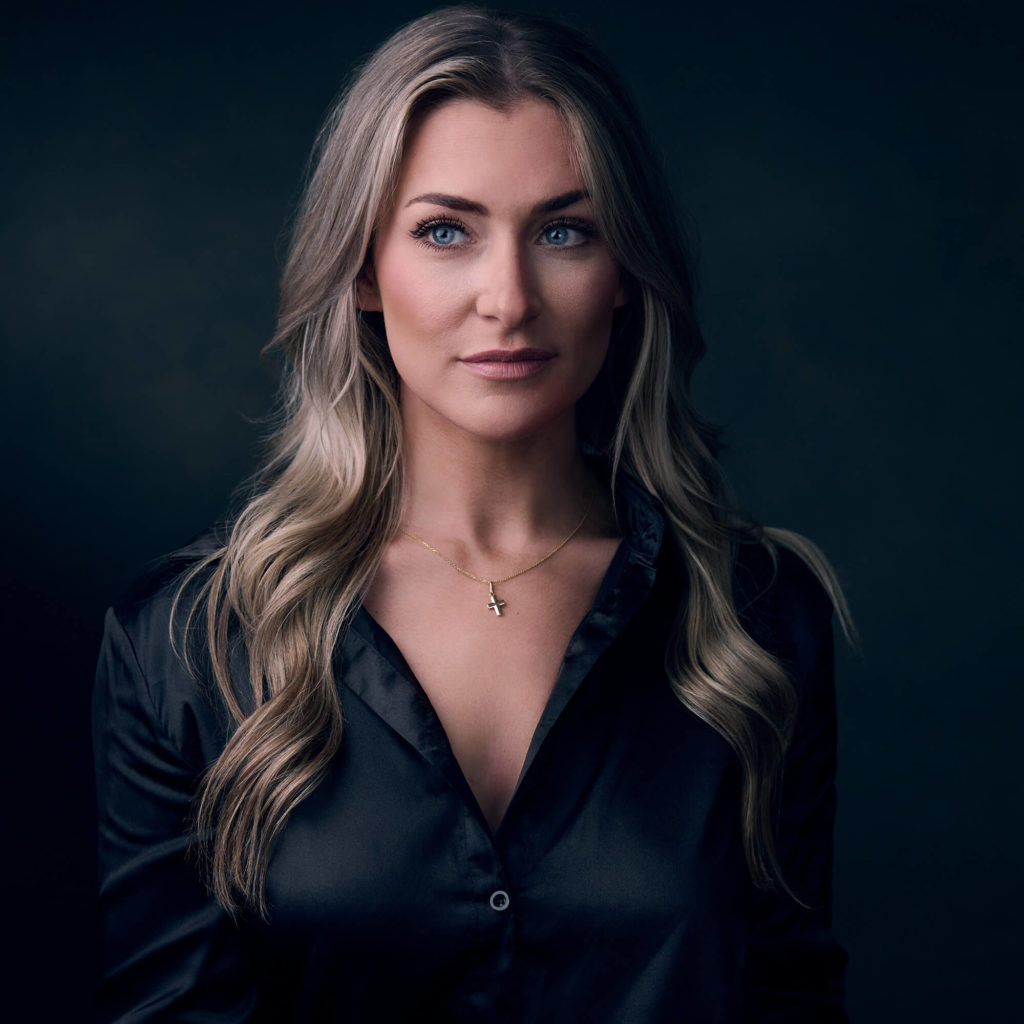
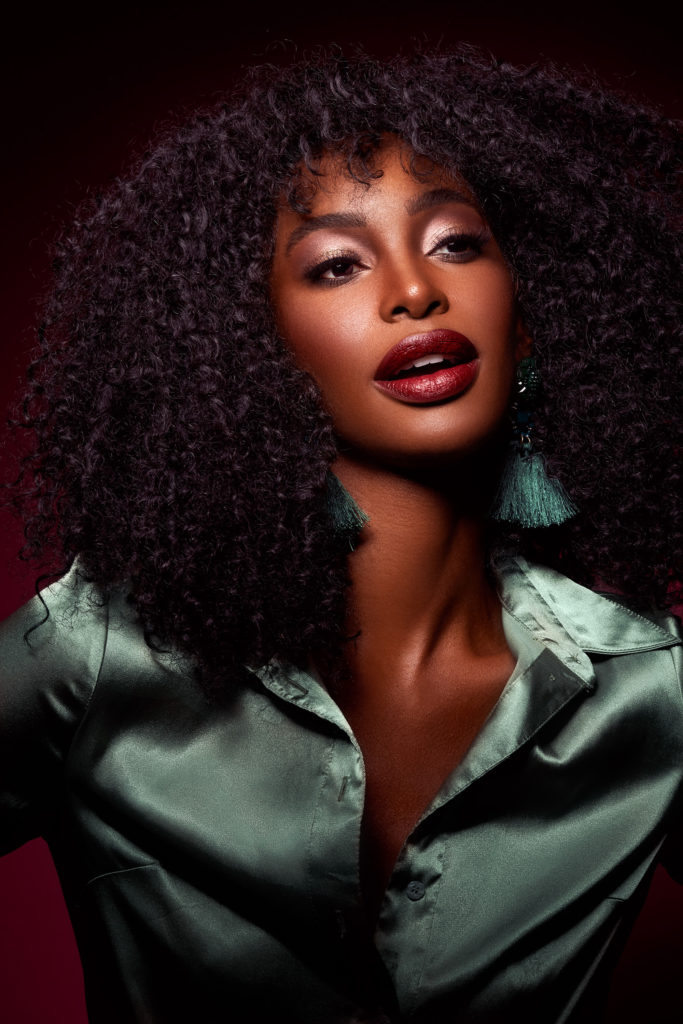
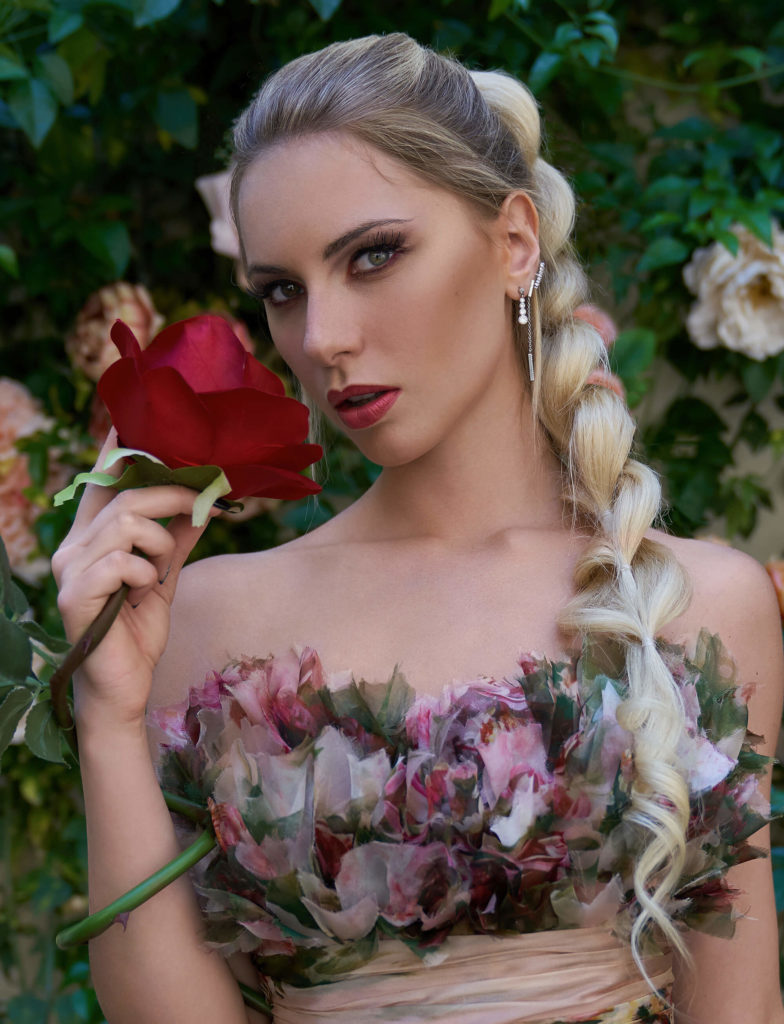
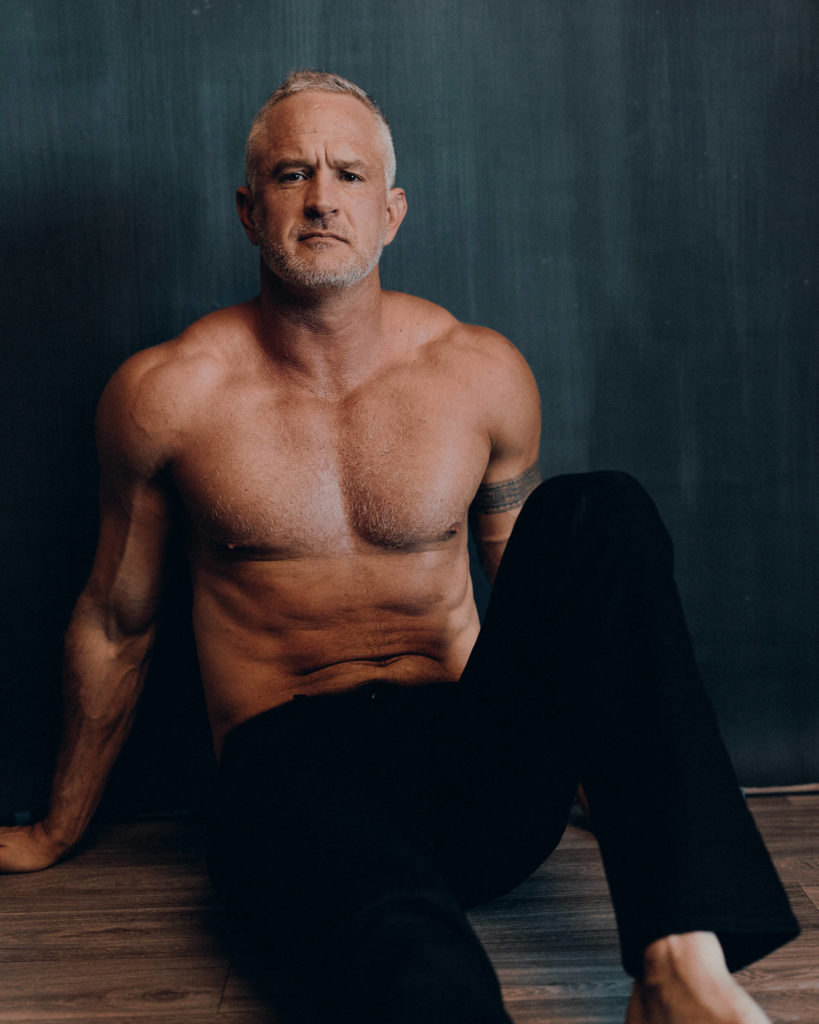
Infinite Unify is the answer to even colors for every image. Every skin type, clothing, product, landscape and more is easily improved with it.

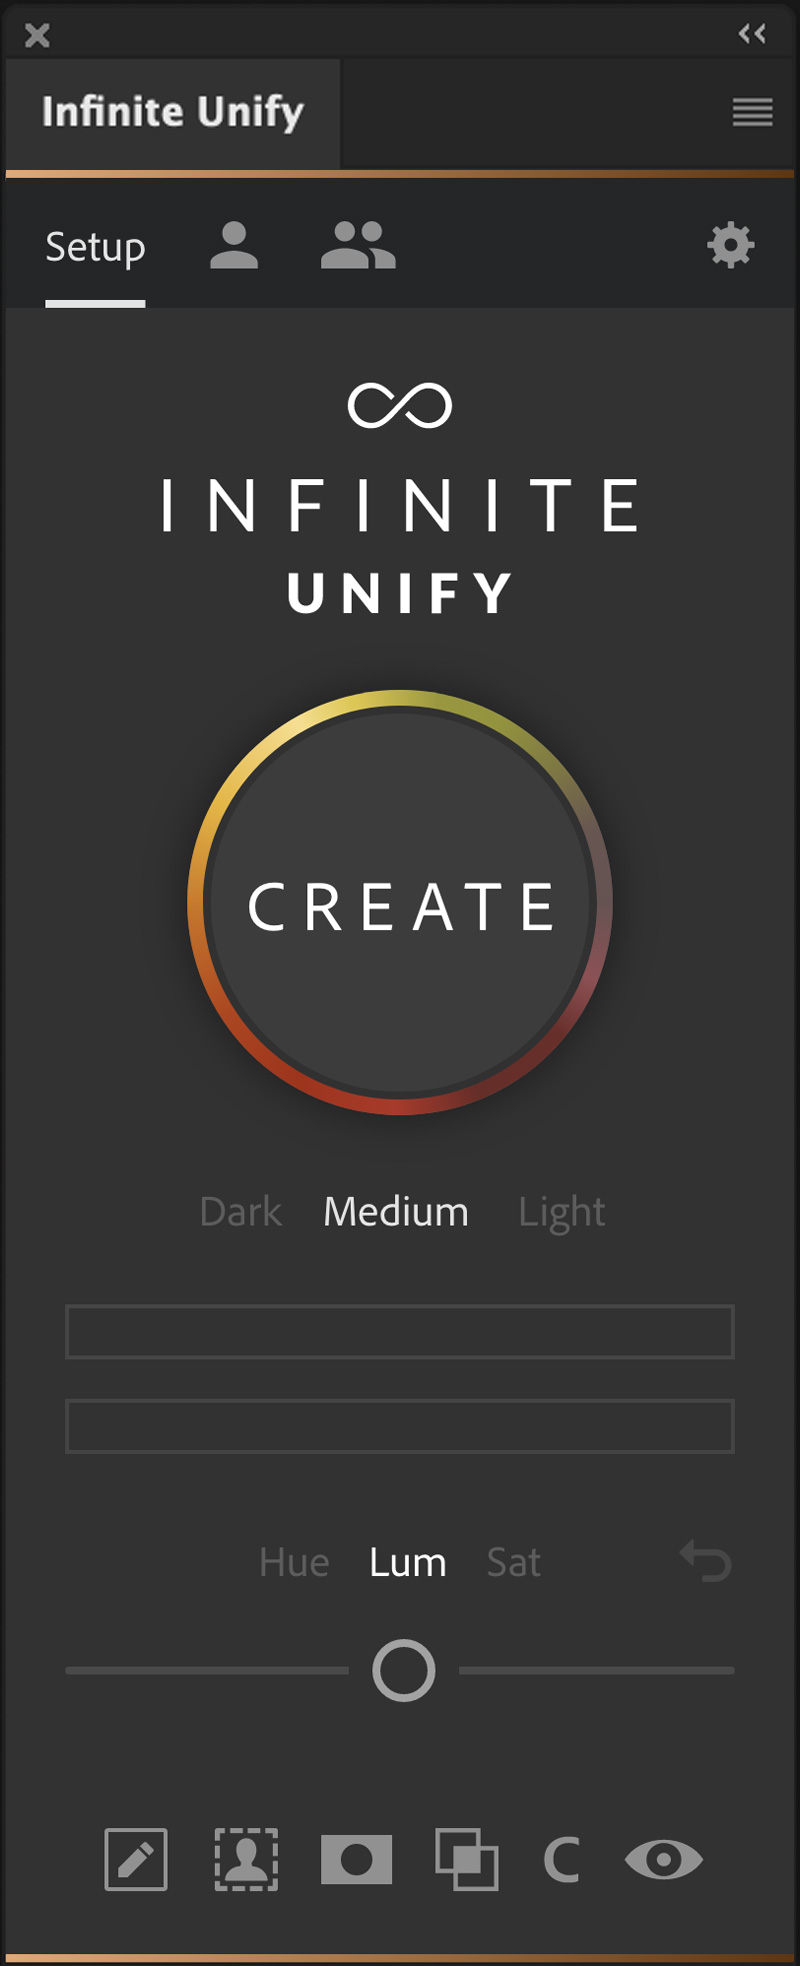
The Infinite Unify Panel 2.0

Quickly and efficiently correct uneven colors with Infinite Unify. Whether you are dealing with variations in skin tone, color casts, or other issues that can distract from your subject, this Photoshop plugin from Infinite Tools lets you take full control of gradient maps and solve the problem swiftly.

After picking a range of colors you’d like to perfect, Infinite Unify samples 15 points across your selection to generate a hyper-accurate gradient map removing the need to figure out how to get beautiful results by hand.

Photographers working in almost every genre: portraiture, landscape, product, or wedding frequently encounter frustrating, time-consuming color issues. Infinite Unify gives you the ability to tackle these problems faster than ever before by creating presets for opacity, smoothness, hue, and gradient mapping.

Add to Cart View Cart
Automated and Adjustable Color Analysis
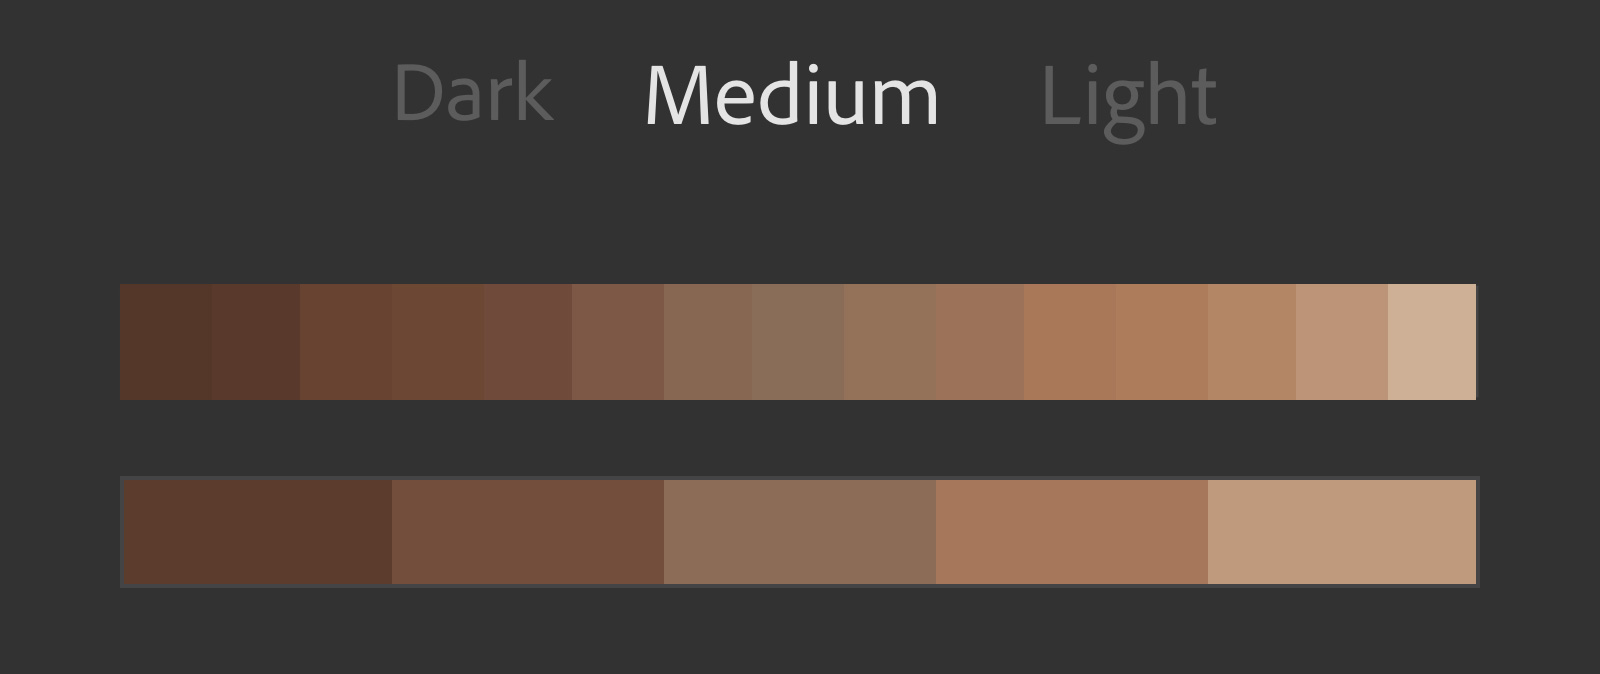
Based on your selection, Infinite Unify 2.0 samples 15 colors to create a gradient and displays them in the color bar. Then you can refine the color selection further by clicking on any hues you want to be removed, ensuring the ultimate level of control.

Hue, Lumosity, and Saturation Sliders
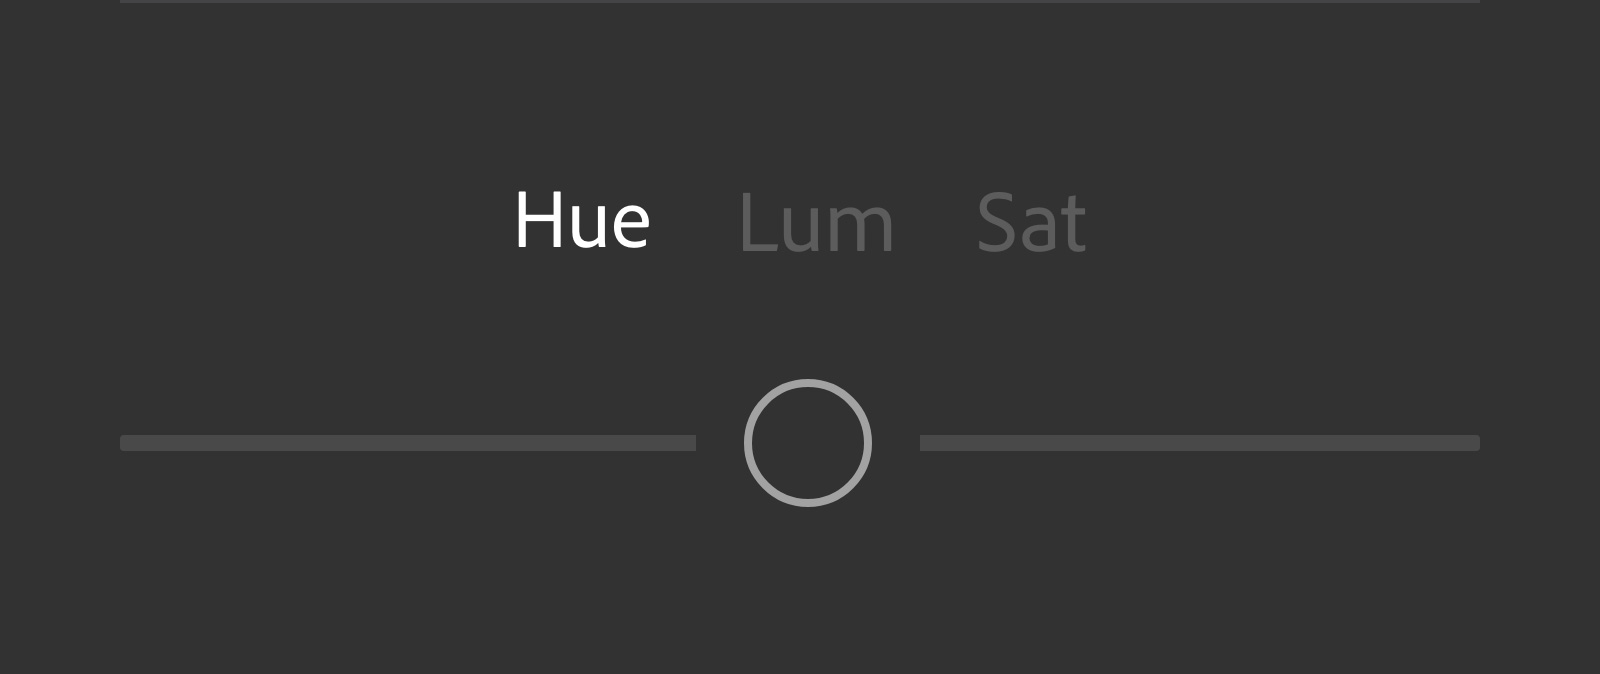
Even though the panel’s default settings will get you up and running immediately, advanced controls let you take complete control and blend the results further. Utilize Unify’s sliders to delicately shift every hue in the gradient map, change the position of the colors, and adjust saturation.

Advanced Gradient Map Editor

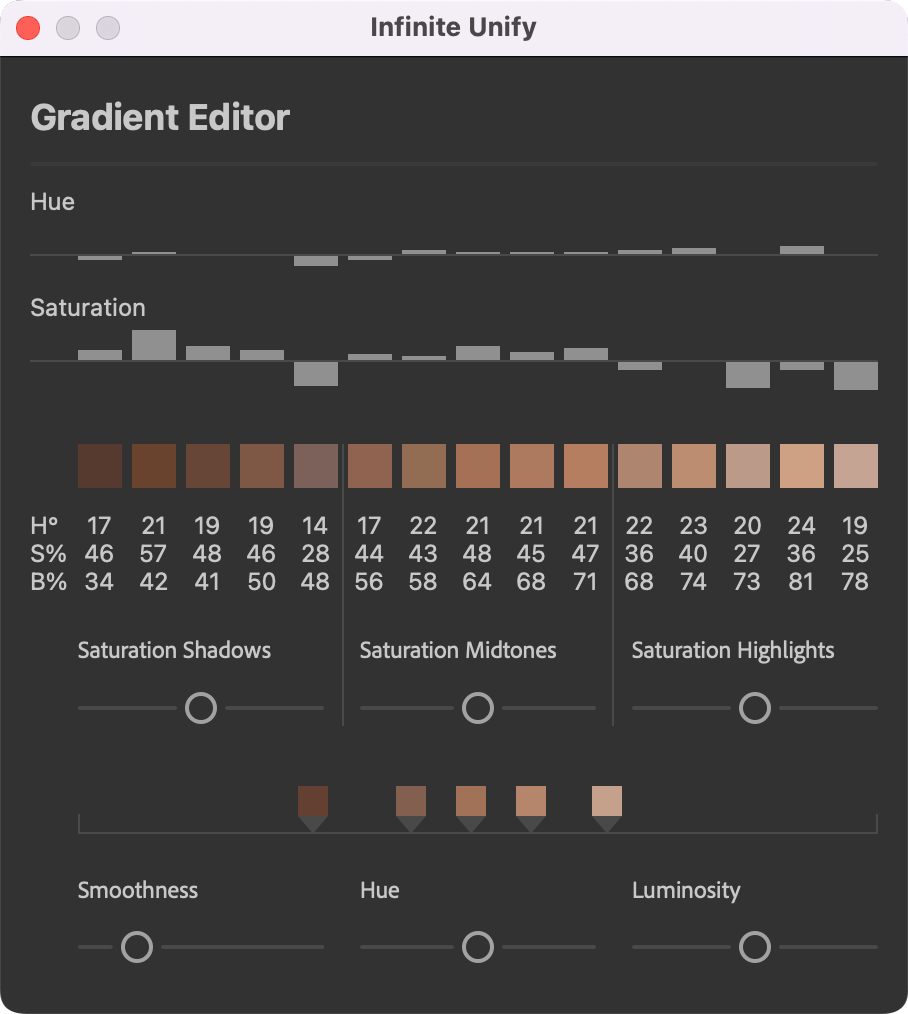
Use the Gradient Map Editor’s visual interface to spot even the slightest differences in hue or saturation and handle them with hyper-precise controls, including individual saturation control of the highlights, midtones, and shadows, smoothness of tones selected, and hue or luminosity adjustment.

Save and Share Gradients

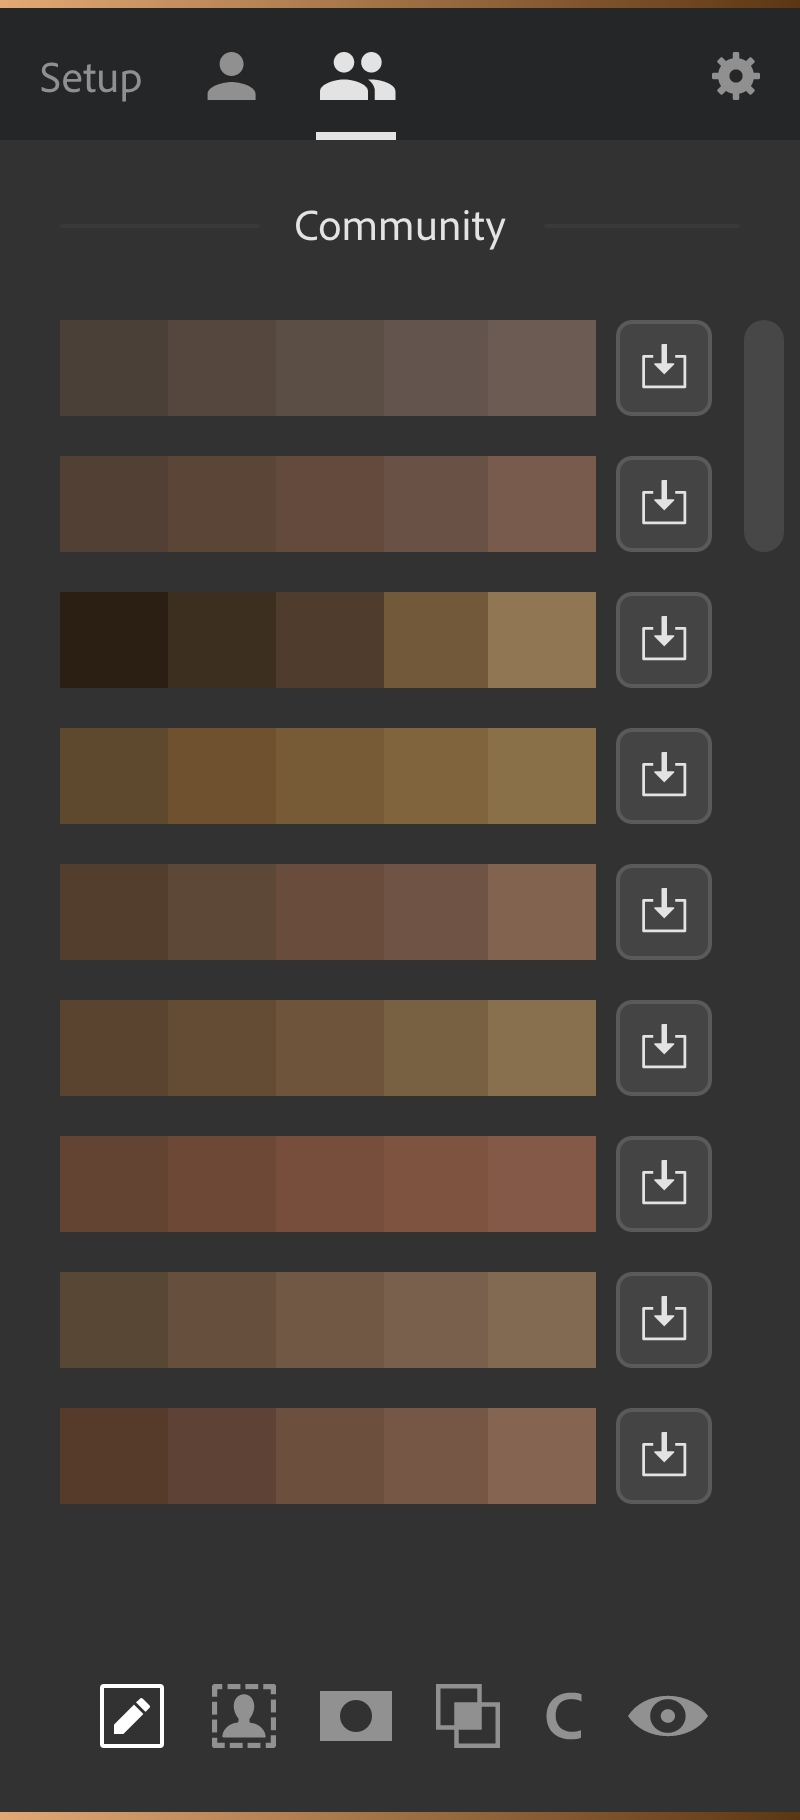
Once you’ve created a perfect gradient, saving it for use on other images is a quick, in-panel process using the “User Layers” tab. You can also access thousands of popular gradients sorting based on your photo using the “Community” tab and share your own with fellow creatives.

That‘s awesome! I need it!

Add to Cart View Cart

See how Infinite Unify works!

Key Features

  • Automatic skin tone detection and analysis
  • Advanced, algorithm-based gradient map generation (Unique to Infinite Unify and not possible with actions or basic scripts)
  • Complete, real-time control over gradient map color selection
  • Switch blend modes from color, saturation, and hue with a button click
  • Refine the range of skin tone selection via a dialog option
  • Apply the results through either a black mask or generate an intelligent mask based on skin tone
  • Temporarily disable your mask to see the gradient map applied to the image with the preview button
  • Save your gradient maps and apply them to other images
  • Share your best gradients with the community, and download ones from other users.
  • Synch your plugin settings across all your computers using Infinite Cloud.

Requirements

  • For Photoshop 23.4 or later (CC2022)
  • Permanent online connection

Usage

  • Personal license for 3 computers
before
after

Quickly Correct Uneven Tones

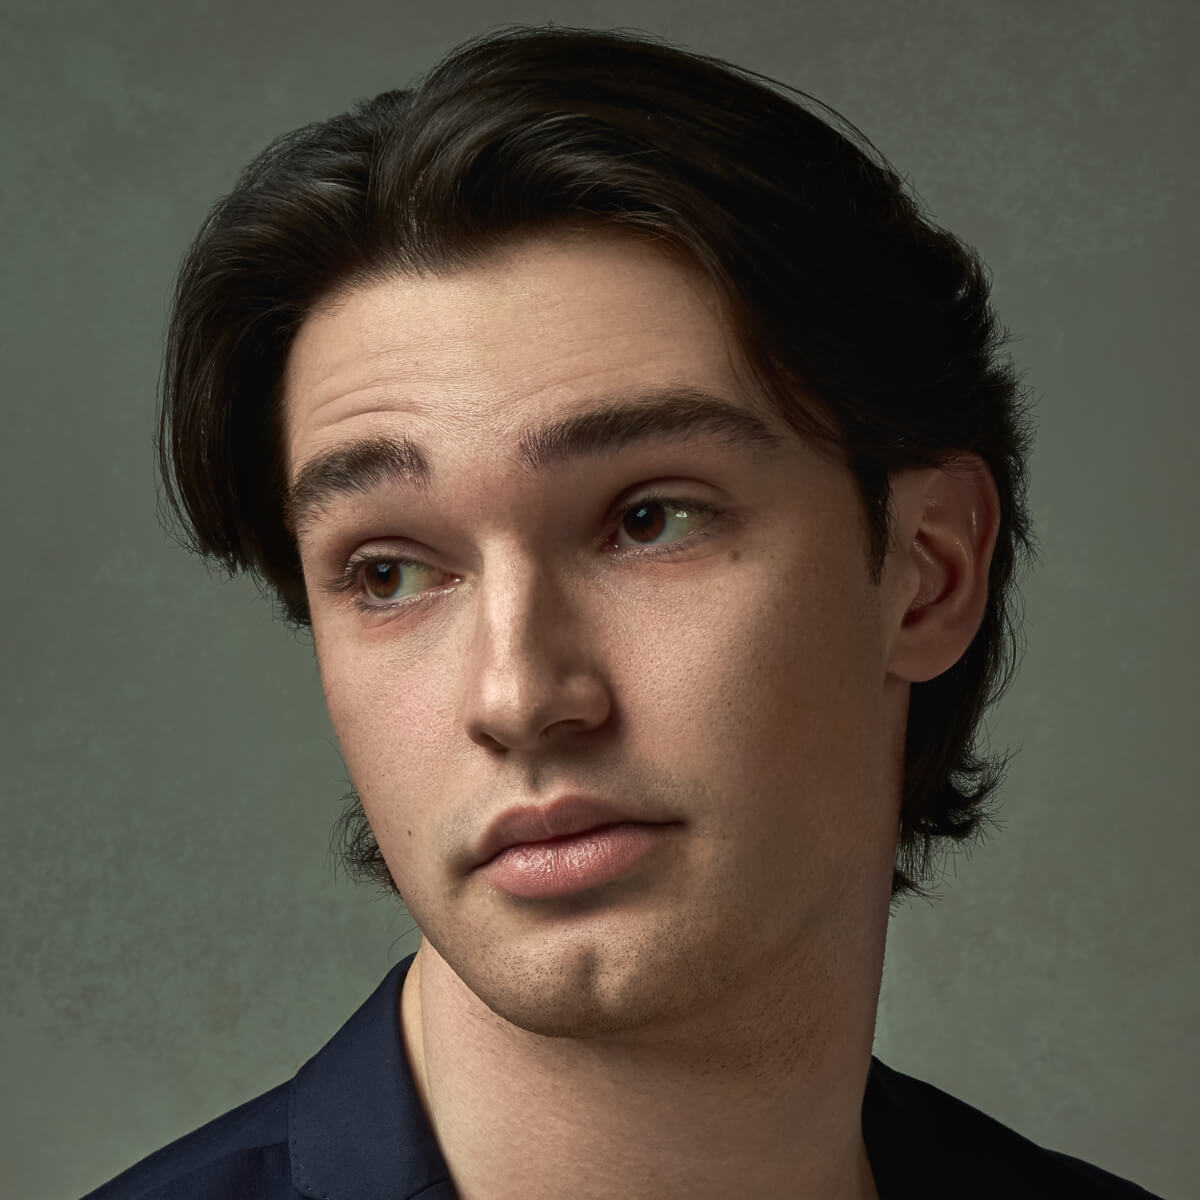
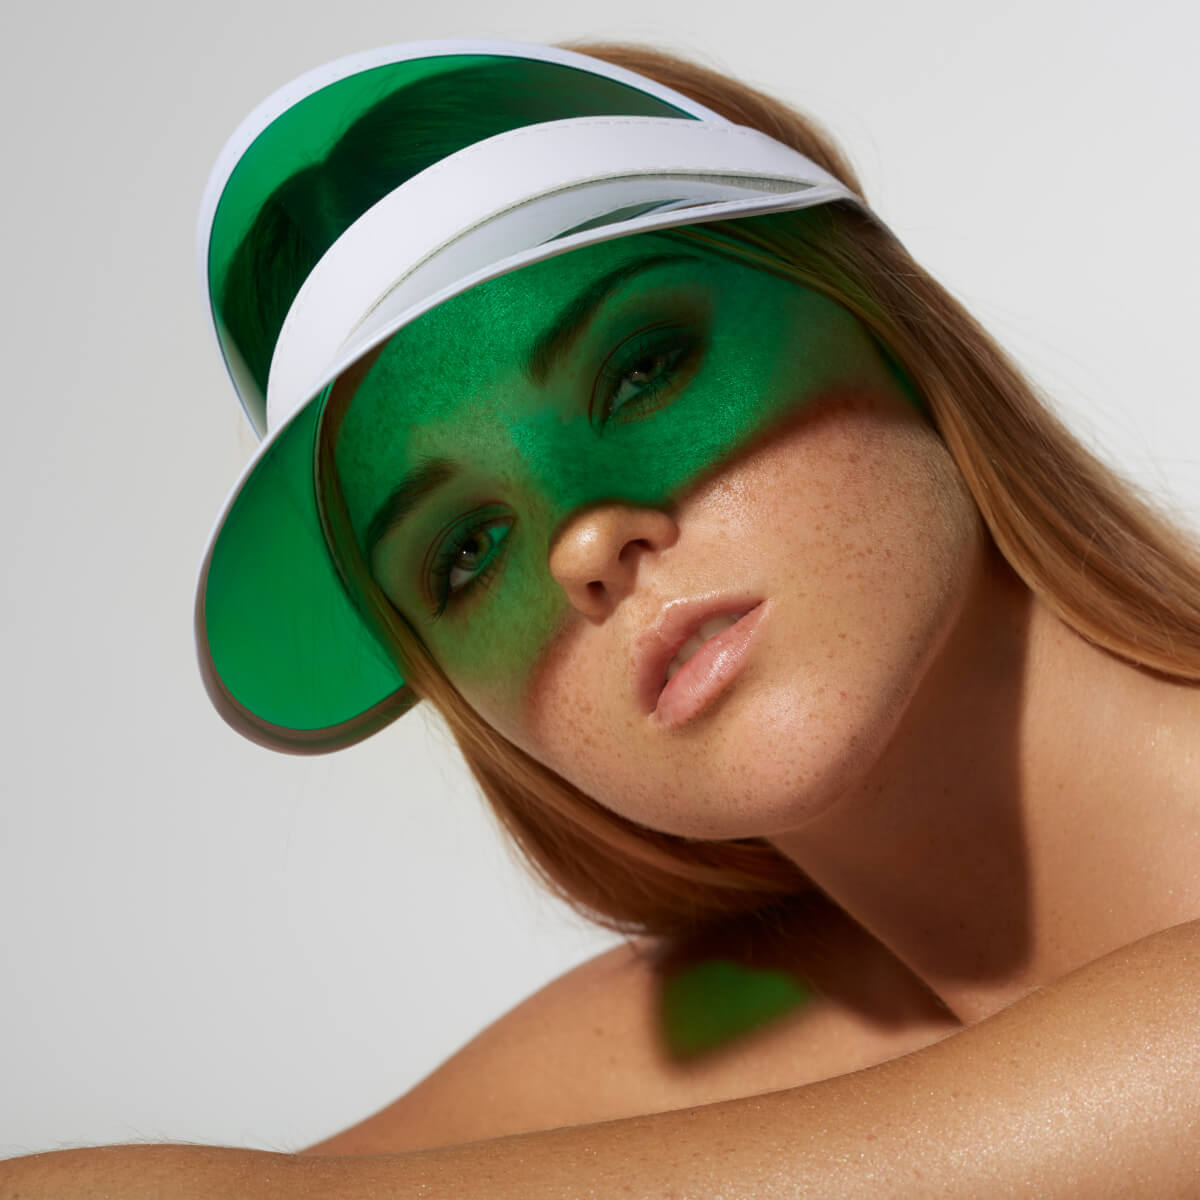
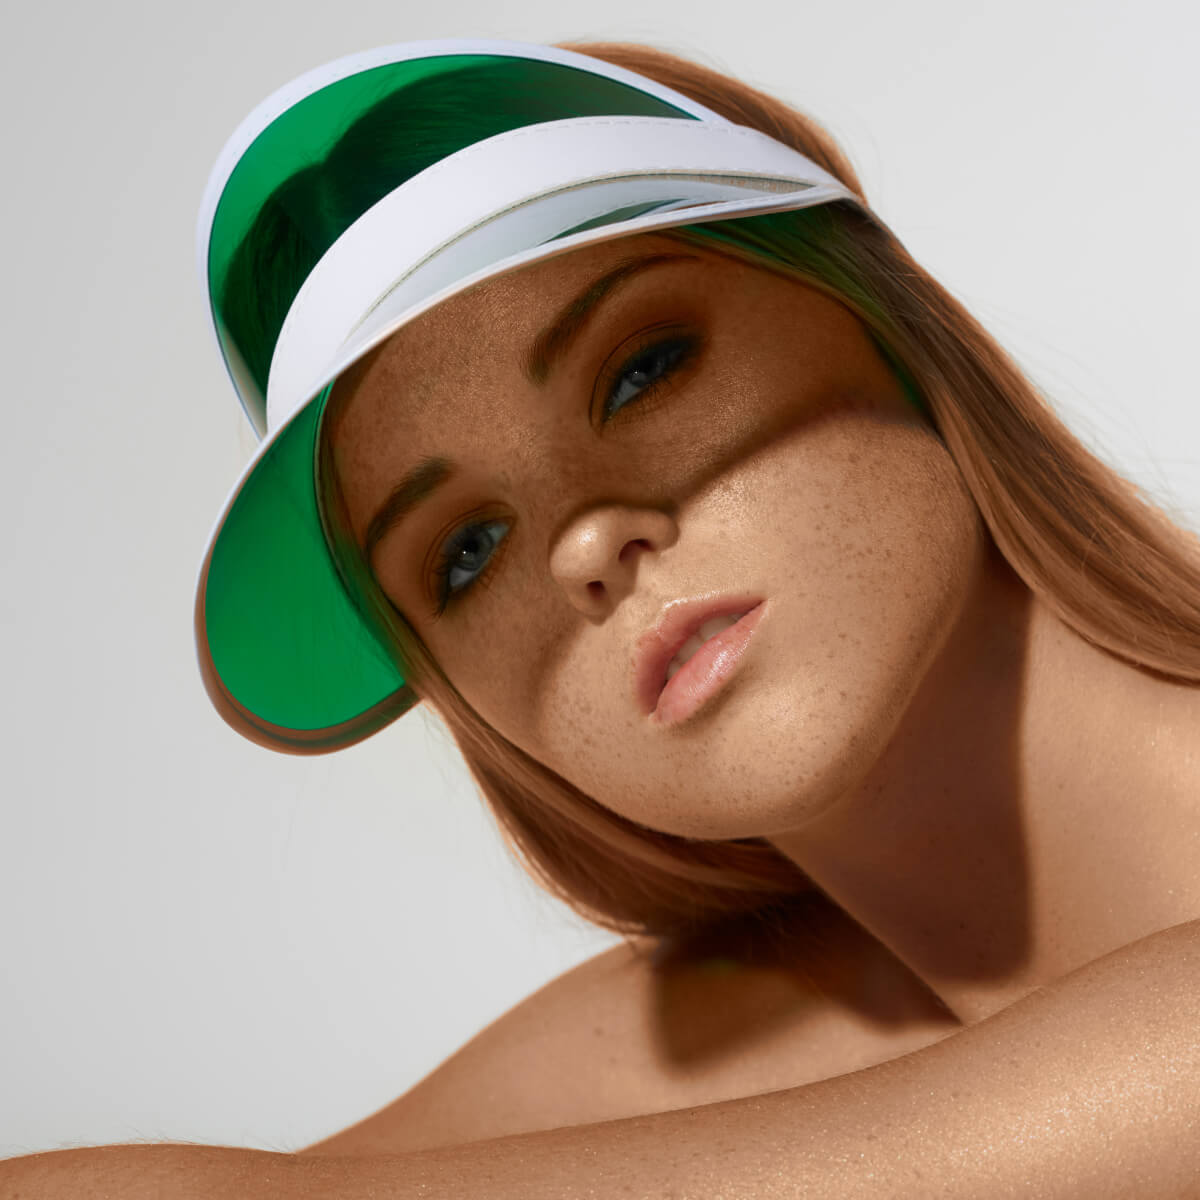
Whether you are dealing with variations in skin tone, color casts, or other issues that can distract from your subject, the Infinite Unify Photoshop plugin from Infinite Tools enables you to solve the problem swiftly.

Harness the Power of Gradient Mapping

After picking a range of colors you’d like to perfect, Infinite Unify samples 12 points across your selection to generate a hyper-accurate gradient map removing the need to figure out how to get beautiful results by hand.

before
after
before
after

A Nuanced, Customizable Approach to Color Correction

The panel lets you dial in the sensitivity of the tone selection, select presets for different lighting conditions, shift the gradient maps’ hue, and instantly switch blend modes from color to hue or saturation, all from a quick access interface.

Handle Even The Most Complex Issues

Infinite Unify’s Advanced Gradient editor gives you hyper precise controls including individual saturation control of the highlights, midtones, and shadows, smoothness of tones selected, and hue or luminosity adjustment to ensure no problem is unsolvable.

before
after
before
after

Achieve a Professional Level of Finishing with Minimal Effort

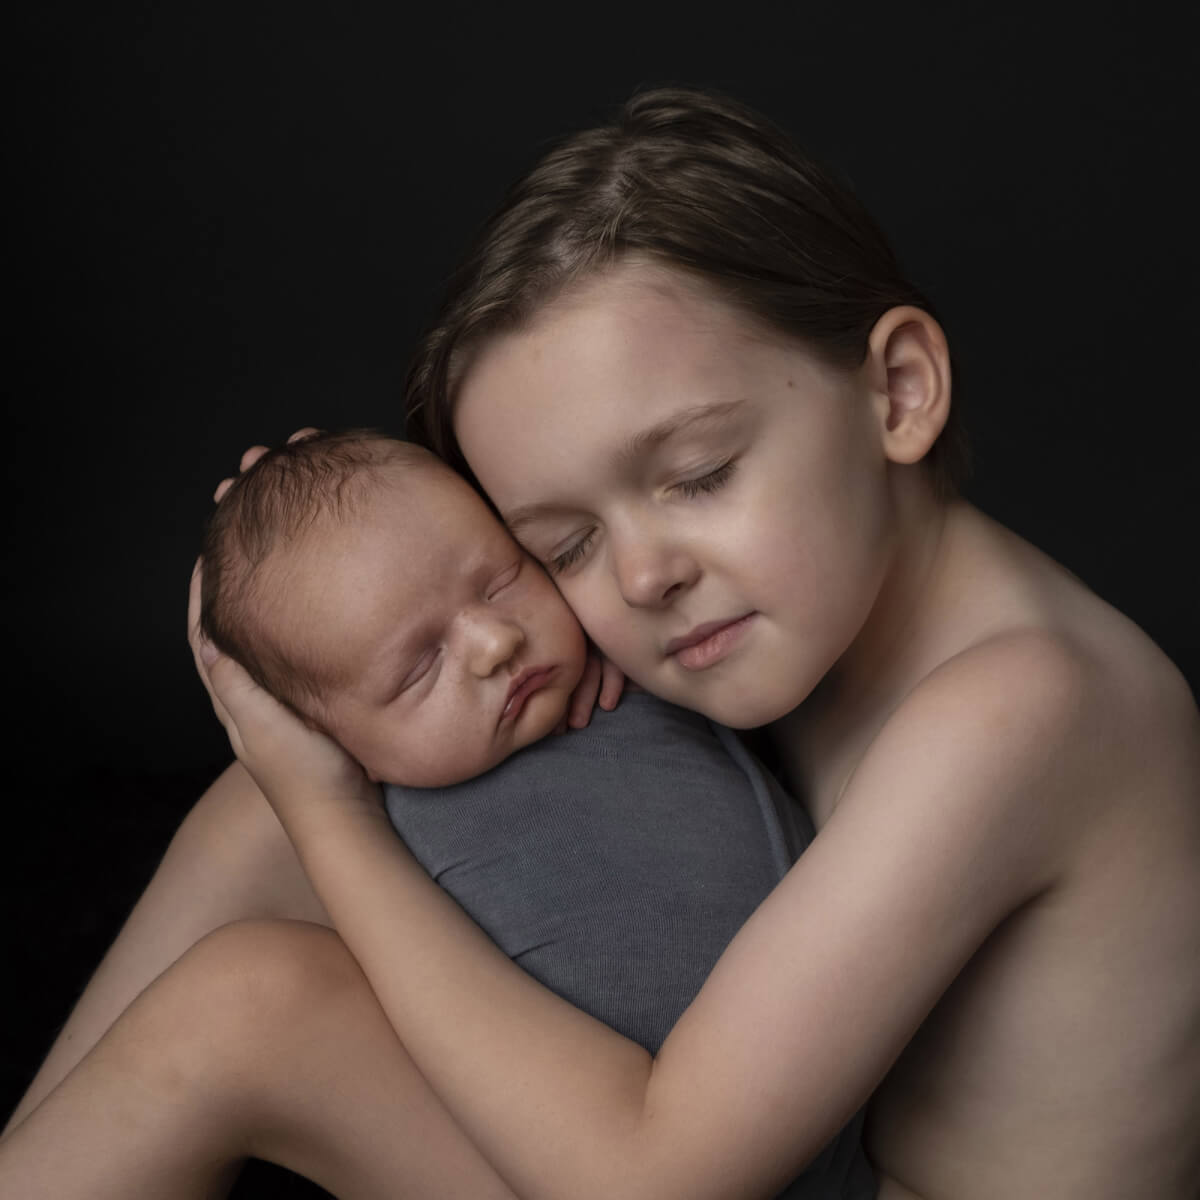
Choose to apply the results via a black mask or an intelligent mask based on skin tone to deal with everything from the unflattering effects of mismatched lighting, to variations in a Newborn’s skin tone, or even tan lines.

Apply Results to Multiple Images

Once you’ve created a perfect gradient, saving it for use on other images is a quick, in-panel process using the “User Layers” tab. You can also access a huge selection of popular gradients using the “Community” tab and even share your own with fellow creatives.

before
after
before
after

Quickly Correct Uneven Tones

Whether you are dealing with variations in skin tone, color casts, or other issues that can distract from your subject, the Infinite Unify Photoshop plugin from Infinite Tools enables you to solve the problem swiftly.

before
after

Harness the Power of Gradient Mapping

After picking a range of colors you’d like to perfect, Infinite Unify samples 12 points across your selection to generate a hyper-accurate gradient map removing the need to figure out how to get beautiful results by hand.

before
after

A Nuanced, Customizable Approach to Color Correction

The panel lets you dial in the sensitivity of the tone selection, select presets for different lighting conditions, shift the gradient maps’ hue, and instantly switch blend modes from color to hue or saturation, all from a quick access interface.

before
after

Handle Even The Most Complex Issues

Infinite Unify’s Advanced Gradient editor gives you hyper precise controls including individual saturation control of the highlights, midtones, and shadows, smoothness of tones selected, and hue or luminosity adjustment to ensure no problem is unsolvable.

before
after

Achieve a Professional Level of Finishing with Minimal Effort

Choose to apply the results via a black mask or an intelligent mask based on skin tone to deal with everything from the unflattering effects of mismatched lighting, to variations in a Newborn’s skin tone, or even tan lines.

before
after

Apply Results to Multiple Images

Once you’ve created a perfect gradient, saving it for use on other images is a quick, in-panel process using the “User Layers” tab. You can also access a huge selection of popular gradients using the “Community” tab and even share your own with fellow creatives.

Testimonials

Click below to find out what other photographers are saying

Testimonials

Swipe to find out what other photographers are saying

Beatrice Ratio

This tool is totally on new level of editing. It makes correcting tones so easy and time saving. Whenever it’s skin or something else in the image. There is no way going back to editing tones in a way I used to do it before. This is just so amazing!

Instagram

Greg Thomason

As a portrait photographer I often deal with inconsistent skin tones. Bringing the skin tones into harmony is essential to making the portrait reflect what our mind sees. Unify, one of the Infinite Tools, let’s me do this intuitively and easily. I highly recommend having it in your toolbox if photographing people is something you do.

Instagram

Jasmijn Bult

“Love to use the Unify Panel to create more even colours while working for clients, on skin but also on products. It just makes my images more serene!”

Web

Jordy Clarke

After trying the new infinite unify panel,  I was pleasantly surprised by how quickly it worked! Using the panel has replaced multiple adjustment layers and time spent masking, which has sped up my workflow while retouching. For colour casts and redness in skin, the panel was able to pick up the specific areas that needed to be addressed. The HSL sliders are great for fine tuning as well, I can say with confidence that the new Unify panel is a fantastic piece of computer wizardry from the Infinite Tools team that belongs in any portrait photographers tool box.

Instagram

Lara Giles

The Infinite Unify Panel is perfect to balance skin tones and it works so well for my beauty portraits.

It helps to speed up the workflow to match tones, especially when I need to make small adjustments on the skin. Not only do I use it for my portraits, but also to unify colors of clothes or makeup. It’s a great addition to my beloved Infinite Color Panel, which I use regularly.

Instagram

Linus Peterson

What is this sorcery?!
I can honestly say that I am blown away by this plugin!
Not only by its results, but how quickly and accurately Unify achieves them.
I struggle a bit when it comes to getting rid of uneven skin tones while still maintaining a natural result so i was really excited and humbled to be a part of this and trying it out.
In most cases I was more than content with the results the “automatic” create-button gave me, which is insane.
All I had to do was to paint black on the layer mask Unify created for me making sure it didn’t get anything in the eyes and wherever else you do not want the grade to affect.
If you want full control, just use the lasso tool to select the skin tones you like in the shadows, midtones, and highlights before you hit Create.
You also have the choice to fine-tune it even further in the advanced editor with extreme precision.
I feel like I have only scratched the surface of all you can do with this tool.
It is so easy to use and I am very excited to implement Unify properly in my workflow from here on.

Luca Storelli

I have been waiting for this panel for so long.
The problems it resolves are very common and frequent.
Most of the time, when I’m checking for my photos after a shooting, I see problems on the skin of models. I don’t mean about skin imperfections, wrinkles, etc. I mean discolorations, color spots, signs of tanning…

Before it was complicated, because each different color of the skin should have to edit individually, and this took time.
This is the reason why I use Infinite Unify. The main feature of this panel is that it allows us to get from the selection we make, a gradient map, all colors that we need for correcting the discolorations on the image. And all of this is done with just a click. I can choose the colors I need to use using the lasso tool, (I can do more than a selection), and then I press the button, selecting parts on the face or body that I want to capture to use for correct… that’s all

The panel creates a selection mask, which permits using the gradient tool generated as a mask, so we can reveal it only on the parts where the effect is needed. How much time does it require me? A couple of seconds!
There is the possibility also to change the blending mode of the gradient layer, saturation, or hue, instead of the color blending mode, but most of the time it doesn’t require any modification. All I need is there, without losing time, accelerating my workflow.

I’ve experienced, that sometimes, if I need precise and accurate results, I run the panel twice, changing the color selection and consequently the gradient map generated. In this way, especially for the body, I can get good results for skin discoloration on the face and body spots.

The panel lets us change the values if we work with overexposed or underexposed images also. What do we need more?
From now, I will use this panel on each image of mine, taking care of color harmony, making the colors of the pictures more uniform and real, and resolving a big problem in a couple of seconds.

My retouching workflow from now it will be:
1. Healing brush. (To remove wrinkles, blemishes, and black spots..)
2. Frequency Separation
3. Dodge and Burn.
4. Infinite Unify

Thank Infinite Tools for this brand new tool. I love it.
Luca Storelli

Sequoyah

Using the new Infinite Unity panel (which was my first time using it), it made me appreciate my process and how well it fit in with it. In my own work, I always strive for harmonious colors, in skin, environment, and casts. On those tough-to-balance images, Infinite Unity saved the day. Once I understood the mechanics of how the panel operated, I used to not only harmonize skin tones, but harmonize whole images when I wanted to create an even warm tone. Infinite Unity will certainly become a staple in my work, and the new update makes using it incredibly easy.

Instagram

Infinite Unify Academy

Infinite Unify’s Create Button

Everything starts with the Create Button. Learn about the functionality built into the cornerstone of the Infinite Unify Panel and how to use it to boost your productivity.

Infinite Unify’s Option Panel

The Option Panel enables you to adjust many aspects of Infinite Unify for greater control of your workflow and the results. This video demonstrates what each option is and how to use them.

Saving Your Gradients in Infinite Unify

Once you’ve created a perfect gradient, this video details the quick, in-panel process of saving it for use on other images.

Infinite Unify’s Community Tab

Learn how to use the community tab to share your best tones and access an ever-growing library of gradients. When creatives help other creatives, everyone wins.

Using Update Notifications in Infinite Unify

Never miss a software update with Infinite Unify’s update-notifier. This video shows you how to keep an eye out for notifications and details the new, streamlined update process.

Synching Settings with Infinite Cloud

Infinite Cloud is a simple way to sync your settings if you are working on multiple computers. Learn how to save and label your settings, so you can not only sync them but also have more than one setup.

Older Videos which are still relevant

Evening Out Skin Tones In Portraits

Uneven skin tones in portraits are quite common, let’s take a look on how to easily fix that.

Fixing Newborn Skin Tone Variations

Learn how to correct uneven skin tones from red feet to different shades across their face and bodies, using the hue blend mode.

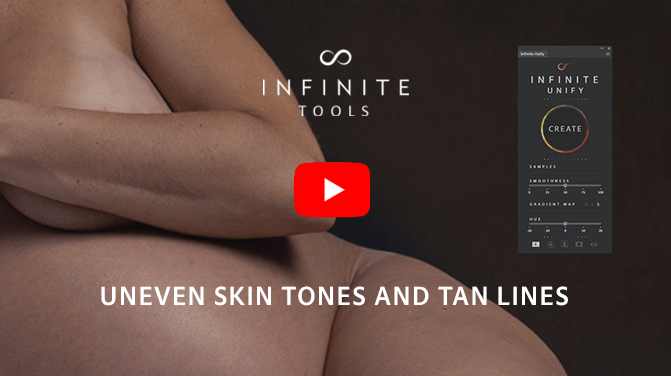
Uneven Skin Tones And Tan Lines

Learn how to use Unify as part of the process when fixing tan lines. You’ll learn about blend-if modes and layers to compliment the unifying process.

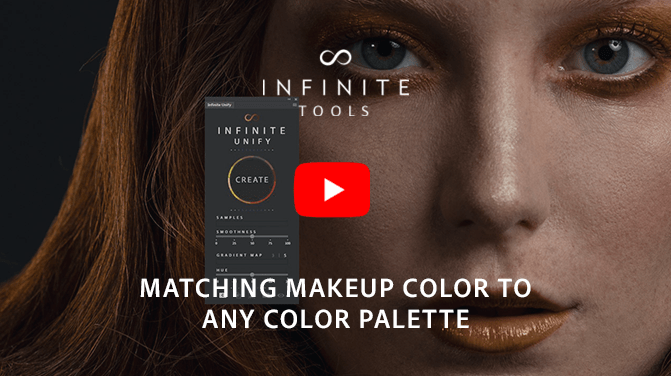
Matching Makeup Color To Any Color Palette

For beauty work, matching makeup to specific color palettes can easily be done with Unify. Here’s how we can use it to match other colors in the shot.

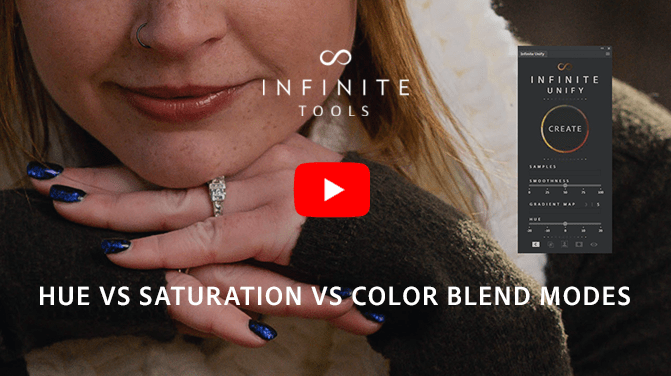
Hue Vs Saturation Vs Color Blend Modes

Learn how to use the Hue, Saturation, and Color Blend modes and what situations each are to be used in.

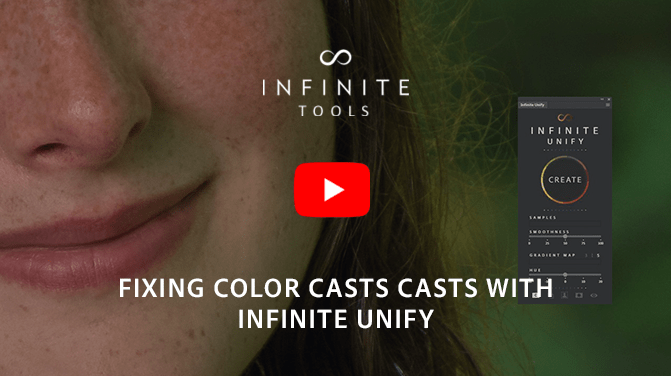
Fixing Color Casts Casts With Infinite Unify

Shooting in environments that produce color casts can be annoying, here’s how Unify can take care of that fast and easy.

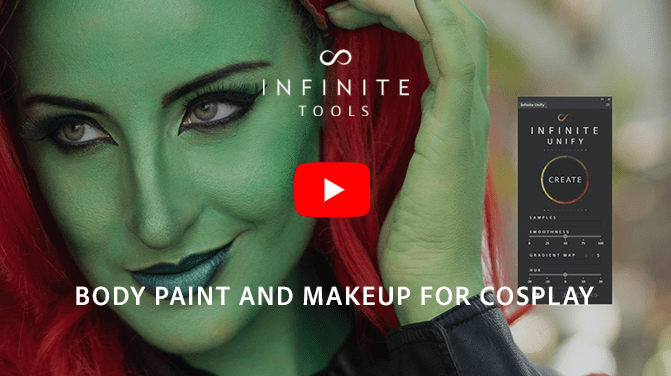
Body Paint And Makeup For Cosplay

Fix issues with body paint and makeup. You’ll learn about hue/saturation clipping layers for added control!

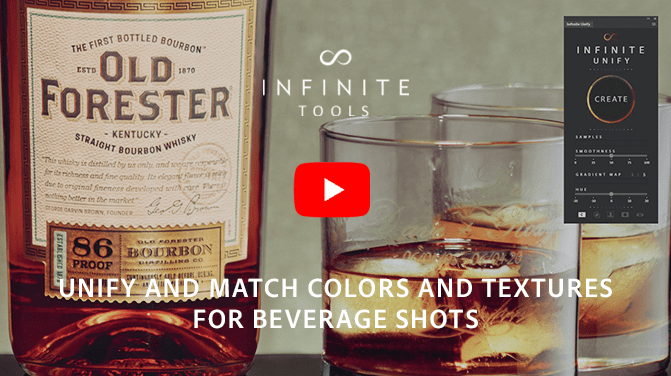
Unify And Match Colors And Textures For Beverage Shots

With these examples, learn how to use the hue slider and setting Unify to the Saturation blend mode.

Advanced Color Matching Between Subjects

With vast different between skin tones, you will learn how to use saturation and luminosity helper layers in conjunction with Unify for success.

I can’t wait anymore!

Add to Cart View Cart