Hey everyone, Pratik here!
I have to say retouching is my life, I am quite obsessed with it! Through the obsession, I’ve had the fortunate opportunity to have clients that count on me to make their images flawless. As a part of the process, I have to make sure that my skin tones are always looking good on images. It’s quite honestly the most annoying part about the retouching process! It’s why I wanted to see Infinite Unify come into existence.
Over the years I’ve been asked to show people just how I use it, what settings I prefer, and the best workflow to get amazing results without spending a ton of time! So I decided to make that video showing you what I recommend you do. There are many settings in the panel and this will show you what you need to do to make it as easy as possible.
In this video, I also cover the benefit of using 2 Unify layers, adjusting default opacities, and masking options, along with tips on changing saturation and hue with the hidden advanced editor within the panel! So be sure to watch it all, there’s lots of nuggets peppered in.
If you’d like to check out Infinite Unify, visit this link.
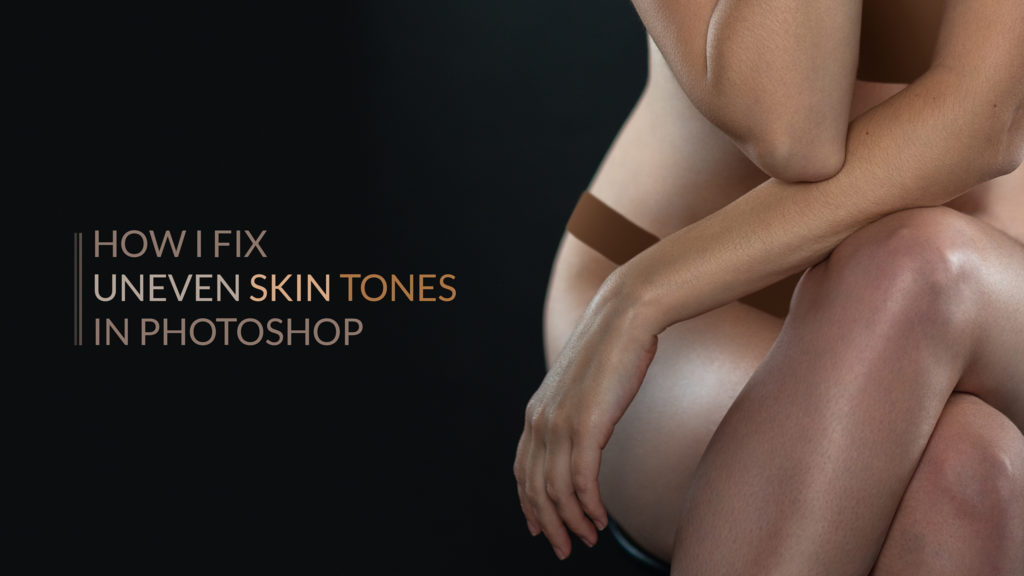
A special thank you to Bassam Sabbagh for supplying this image! He’s an incredible portrait photographer and a dear friend of mine.

