
We welcome one of our friends and community members, Michael Moon, to write about his experience photographing the NFL. Based in Houston, I love his work and have always been curious into what goes into it. It’s also great seeing how color grading plays a role in it.
Thank you Michael for this amazing post. be sure to see more of Michael’s work on his website and Instagram.
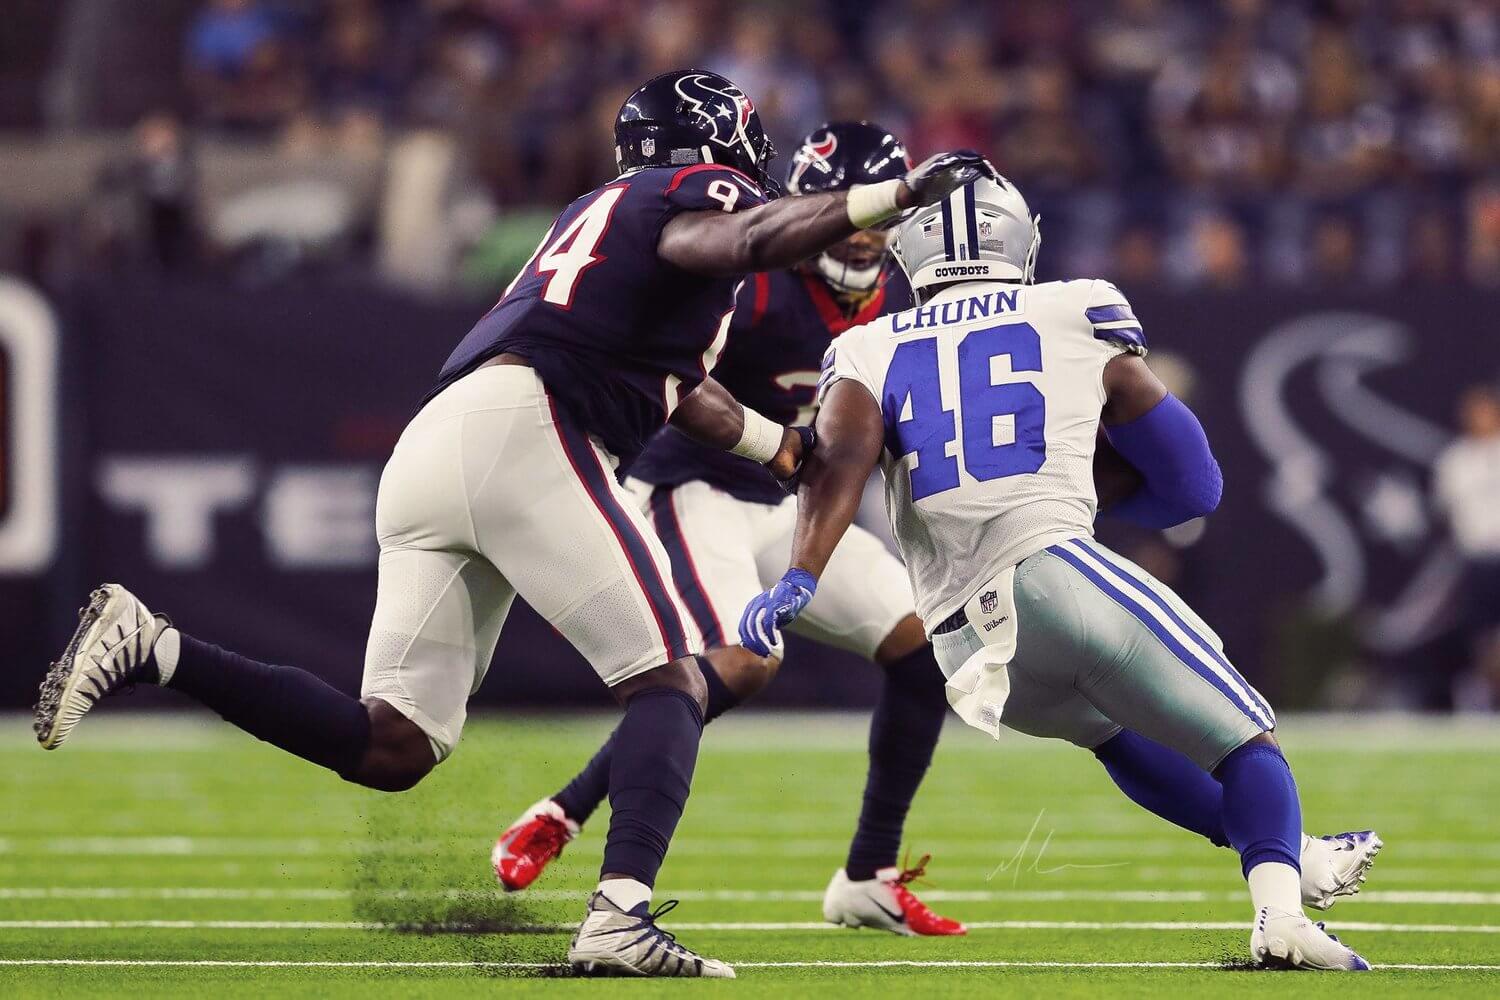
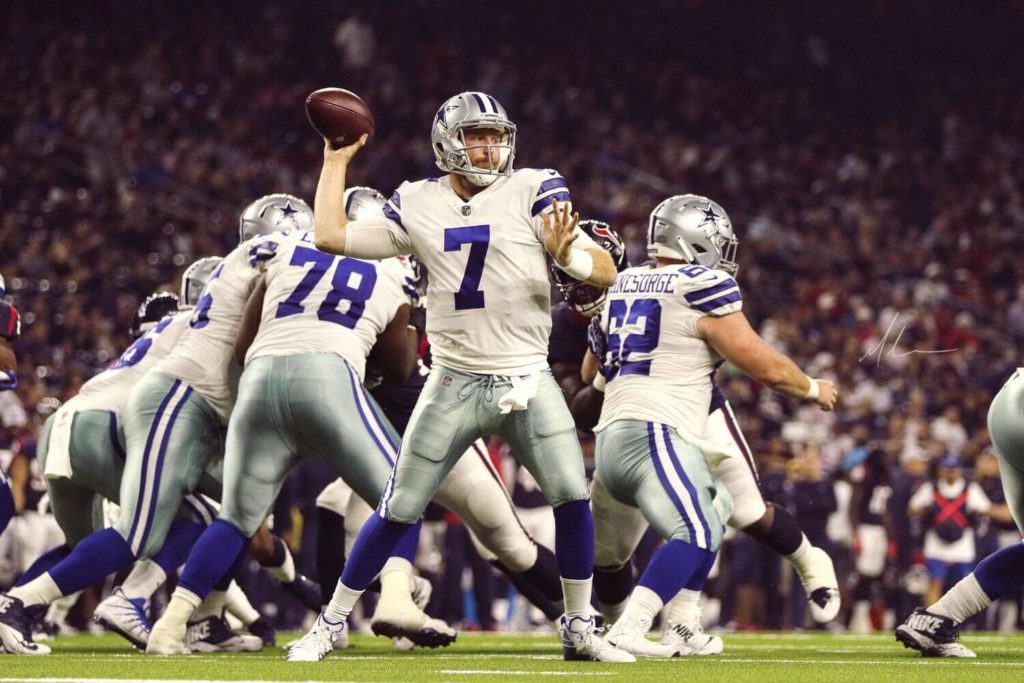
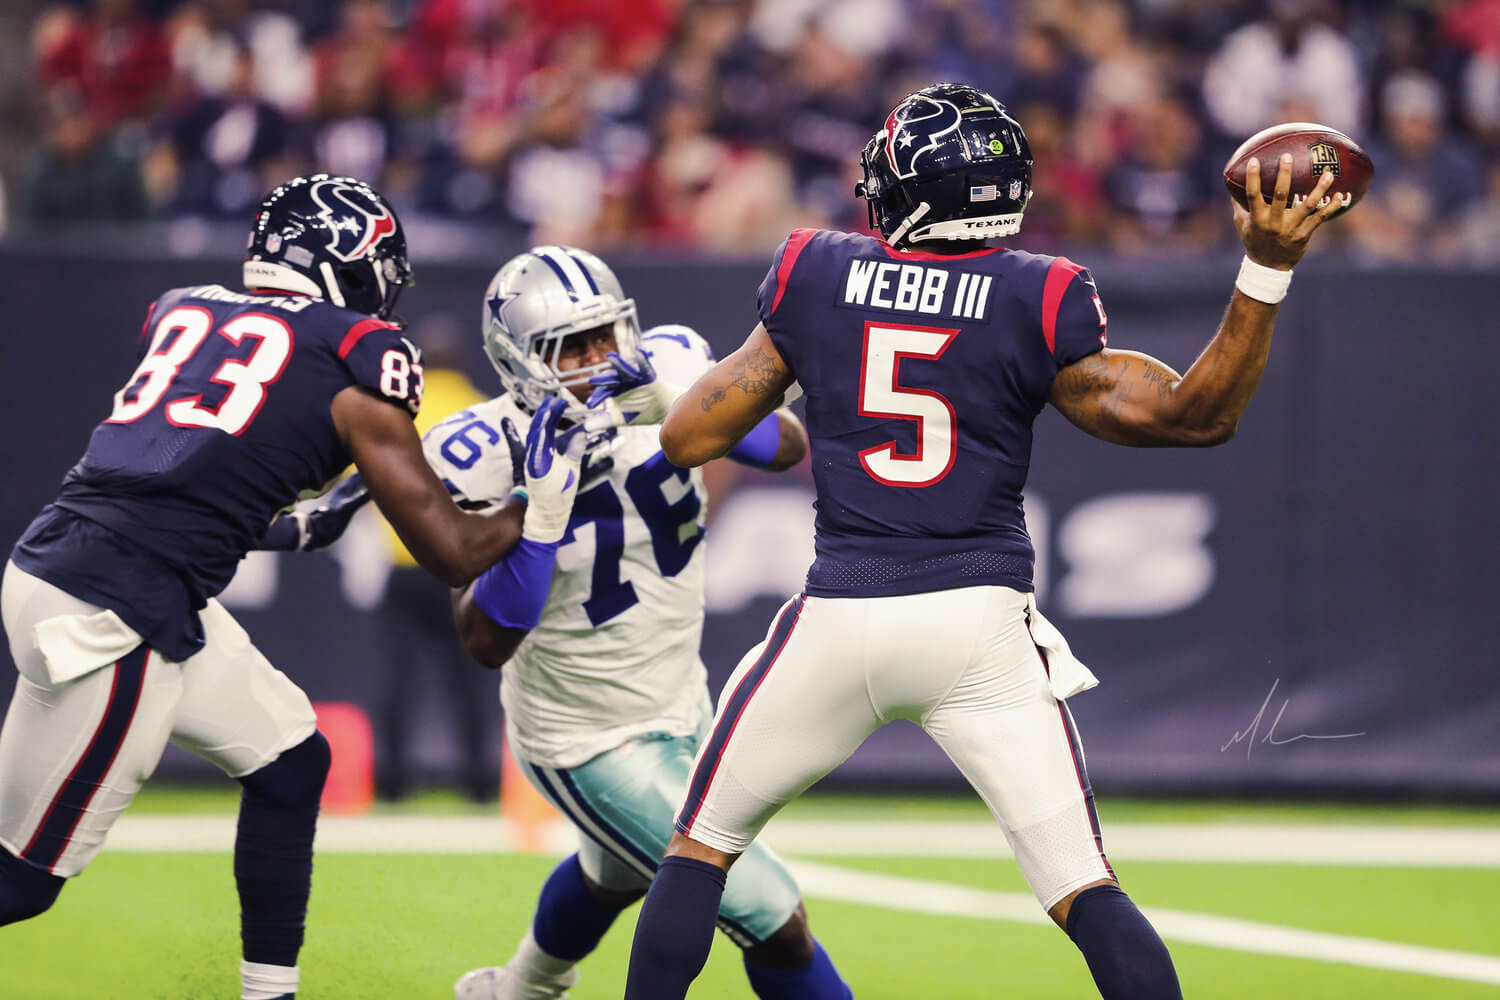
When you come from a portrait background, shooting sports isn’t as difficult as it may seem from a technical standpoint. You already know composition, story telling, and essential camera basics. Where the difficulty comes in is the pace of the game, being able to predict where the action is going, and maneuvering around other photographers, tv crews, and the packed sidelines. College football moves a lot faster than the NFL, so you don’t have time to look at the camera to make sure you’re getting great shots. Plays happen as fast as they end, so if you’re not focused on the action, you will miss the shot.
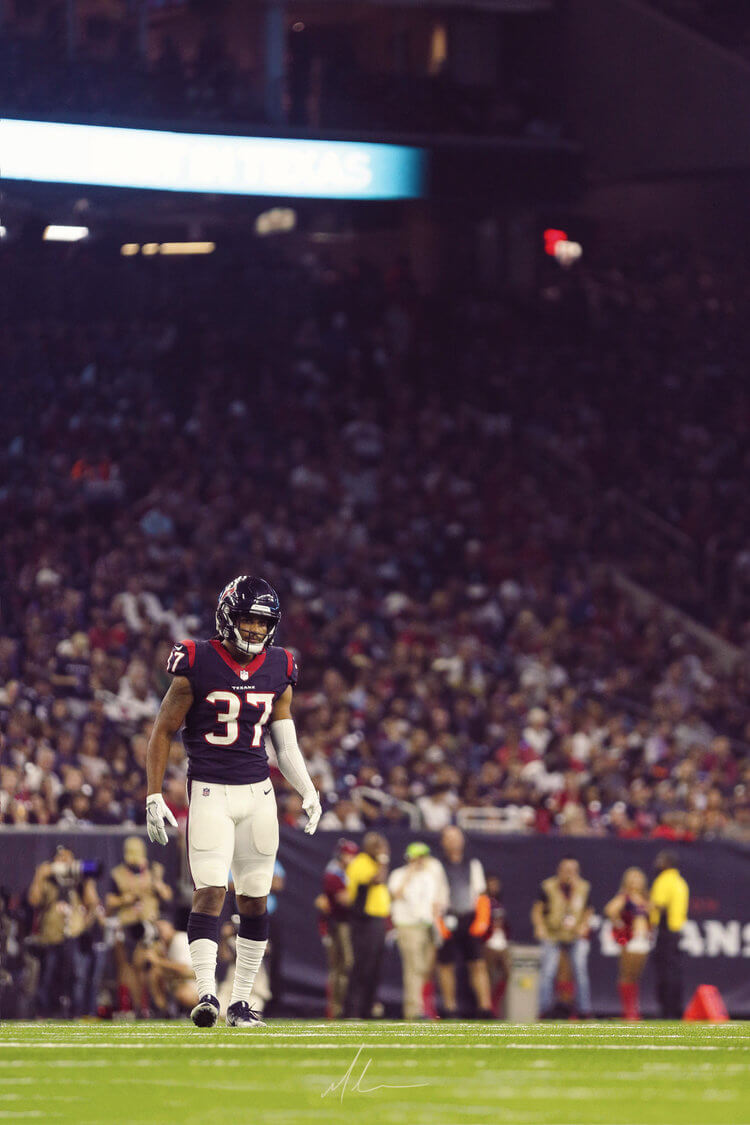

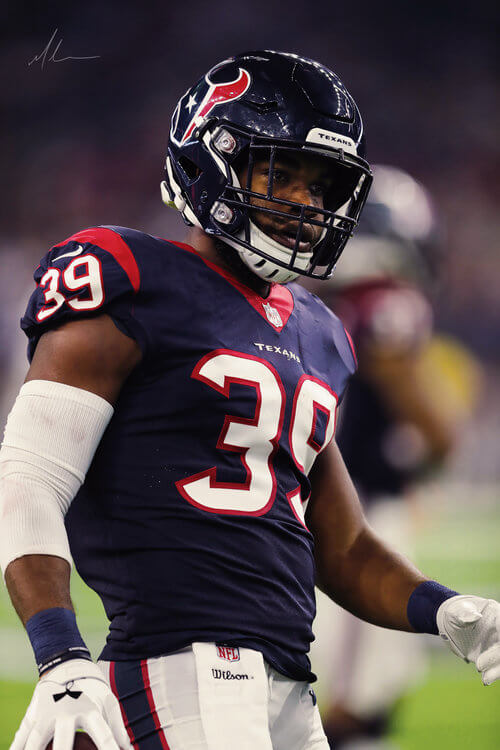
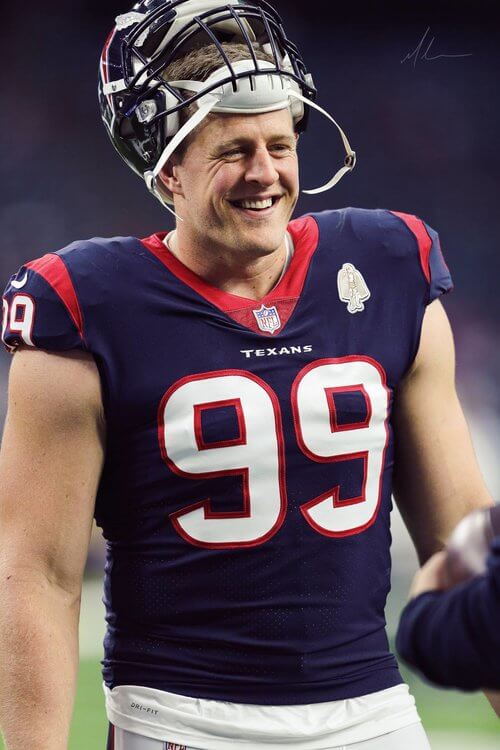
During warmups, you get a chance to catch the players in that “unplugged” stage. They’re goofing off with each other, with the crowd, and if you’re lucky they’ll even give you a quick pose. For me, the best part of the job is being on the field and part of that production as a whole. It’s pretty cool when people send you screenshots of you on tv capturing the action too.
Let’s talk gear for a moment. I have a Pelican 1560 hardshell case with wheels that carries my Canon 1D X Mark II’s, 400mm f/2.8, 70-200mm f/2.8, 24-70mm f/2.8, Profoto A1, and all the other little things I carry with me. In order to compete at a high level in sports photography, it’s essential to have a fast camera body and fast glass. The 400mm is a huge lens, which stays mounted to a Manfrotto monopod during game time and the 70-200mm is on a black rapid strap for quick access as the action gets closer. My 24-70mm doesn’t see any action during the games, so I generally leave it in my case. After the game is over and we all pile onto the field to capture the players talking, swapping jerseys, or prayer; I’ll use either the 70-200mm or my iPhone X for the wide shots.
After the game is over, it’s back to the media room where I have my laptop setup and I’ll dump my memory cards while I’m packing everything up. Since I only shoot JPG for the games, I import everything into Lightroom. Generally, you’ll see sports photographers using Photo Mechanic but we all do things differently. The reason I use Lightroom is simple; I already own it and I have presets made that I can apply during import that cut my editing times down. The faster you can get your images out, the better off you’ll be because there are 20+ other photographers there trying to put out the same content. Like I said before, it’s very competitive but it’s also a very friendly environment.
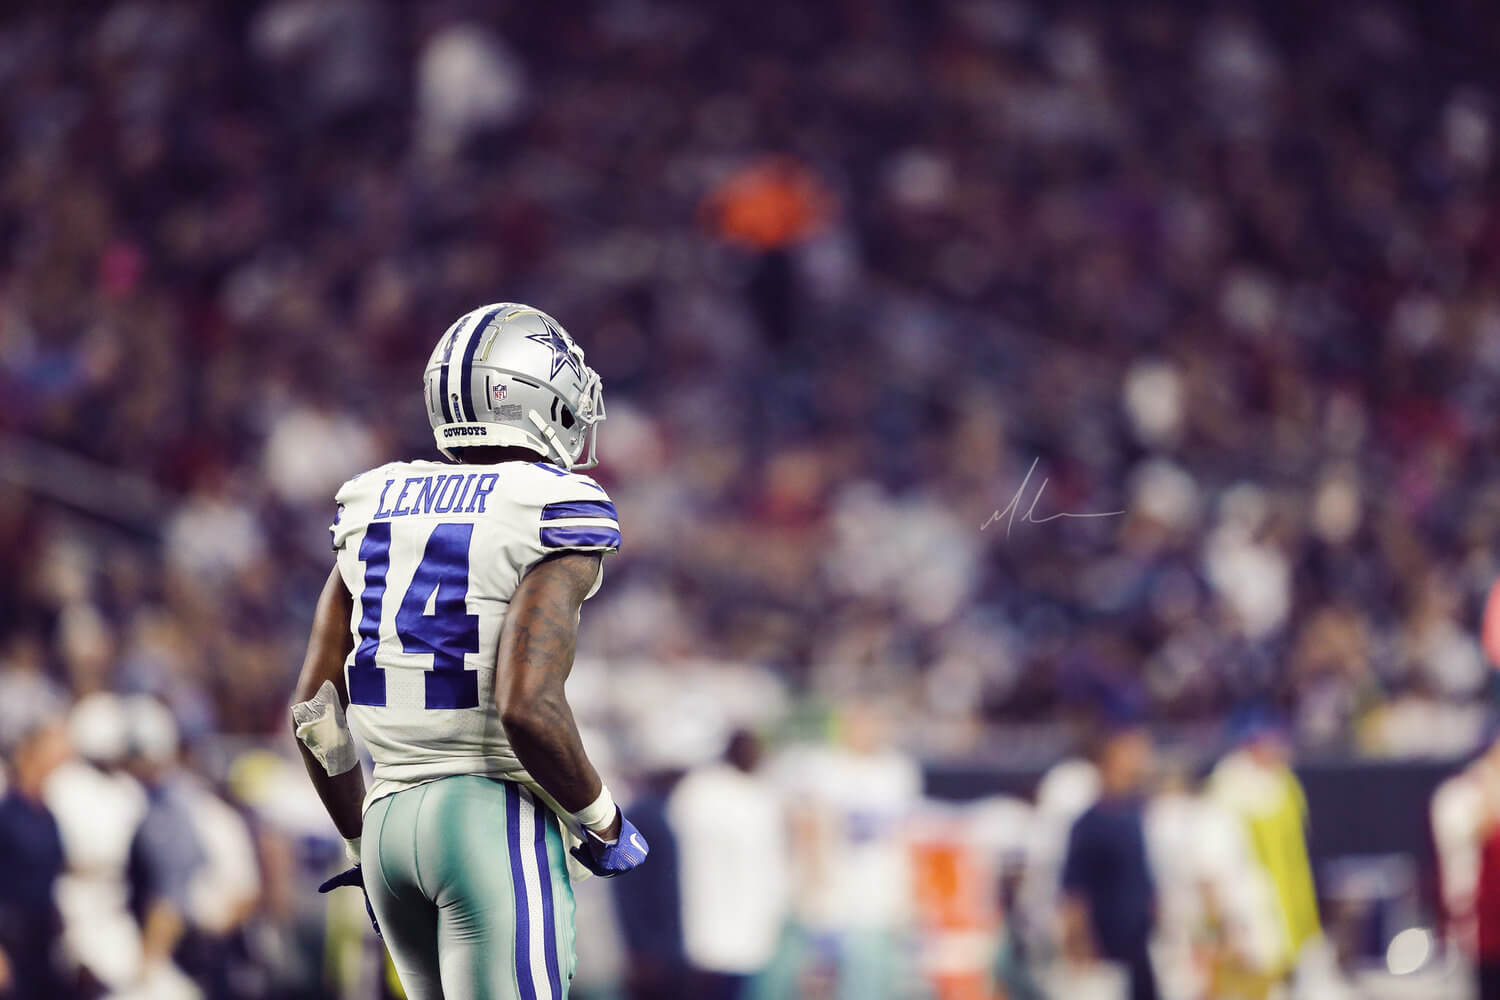
ost processing sports images is relatively easy compared to portraits since you don’t have to worry about tedious skin and hair cleanup. My Lightroom preset for sports consists of exposure, contrast, highlights, shadows, and sharpening. I’ll go through the images, mark my selections, crop them and export them. Once that’s finished, I open Photoshop where my only stage of editing left is color grading. That’s where the Infinite Color Panel comes in. With a single click, you get something cool and professional. To take it a step further, I rename the group folder and hit Create again to stack color grades. One of my favorite things about this panel is how fast and easy it is to use. It’s like wandering through the Moors and stumbling across Willy Wonka’s factory. Once you’re inside, the Oompa Loompas do all the work to make something magical happen. You can touch all the things without fearing of turning into a giant blueberry. Another powerful tool is being able to save those color grades out to a LUT which I can then batch out via an action, which I highly recommend if you’re working on a large series of images. Remember, the faster you get your images out, the better.
JOIN THE COMMUNITY!
Have you tried Infinite Color yet? We’d love to see your creations! Get in touch on Instagram @infinitecolorpanel or the Facebook Infinite Color Panel group and show us your work.
If you haven’t tried the panel yet, get started here: https://infinite-tools.com/infinite-color-plugin/