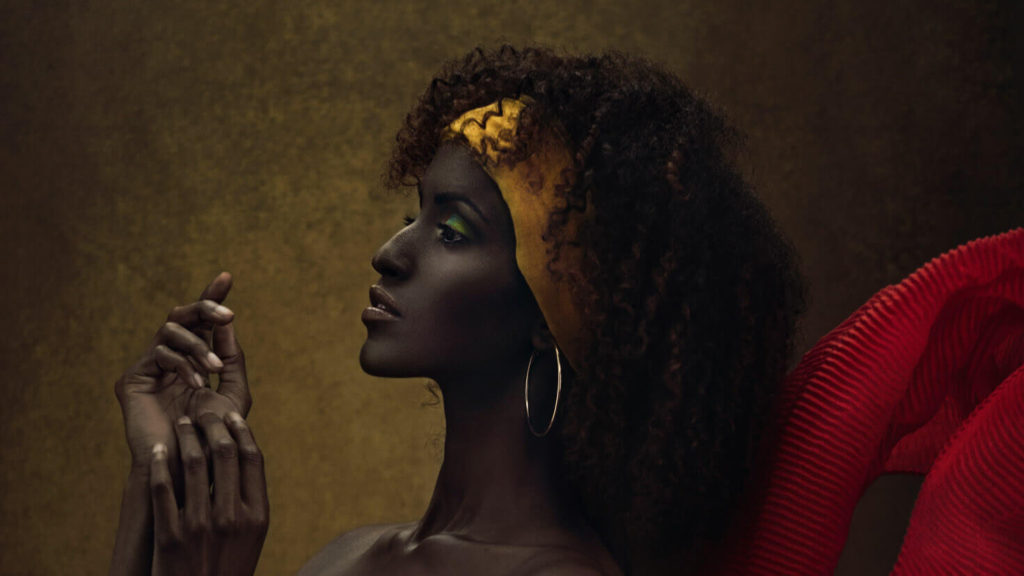
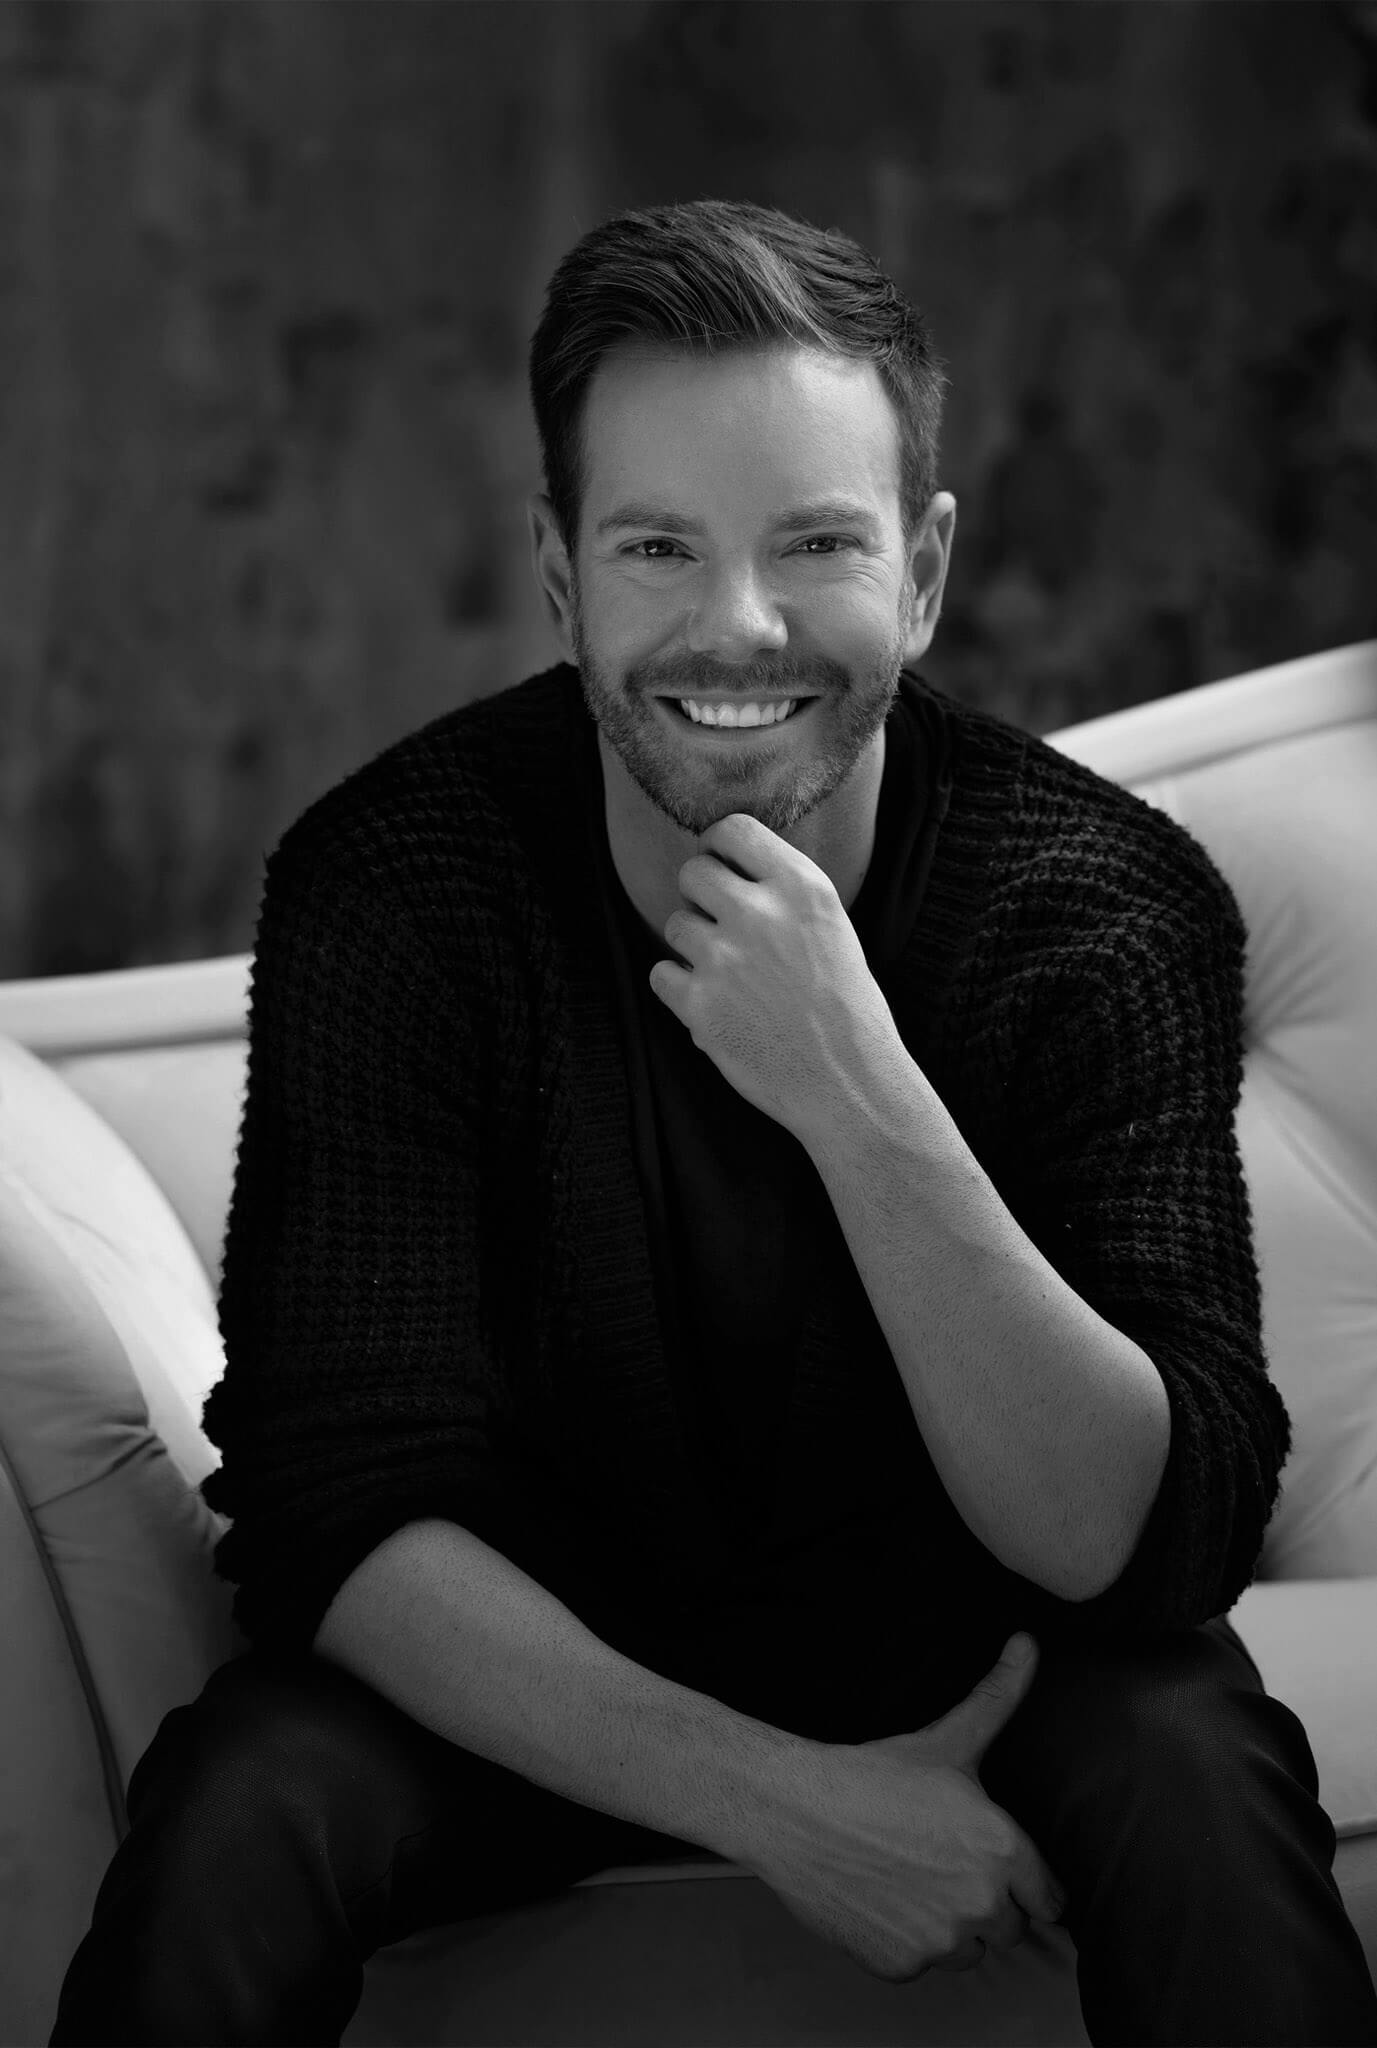
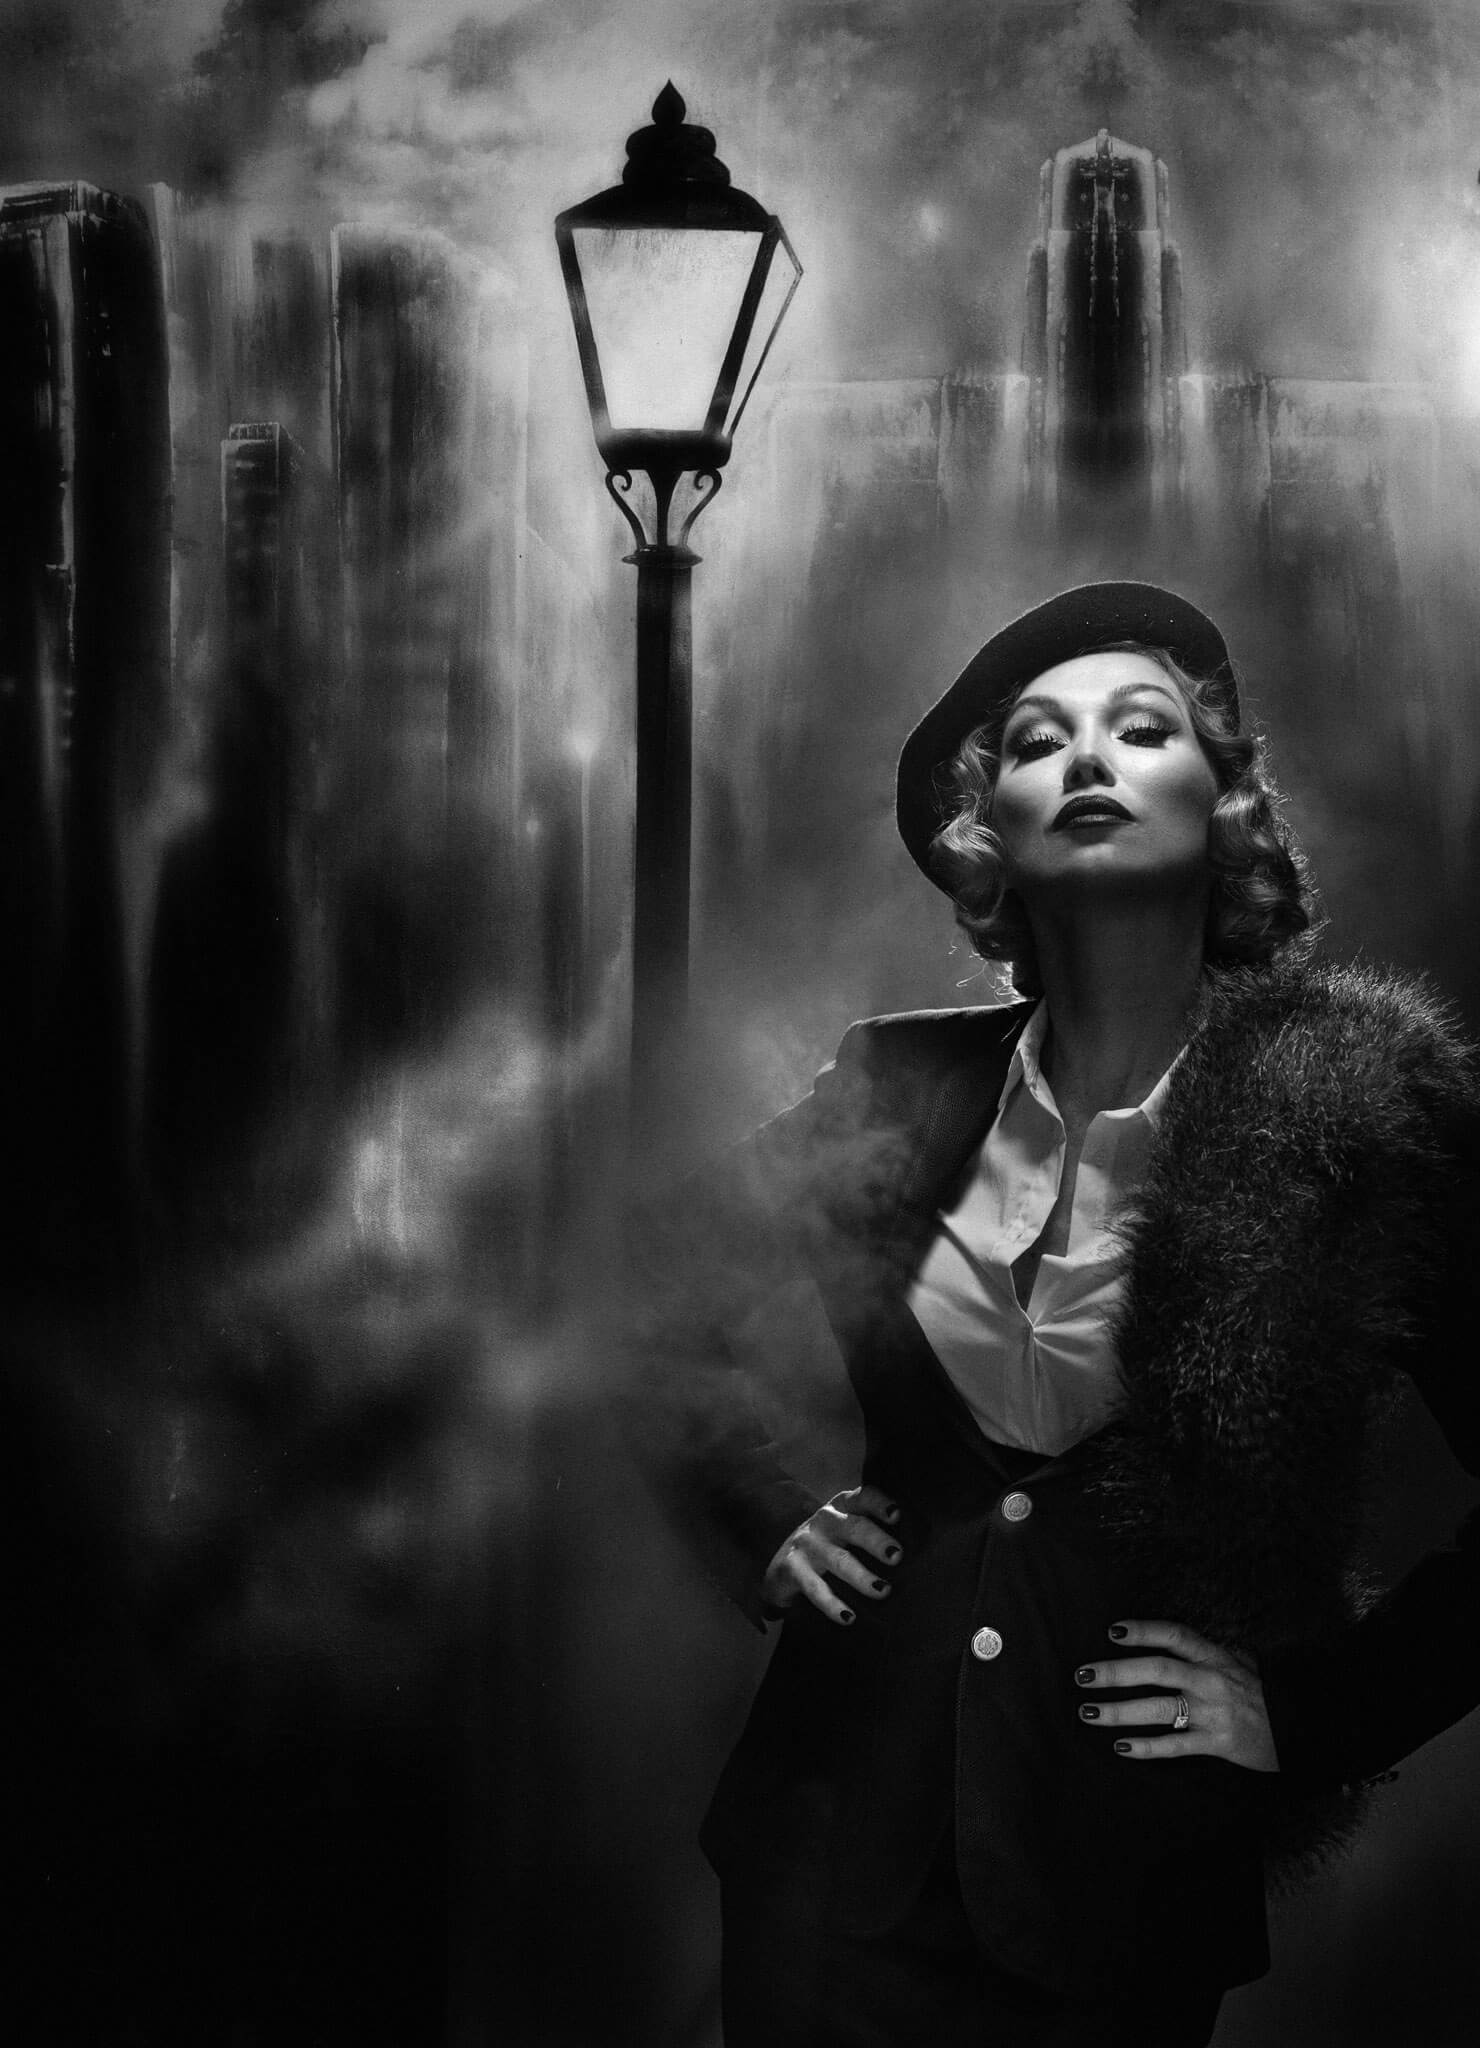
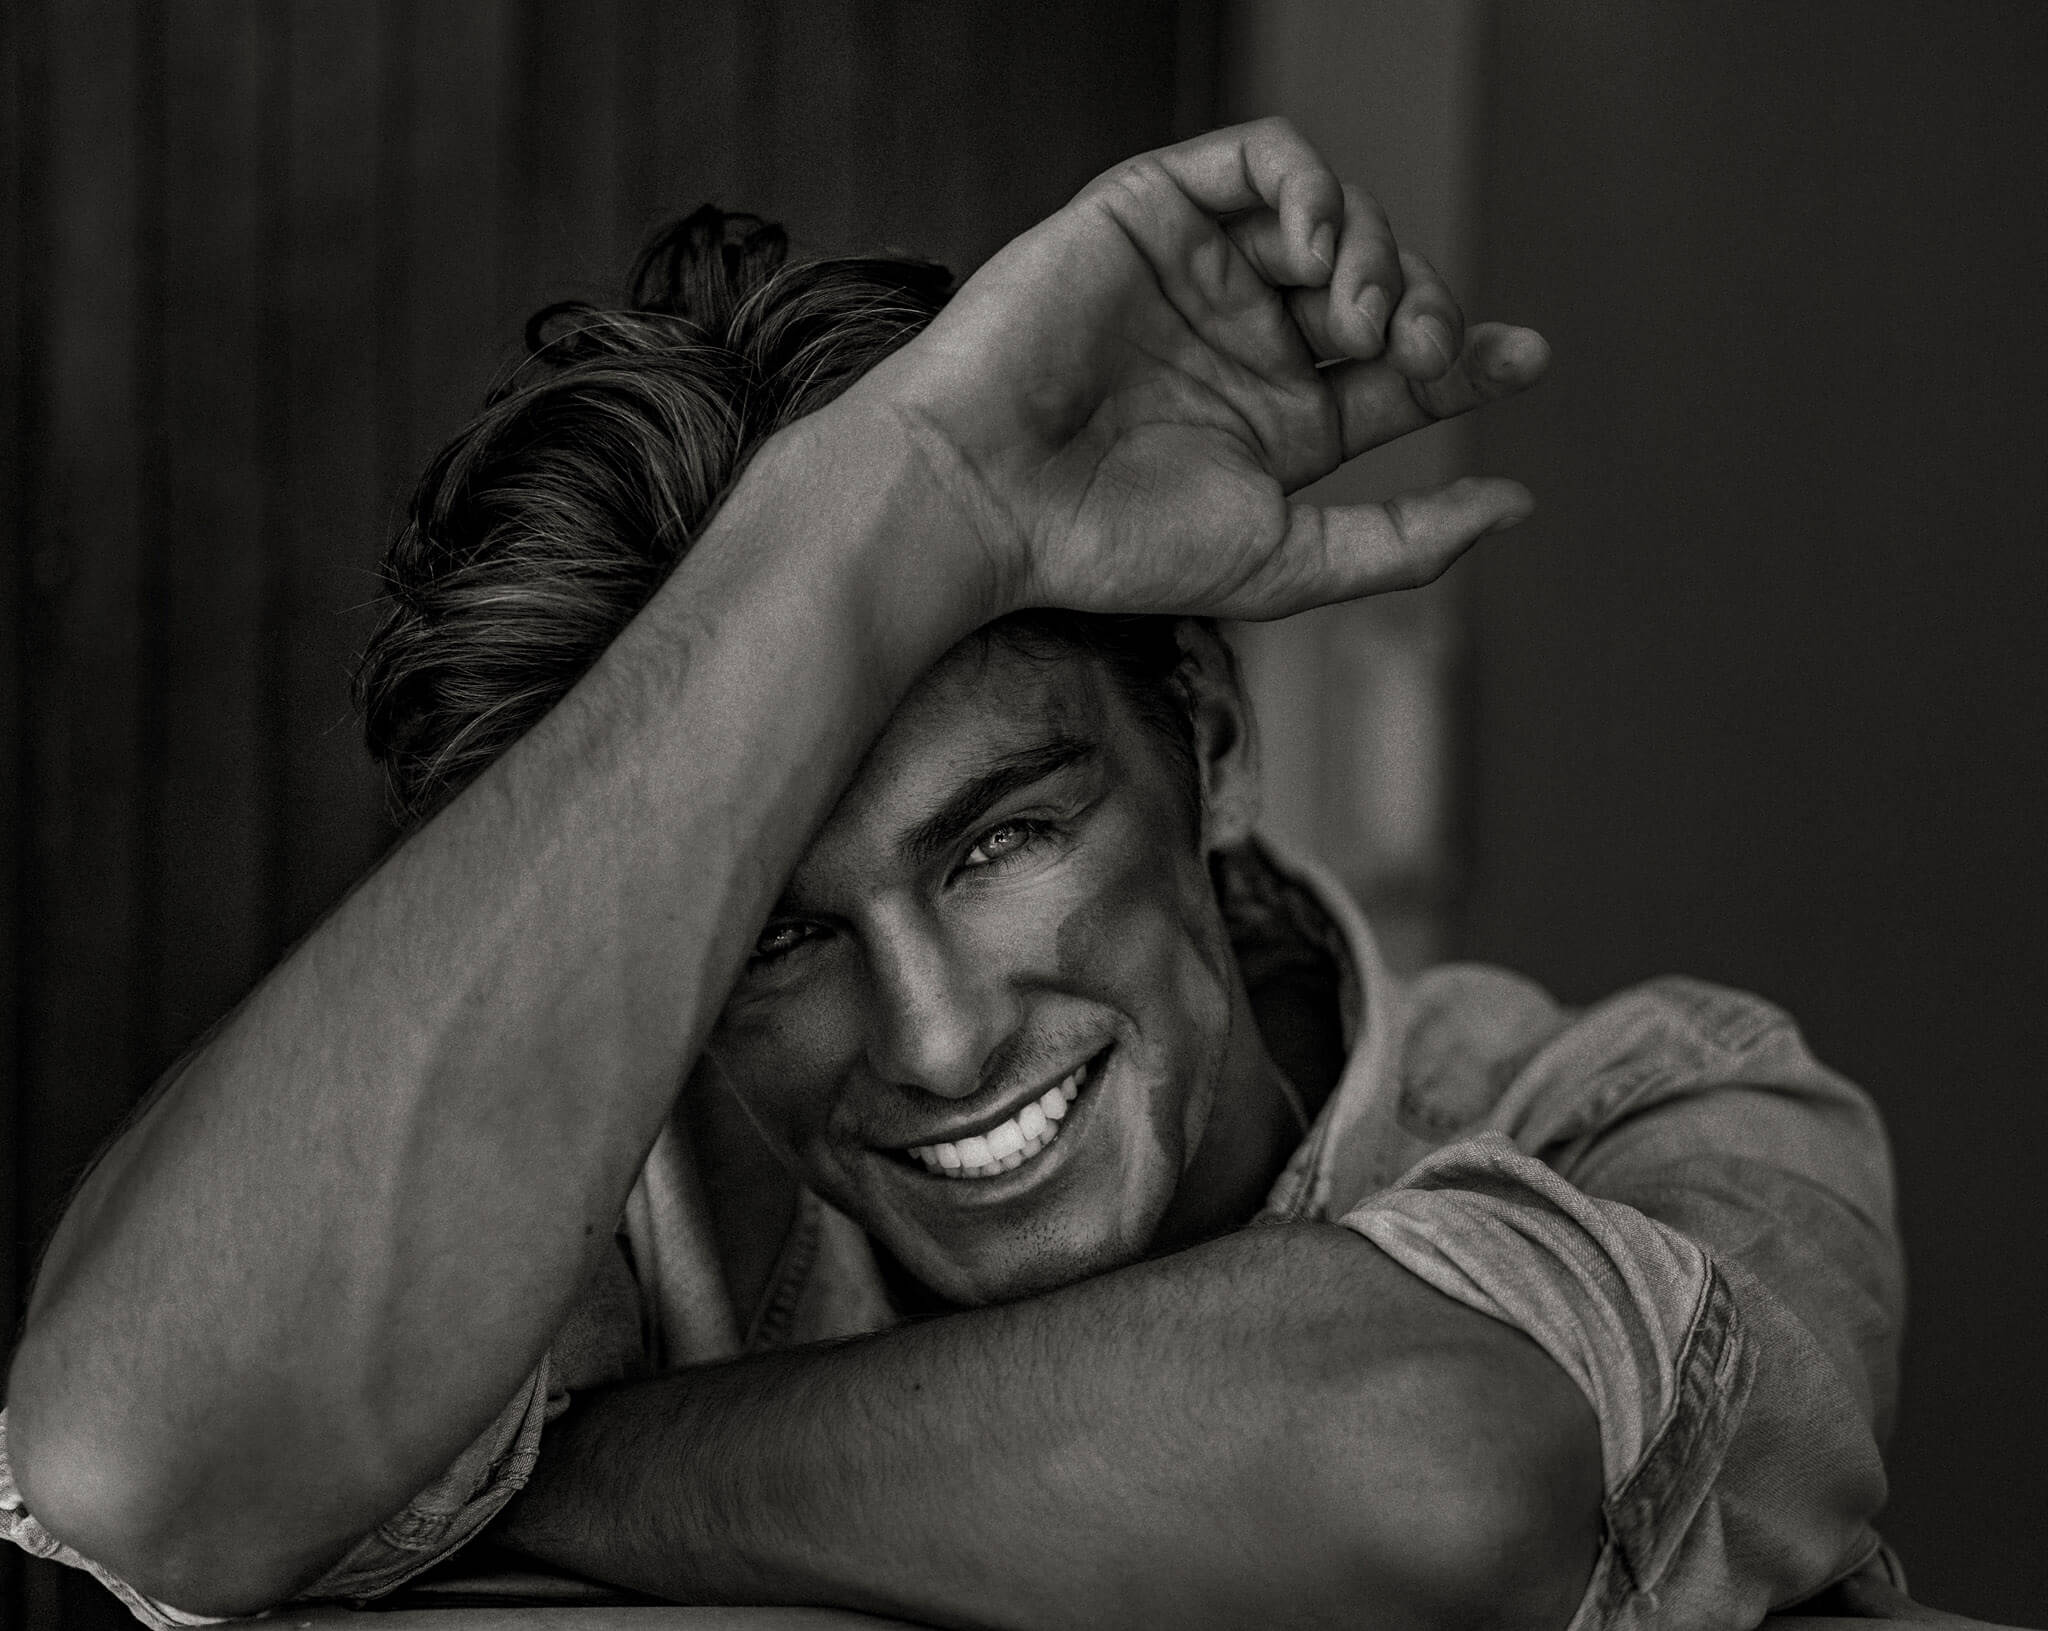
Category Archives: Uncategorized

Infinite Insights with Erika Barker

Insights curated by Pratik Naik & Brandi Nicole

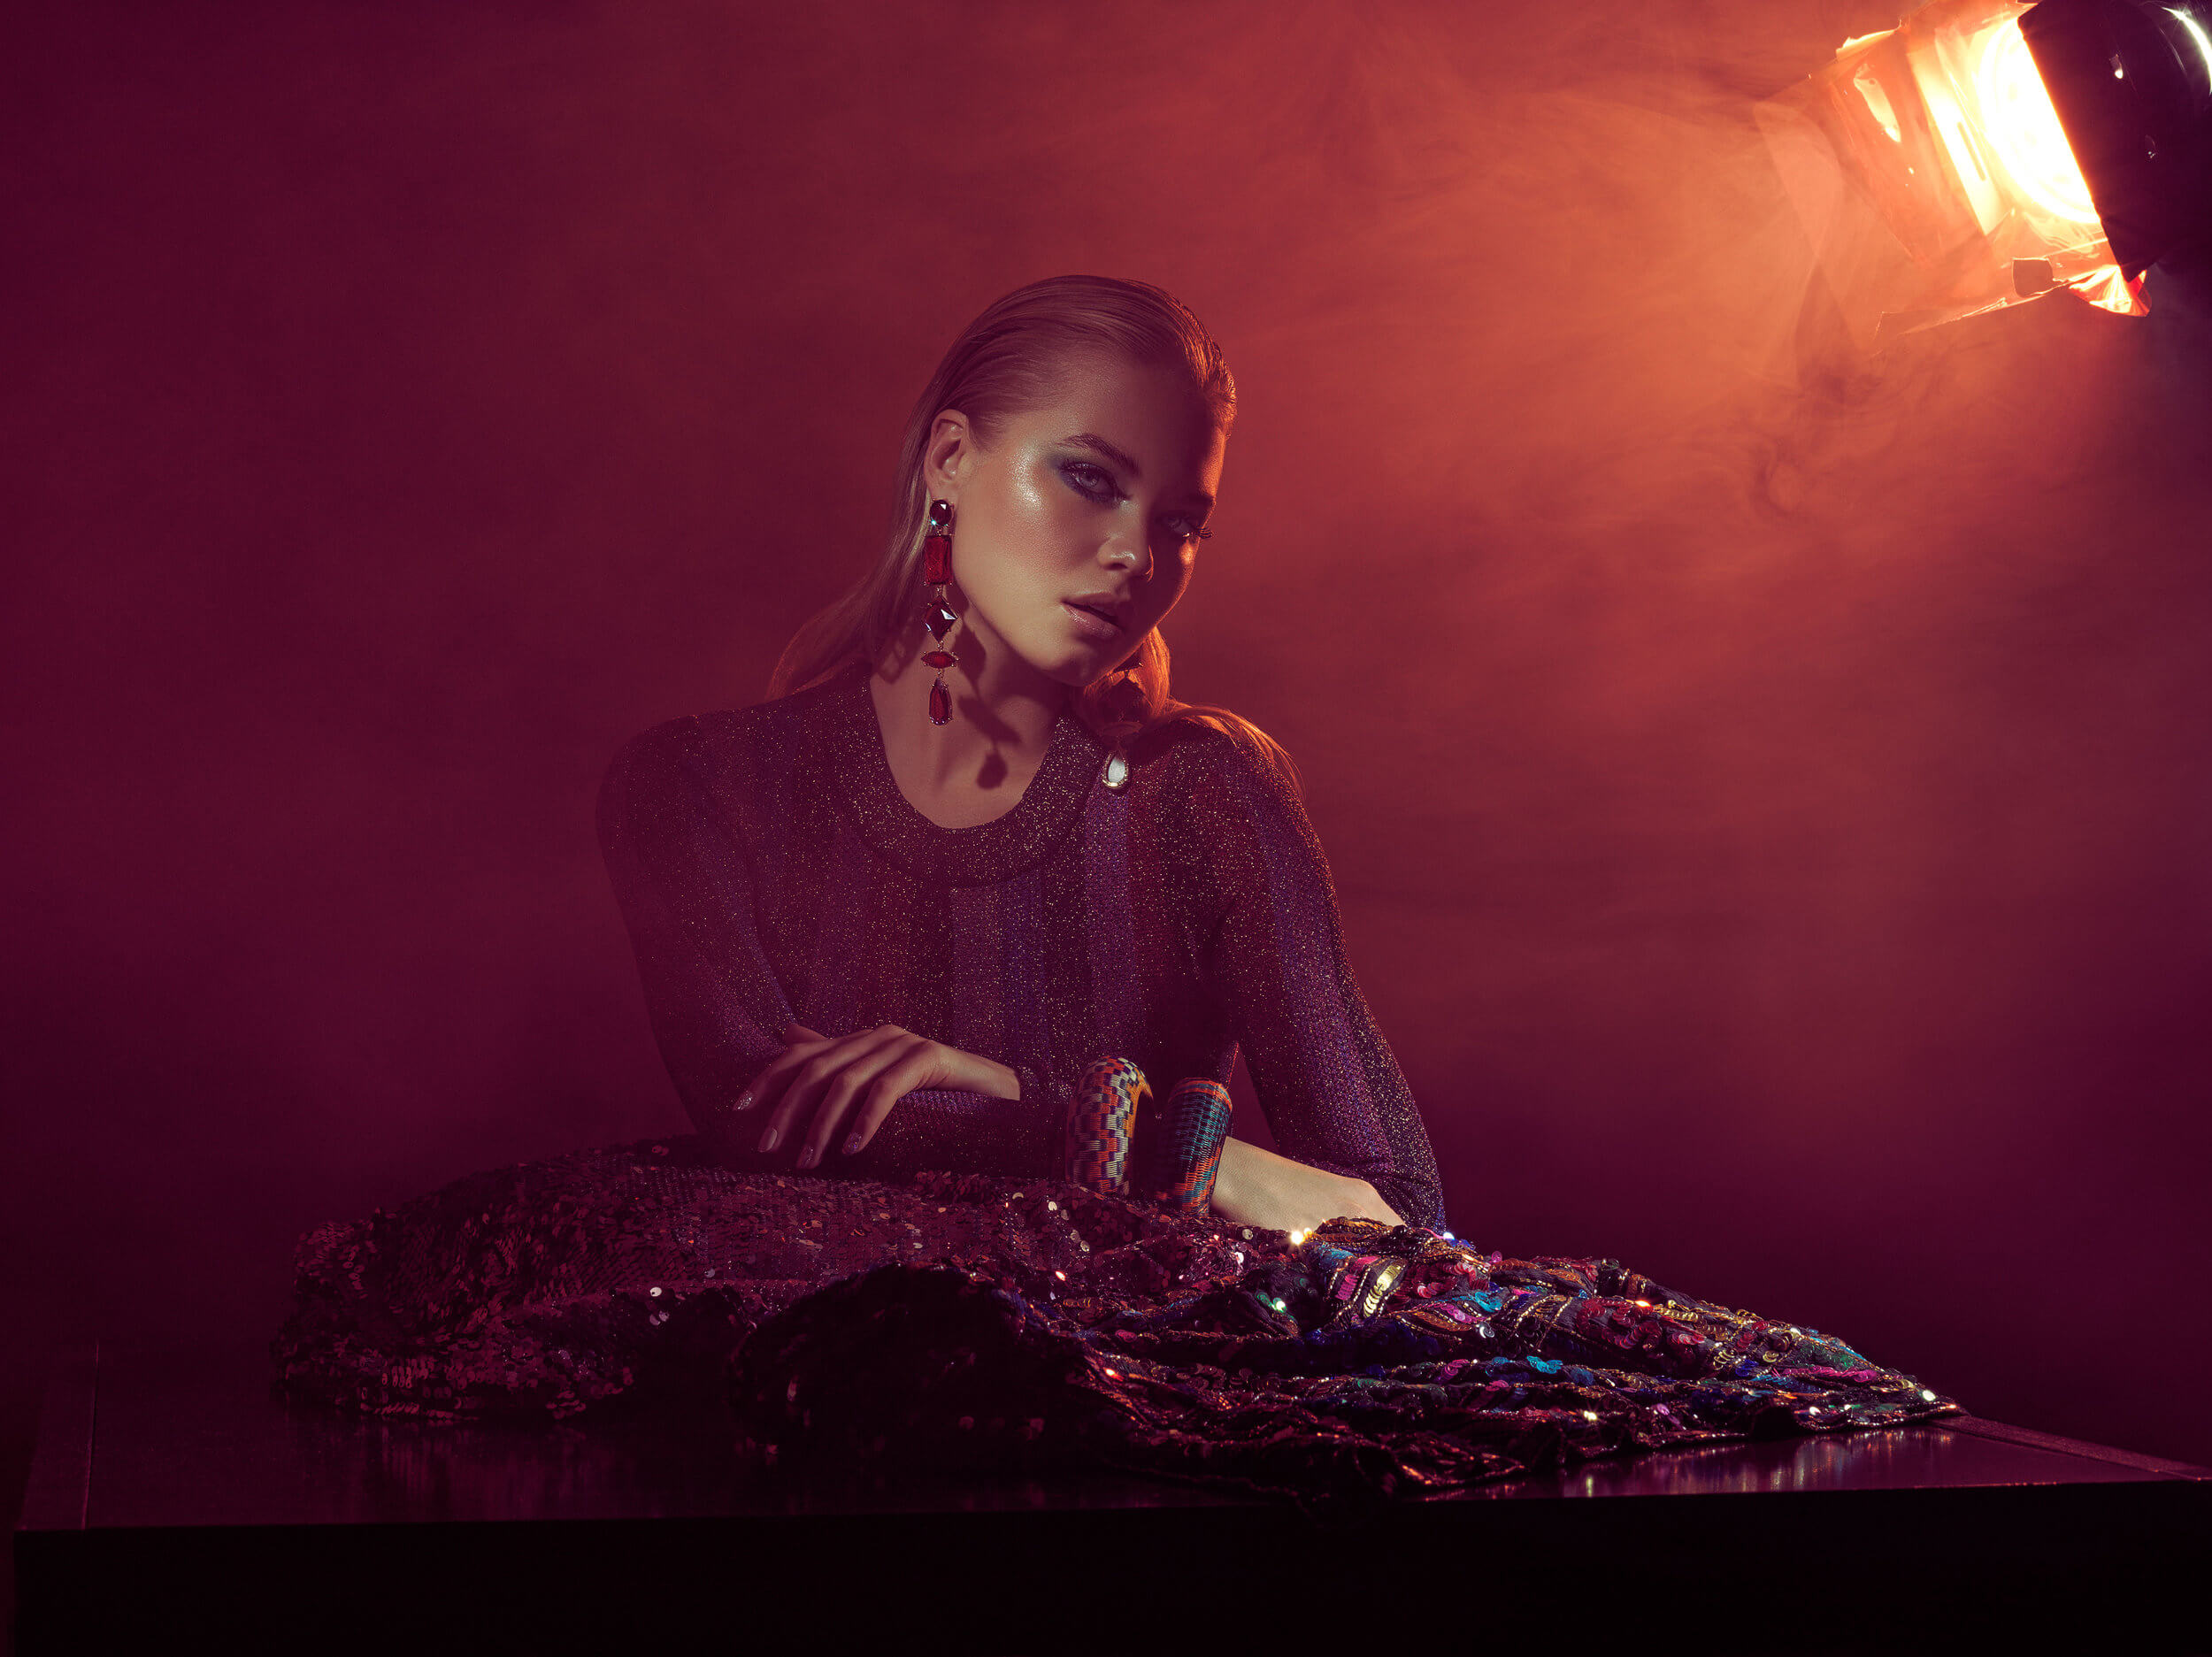
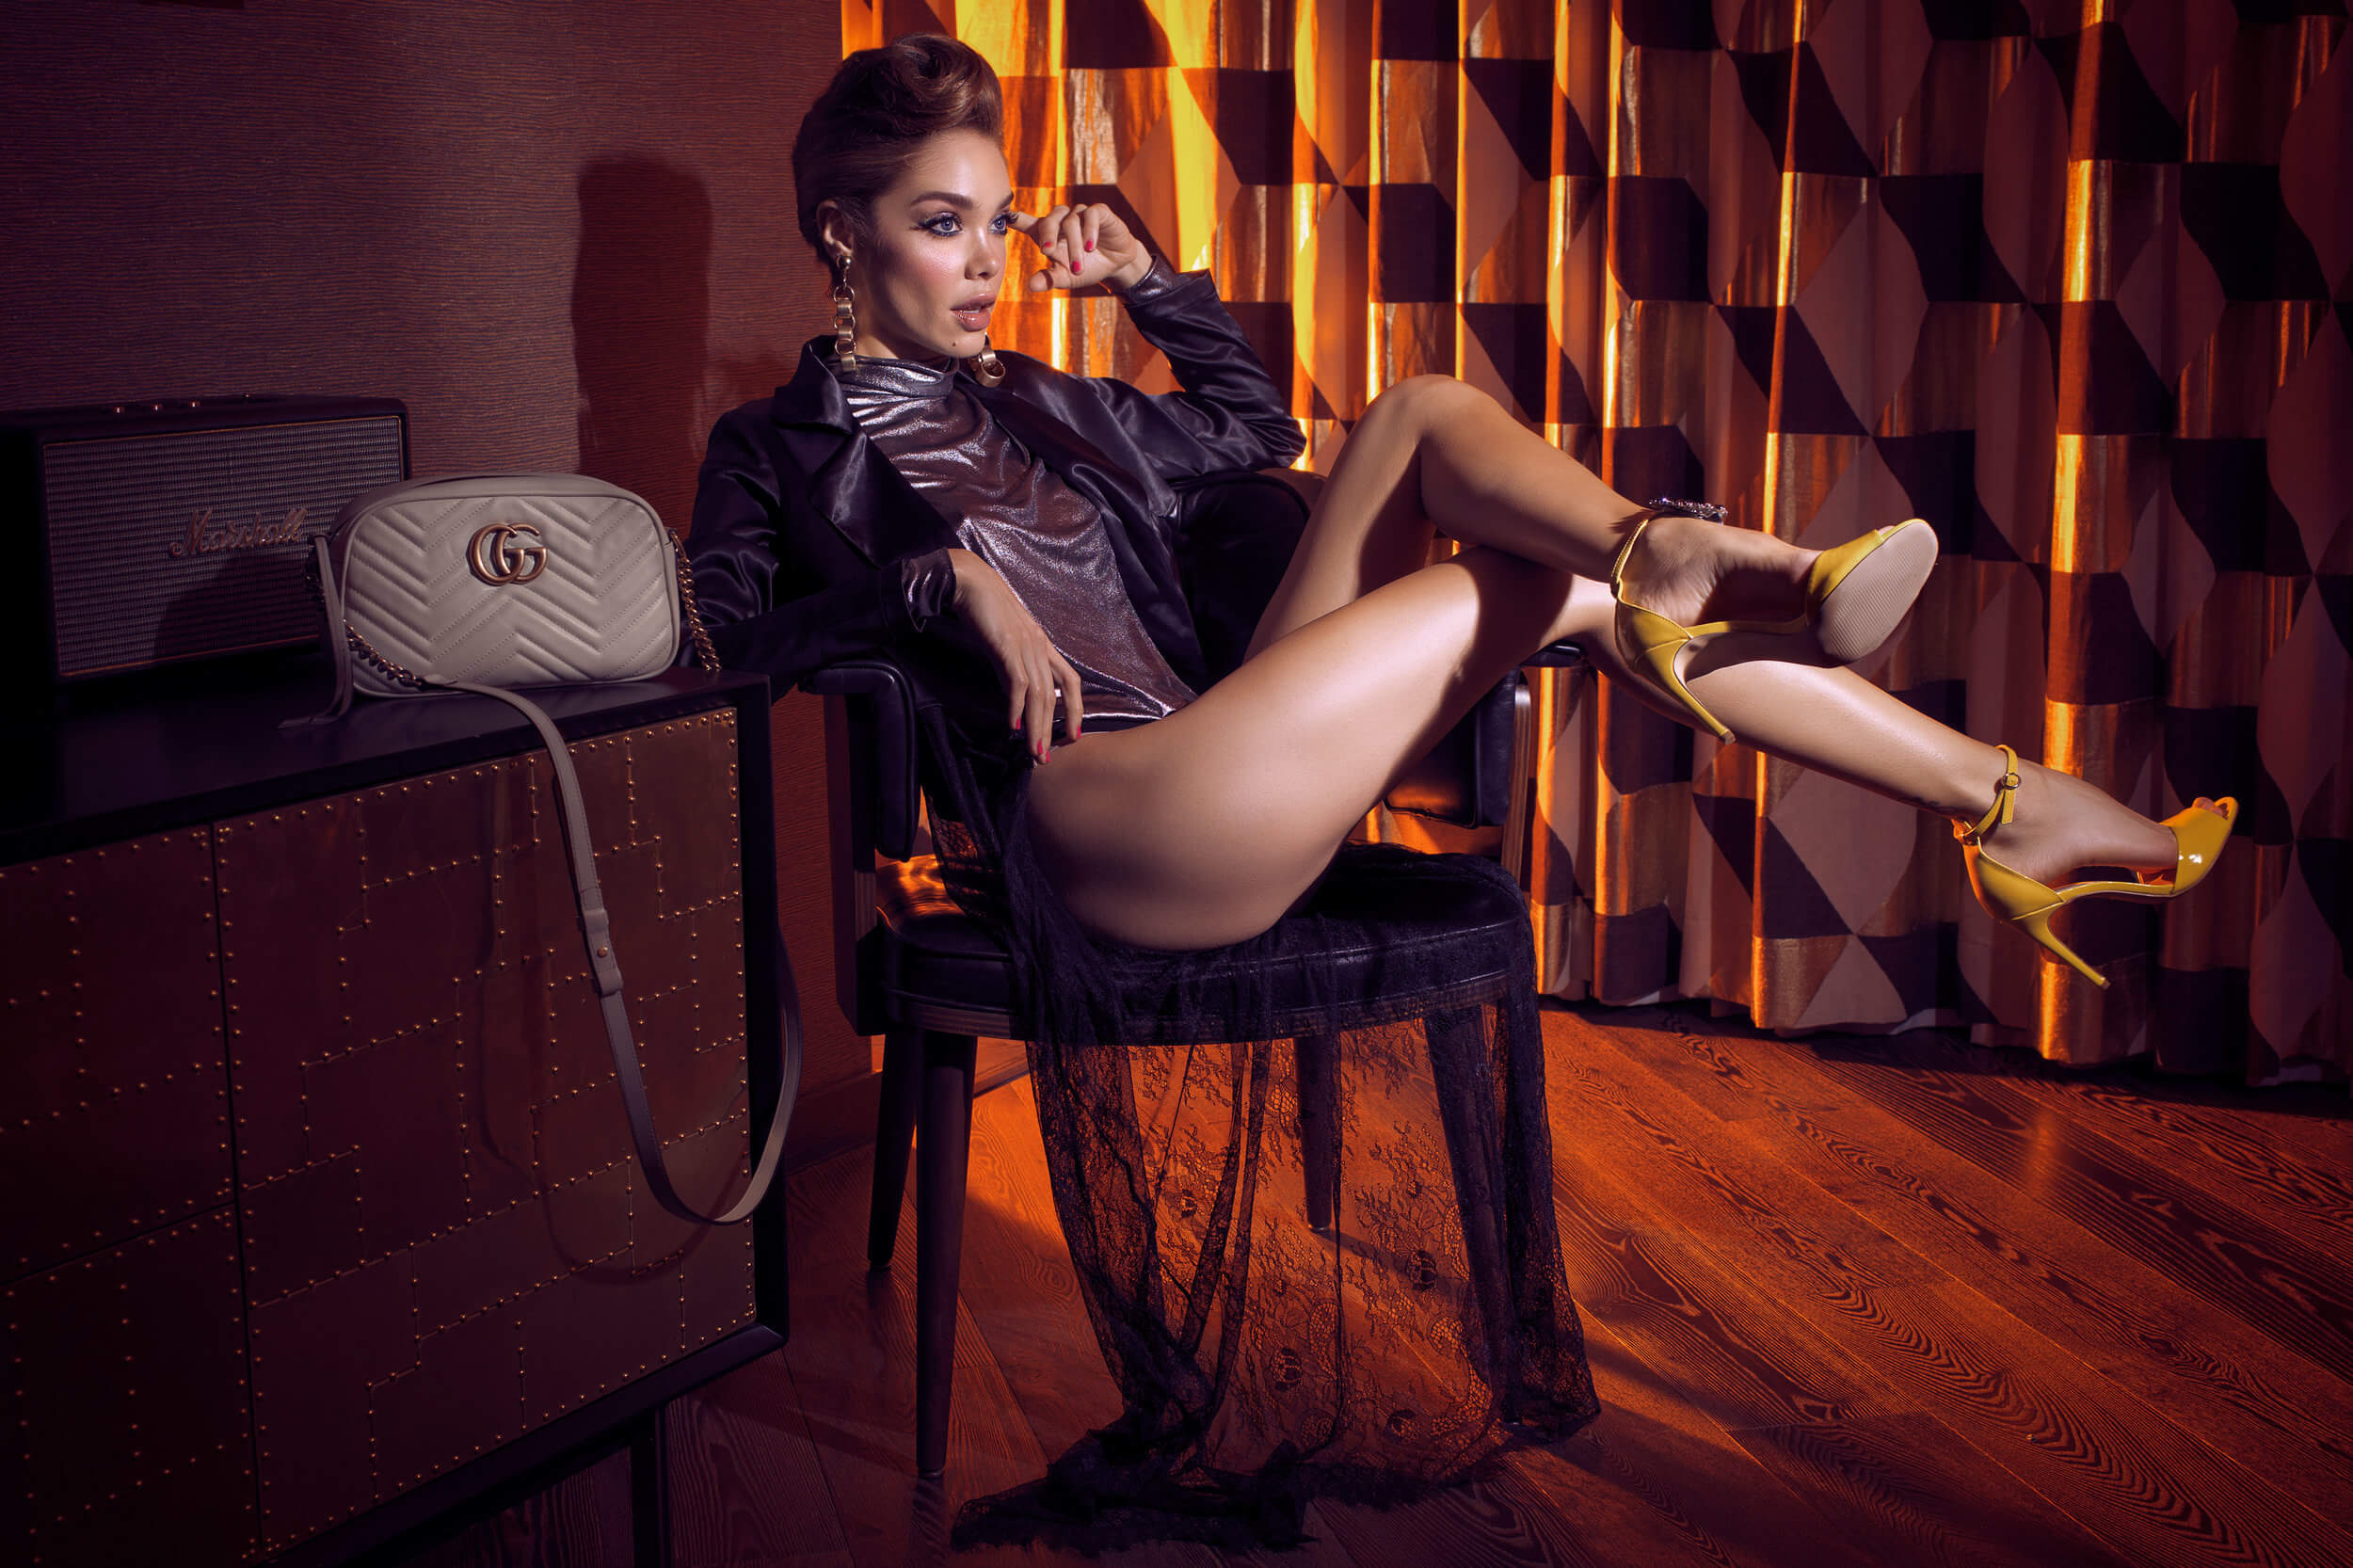
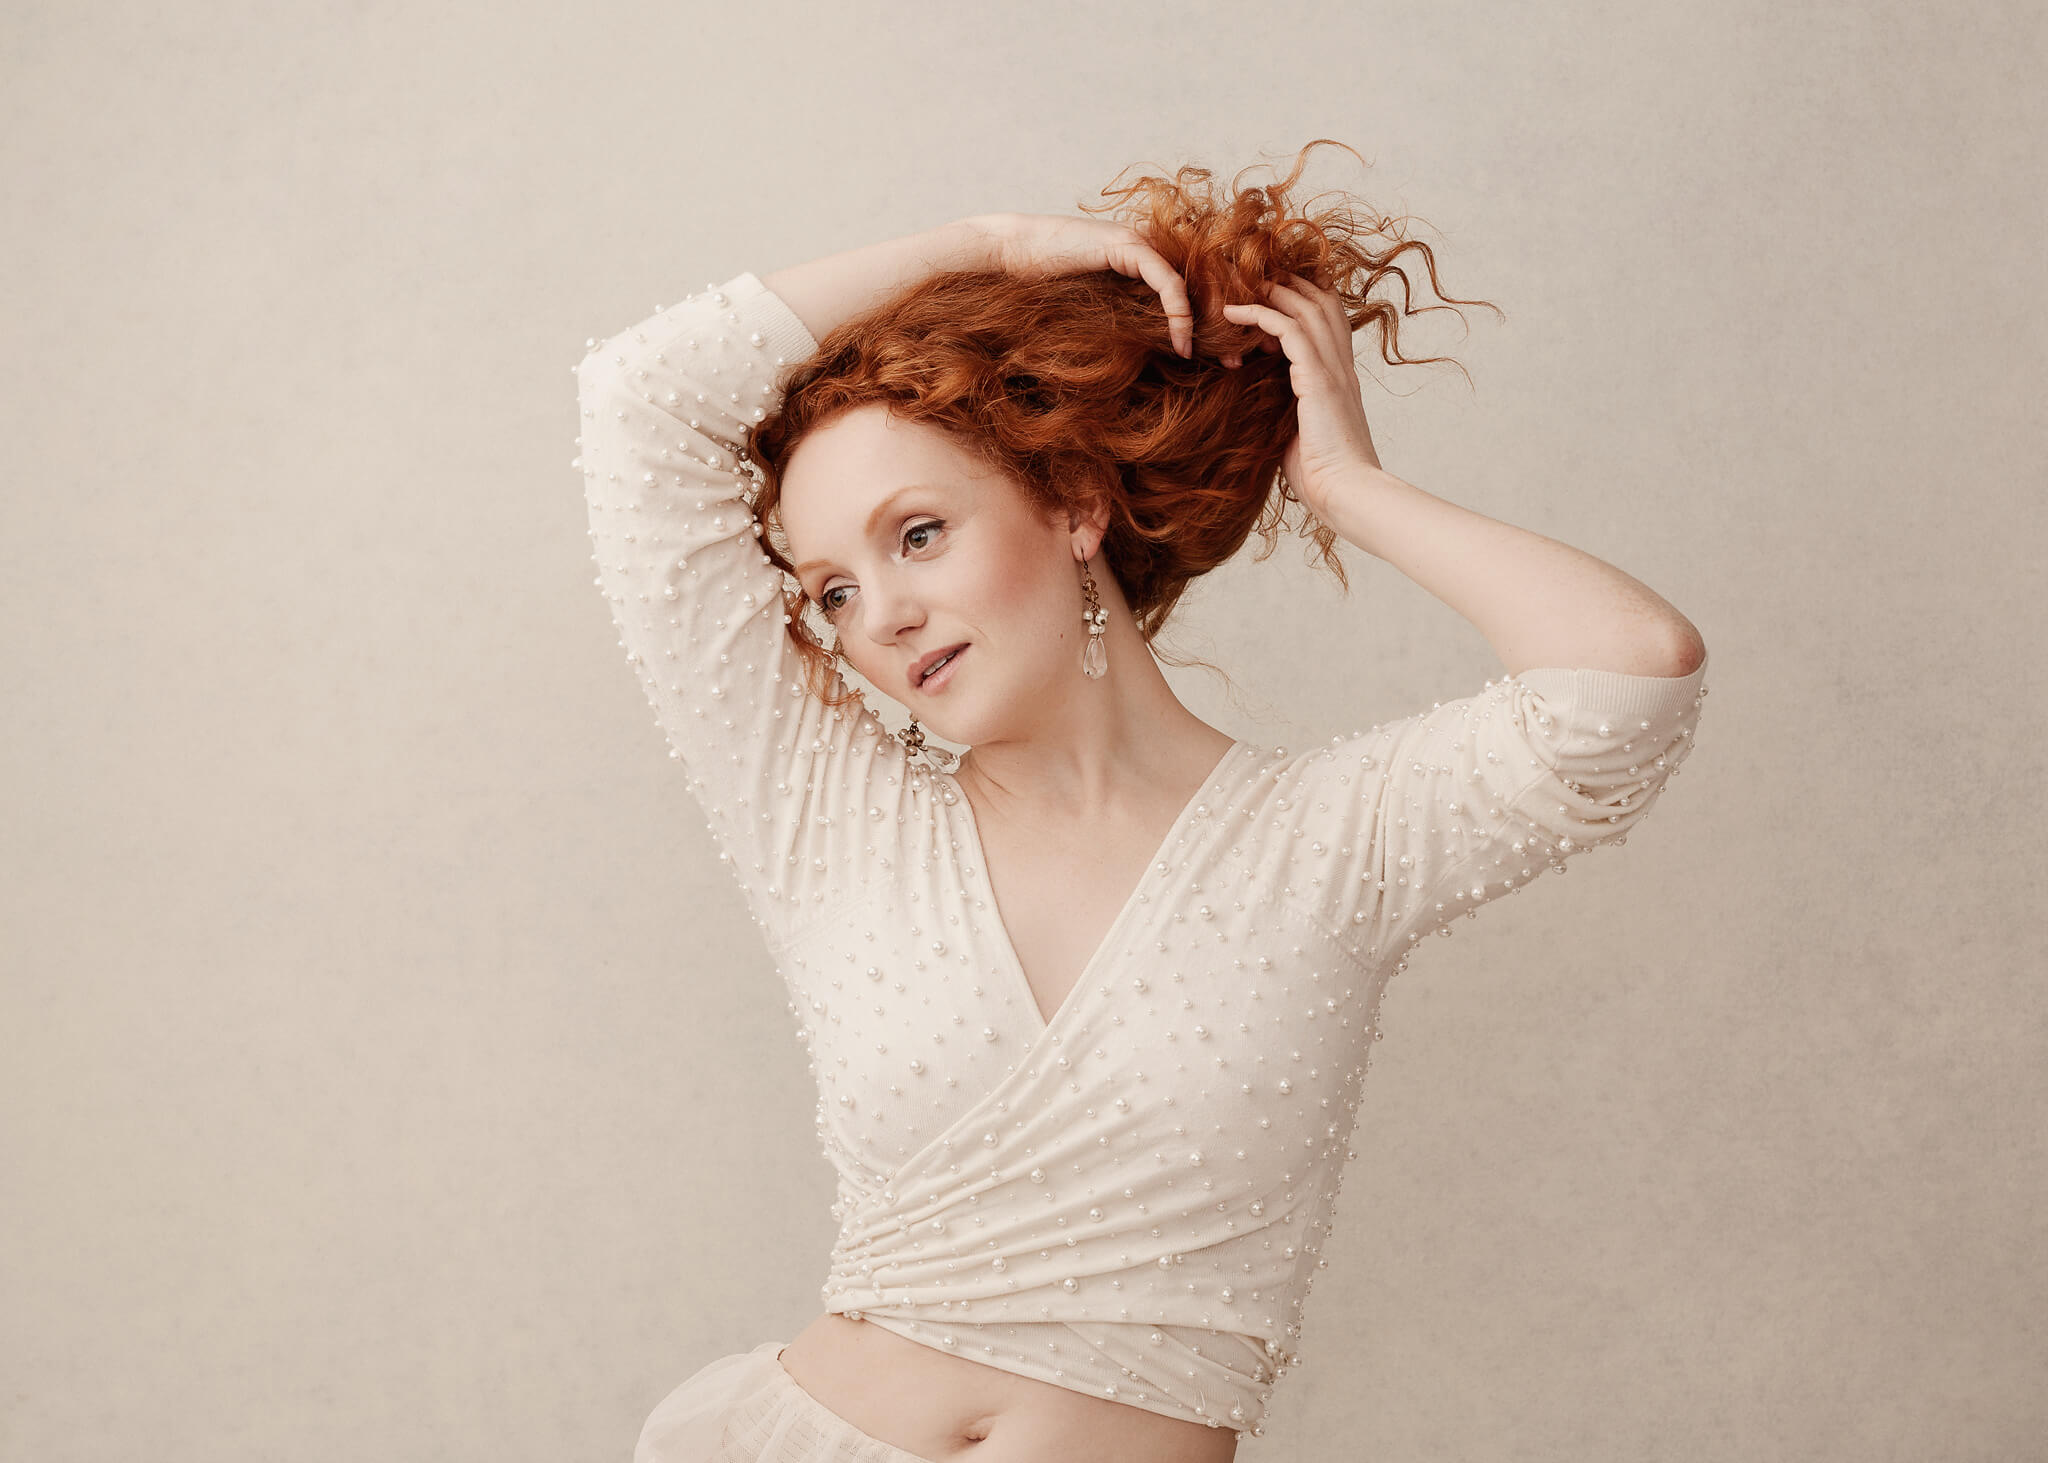
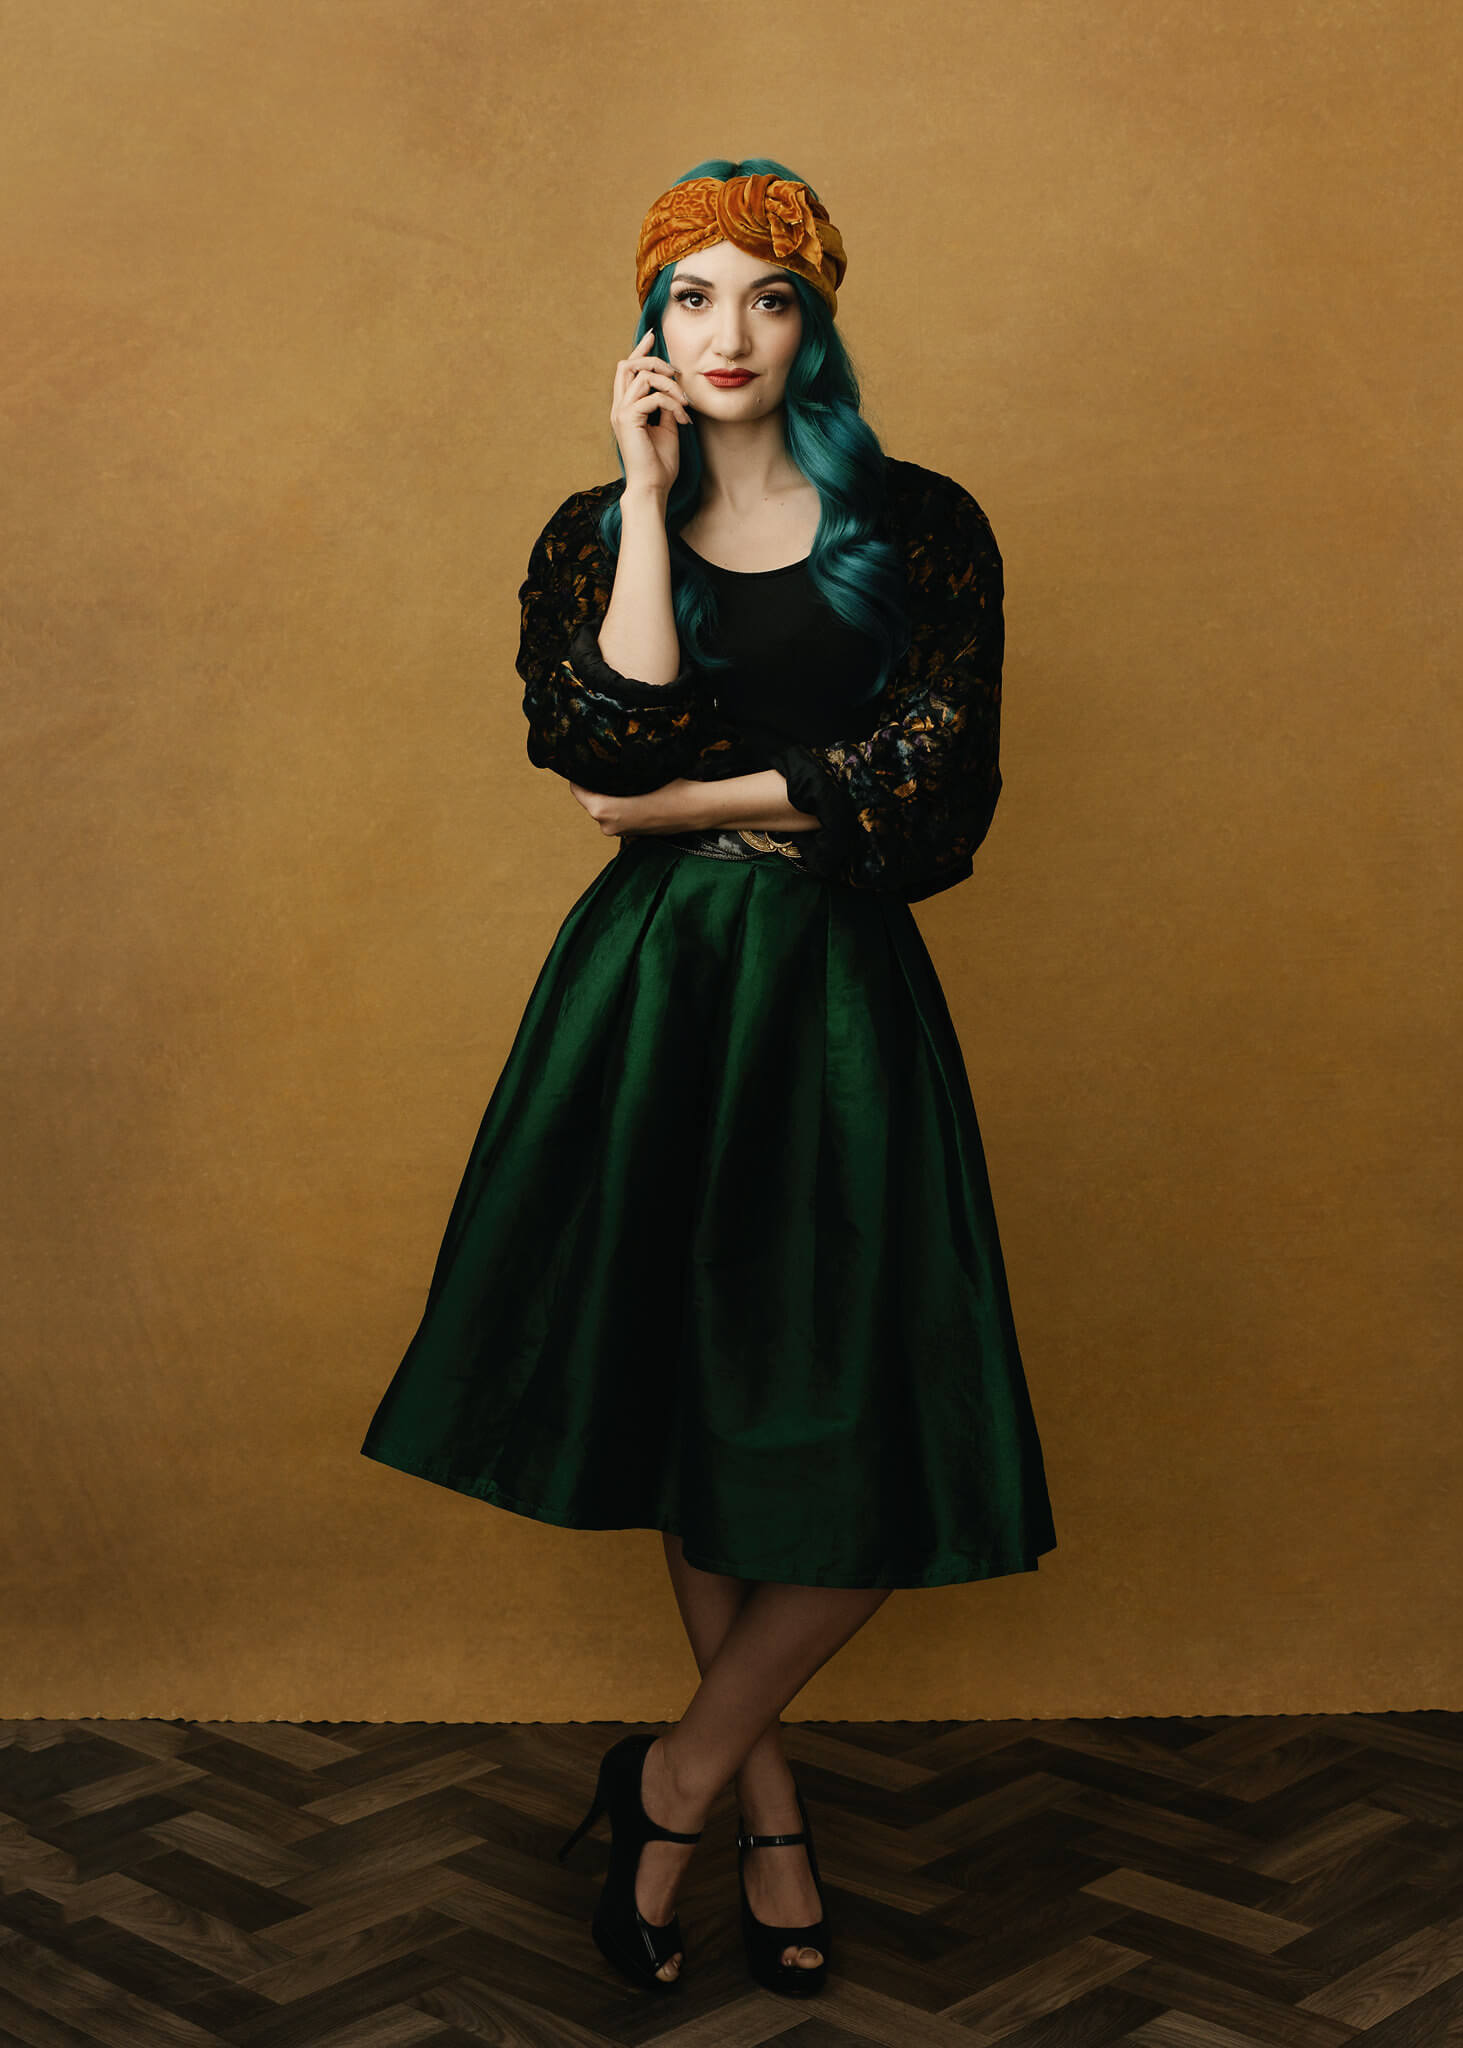
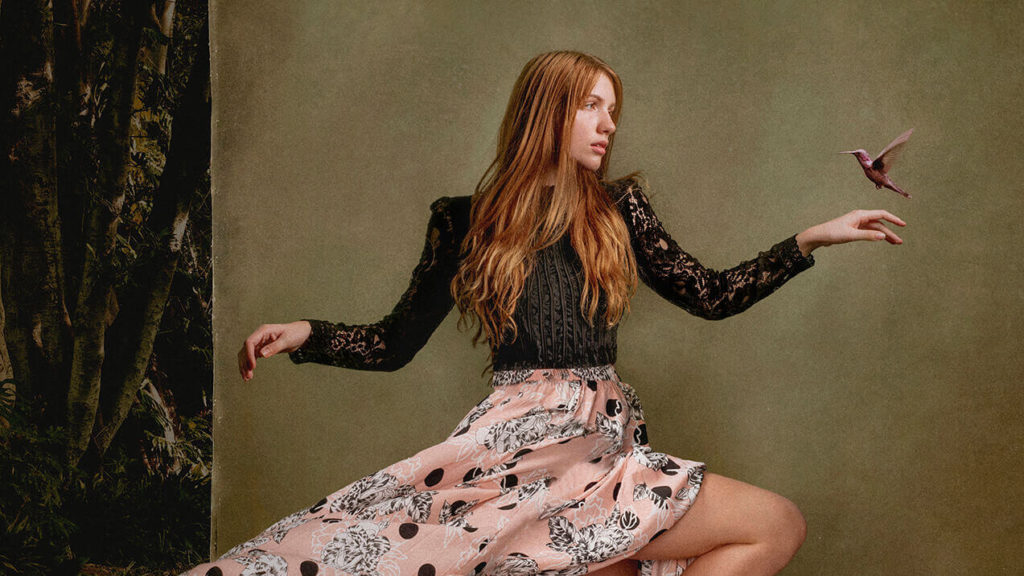
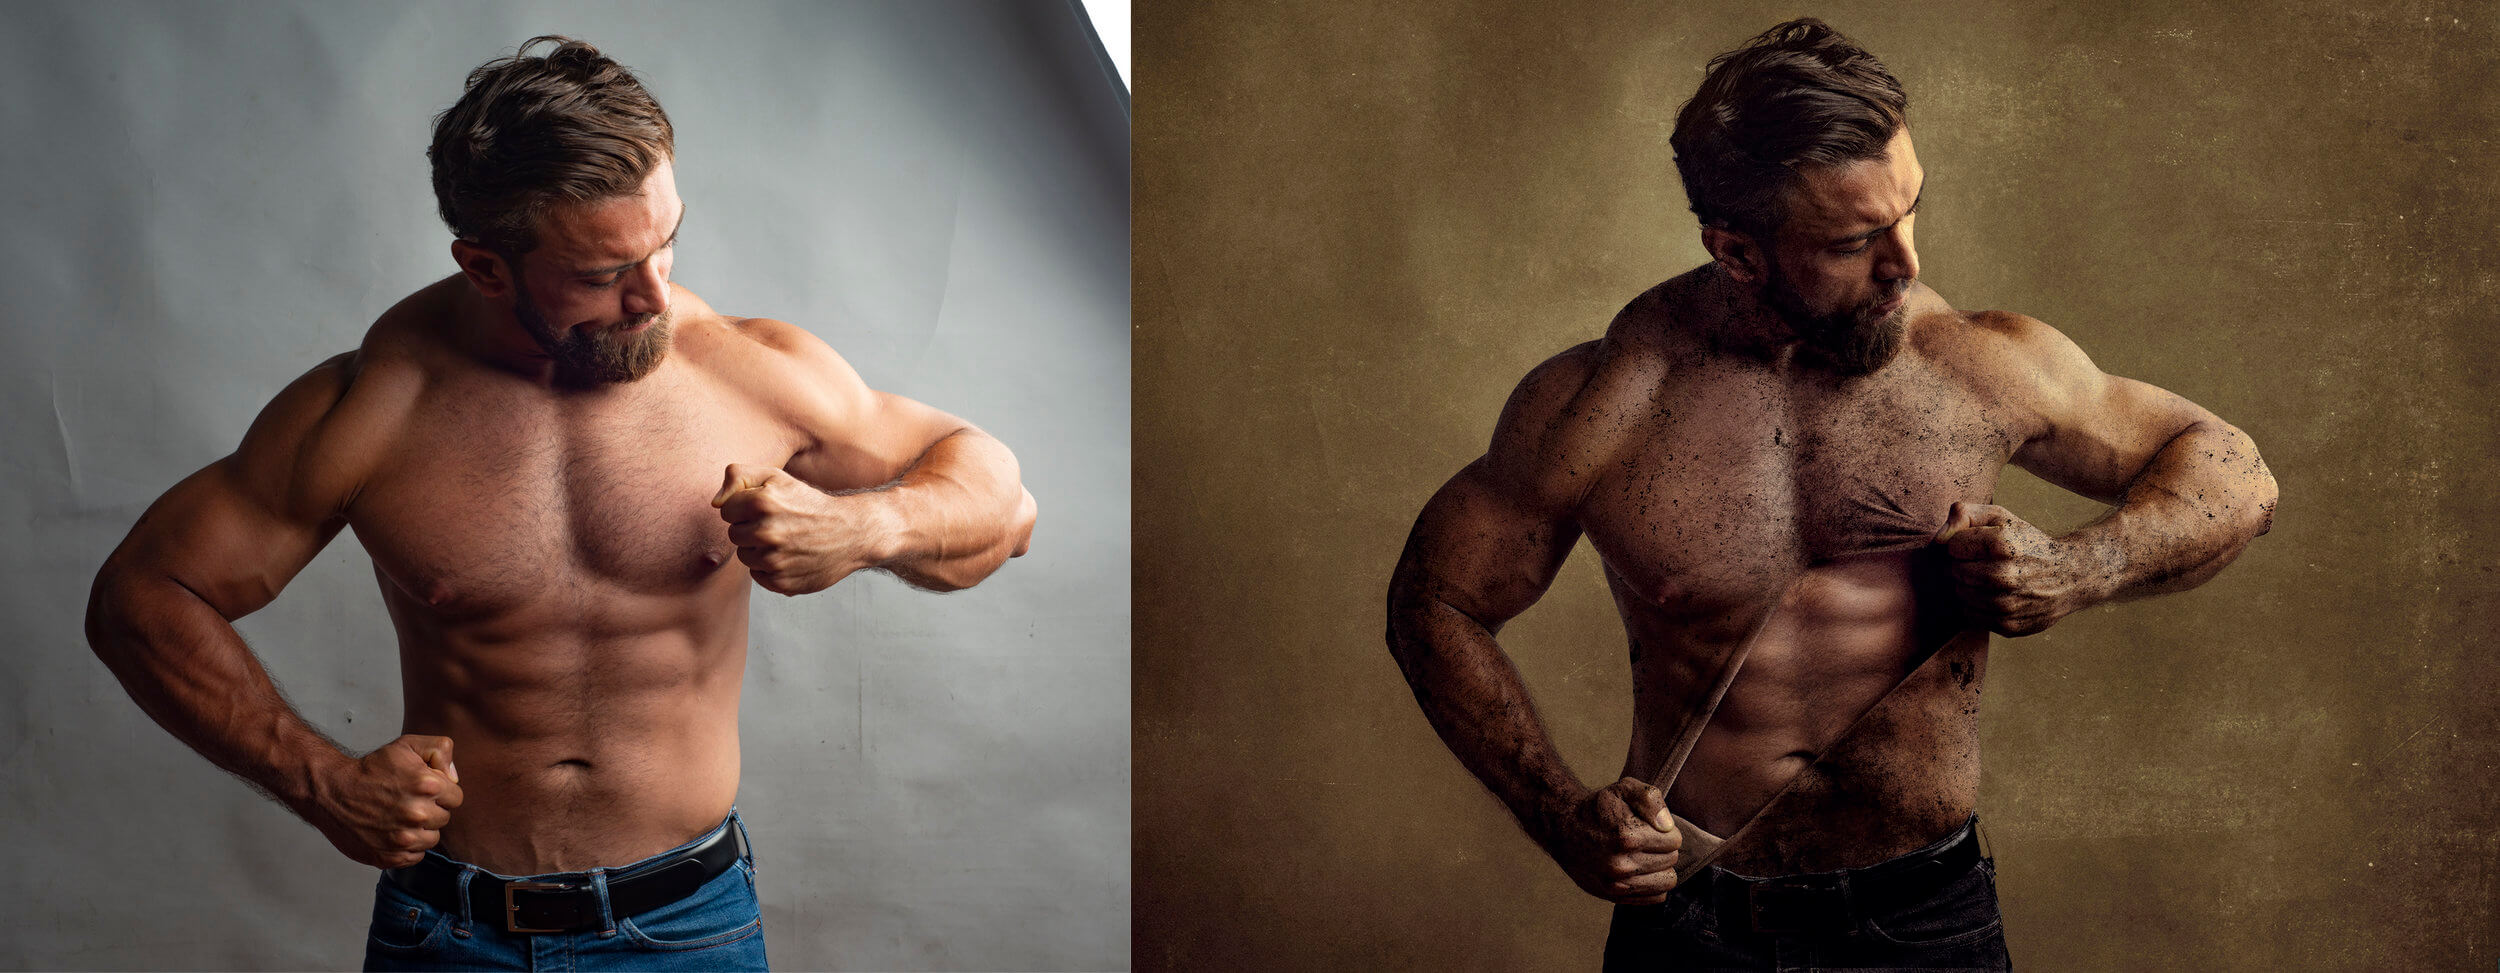
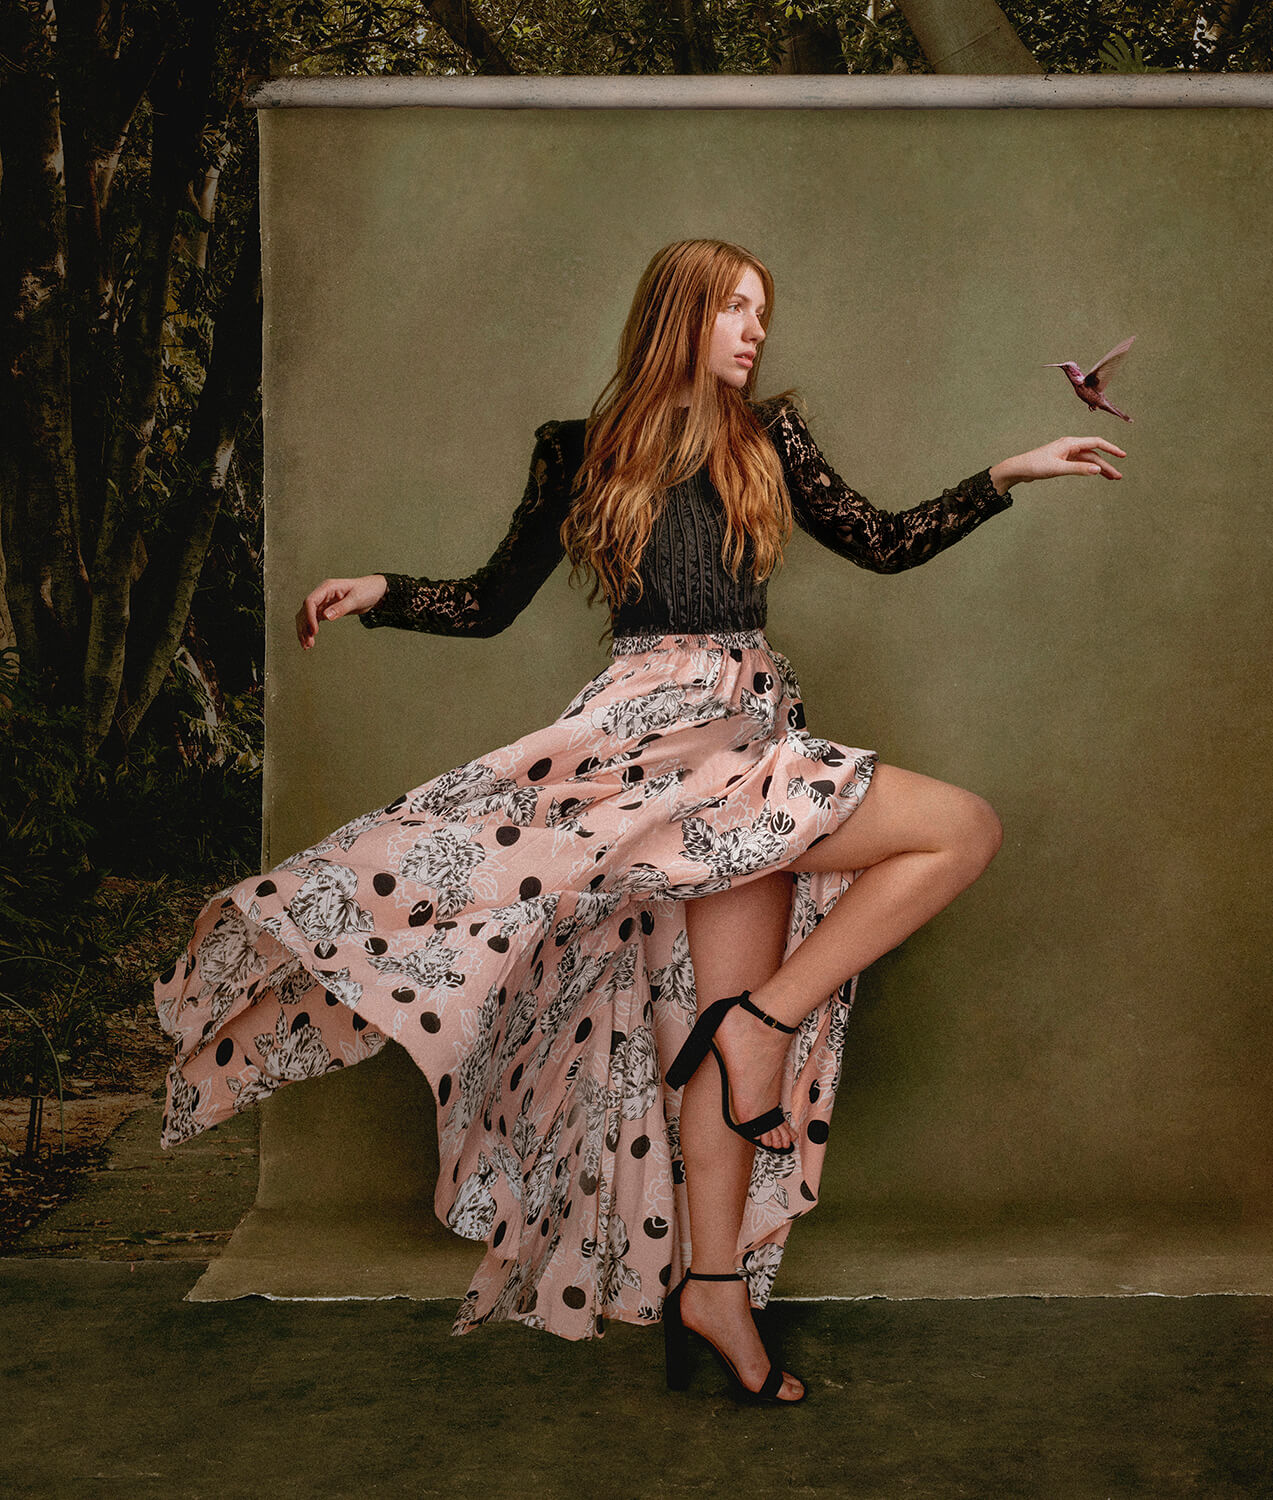
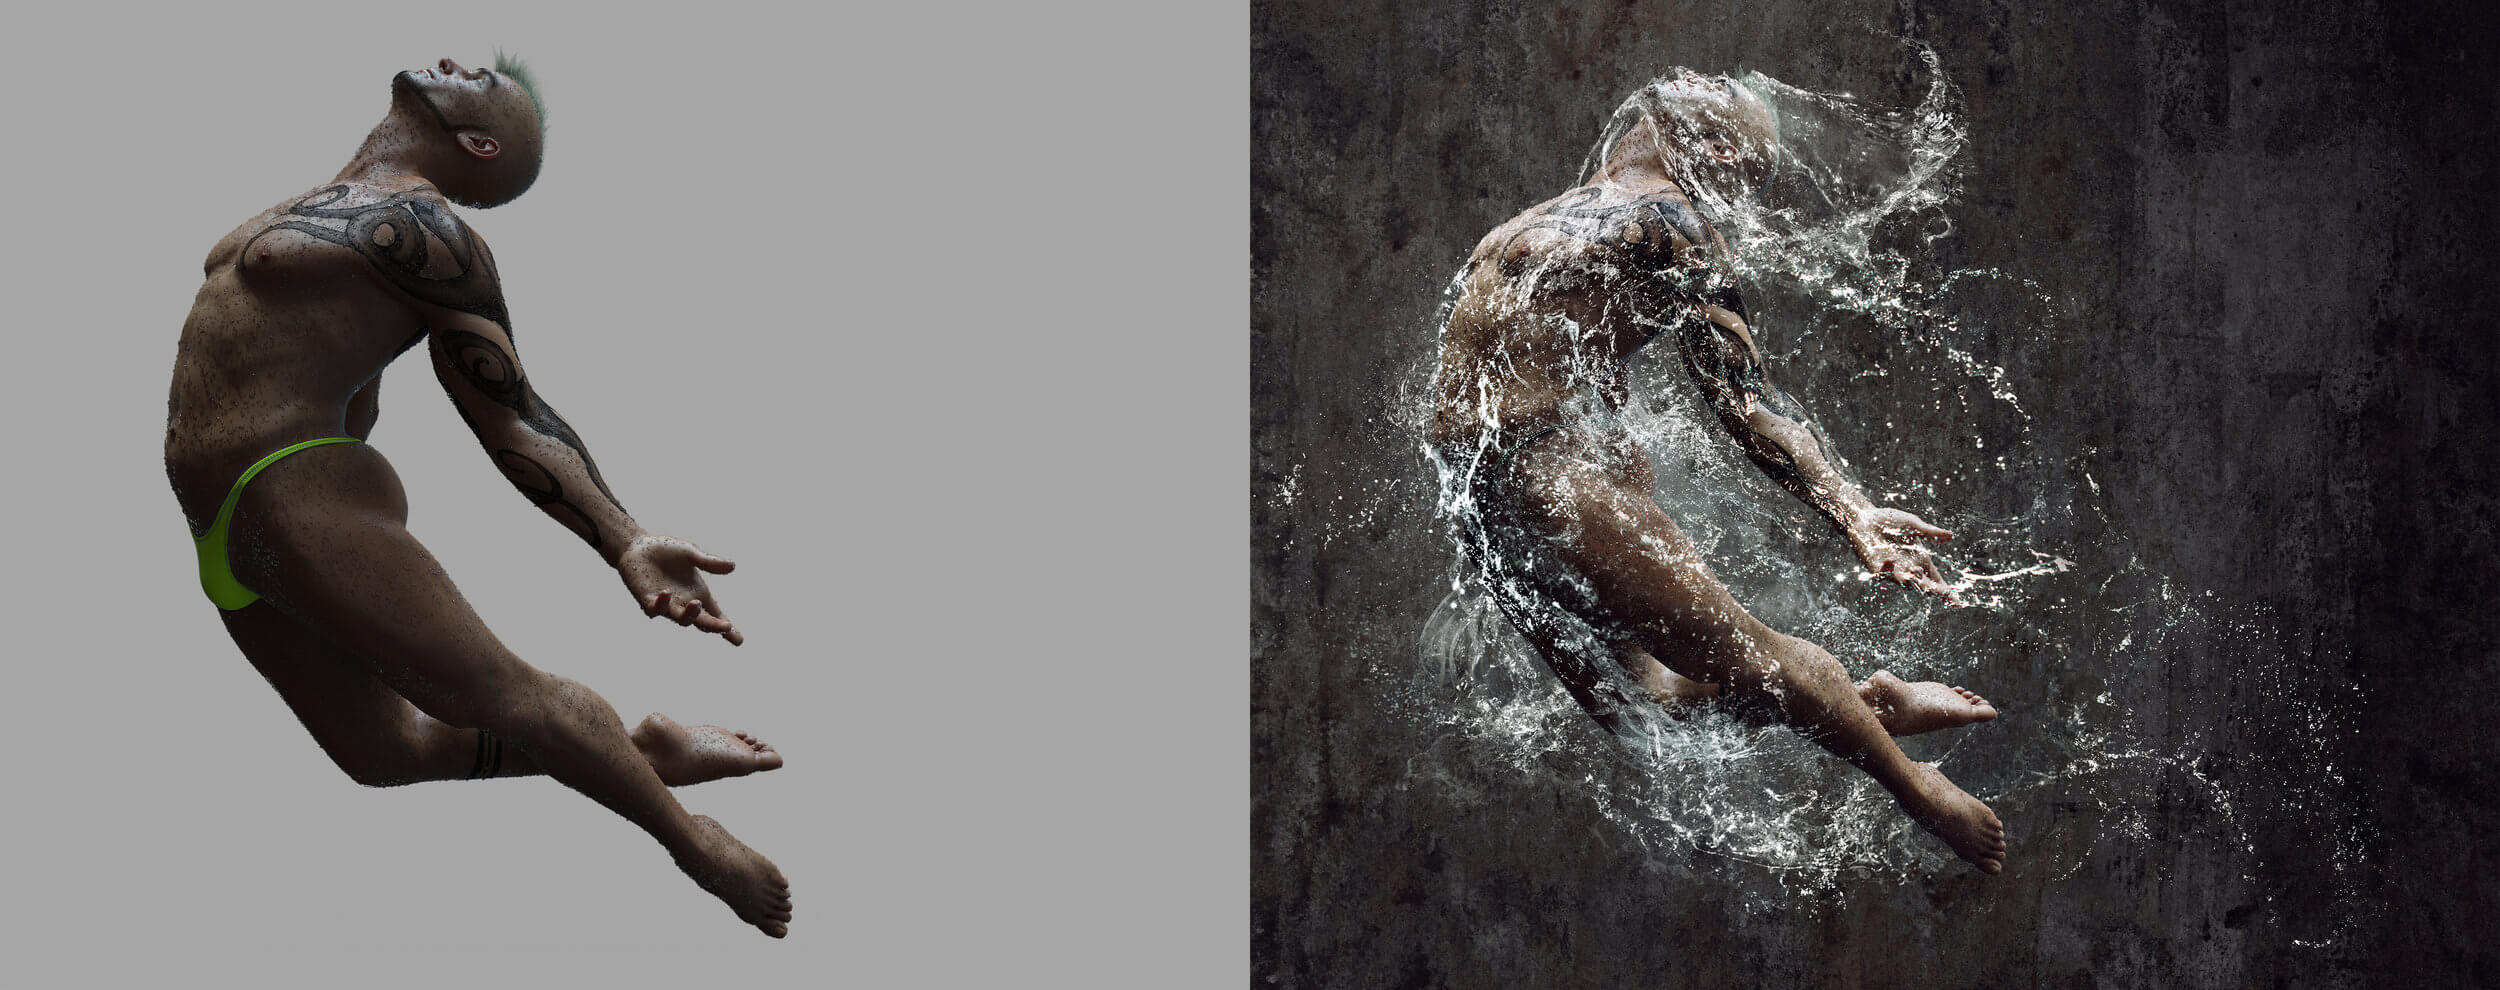
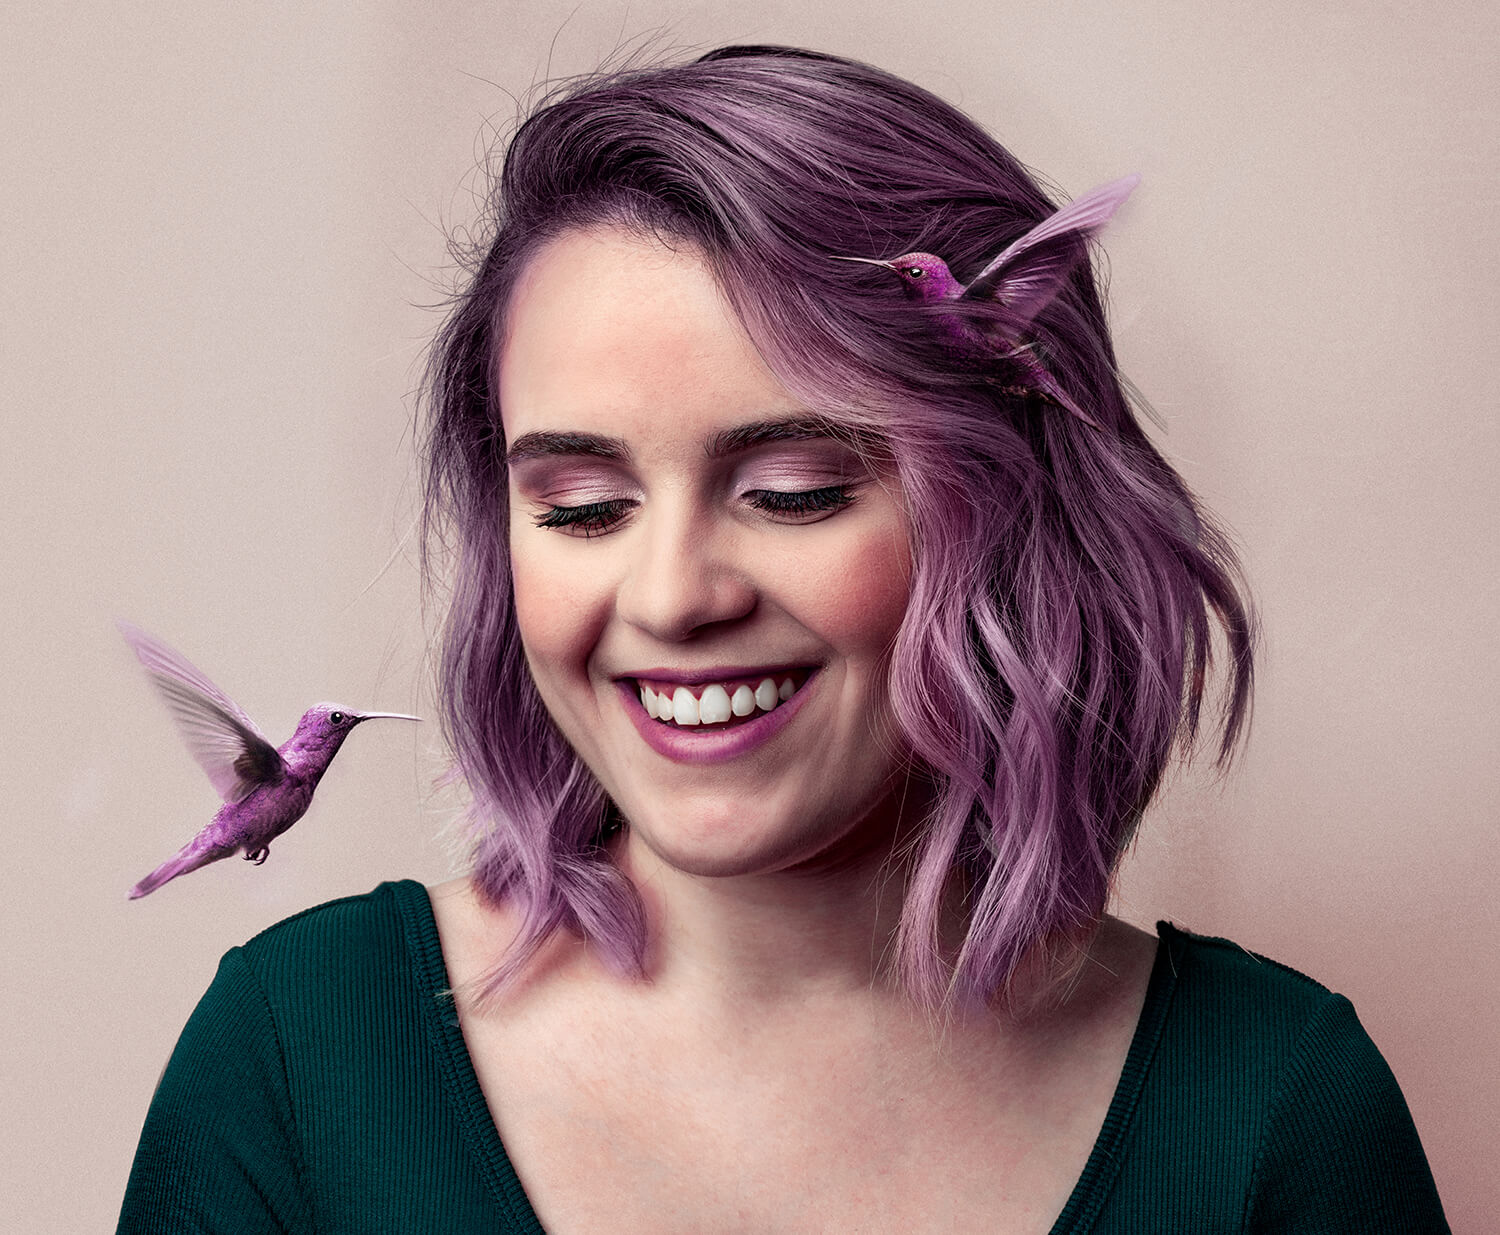
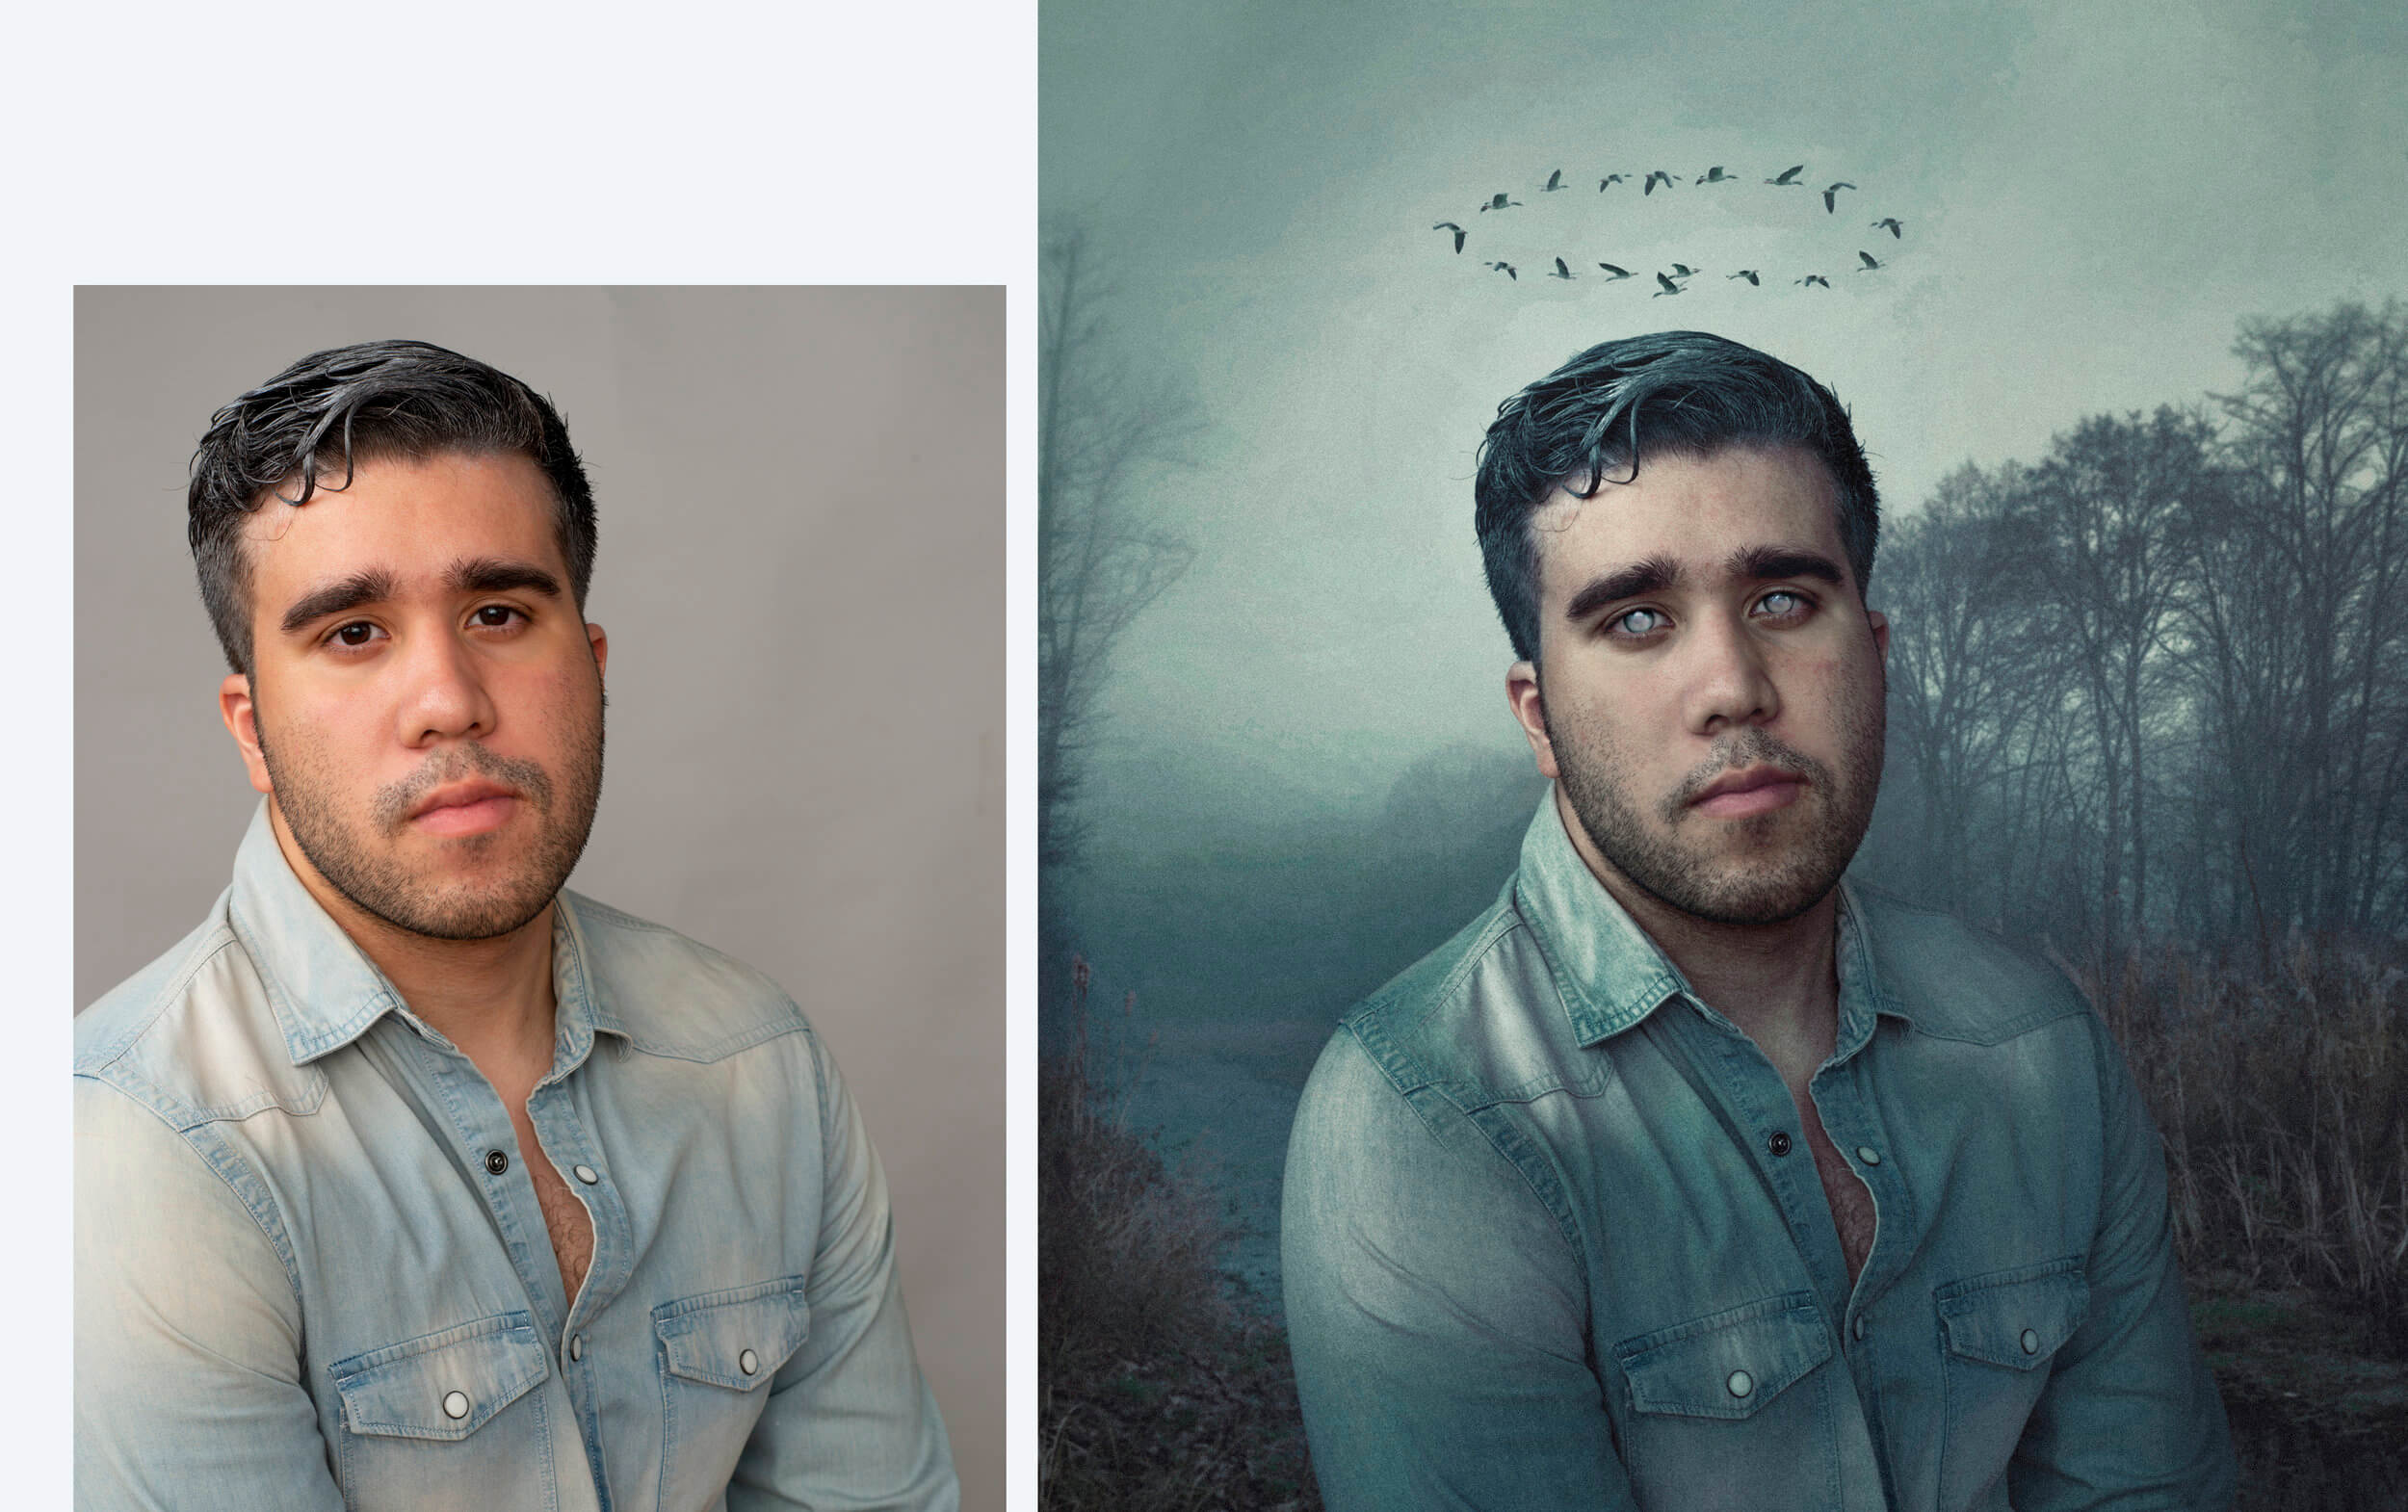
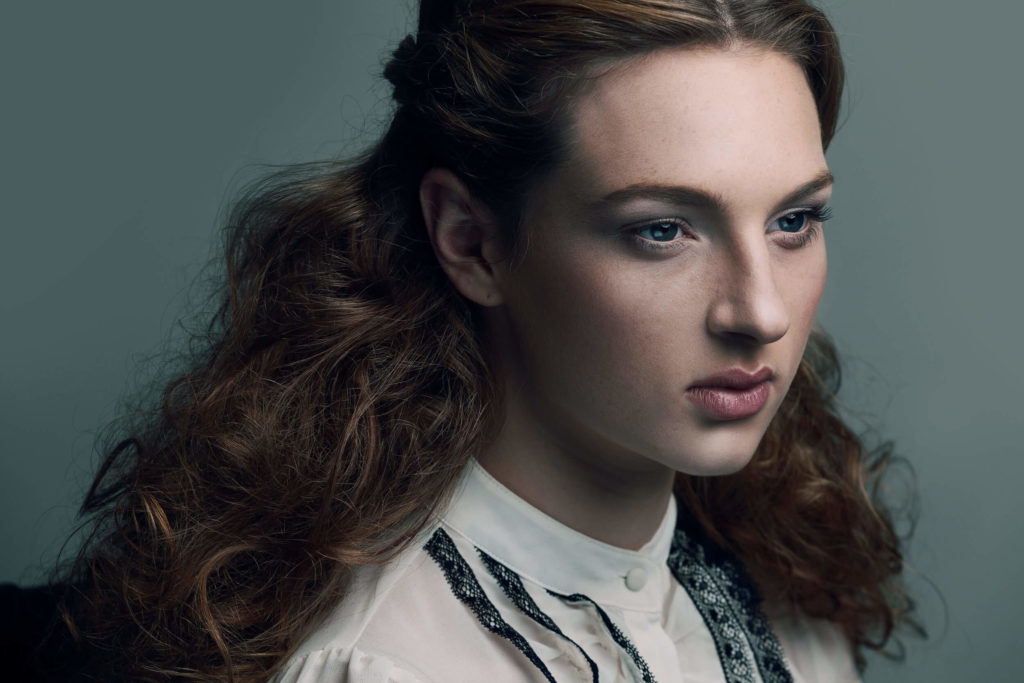
We’re happy to introduce a brilliant artist, and recent addition to the Infinite Color digital community, Erika Barker. Her fearless use of color and coloring, and story from combat photojournalism to fashion photography is so inspiring to us! We think that you’ll enjoy Erika’s work as much as we do!


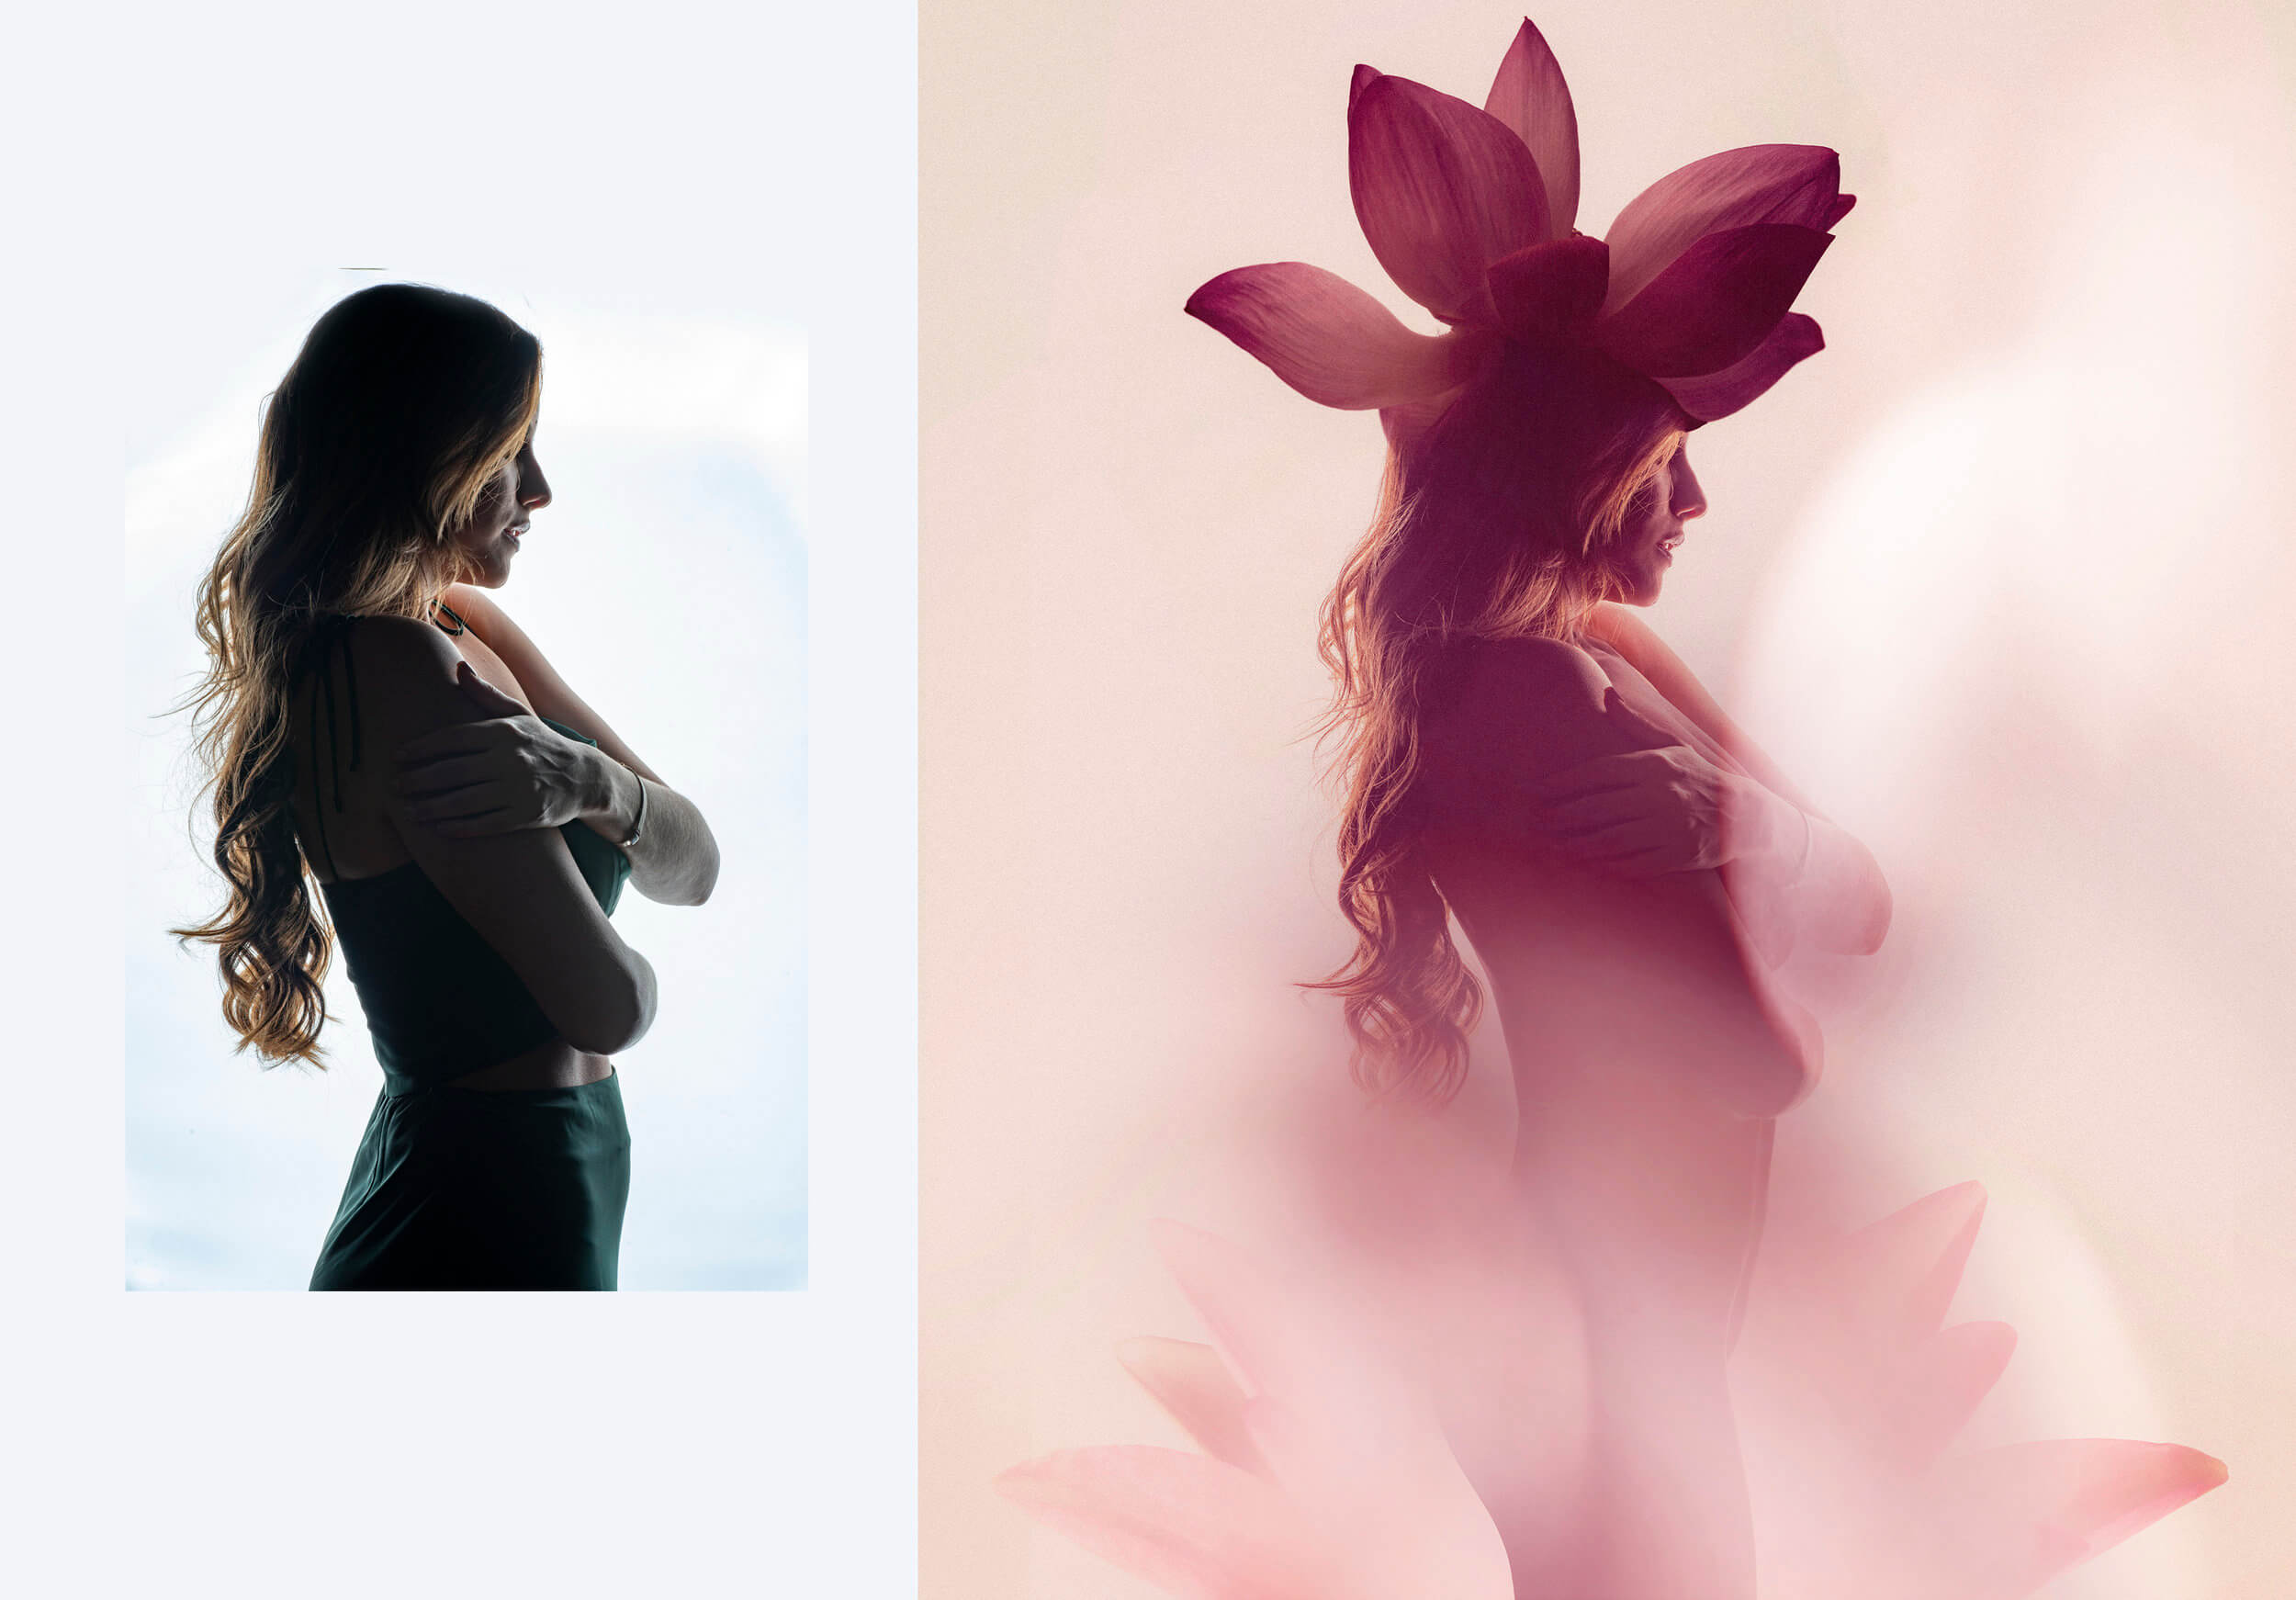
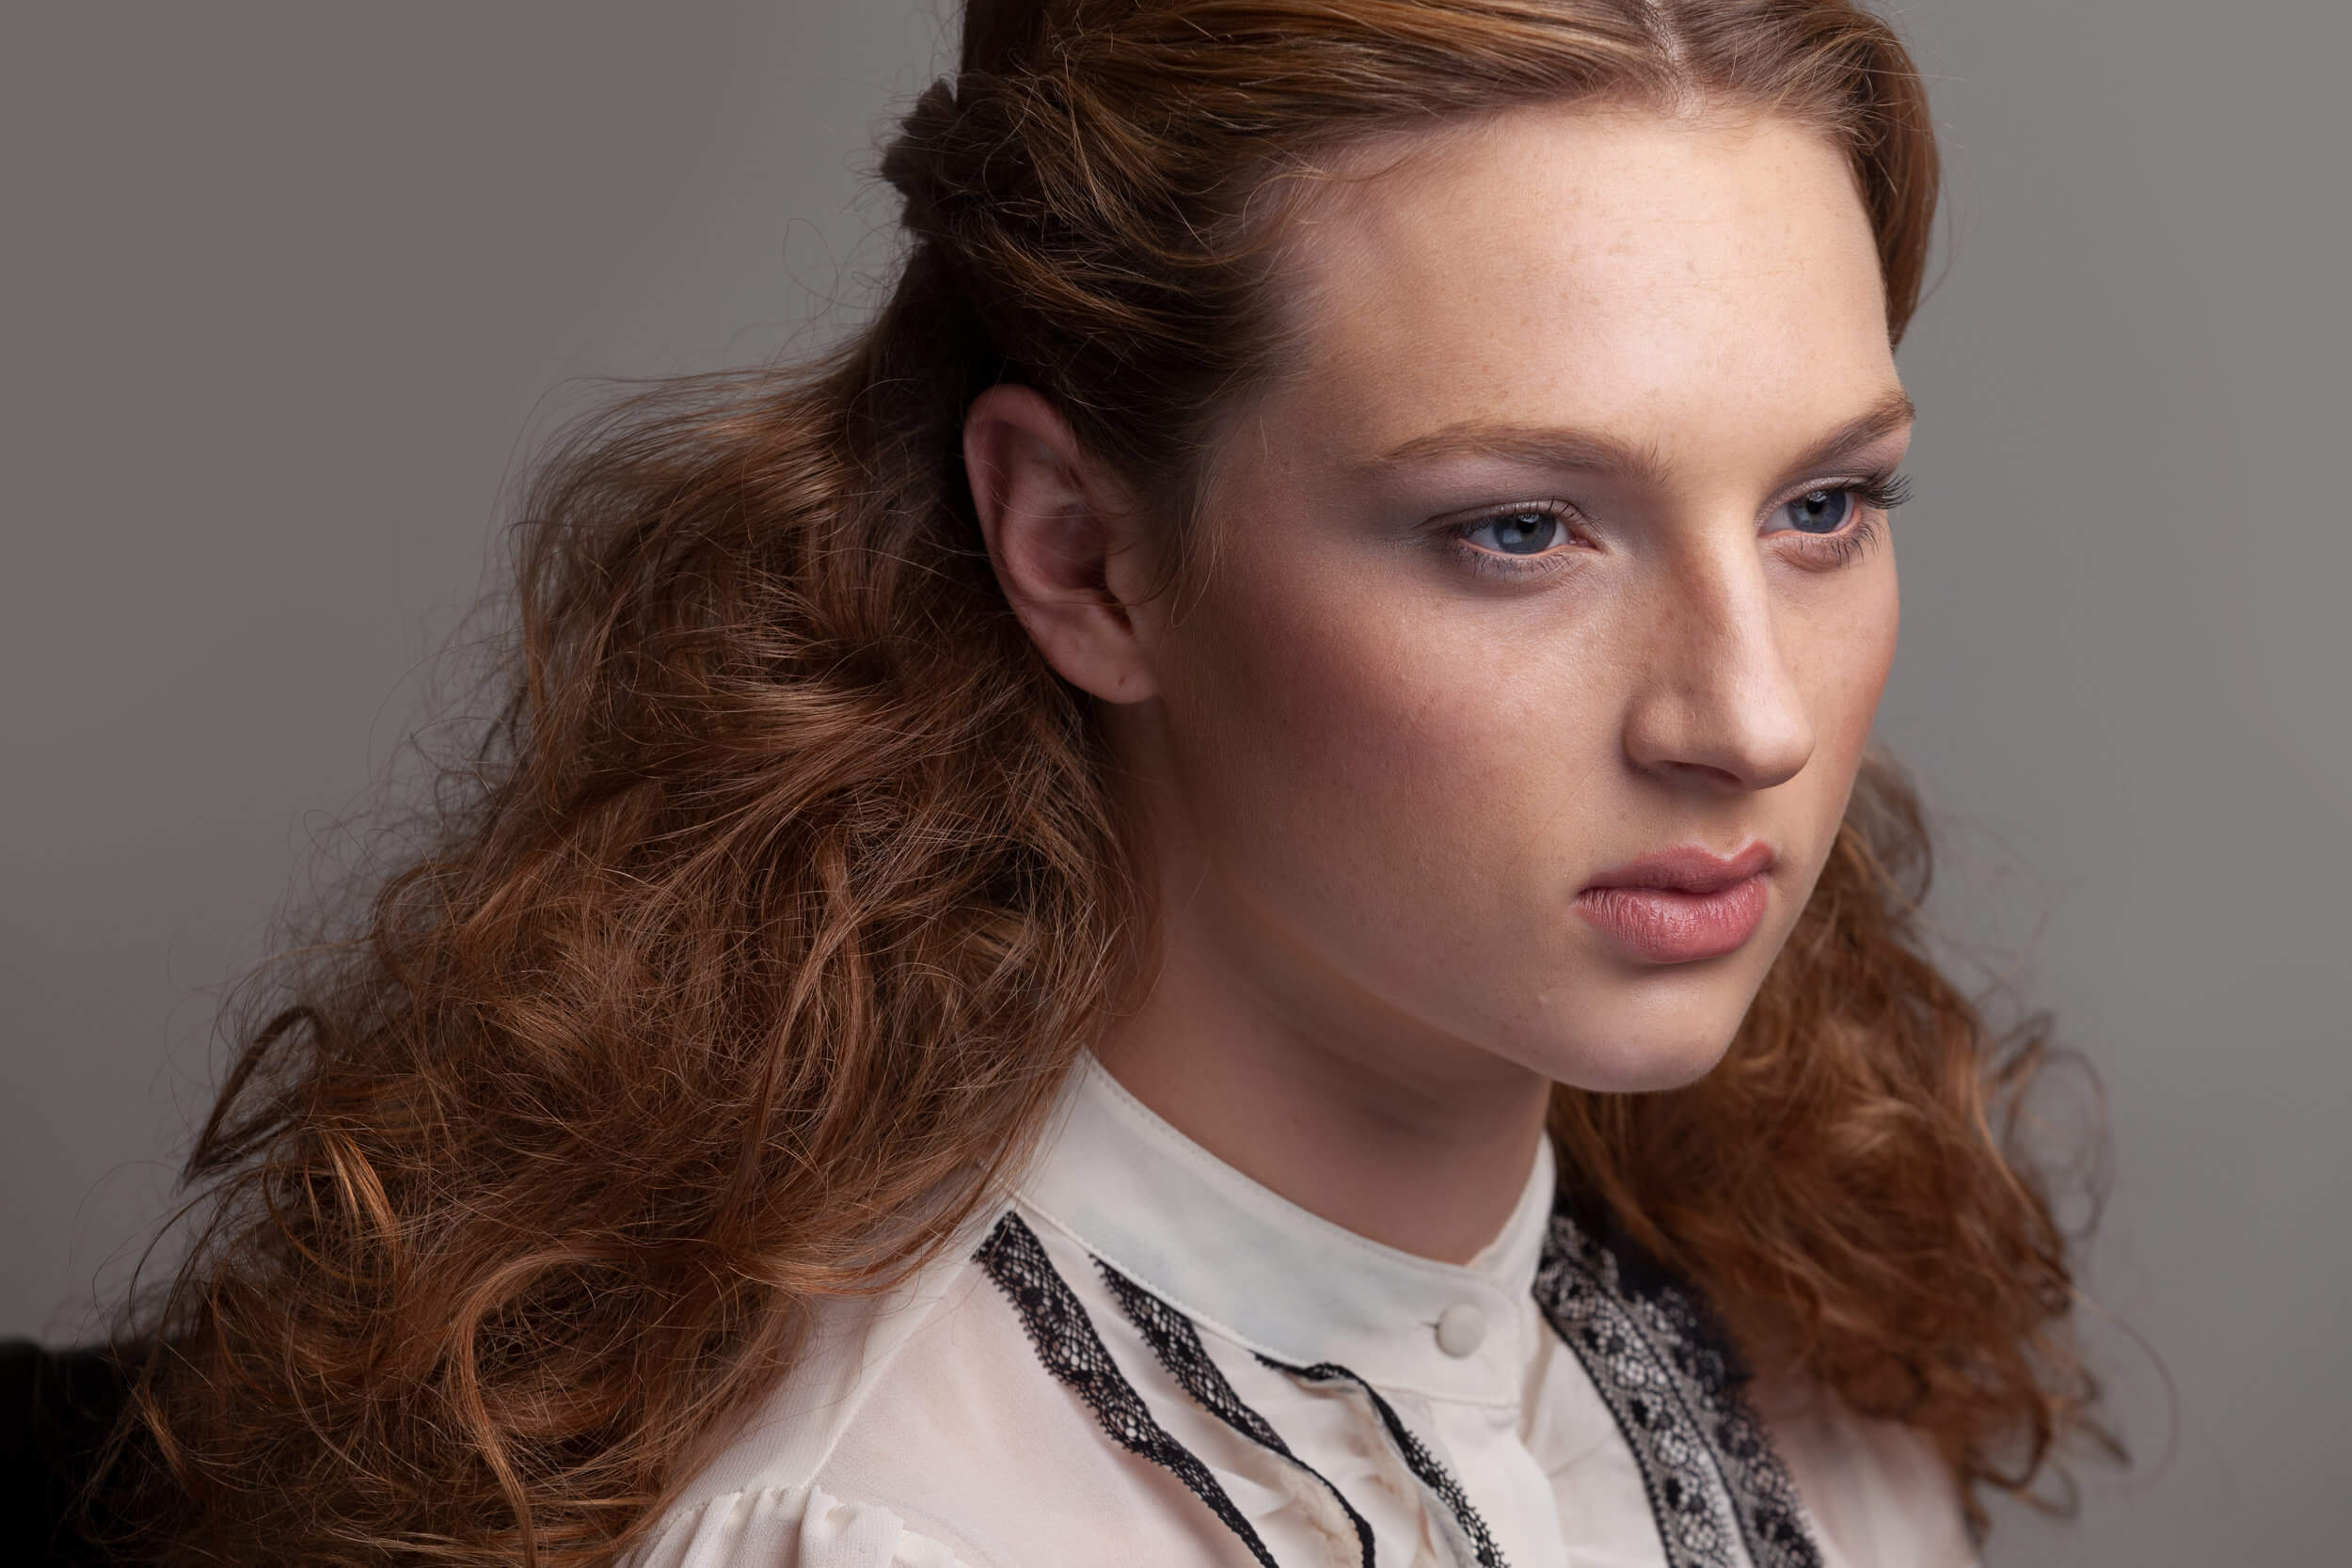
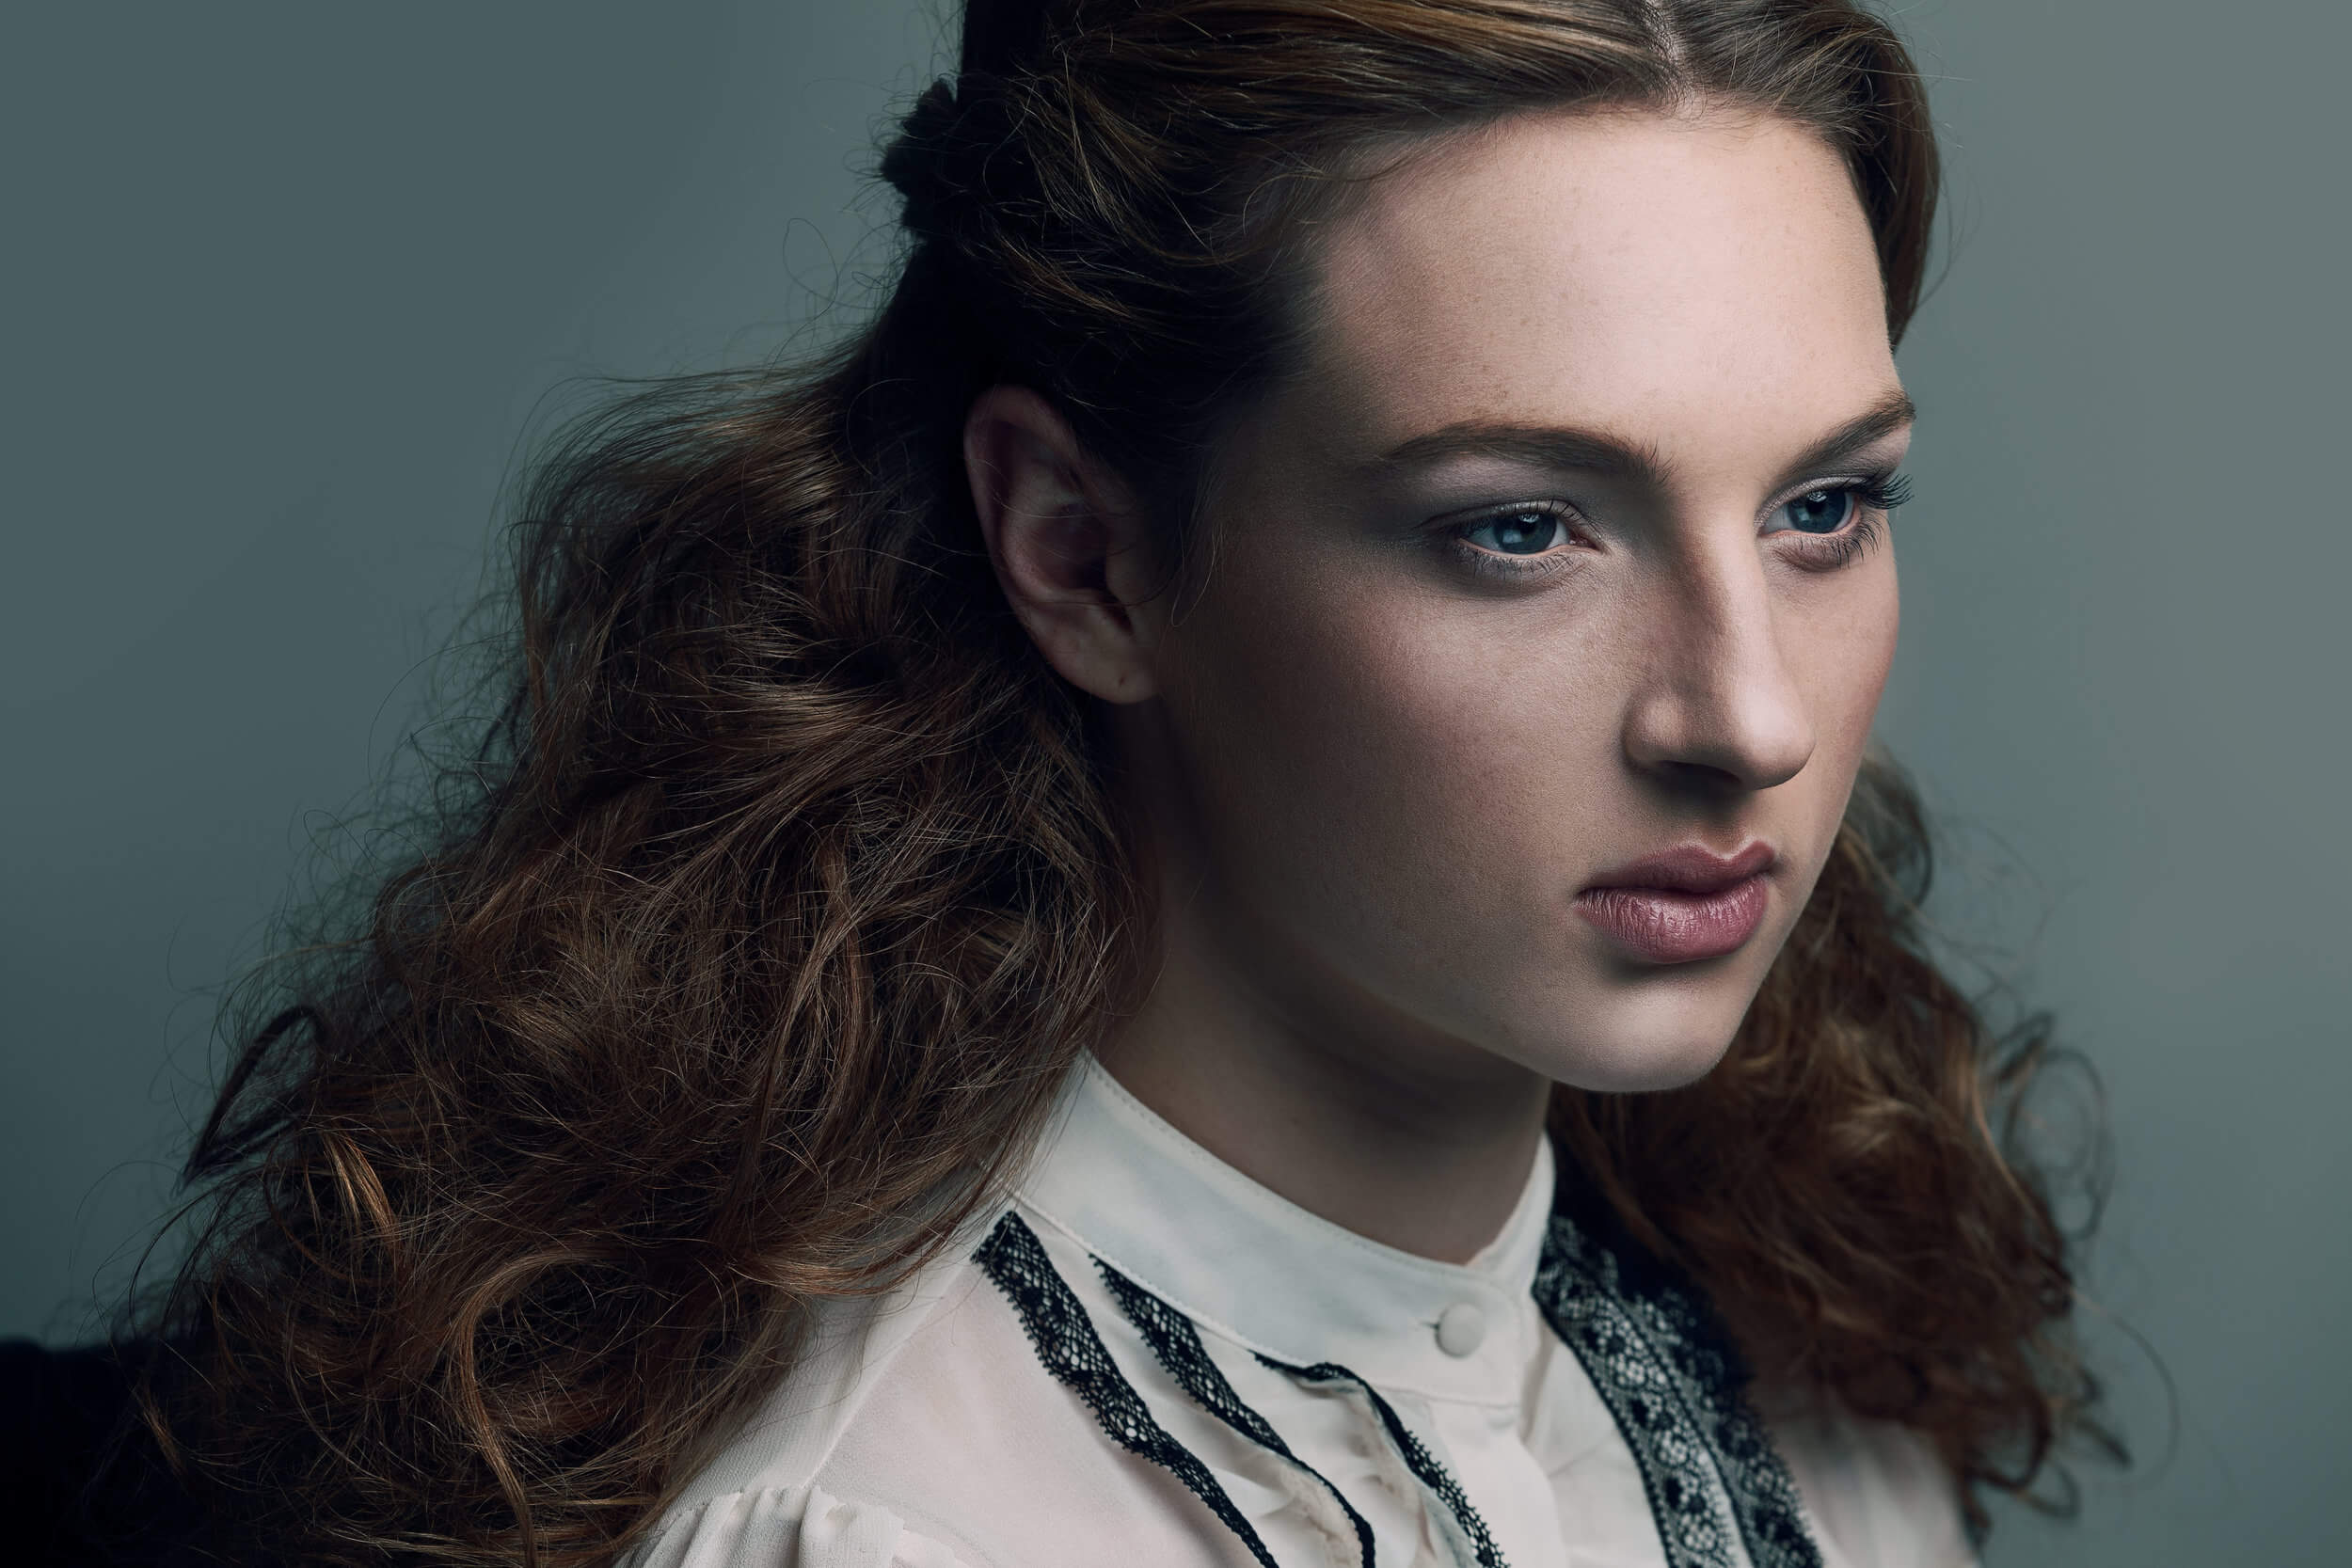
Before


With Color Grading

I started photographing as a hobby when I was in my Video Production class in 1996. Honestly, my passion at that time was behind a video camera. I, however, had a generic Kodak point and shoot camera, and had to practically beg my parents to pay and have the film developed at our local K-Mart or Eckerd’s drug store (Now known as CVS). By 1998, my young ADHD mind shifted focus toward the internet, and I started designing websites on the side. At this point, I just kept photography solely as a hobby. It was not until I joined the military in 2004, where I would learn photography as a profession, and have a wonderful mentor who would show me how one powerful photo could change the world.

I would describe my style as shamelessly nostalgic, consisting of a tribute to my childhood in the 80s and 90s, painted with an array of vivid colors and composed of moments that tell a compelling story. In other words, I really like colorful photos, and I find great inspiration from great photographers such as Mert Atlas / Marcus Piggot, Ben Hassett, Steven Klein, and Mario Sorrenti.


Before


With Color Grading

When I first came to Combat Camera, I had a bit of an ego because I was a bit of a Photoshop prodigy compared to these old salty sailors who were photographing on film and bickering about the movement to digital. In my young egotistical mind, I thought photography was a piece of cake, yet, I had no idea how to shoot outside of Program. I honestly just thought it was taking photos with sleek angles, and photoshopping the crap out of it. My mentor, Bobby McRill, who was also my boss, slapped me (metaphorically) behind the head and called me a shit-stick. He spent months mentoring me and made me cry at one point when I finally learned what the art of photojournalism really was. He introduced me to legendary photographers like Eddie Adams, Robert Capa, and Joe Rosenthal. To go through their photographs, read the captions, and learn about the outcome of millions of people around the world seeing these photos is breathtaking… It’s incredibly powerful, and it’s storytelling at its finest.

We, unfortunately, lost Bobby July 6, 2007 to an IED in Iraq. He died doing what he loved most. From the moment I carried his casket to the church service, I decided to tribute my career to him. He is the reason I pick up the camera, and he is always kicking my butt and pushing me to be better. If it was not for Bobby, I would more than likely be a UX designer today (No offense to UX Designers).


Before


With Color Grading

I transitioned from photojournalism to commercial when I left the military because I have always been fascinated with blending photojournalism with my love of art and design. I wanted to see if I could bring something new to the table with lessons from my past. Why choose one path when you can walk several at the same time?

I do a lot of personal projects with my good friends Charlie Riddle, and Henry De Lapaz. Charlie and Henry have worked on everything from Vogue Editorials to Tom Ford and Gucci ads I believe. The three of us make up a team we call Team Fabulous (It’s a silly nickname I came up with while drinking martinis). We work together and create editorials for fun, just to push the envelope a little. I can honestly say without them, my portfolio would be nothing. We all bring something unique to the table. I want to tell you more about what we have coming up, but you know the old saying “Loose Lips Sink Ships.”


Before


With Color Grading

I first learned about Color Grading while watching the DVD extras for the Cohen brother’s film, Oh Brother Where Art Thou. The production filmed it during Spring and Summer, but the Cohen Brothers wanted the film to have an old-time gritty-depression look. They shifted all the bright greens to yellows, browns, and reds, and gave the film its signature look. The film would definitely not be the same story, without the incredible artists who color graded it. It leaves you to conclude that the right color combination is really powerful stuff. It’s like Dynamite, but you got to know how to handle it. It’s honestly not something you can wing, and an intuitive understanding of color harmony is a must.

These days I try to keep my hands off of retouching and focus on being a photographer and videographer. I’m someone who has a hard time sitting in an airplane seat for two hours, let alone sit behind a computer for hours at a time. I’m not sure how brilliant photographers like Julia Kuzmenko photograph and retouch. Not me, I’m too antsy. It tests the limits of my sanity. Perhaps I should slow down on the caffeine a bit.

I, however, do need to be involved with the final touches of the photo. Before the Infinite Color Panel, I would sometimes spend 2-3 hours just playing around color grading a picture, going back and forth, and the indecisiveness was just not healthy. That’s time I could spend with my family, in a gym, or blissing out watching Netflix on my fantastic couch. Time is such a valuable thing and it does not really hit you on how precious it is until you are in your mid-thirties. Anything I can do to optimize my workflow, and deliver stunning visuals is a must. Infinite Color Panel helped me do just that.

My new workflow with Infinite Color Panel consists of the following:

1.) Receive TIFF or PSD back from the retoucher
2.) If using gels, I will more than likely create a Vibrance adjustment layer and pop the colors everywhere except on the skin, eyeballs, and teeth. Adjust Vibrance at your own risk.
3.) Use the Harmonize feature on Infinite Color Panel
4.) Tweak the opacity of the Midtone, and/or Shadow Harmony Layer.
5.) If suitable, I will play around with Light Color Grading options from the Panel, but this is very rare for my photos where I use gels. This is more for shots with natural light or lighting with no gels.
6.) From here, I will merge all visible layers into a new layer and converting it into a smart object. (Note: that I am not flattening my image.)
7.) While selecting the new smart object layer, I go into the Camera Raw Filter, slightly increase Clarity to about +8, and adjust and make some very minor exposure adjustments. Since it’s a smart object, I can always go back in and change my settings.
8.) Finally, I sharpen the image if needed, and off it goes.

Boom! this process takes about 15 minutes or less.


Before


With Color Grading

Follow Erika on Instagram or browse more of her work on her website.

Have you tried the panel yet? We’d love to see your creations! Get in touch on Instagram @infinitecolorpanel or the Facebook Infinite Color Panel group and show us your work.

If you haven’t tried the panel yet, get started here:  https://infinite-tools.com/infinite-color-plugin/

 

Infinite Integration with Maxim Vakhovskiy

Insights crafted and curated by Pratik Naik and Jonny Edward

Maxim’s work is altogether mesmerizing. Whether commercial or personal, in origin, his use of light and color, combined with keen attention to detail, results in genuinely entrancing photography.We’re honored to share imagery, and a brief breakdown of the project, from the artist himself. Enjoy!

Also, If you haven’t seen Maxim’s contributions to Photo Vogue’s “Embracing Diversity” exhibition; please, we implore you, go check out the beautiful, powerful photographs that he created for the showing!

Be sure to follow Maxim on Instagram, and explore more of his spectacular photography on his website!

CREDITS:

Agency: Mode (@madebymode)
Art Director: Ian Varrassi (@ivarrassi)
Producers: Nicole Reyes (hey_heynic)Karla Cruz (@karladcruz)
HMU: Rebecca McMahon (@rebeccamacmahonmakeup)
Wardrobe Stylist: Alexandra Munzel (@alexandra_munzel)
Photographer:Maxim Vakhovskiy (@maximushka)

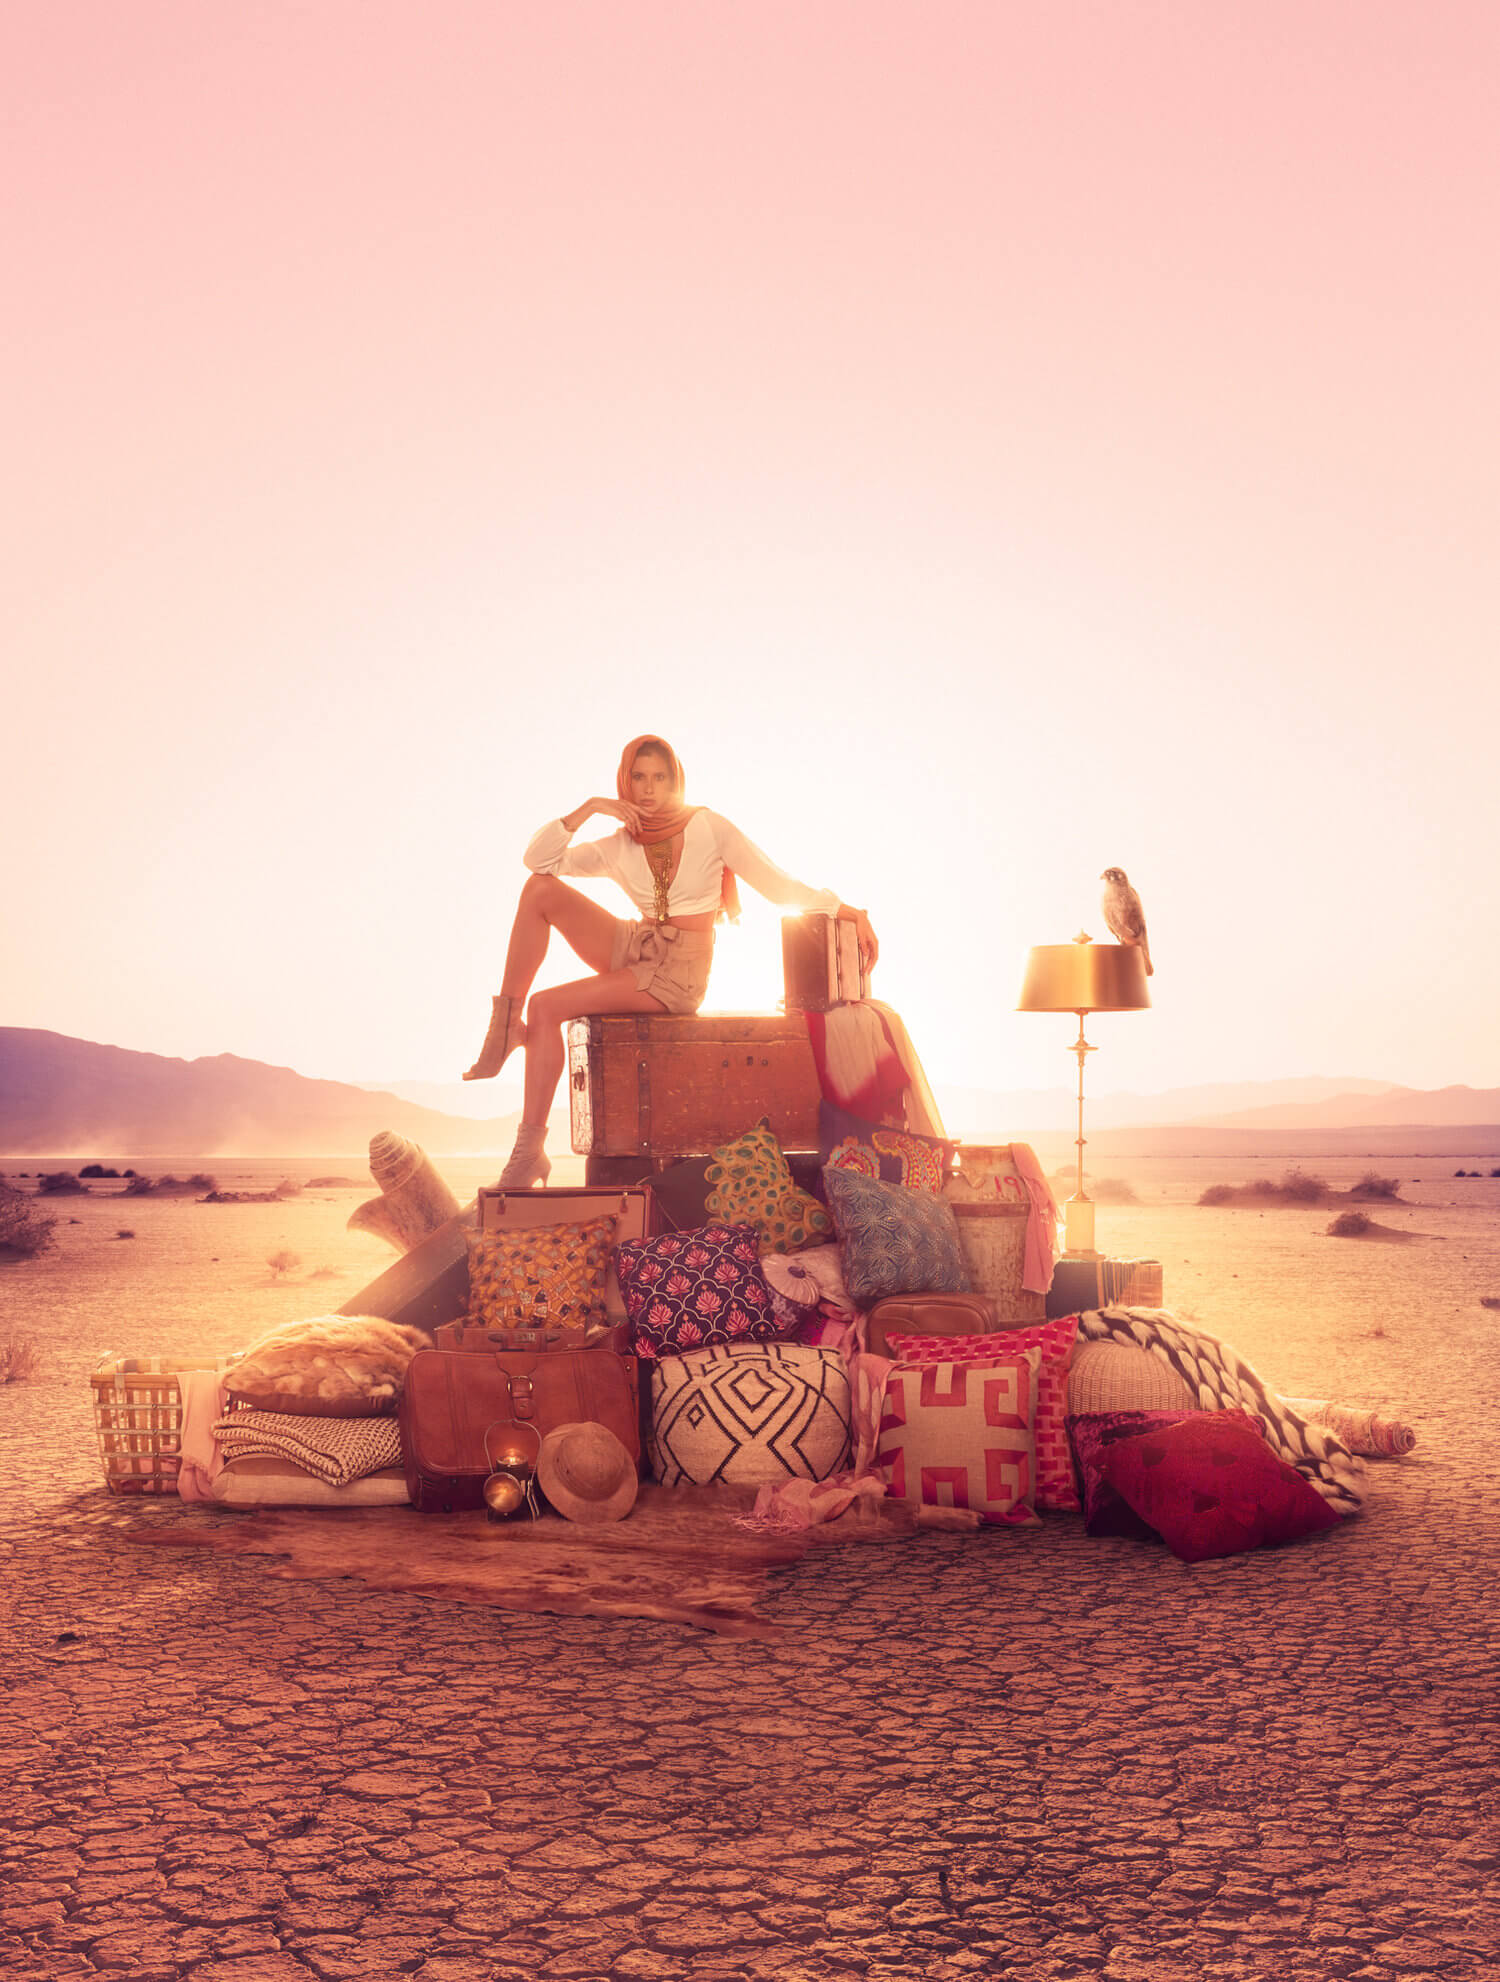
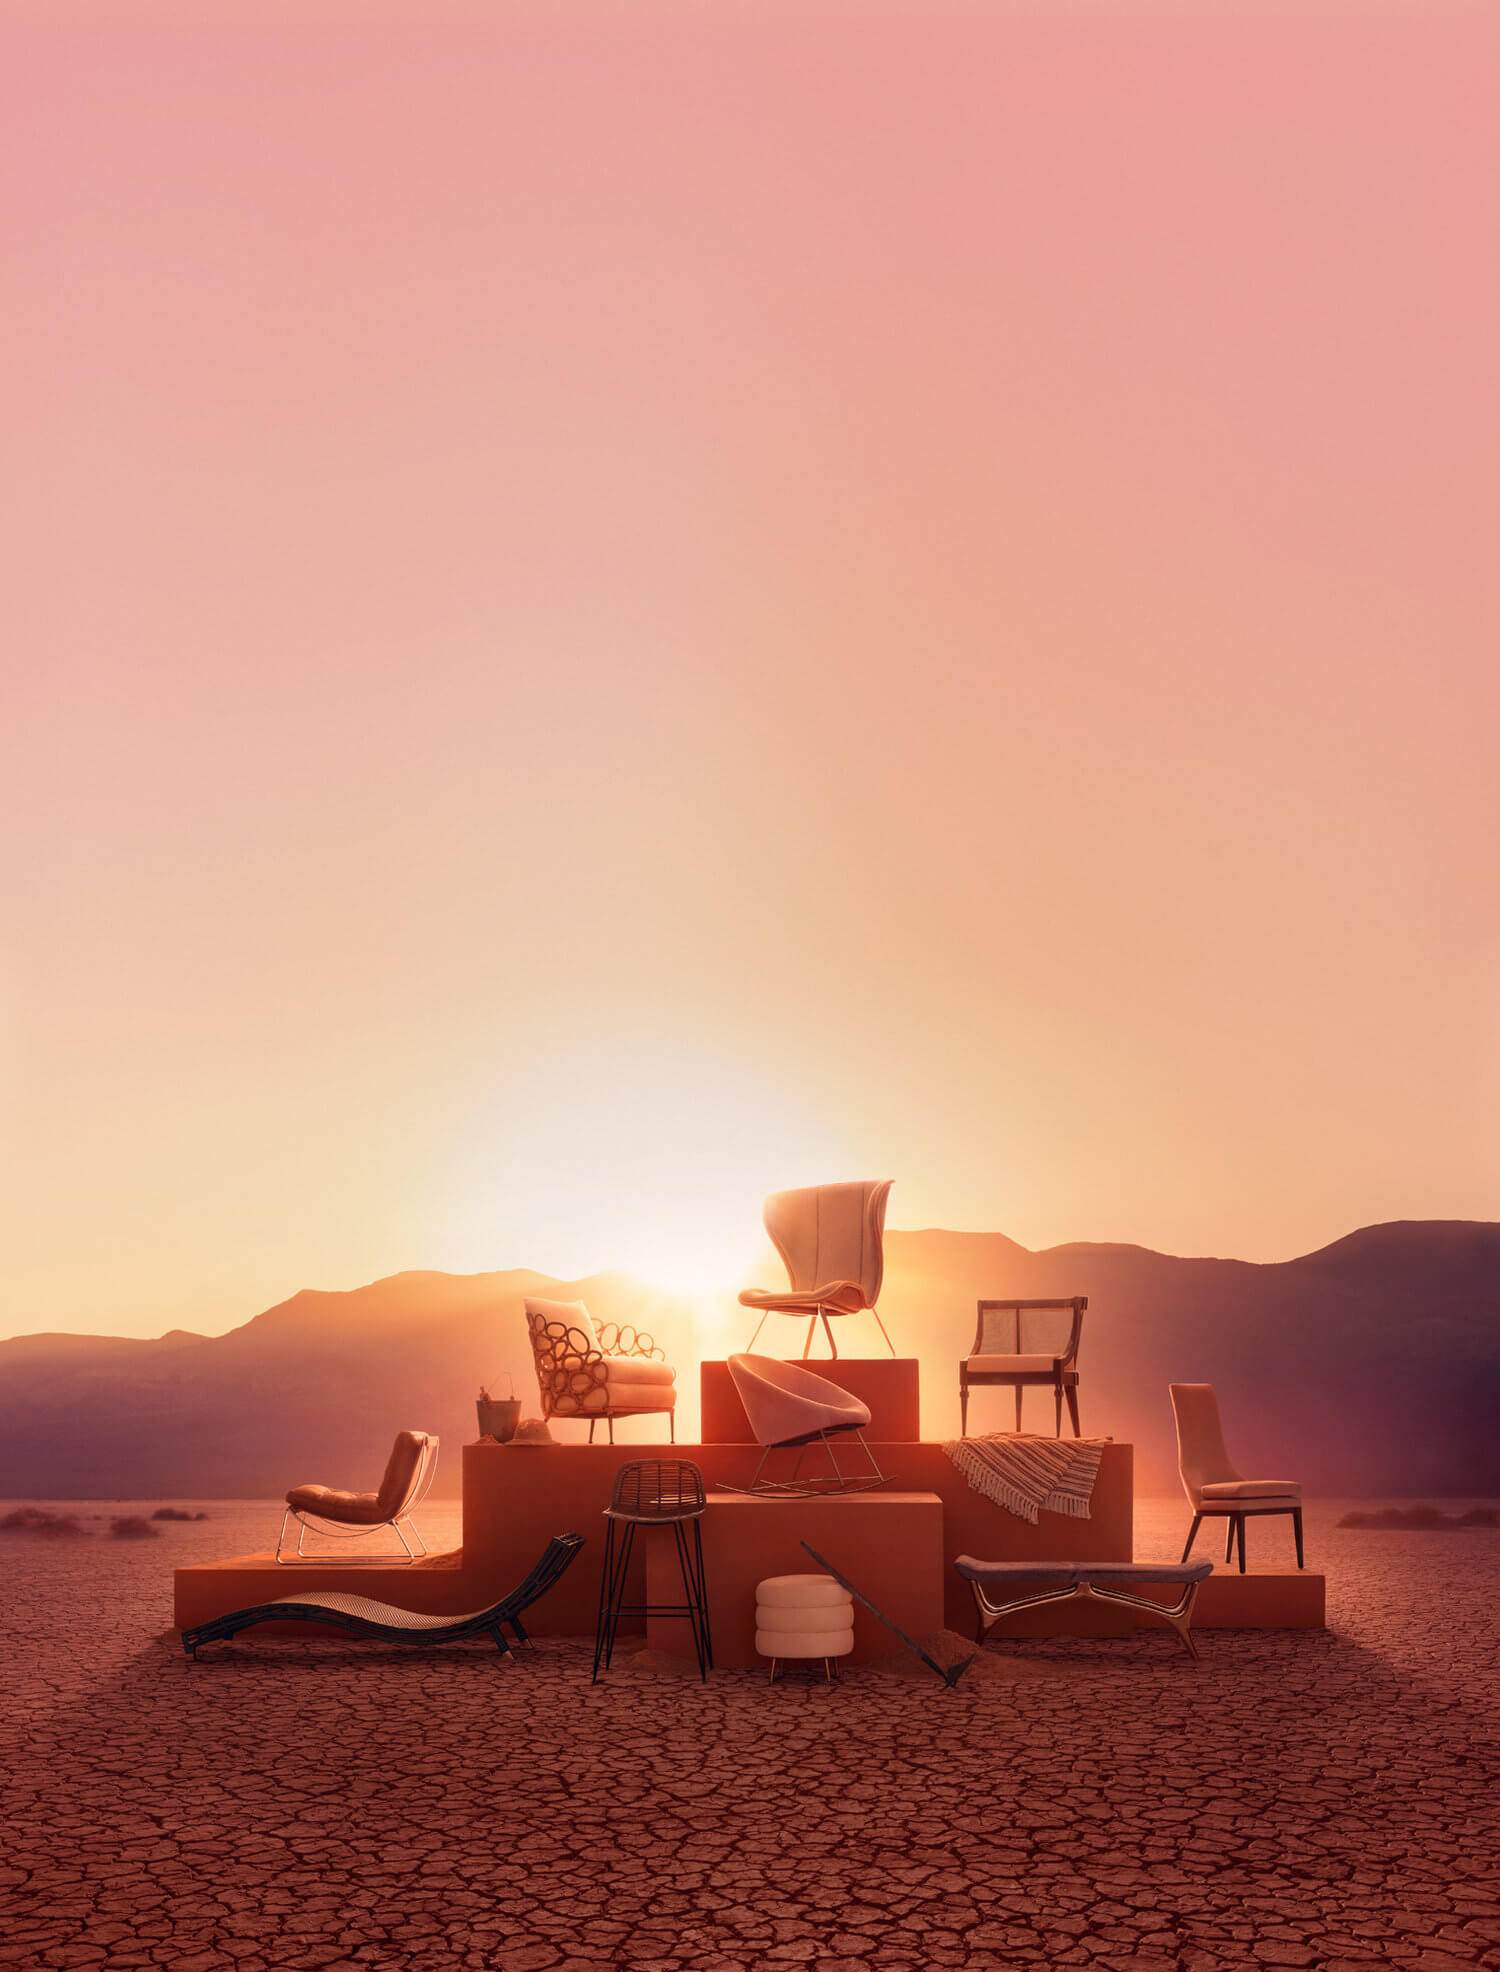
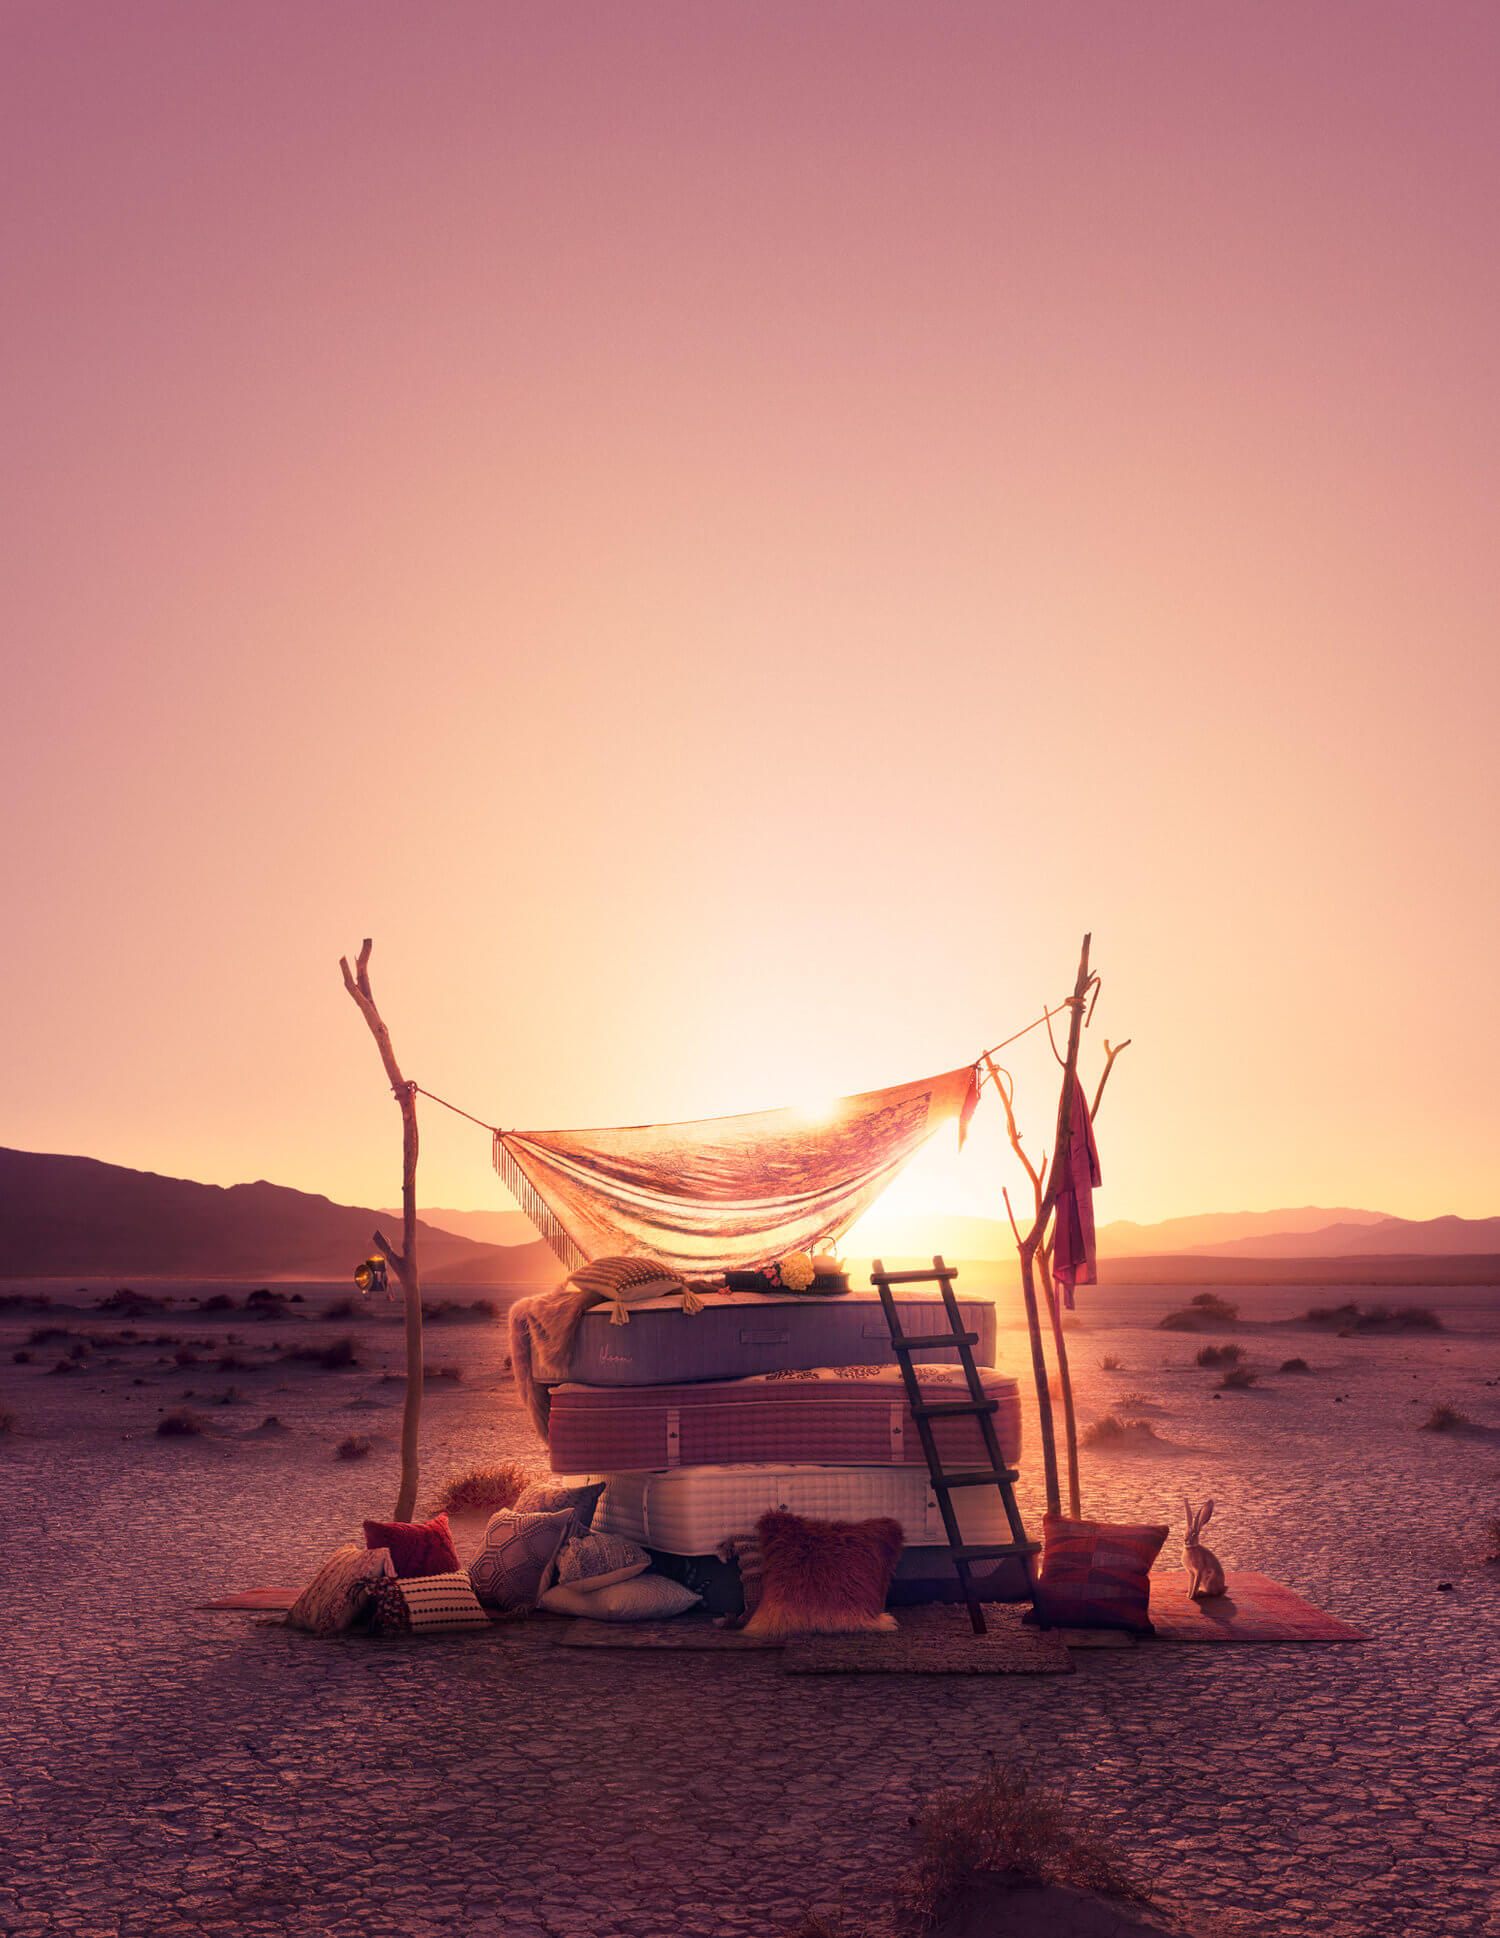
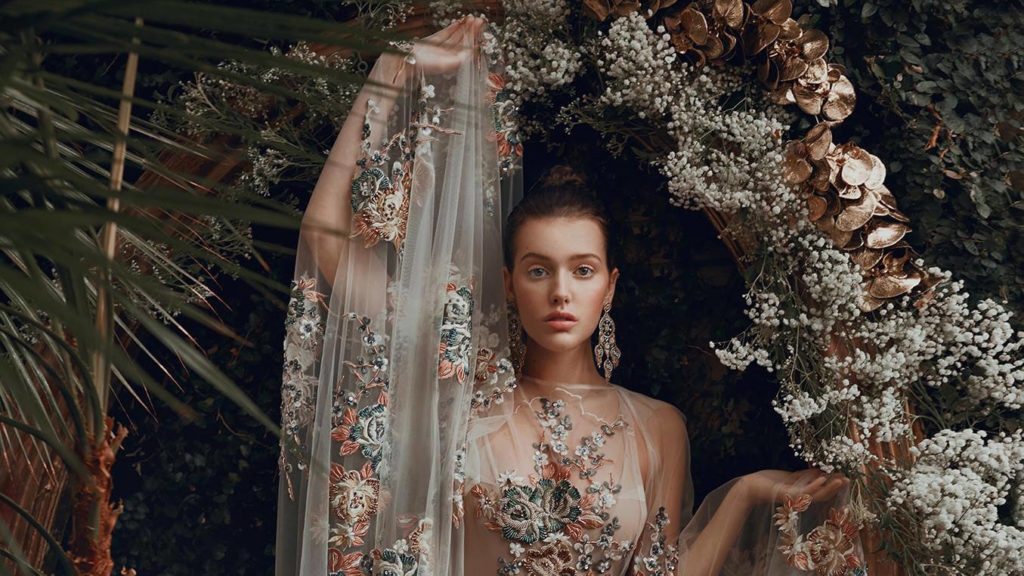
This is the final image of his masterpiece. Believe it or not, it was NOT shot on location!

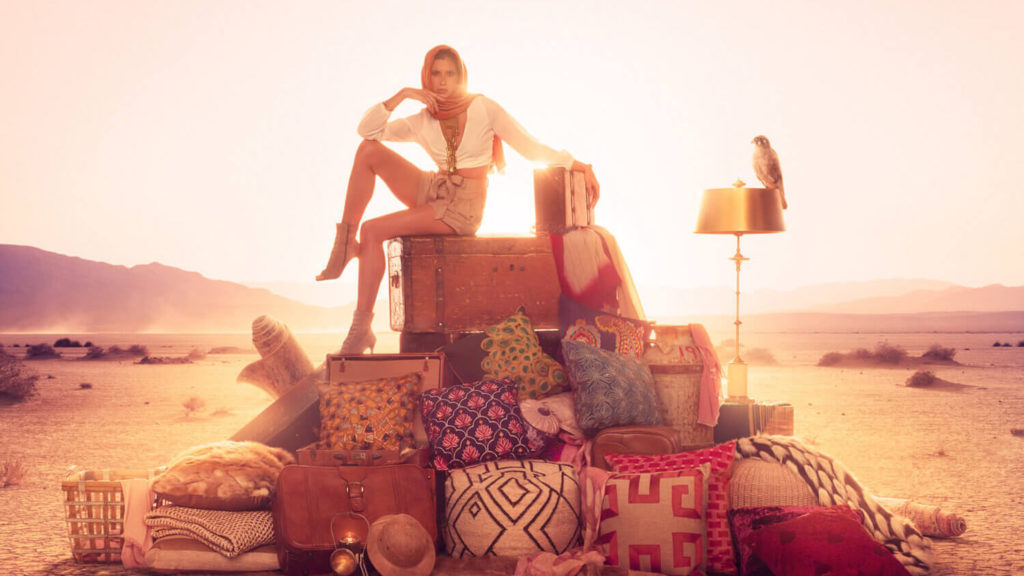
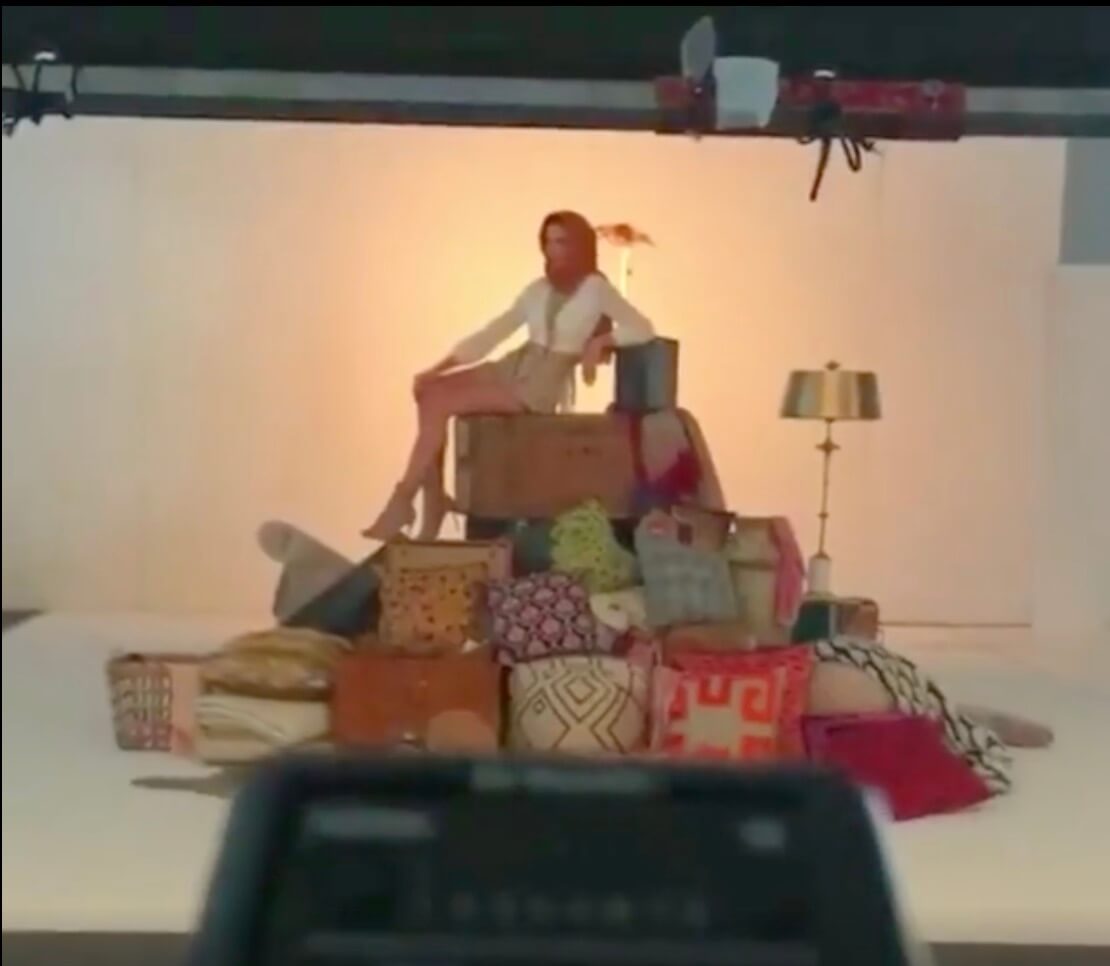
Here’s a little screengrab of the BTS video Maxim took while shooting. It’s remarkable how they show it on location! If you’d like to see the video, please join Felix’s group here to check it out. The post is located here.

Maxim Writes:

Here’s a selection of imagery from a campaign shoot completed earlier this year in Las Vegas for our agency’s client, Las Vegas Market.

Firstly, when not shooting personal work, I am a photographer at Mode (http://studio.madebymode.com). So, I want to note that this was a project with multiple folks involved — stylists, art directors, producers, crew. You may find my personal work on IG – @maximushka

This was a very different project for me and led me out of my comfort zone, but being the sole photographer at an agency, you end up working with different subject matter, styles, etc., and try to figure things out and make them happen, preparing/learning the best you can… While hoping to maintain a certain aesthetic caliber.

In my photography work, I barely do any actual retouching, other than working on color and some very light clean up. I’m drawn to raw, pure beauty and beautiful light. With this project, I had to do full compositing (second time I’ve done this in my life). It went against my preference for authenticity but was certainly an interesting challenge. Would have loved to shoot this on location, but many factors prevented the project from taking that direction.


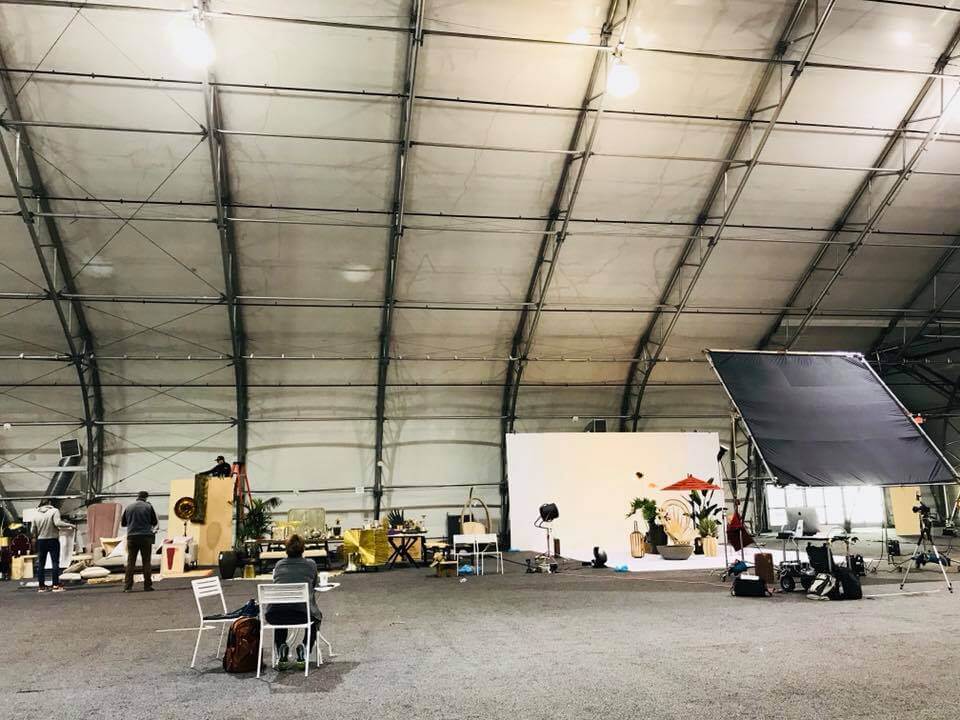
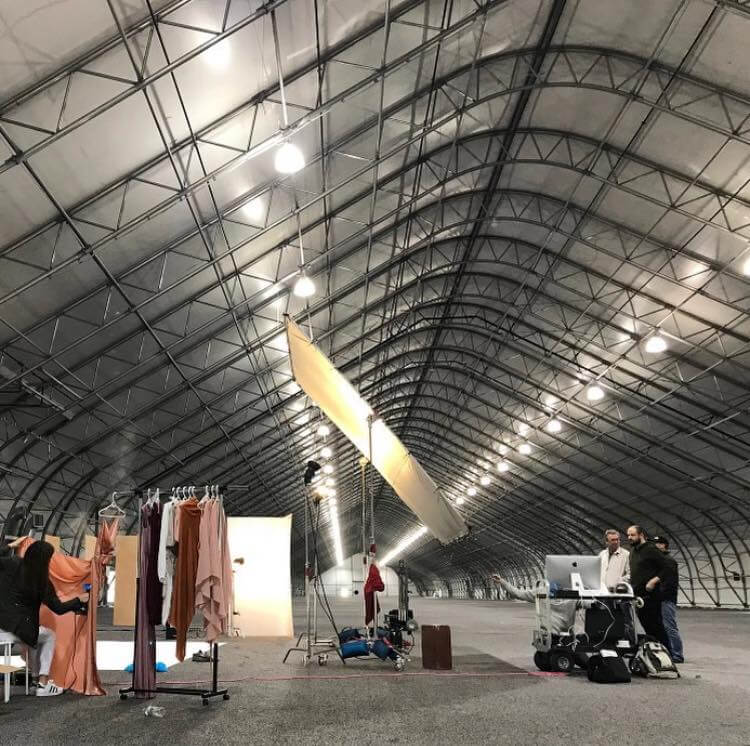
This project was shot in a “studio” — a large pavilion on the grounds of International Market Centers in Las Vegas. After taking photos of desert scene plates first, we had a large white set in the pavilion and tried to match lighting to those desert landscapes, where the light was dramatically coming from behind. The white set allowed for the actual shadows to be preserved and carried over to the composite.

Lighting Setup, 4 Lights (rented Profoto Pro-8a):

– One light with orange gel pointed towards the white wall behind the model to create bounced glow, mimicking the glow of the desert sky.

– Another light, also with an orange gel, was pointed towards the back of the scene and facing the camera. This light defined the shadows more and also created some nice sun-like flares, so we kept moving it depending on where we needed the flare.

– Then, slightly in front of the camera, there was a 12×12’ ultra bounce with two heads firing into it for subtle fill and shadow detail, so we’d have a good tonal range to work with for compositing.

Regarding post-processing, I integrated the Infinite Color Panel, in the following way: After the base grade in Photoshop, multiple instances of ICP were used on Light mode at varying low opacities. The panel helped add further aesthetic complexities to the tones and hues of the images, better unifying the palette.

The project involved several of these different scenes as well as a later product shoot (that one was done without compositing). You may see some of the other images on my Instagram

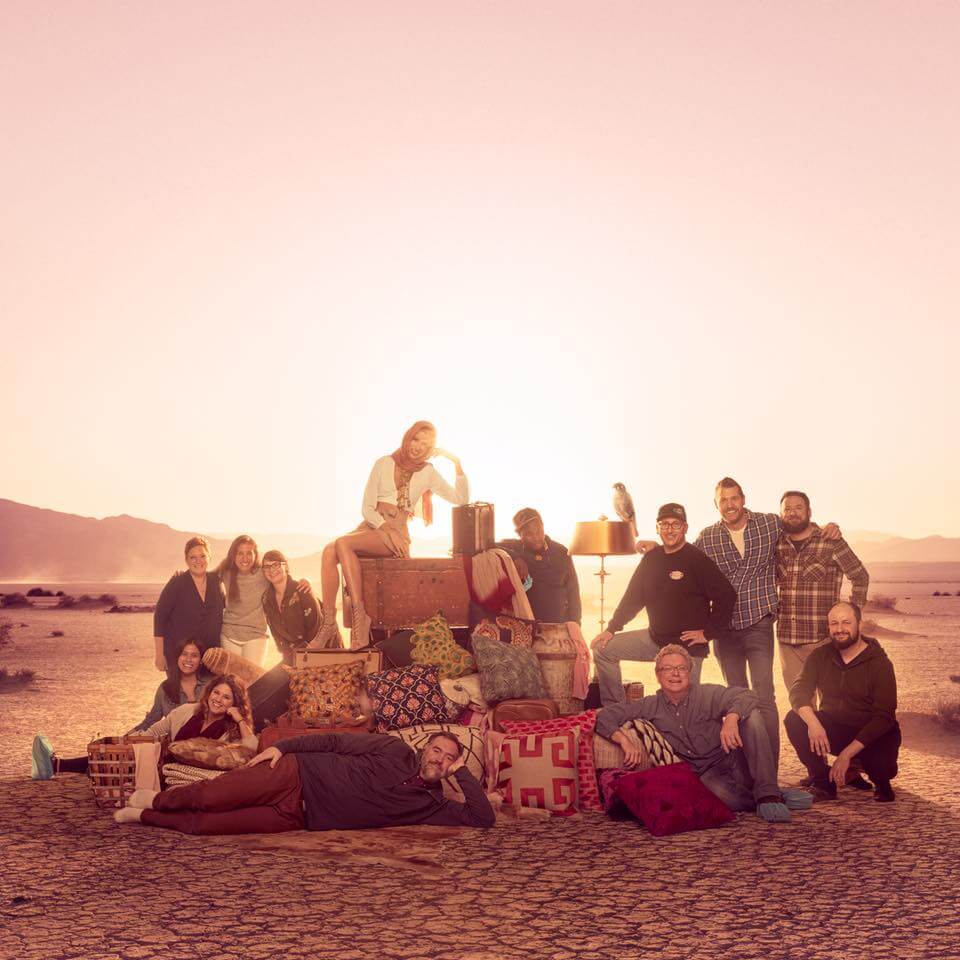
Lastly, here is a shot of the brilliant, creative minds, and collective team, behind this project.

_

Have you tried the panel yet? We’d love to see your creations! Get in touch on Instagram @infinitecolorpanel or the Facebook Infinite Color Panel group and show us your work.

If you haven’t tried the panel yet, get started here:  https://infinite-tools.com/infinite-color-plugin/
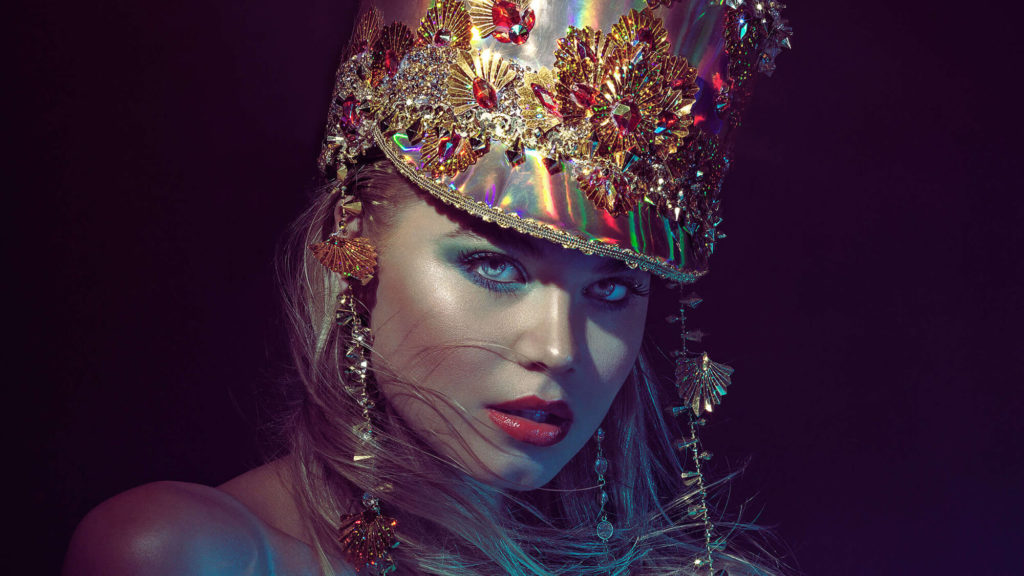
 

Creative Conversations with Photographic Virtuoso David Shoukry

Article written by Pratik Naik & Jonny Edward

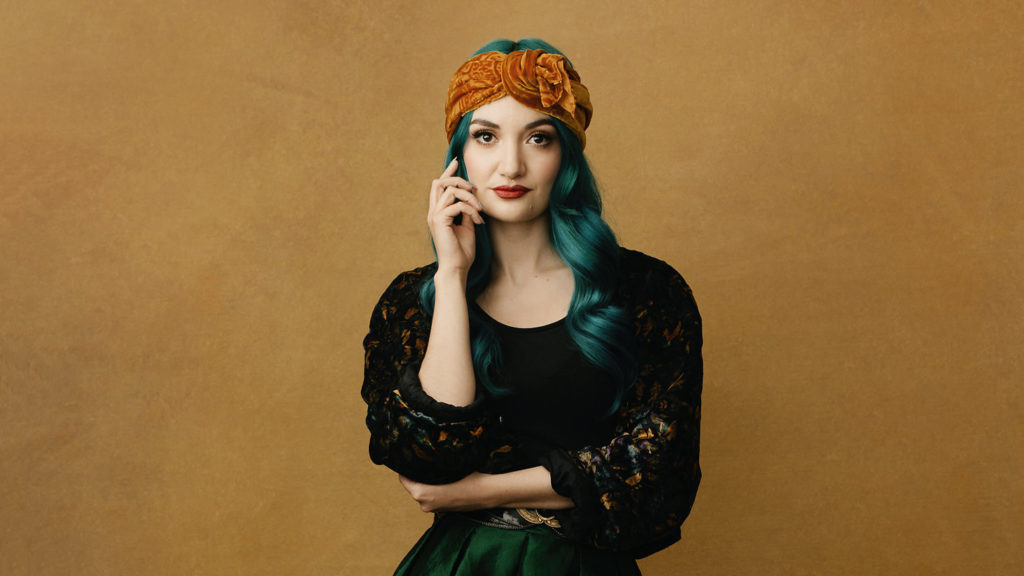
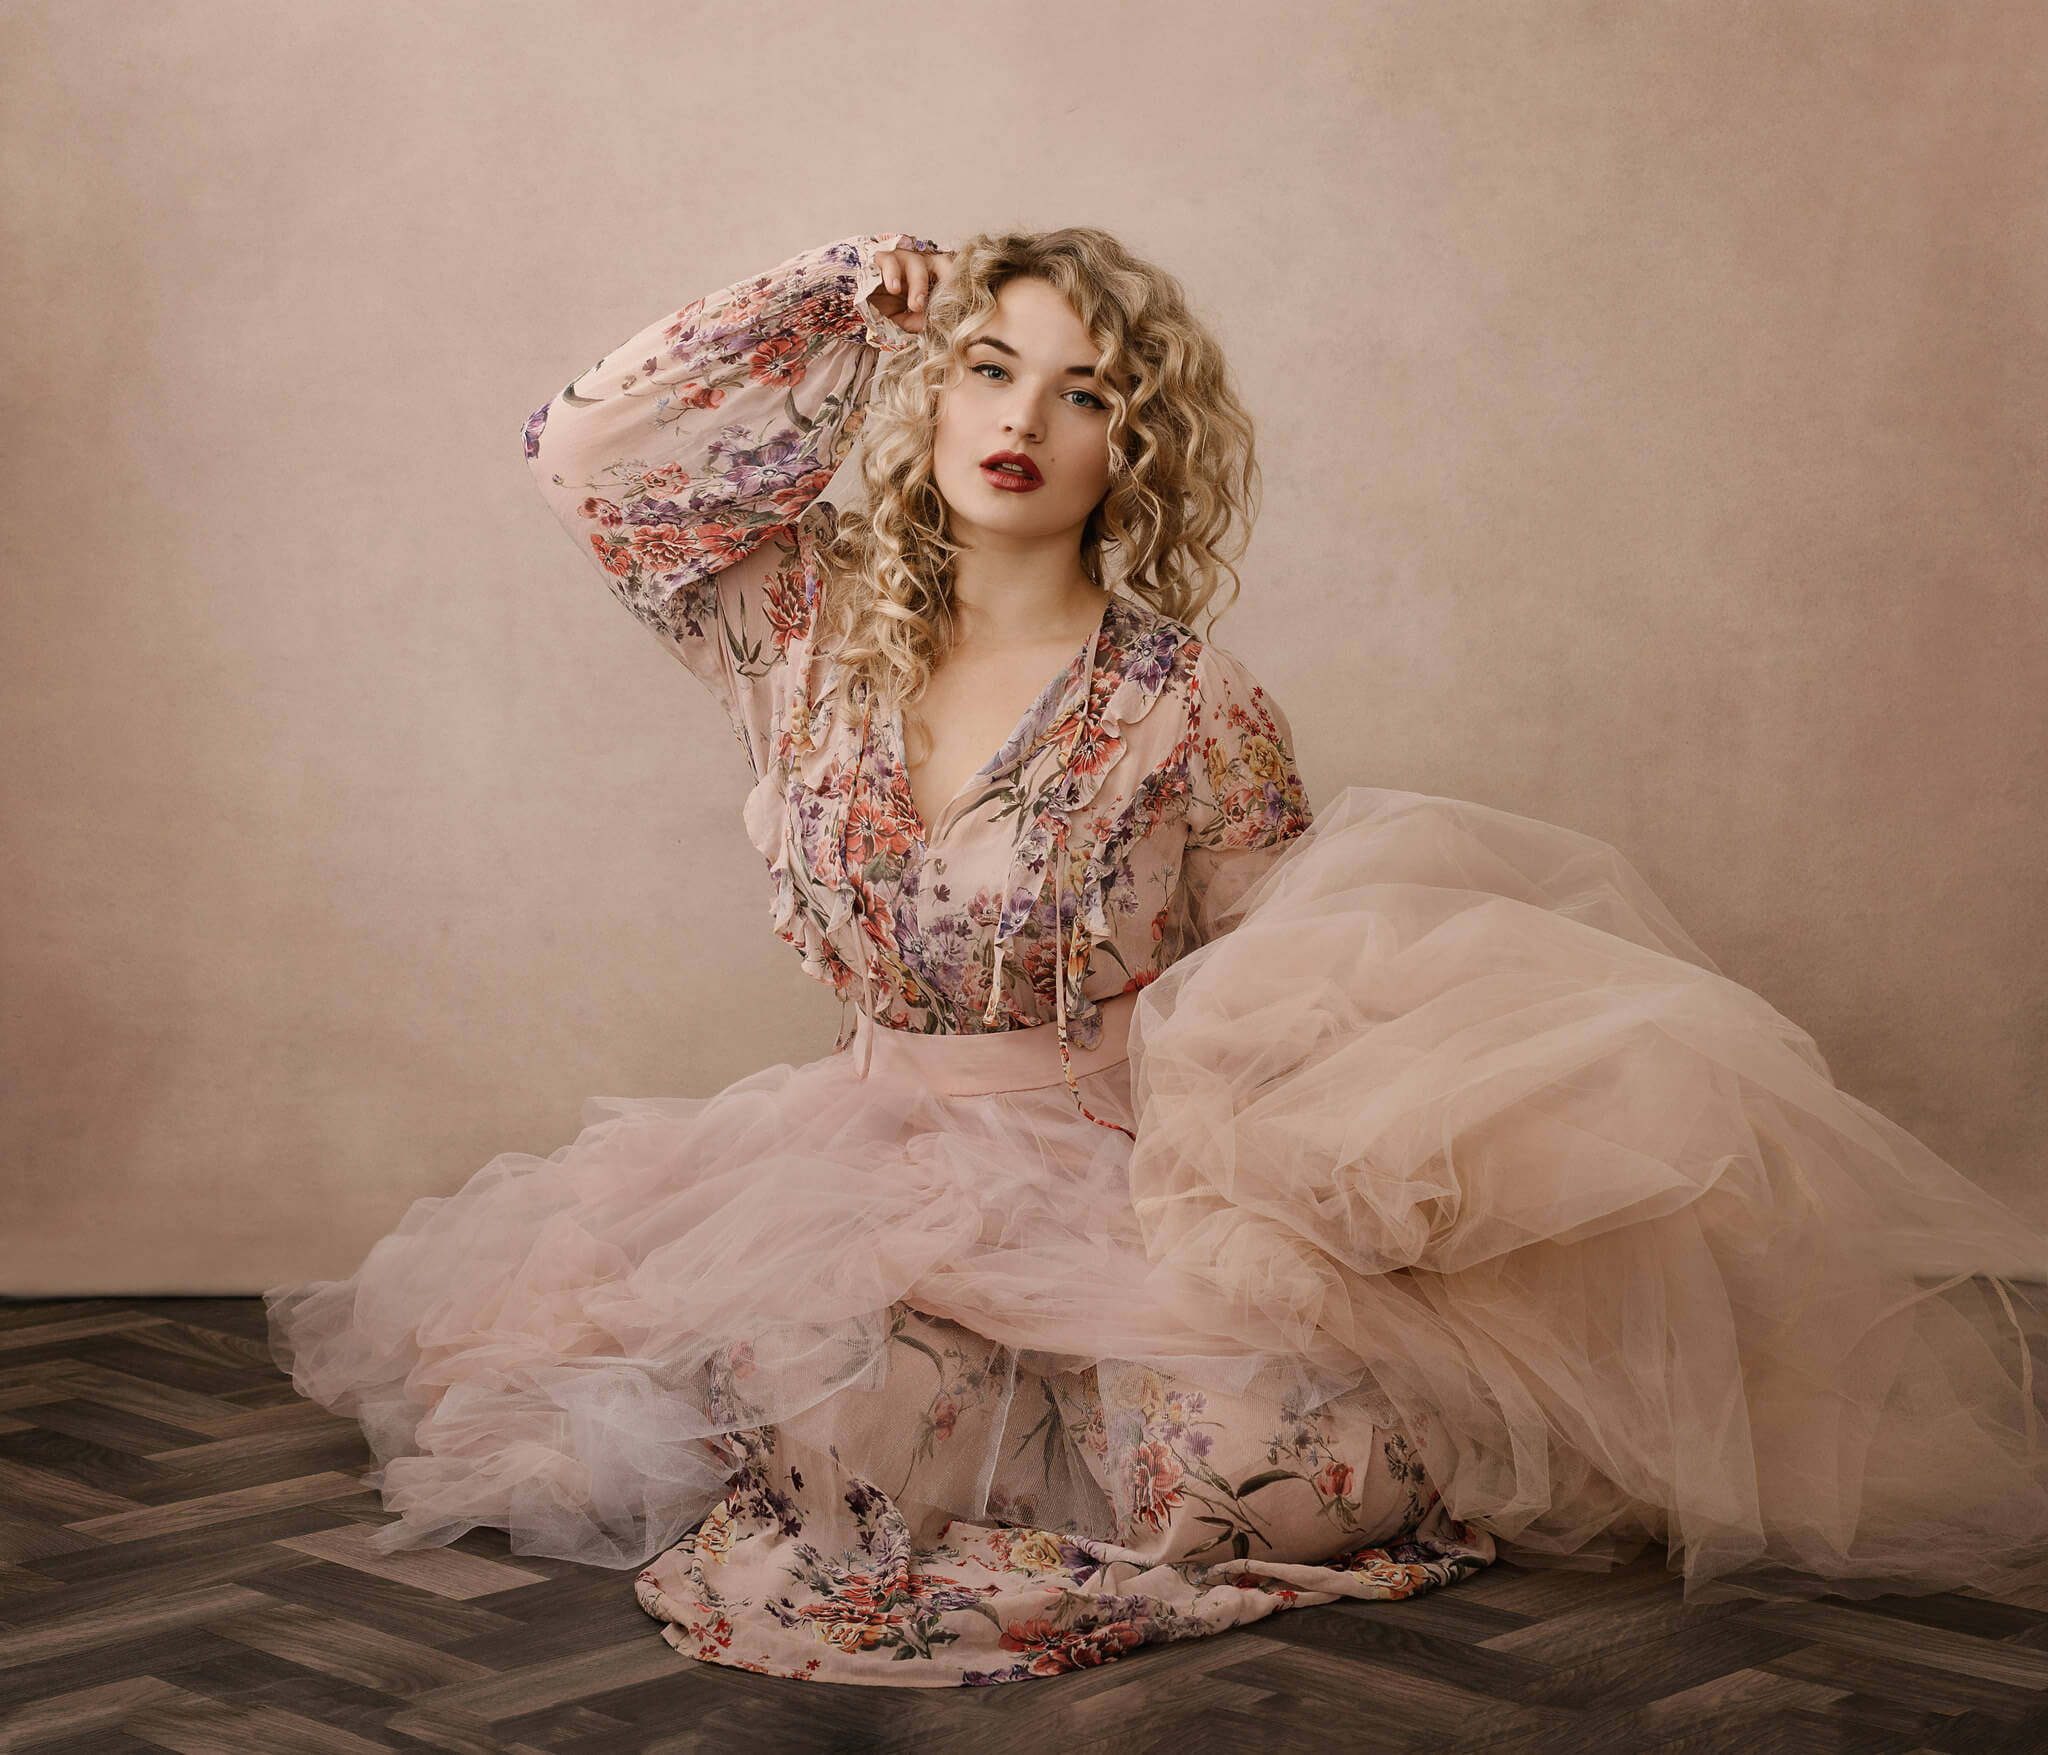
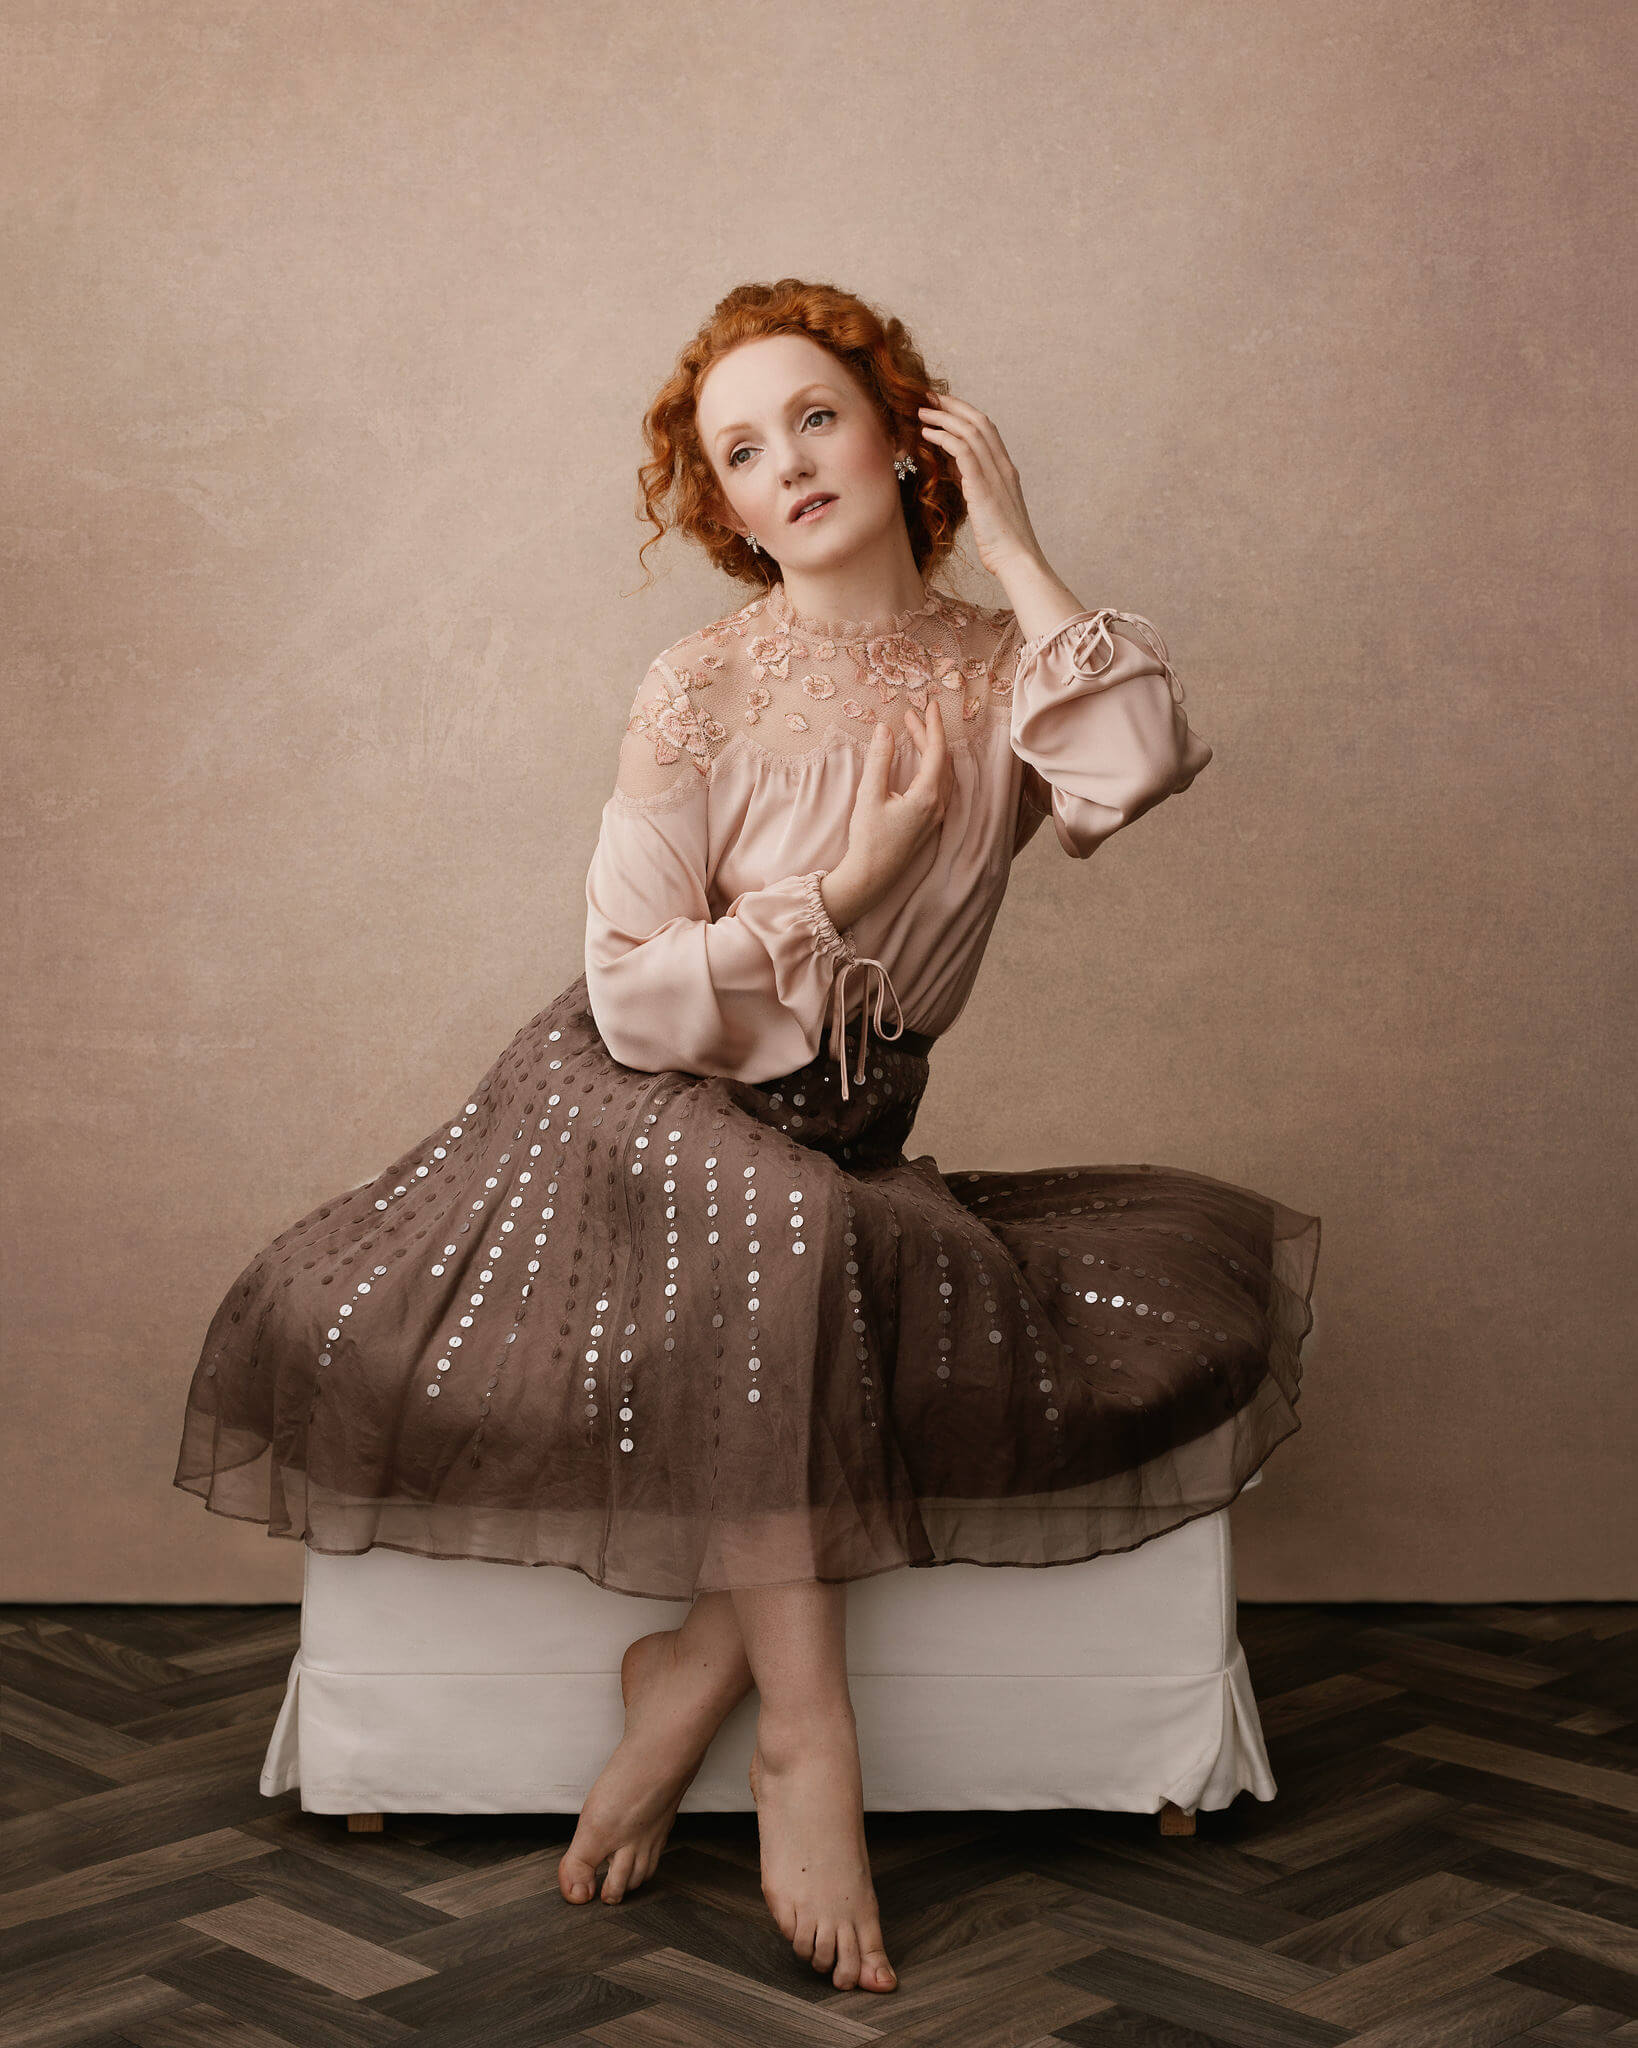
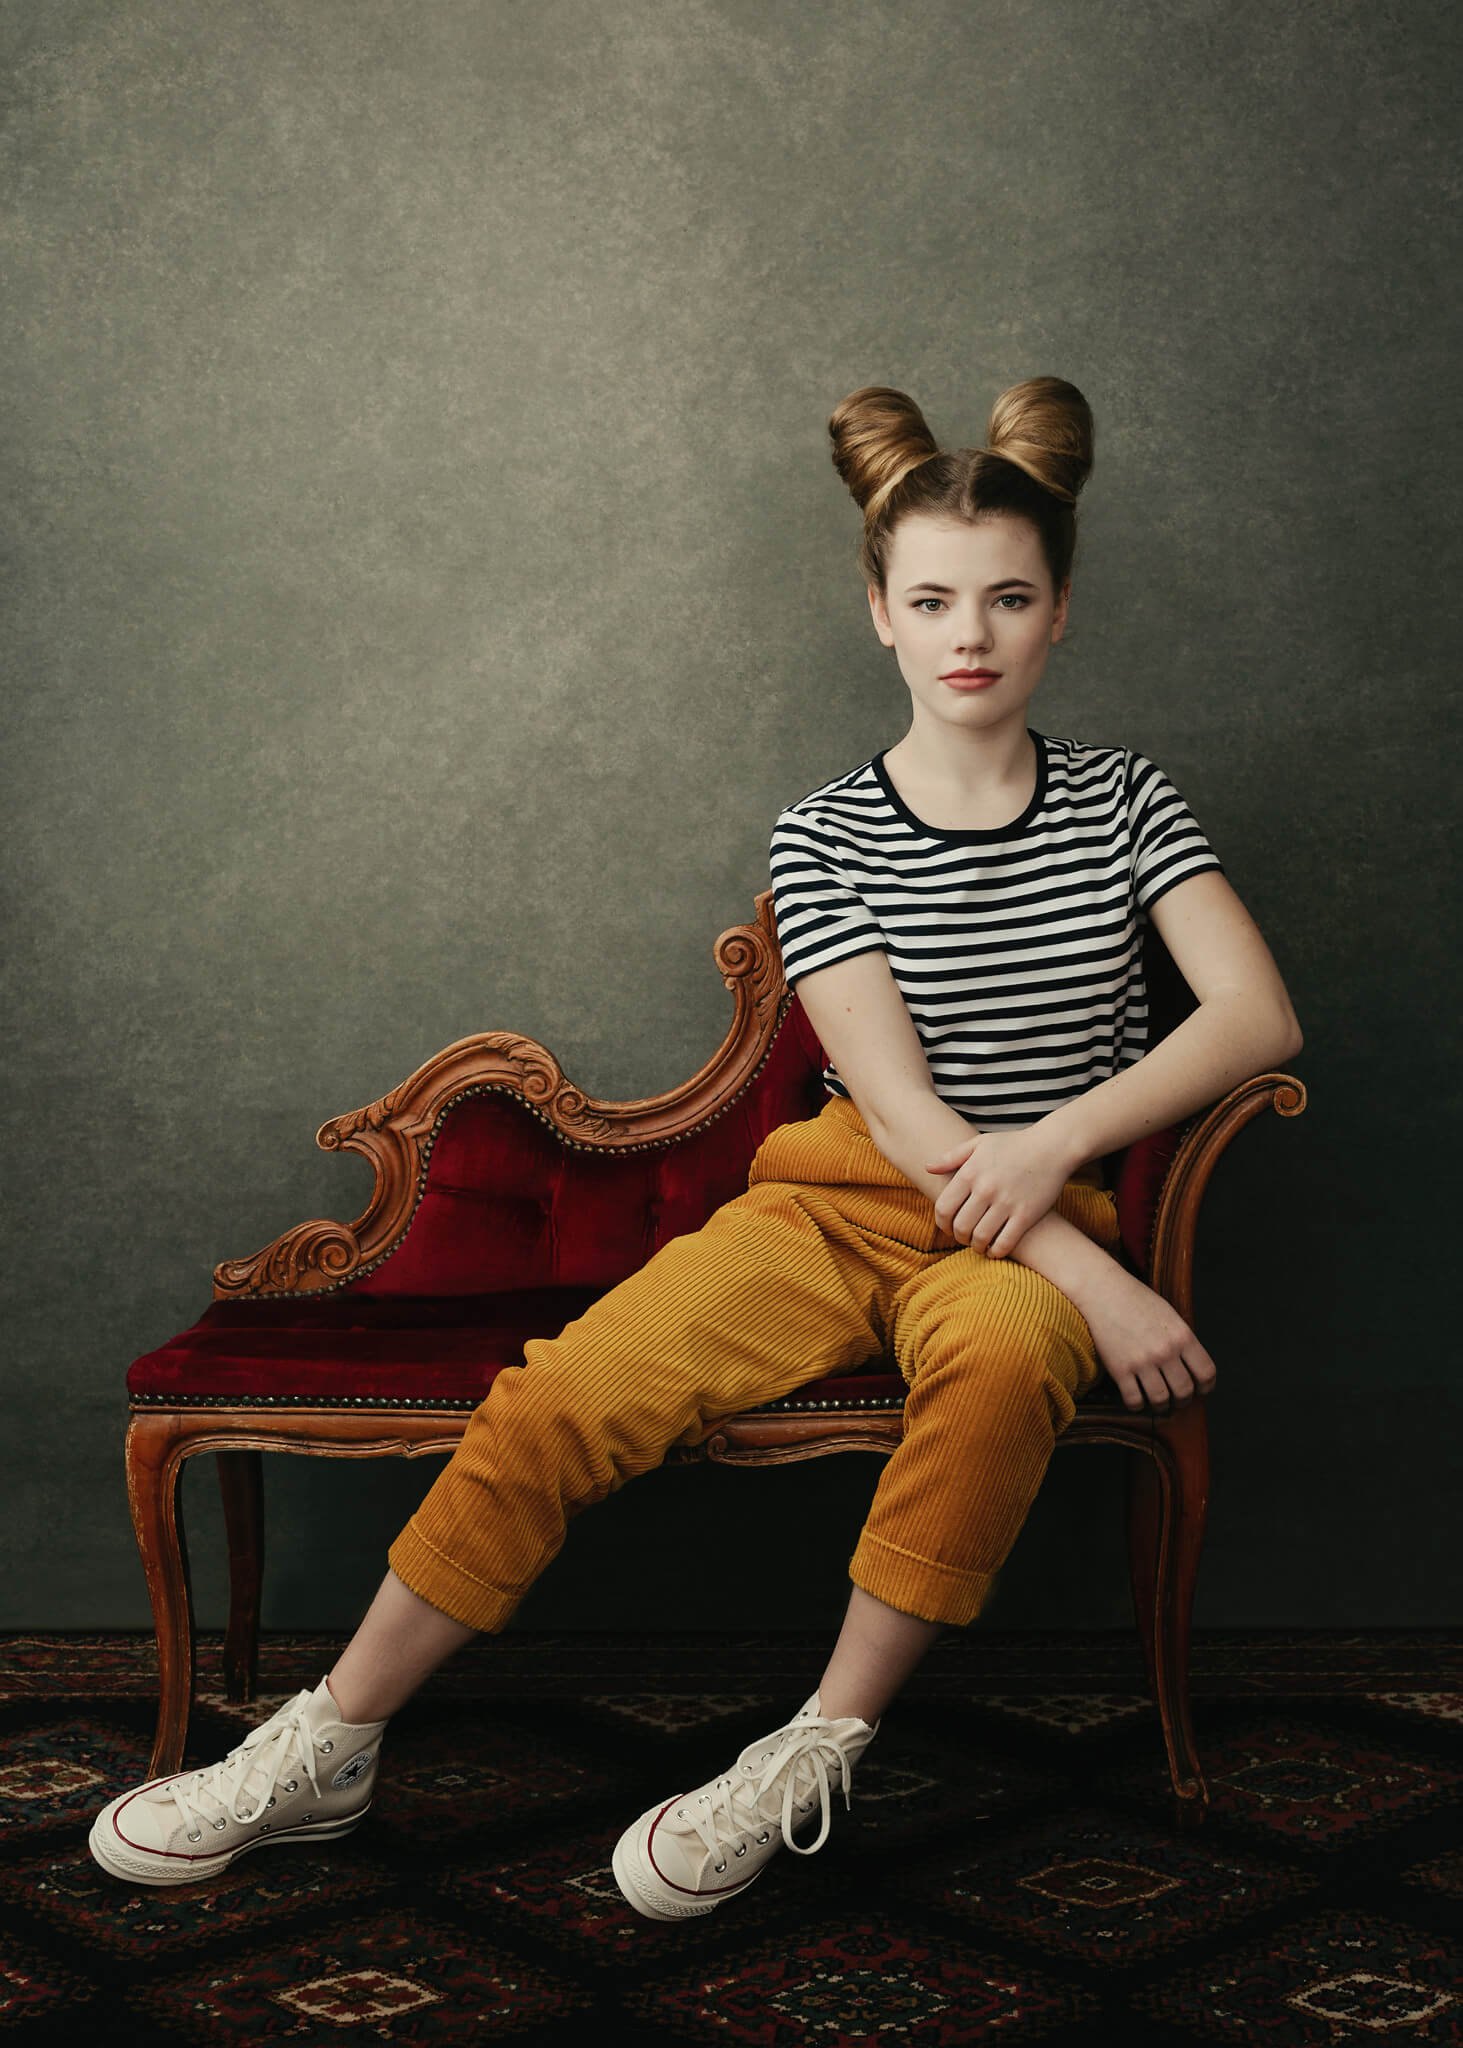
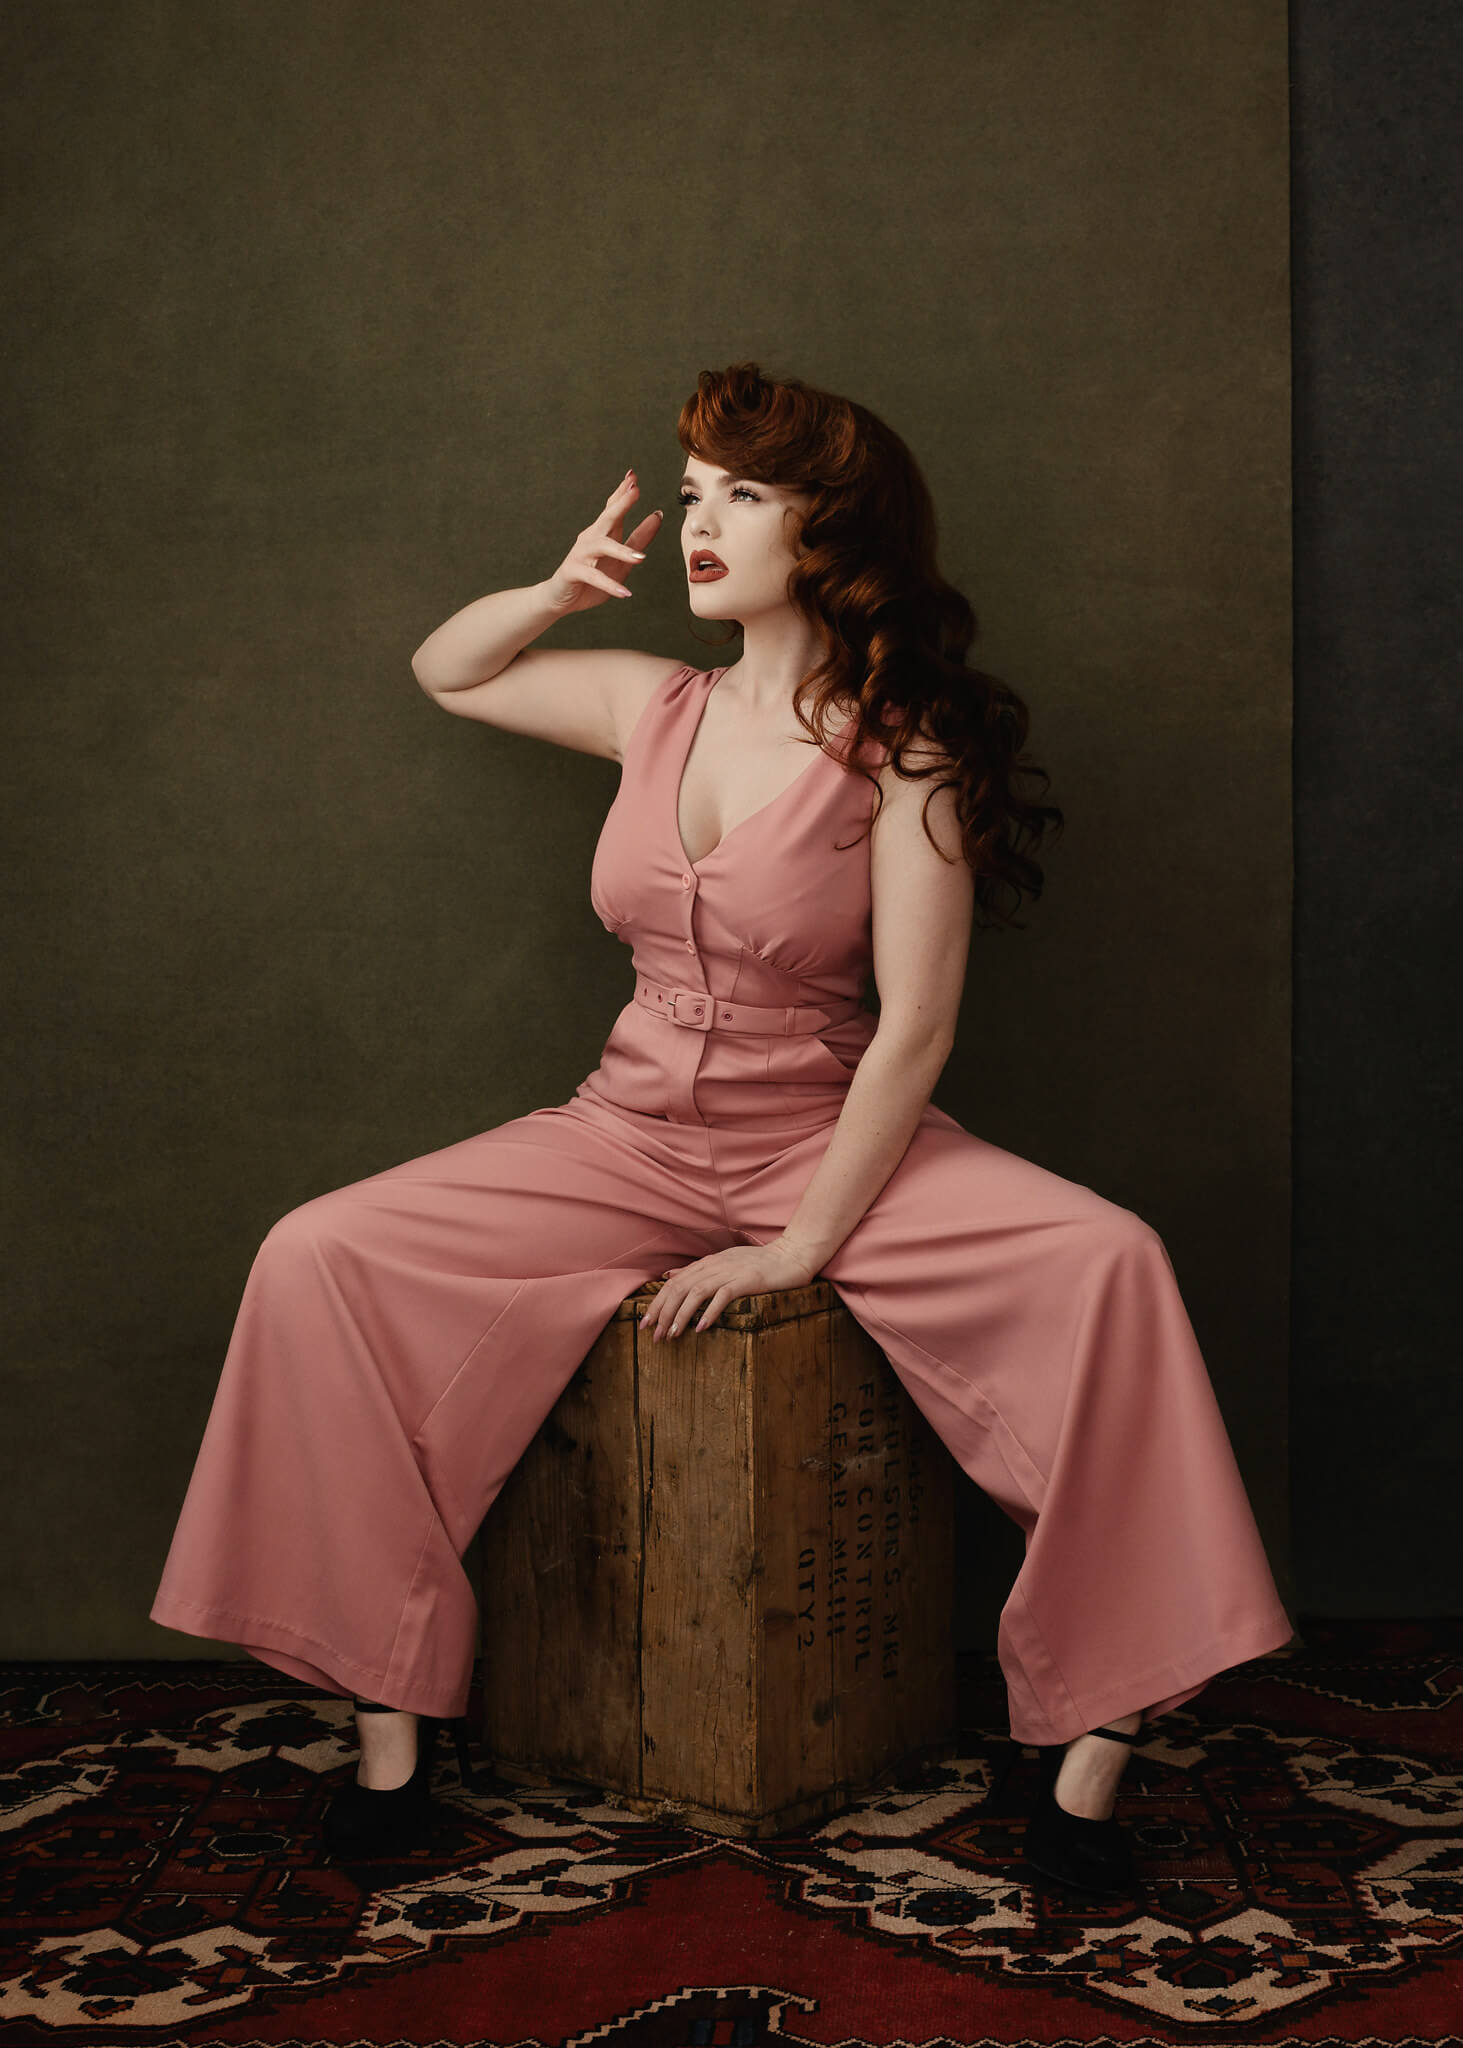
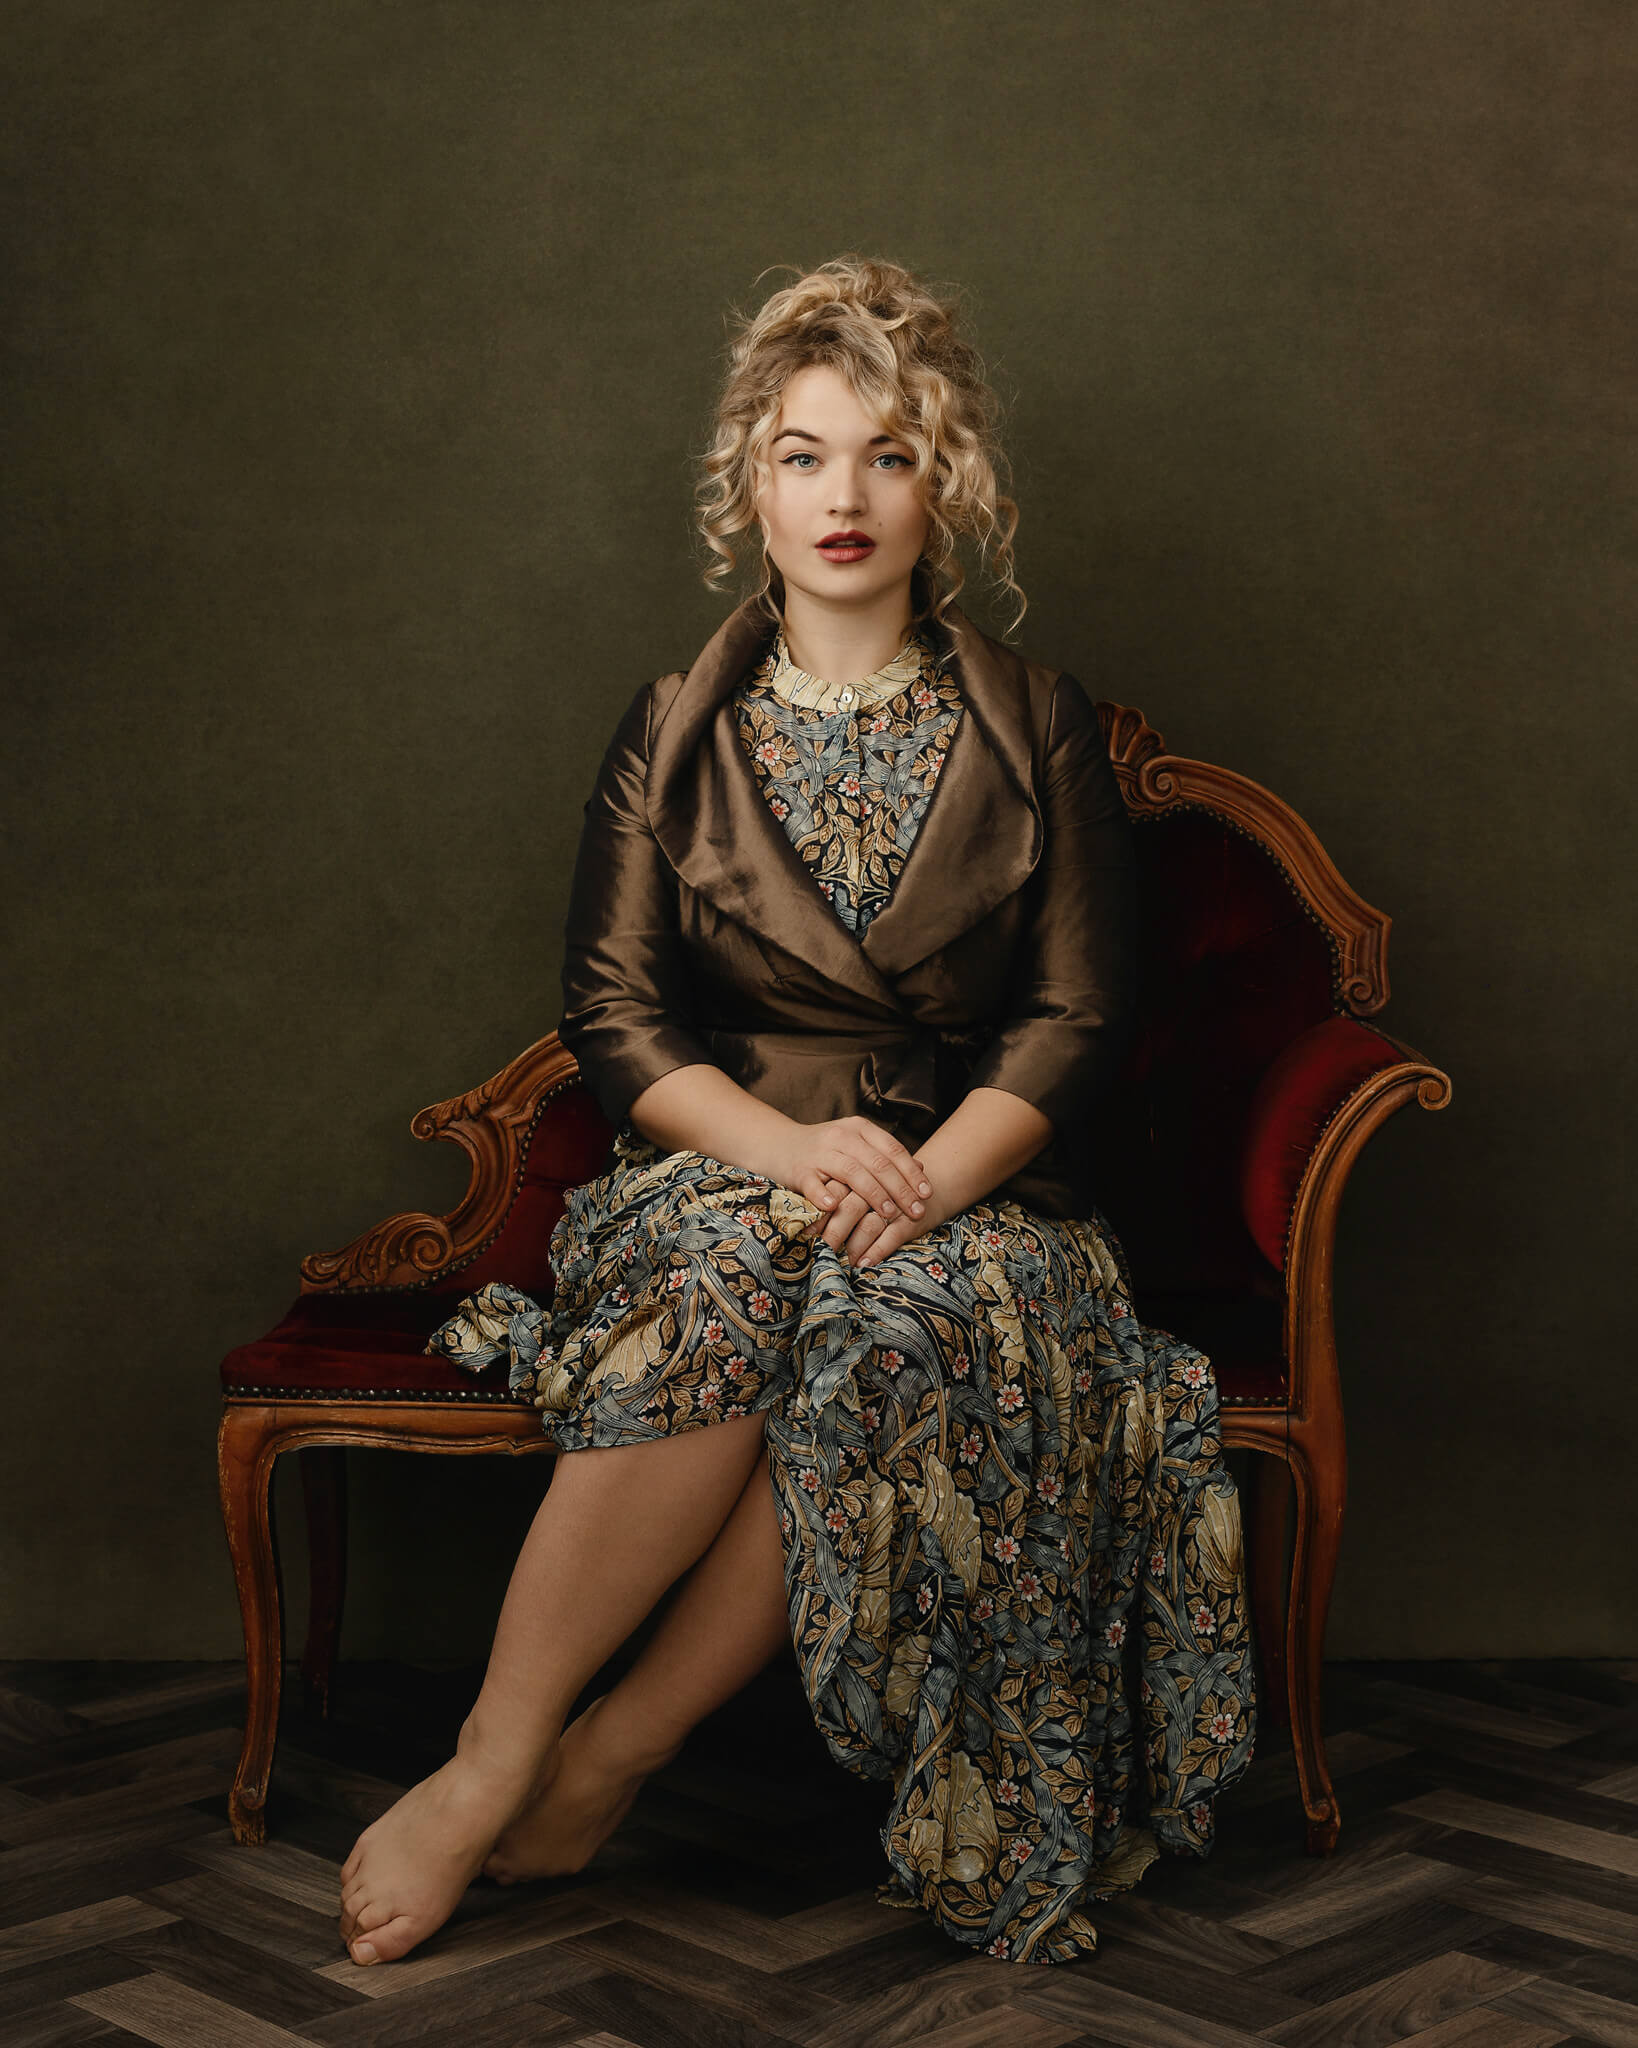
To us, David’s brilliant photographic art is reminiscent of the great masters of painting. Elegant, classic, and altogether cohesive. There is a strong sense of maturity, both in what he creates and how he approaches the creative process. We’re delighted to bring you this Creative Conversation, wherein we explore the man and artist behind the ever-growing collection of unique, modern-day masterpieces.

Do take a moment to follow David on Instagram. To see more of David’s spectacular photography, or learn about his workshops, head over to his website.

There is so much humanity in your images, how do you achieve such a relaxed state of emotion with your subjects? I know you personally, and you have an extremely warm and welcoming vibe. Do you think someone’s character plays a significant role in the emotions they’re able to evoke from their subjects?

Yes, I think that’s true. It doesn’t matter whether you’re shooting a seasoned model, performer or someone who’s never been in front of the camera: everyone feels vulnerable, to a degree, in the shoot. I think it’s pretty common for people to feel self-conscious initially, and part of my job is to help people feel at ease. I think a big part of that is just being natural, confident and taking control of the shoot. Once people can see that the shoot has direction, a plan and is moving efficiently, they become more at ease, and things generally work well. I always shoot tethered in the studio, which allows me to show the client how things are progressing through the session. Communication is key: even people who shoot often like to have feedback and reassurance that things are going okay, so I talk to people!

I love the elegant simplicity in your work; although it’s mainly just you and the model, the final product looks so regal. Are there certain choices you consider before making your background, styling, and floor/chair choices for each shoot?

The inspiration for much of my work is old painted portraiture, whether it’s in the posing, furniture or colour schemes. My feeling is that the old masters’ pictures have survived and been revered for very good reasons, and I’m able to tap into that and be creative! We stand on the shoulders of giants in the history of art and design, and I’m happy to learn from the masters. I have a pretty decent selection of furniture, almost all of it thrifted, and I just try and match that up as best I can with wardrobe, styling, etc. Although I like to approach shoots with a good general plan, I can’t do it all myself, so I’m lucky to work with four hair & makeup artists, all of whom have a good eye for wardrobe, styling, colour choices etc. Over the years I’ve amassed a pretty good stock of backdrops, floors etc, so there’s a degree of flexibility and potential for plenty of variety.


When it comes to posing, many people find it difficult to position, and direction, people’s hands. It’s usually an indication of how comfortable someone is, and heavily influences how at-ease they seem. Do you provide much guidance when it comes to posing people’s hands or do you let them do what they want?

This is a, really important point, and people definitely communicate any kind of discomfort or self-consciousness through their hands! I photograph mostly professional performers (singers, actors, models etc.) so they’re generally used to thinking about hands, and know their angles. For clients who aren’t used to being photographed much, they do need help with how to place hands. I keep any posing direction simple, and with hands, I try to limit it to positions that people would do naturally (outside of a shoot situation), and make sure that they don’t have any ‘defensive’ hand posing.

Your color choices seem very deliberate on set, is it the same in post-processing; do you always know where you want to go? How do you decide?

Yes, the colour schemes for my shoots are almost the first thing I think about. I try to have as much input into wardrobe choices as I can (not always possible with clients, but it’s generally not an issue). Clients will often have a range of choices which I can help them narrow down, or in some cases, they’ll be purchasing wardrobe especially for the shoot, in which case there is even more freedom. My colour schemes are based around old, time-honoured methods: mostly via a cardboard colour wheel (like the ones they give you at school). I most use triadic colour schemes, a single dominant colour, or complementary colour pairs. I also like to consider fabric textures. If you’re shooting a set which is mostly a single dominant tone, breaking up the textures is an important way of avoiding a ‘mushy’ and indistinct look.


As a part of our community, what are some of the reasons you use the Infinite Color Panel? Has it done anything for you that you wouldn’t have expected, prior to integrating the Panel into your workflow?

I’m pretty much obsessed with colour and feel that it has the potential to inspire an almost limitless range of emotional responses! With the colour grade in all my images I like to begin with a broad tonal palette and decide if I’m going for warm or cool tones – I’m naturally drawn to a cooler palette, but that’s just personal preference. With Infinite Color, I’m able to really refine the grade and produce a unique look for each shoot. I love the fact that I’m able to save ICP layers stacks within the Photoshop Library: it means I can bring the ‘vibe’ of one shoot to something else later on. An area that I always have to be careful with is colour saturation: if I’m not careful I have a tendency to over-saturate at times. The ‘Harmonize’ feature of ICP is a very good way of pulling me back from my worst saturation crimes!

What is your favorite feature of Infinite Color?

The thing I find amazing about it is its ability to randomise parameters in Photoshop, and actually return usable results. I like to use it as a final polish to my work. I find that, if I’m not careful, I can slip into making ‘habitual’ decisions about colour work. Infinite Color helps me to avoid that by providing me with a wide selection of other choices.

Do you a favorite adjustment layer that you like using a lot? If so, why?

For colour work I tend to make most use of the Selective Color and Color Balance layers. Selective Color is very powerful for working with skin, so I add and remove tones from the reds and yellows to get the desired skin tone.

_

Have you tried the panel yet? We’d love to see your creations! Get in touch on Instagram @infinitecolorpanel or the Facebook Infinite Color Panel group and show us your work.

If you haven’t tried the panel yet, get started here:  https://infinite-tools.com/infinite-color-plugin/
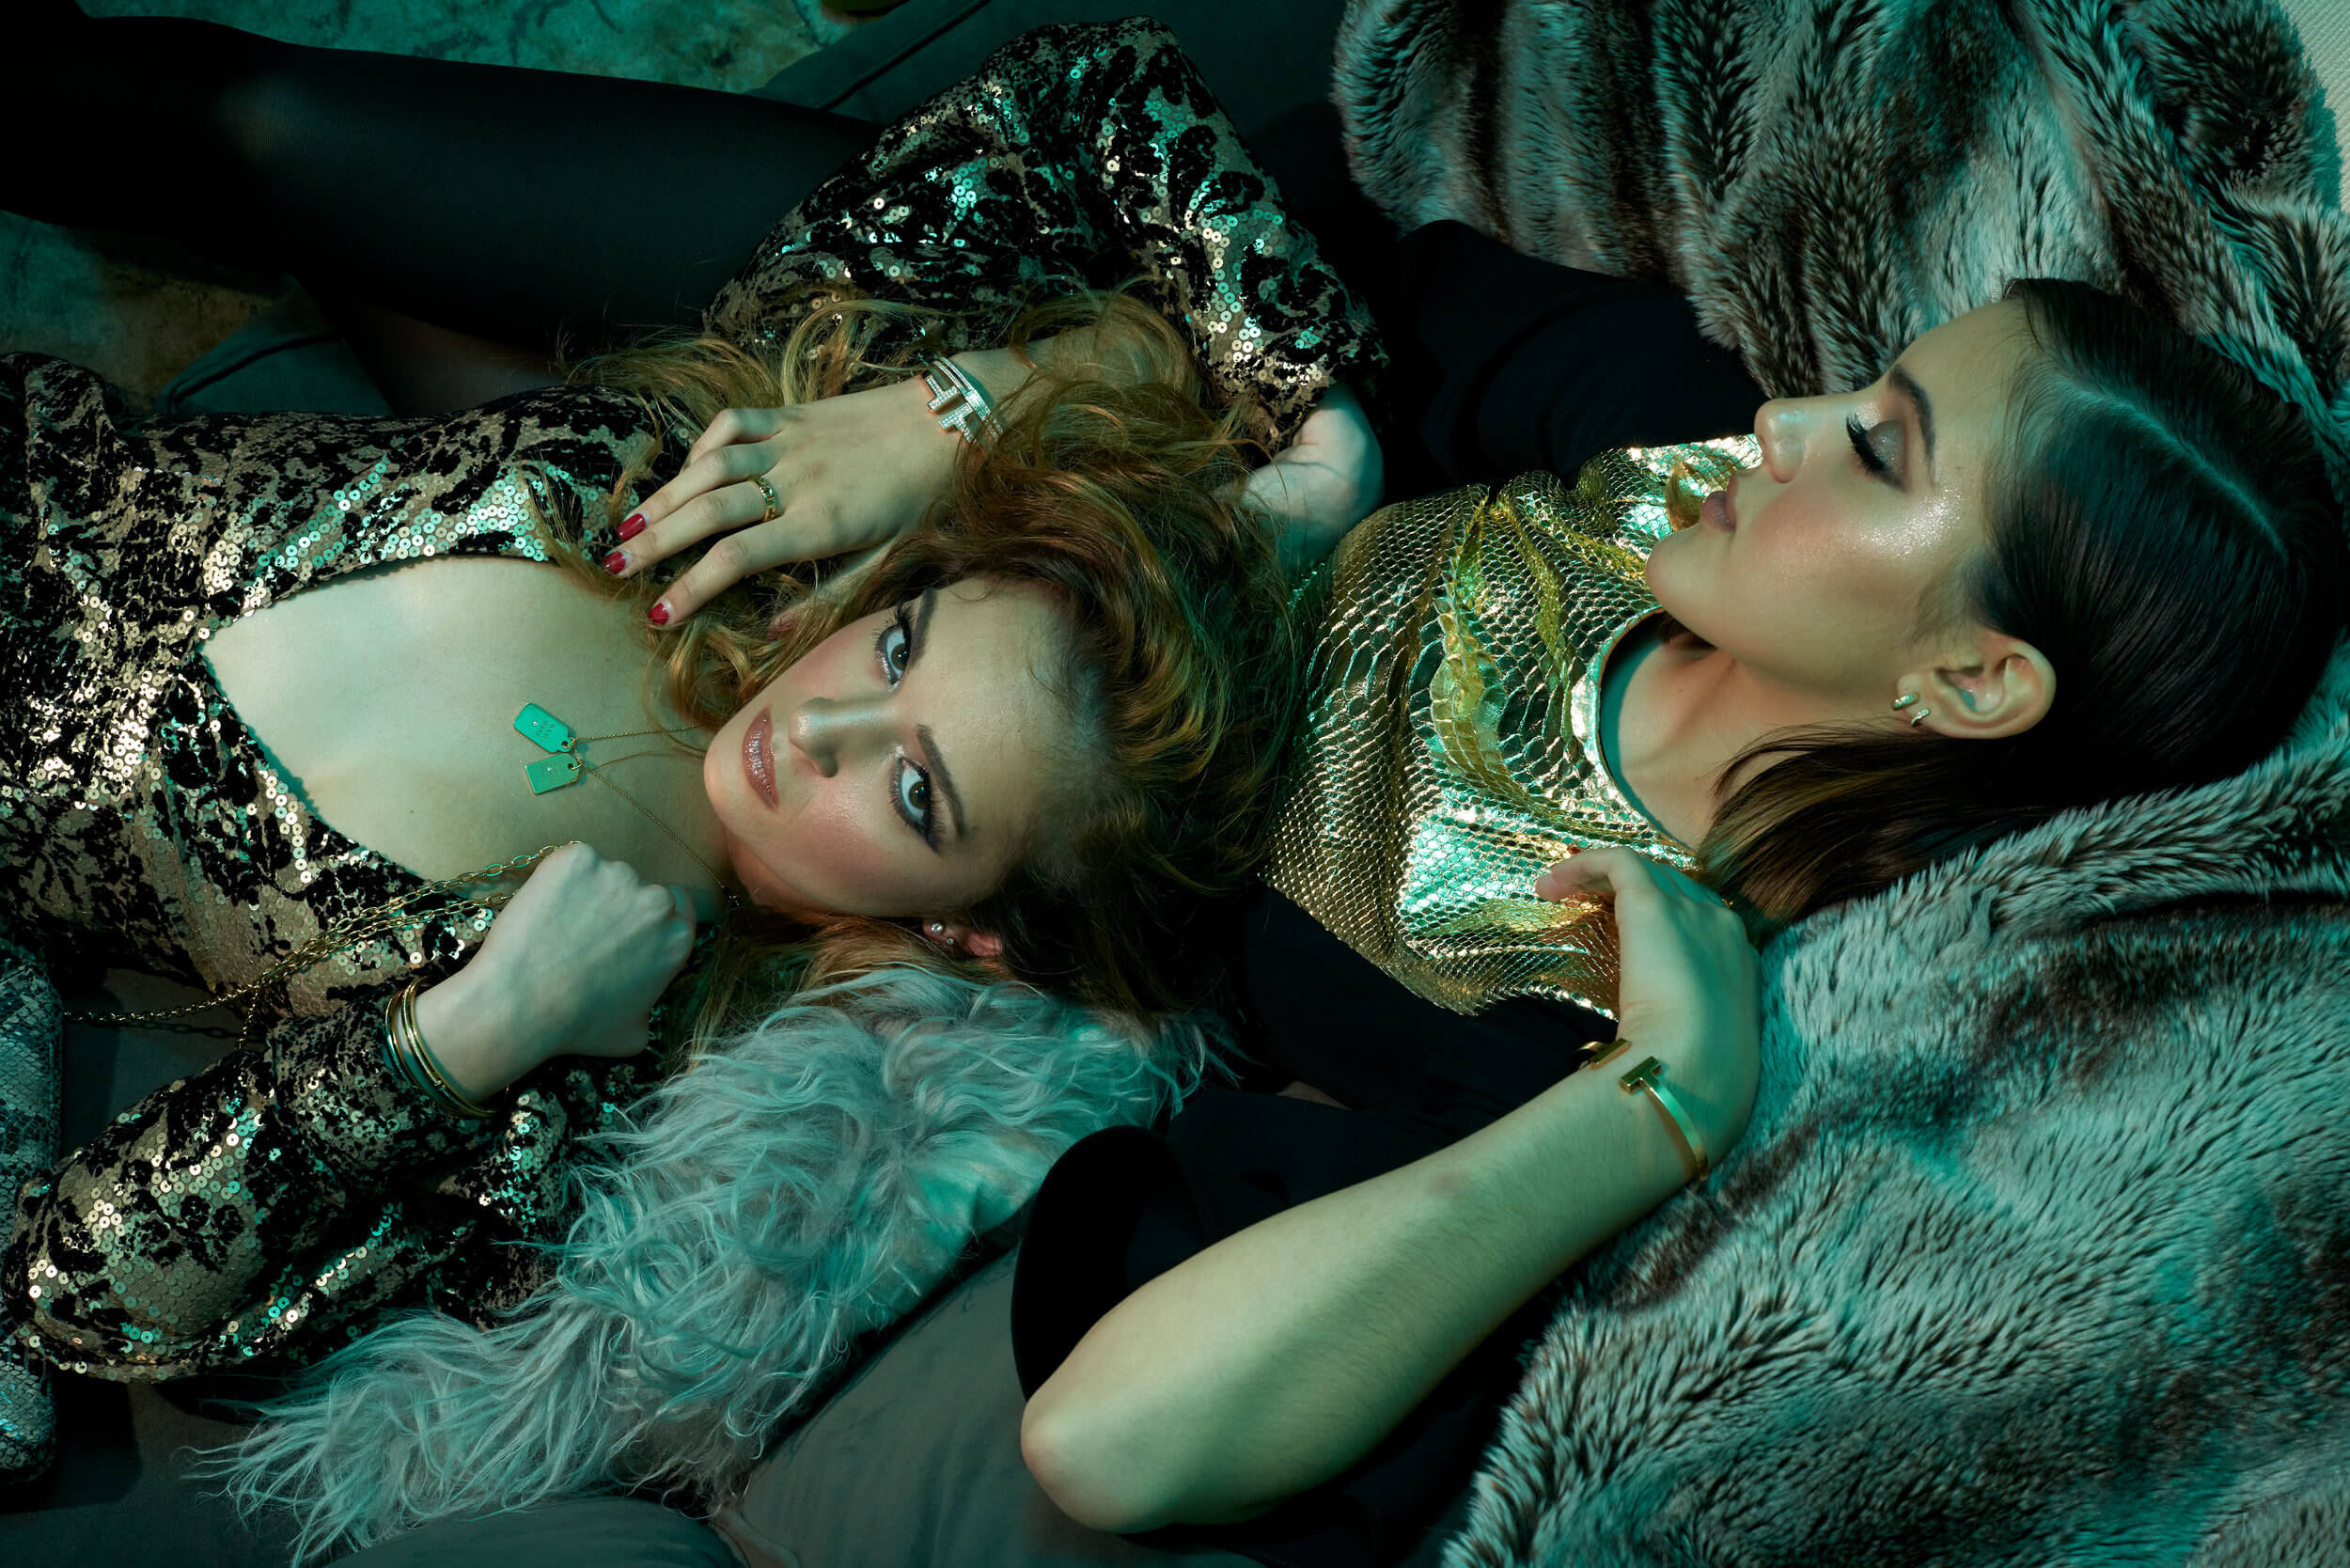
 

Infinite Insights with Javier Alejandro

Insights curated by Pratik Naik & Jonny Edward

We’re happy to introduce a brilliant artist, and recent addition to the Infinite Color digital community, Javier Alejandro. Immediately, we were awestruck by Javier’s creative composites and unique use of color. We think that you’ll enjoy Javier’s work as much as we do!

Follow Javier on Instagram or browse more of his work on his website.

Hi, I’m Javier Alejandro, and I’m a portrait photographer and digital artist!

I got into composite photography first as a necessity, when I started photography the only thing I had at that moment was a compact camera and an old computer with one of the first versions of Photoshop ever. I didn’t have equipment like speedlights, strobes, backdrops or any of those things a photographer would have in a studio, so I had to rely heavily on compositing to visualize what I have in my imagination.


I come up with concepts mainly upon looking at things and seeing them as what they can be instead of what they are. I believe that’s the key in compositing and life. Also, movies, music, and paintings are a huge inspiration for references and getting your ideas altogether.

I try to shoot everything myself but if there’s something that I can’t get access to, in reality, I buy stock images, or I make them as real as I can in CGI (computer-generated imagery). My models and my self-portraits are always shot in my camera.


My clients find me by promoting myself on Instagram or by word of mouth. My goal with them, as with all my work, is to find something hidden inside of us, that we may not even know we have!

Yes, my work is very “Photoshopped” as some people say, but it’s real to me and for other people to feel relatable. It helps me not feel alone. I started photography as a way to express myself because I couldn’t find words to tell people what I was feeling. My work always has a part of me in it. That’s what makes them so special and meaningful, especially my personal projects.

My work is about pain, empowerment, faith, rebirth, and freedom.

I use Infinite Color Panel because it lets me get a rich and pure sense of color with ease. I know I want a particular type of tone in my artwork and when I use ICP, it sometimes gives me the exact opposite as a base. Interestingly enough, it turns out to be even better than I wanted to begin with and allows me to study and understand color so much.

I don’t like using other color filters or third-party plugins because it’s destructive in that you can’t go back once it applies the effect. With Infinite Color, you can edit every single one of the adjustments if you want to change something to make it your own.

_

Have you tried the panel yet? We’d love to see your creations! Get in touch on Instagram @infinitecolorpanel or the Facebook Infinite Color Panel group and show us your work.

If you haven’t tried the panel yet, get started here:  https://infinite-tools.com/infinite-color-plugin/
 

Infinite Integration: Bruce Moyle Deconstructs his Creative Process

Integration crafted and curated by Pratik Naik & Jonny Edward

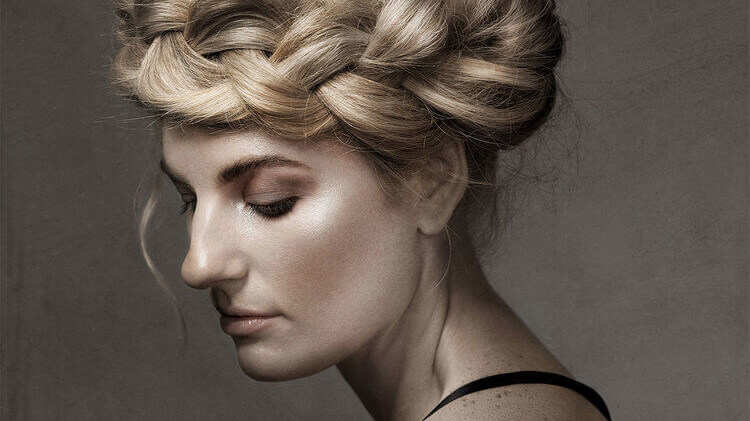
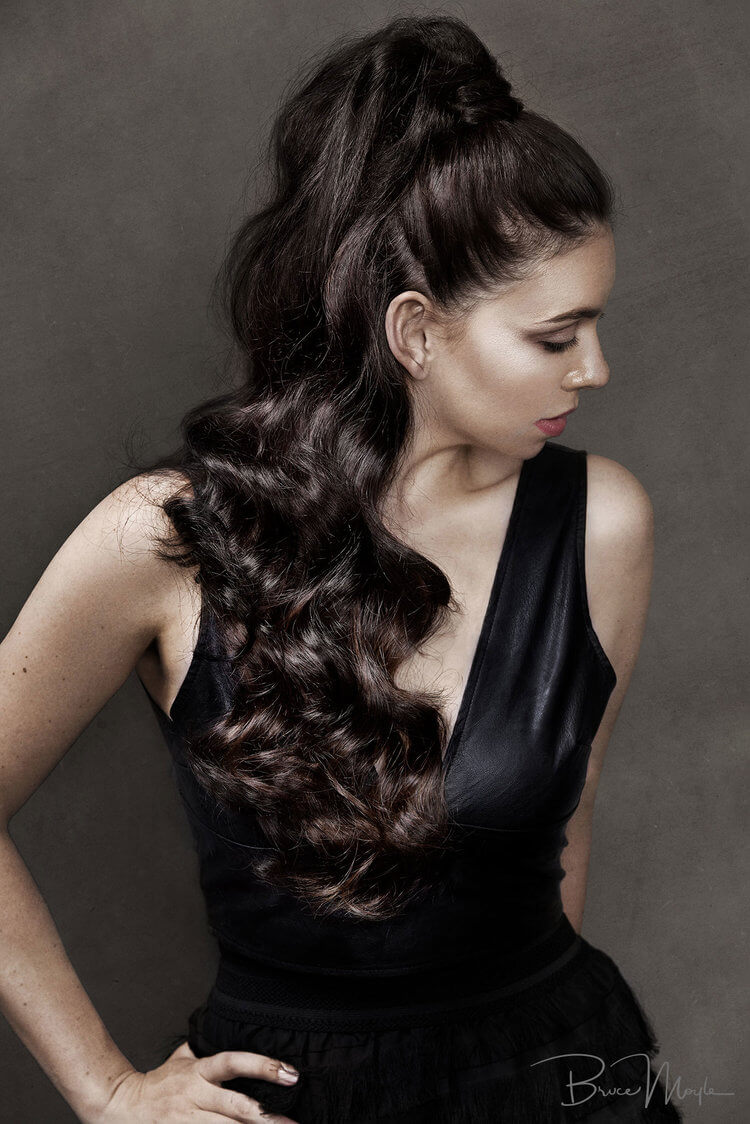
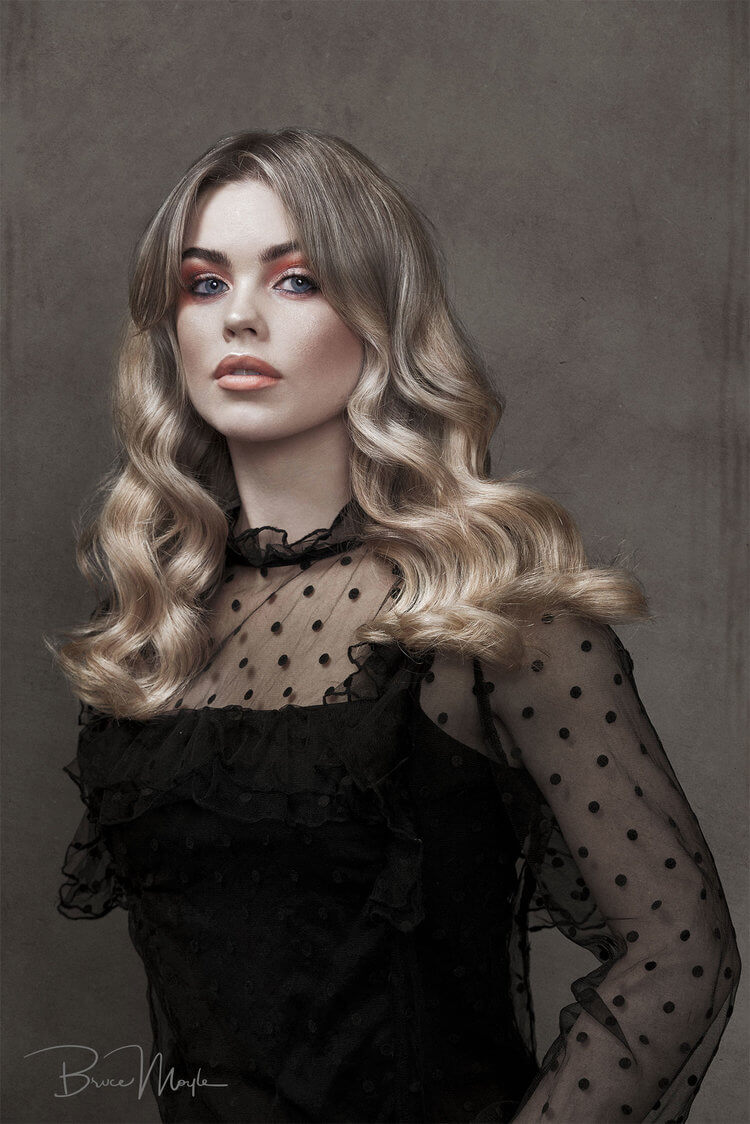
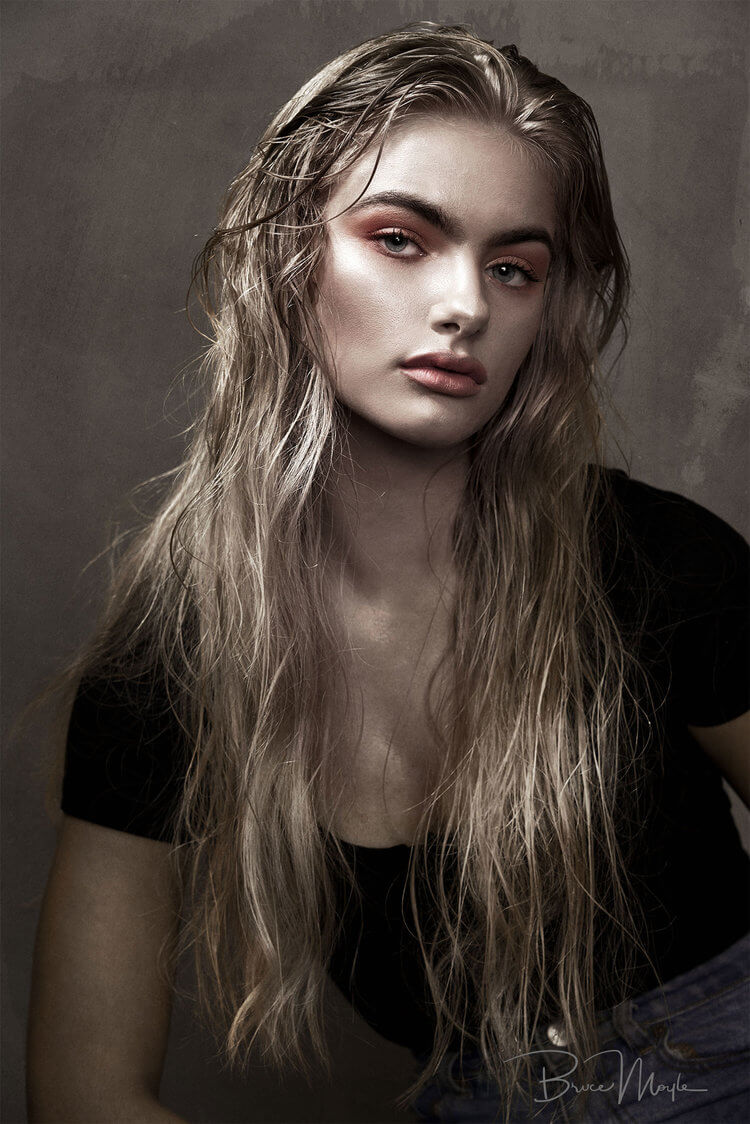
In this insightful creative exposé. Bruce Moyle breaks down his shoot for client Clare Dornauf’s entry into Australian Hair Industry Awards, from pre-production through post-production. We thoroughly enjoyed learning about how Bruce approaches and executes projects of this magnitude!

You can see more of Bruce’s lovely work on his website. Also, be sure to follow him on Instagram!

The Brief

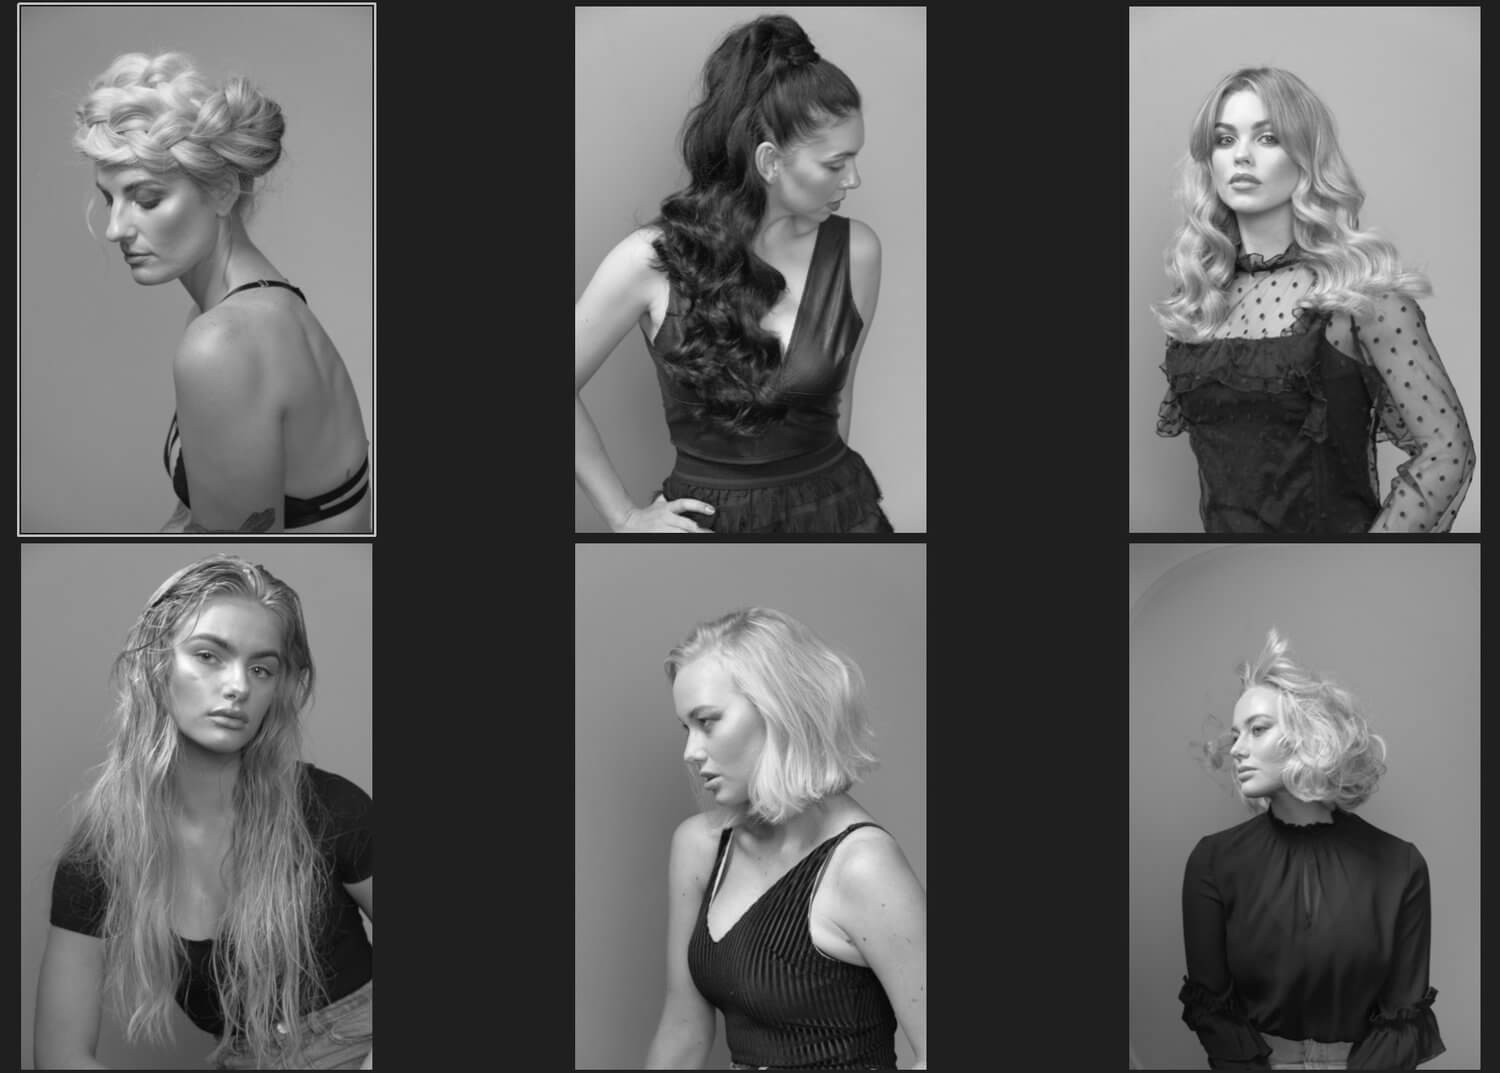
Create 6 striking hair images for Hair Stylist Clare Dornauf’s entry into Australian Hair Industry Awards.

Clare sent me a bunch of different styles and mood images which featured either black and white or heavily desaturated tones. Initially, we settled on a black and white look for the shoot. High contrast & full of detail. The key here wasn’t the models so much but their hair needed to stand out.


Pre-production

I always try to do location reccie if possible. This shoot was going to be held at Convict Cutters salon. They have had a makeshift studio for years which is generally a storage space. It’s small, cramped and full of all kinds of things with only a small amount of natural light and no access to power (the boxes around the room block the points). Not doing a reccie would have potentially made the shoot very hard, if not impossible. Planning in your head is one thing, knowing what you will run into is another. As they say “forewarned, is forearmed.” With this knowledge, I can build lighting and set plan to make the shoot go smoothly.

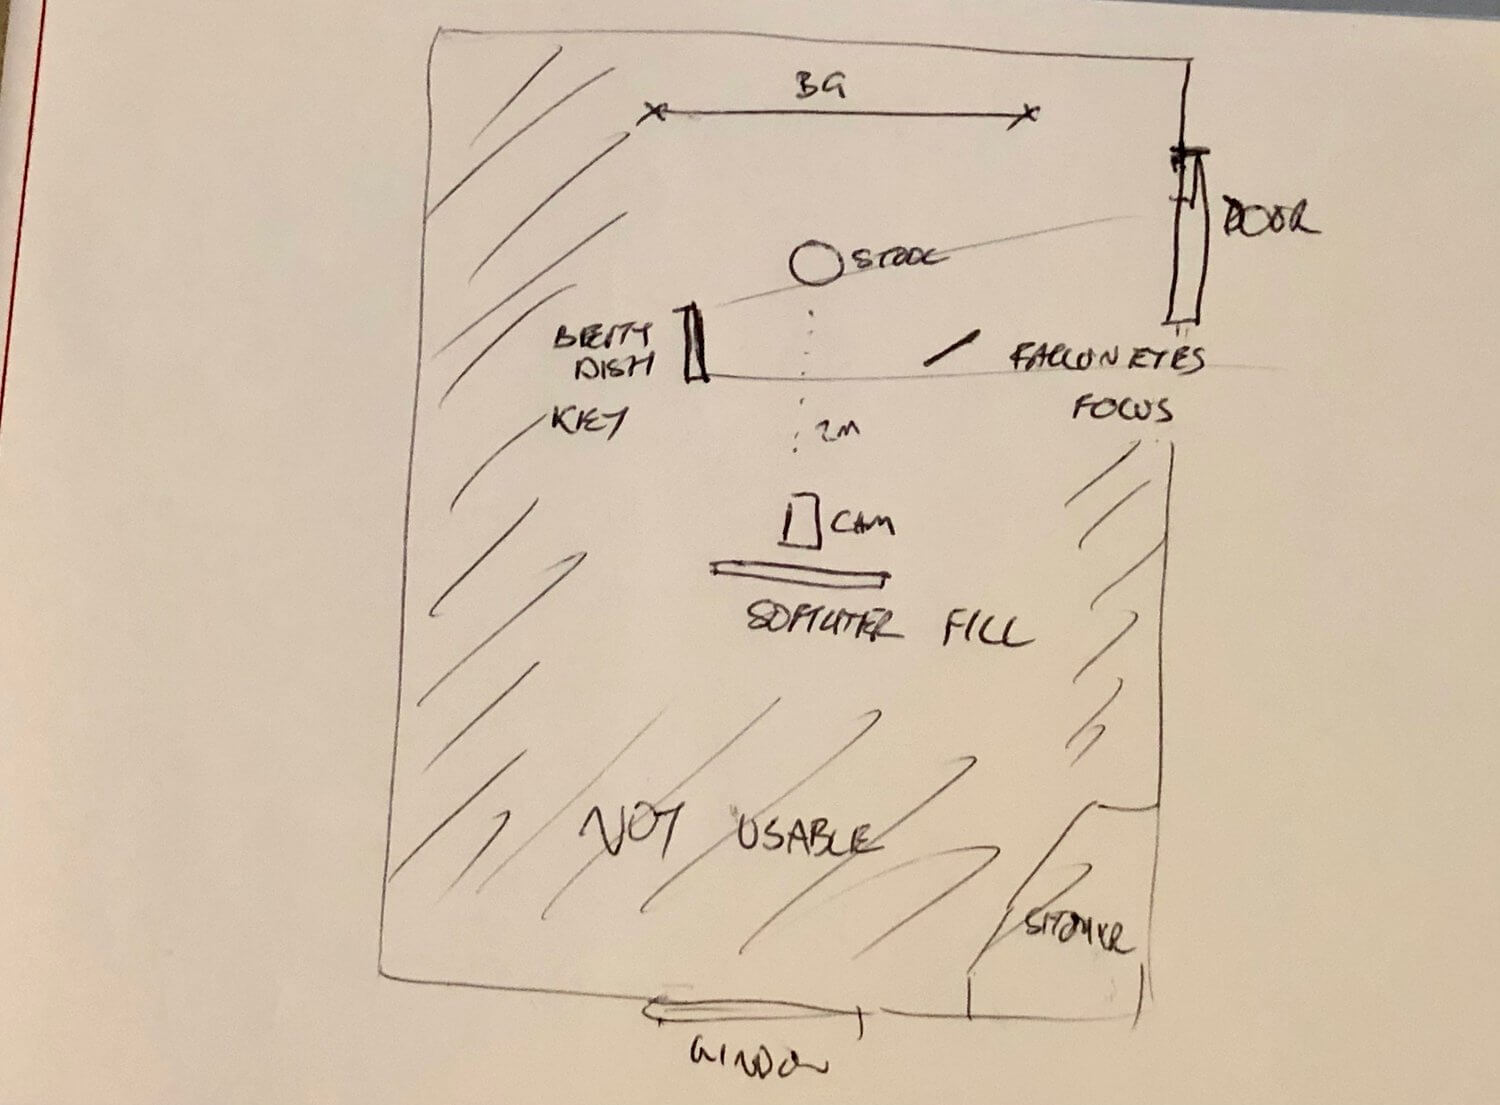
From there I sketch the basic layout and plan my kit accordingly.

Set Plan

To match the mood that Clare selected I went for a fairly contrasty look with a beauty dish with grid. The grid was purely because of the small space where I wanted to control the background split. The shadows were filled with a 60’’ SoftLighter back as far as I could manage in the space. I added a LED panel by FalconEyes to the mix. This wasn’t for the photography lighting but focus and to make sure that the model’s iris’ were closed. A good tip for studio headshots is to have some controlled ambient light bright enough to close the pupils down in your subjects but not bright enough to get into your strobes. The strobes batteries where saved this way as I didn’t need to have the modeling light on at all.

The Kit

  • Godox AD600 and AD600Pro strobes
  • FalconEyes RX-24TDX light panel
  • ProTek SoftLighter 60’’
  • Bowens Beauty Dish with Grid
  • Sony A7R3
  • Sony 24-104 F4 G
  • Capture One Pro
  • TetherTools Cable
  • MacBook Pro
  • Lastolite collapsible background – White
  • Tripod


The Shoot

Not a lot to tell here, set up and execution was done within the time frame. As we captured the images were tethered into Capture One Pro so Clare could check the images. The hair wasn’t allowed to be cut or dyed and only styled. This gave the looks more of a raw feel to them. I purposely shoot in black and white for a few reasons. One, the output we were looking at finalising in was black and white. I also tend to look at luminance when shooting and worry about colour later since we are in RAW. Doing so give me a much better sense of the lighting and removes the distraction of chroma, just like you do in Photoshop with helper layers.

The Post-Production

After the shoot, cull and Clare had selected what she thought would work best for the competition. I set to work on editing. My methodology when doing a set is to use Capture one to bring the set together exposure and colour wise. Sometimes experiment with looks on variations but ultimately drop into Photoshop to do clean up and grade. Before the shoot even took place, I was keen on using Infinite Black & White panel (at the time not launched) to try to bring the set together. As a note, I exported from Capture One in colour and didn’t use the inbuilt black & white function as that would have defeated IBWP before I even began.

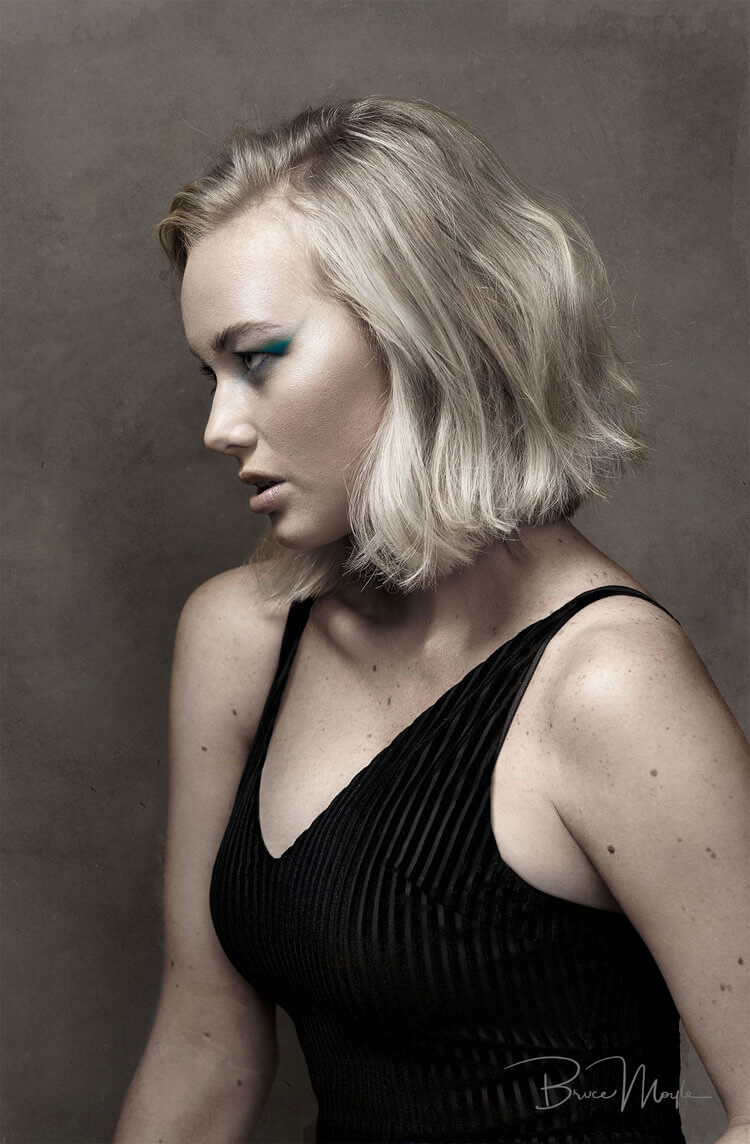
The first pass I went through to create a look was pure black & white using IBWP after skin and background clean up. I hit a problem. We have 6 images, 5 with blonde hair and one brunette. The brunette’s hair was laying on a black corset. While fine in a less contrasty look I was losing details when matching to the set. The second pass I muted the colour and brought in Infinite Color Panel to give me a tone to work with. Back and forward across the brunette and a blonde image to get a balance that worked. At this point, I layered in the background texture underneath and dodged and burned on a more global styled level over the top.

One of the tricks I used on the brunette to help pull the hair out more was subtle colour shifts. I pushed the hair slightly red and the corset more towards a blue to give colour contrast (something I couldn’t get away with in black & white).

The added bonus of moving towards the muted look was that I could bring the makeup by Dylan Kirkhope back and make it sing which the original set would have lost impact.


An Extra Step

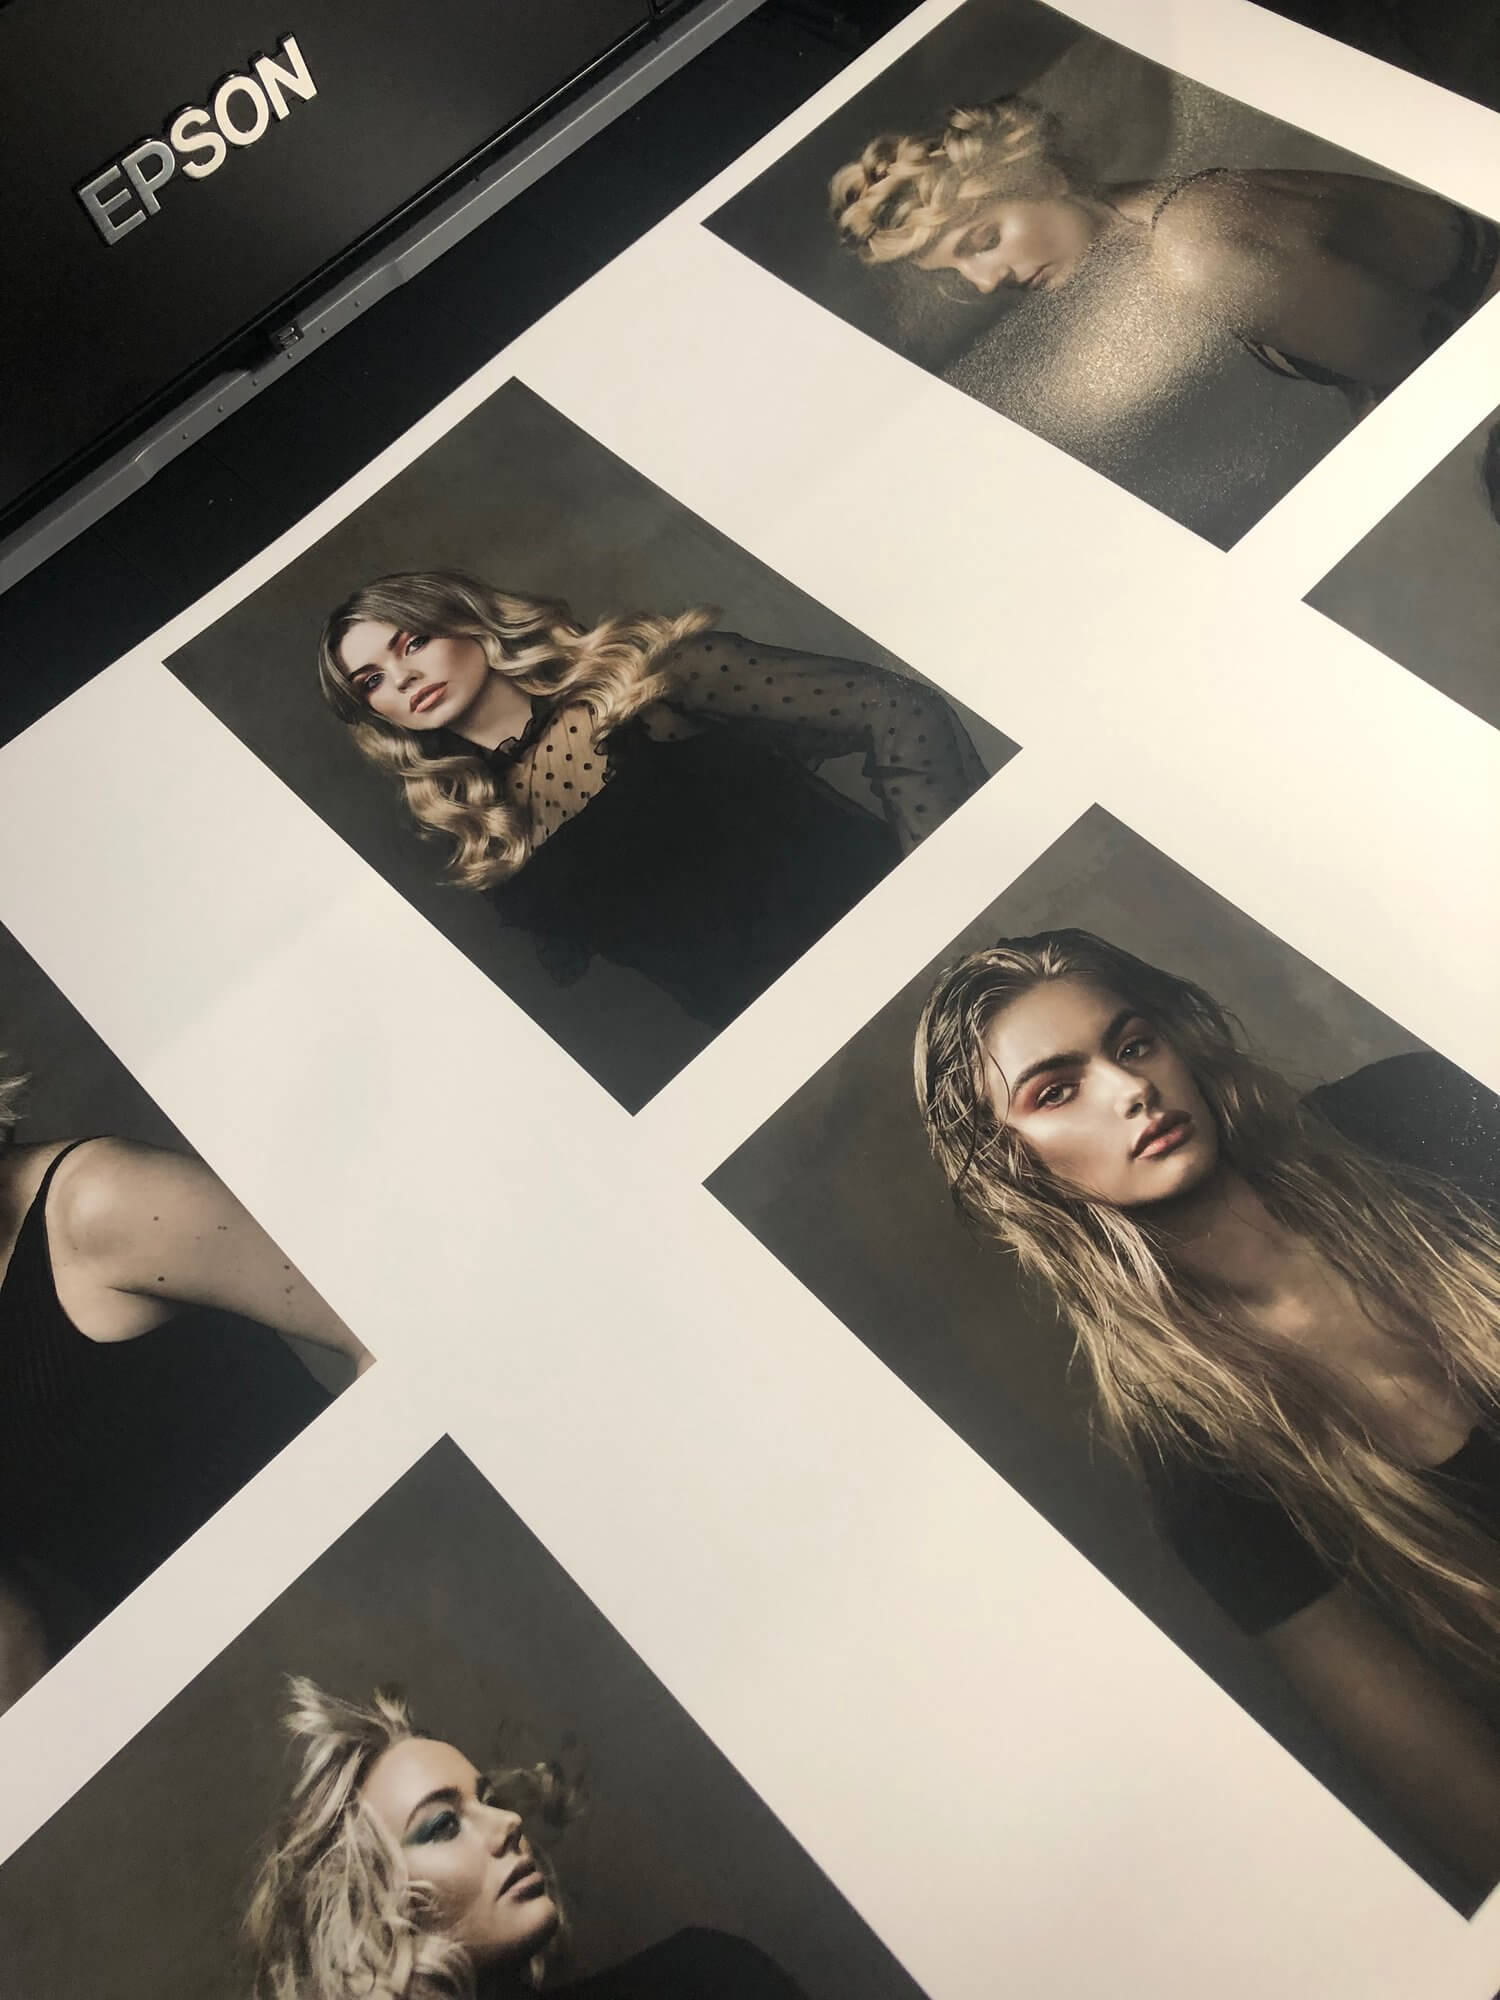
One of the things that I have incorporated into my workflow when possible is to print the proofs and finals. Printing is something that is missed a lot in today’s workflow but is super valuable to see things that you will totally miss on a screen. It gives you a better idea of the image as a whole. Now if the images are never going to make it to the physical world, or there isn’t budget to spare, then this is entirely optional step, but I guarantee if you have a fully calibrated workflow from camera to screen to printer/paper your appreciation and critical eye will go one step further than just looking at it on your screen/phone/pad. Also, it’s way cool to have physical versions of your images, even to hand to clients at the end of a job.

The Outcome

The shots submitted gained Clare finalist in the National Competition. Now we wait for April 28th when the winner will be announced.

_

Have you tried the panel yet? We’d love to see your creations! Get in touch on Instagram @infinitecolorpanel or the Facebook Infinite Color Panel group and show us your work.

If you haven’t tried the panel yet, get started here:  https://infinite-tools.com/infinite-color-plugin/
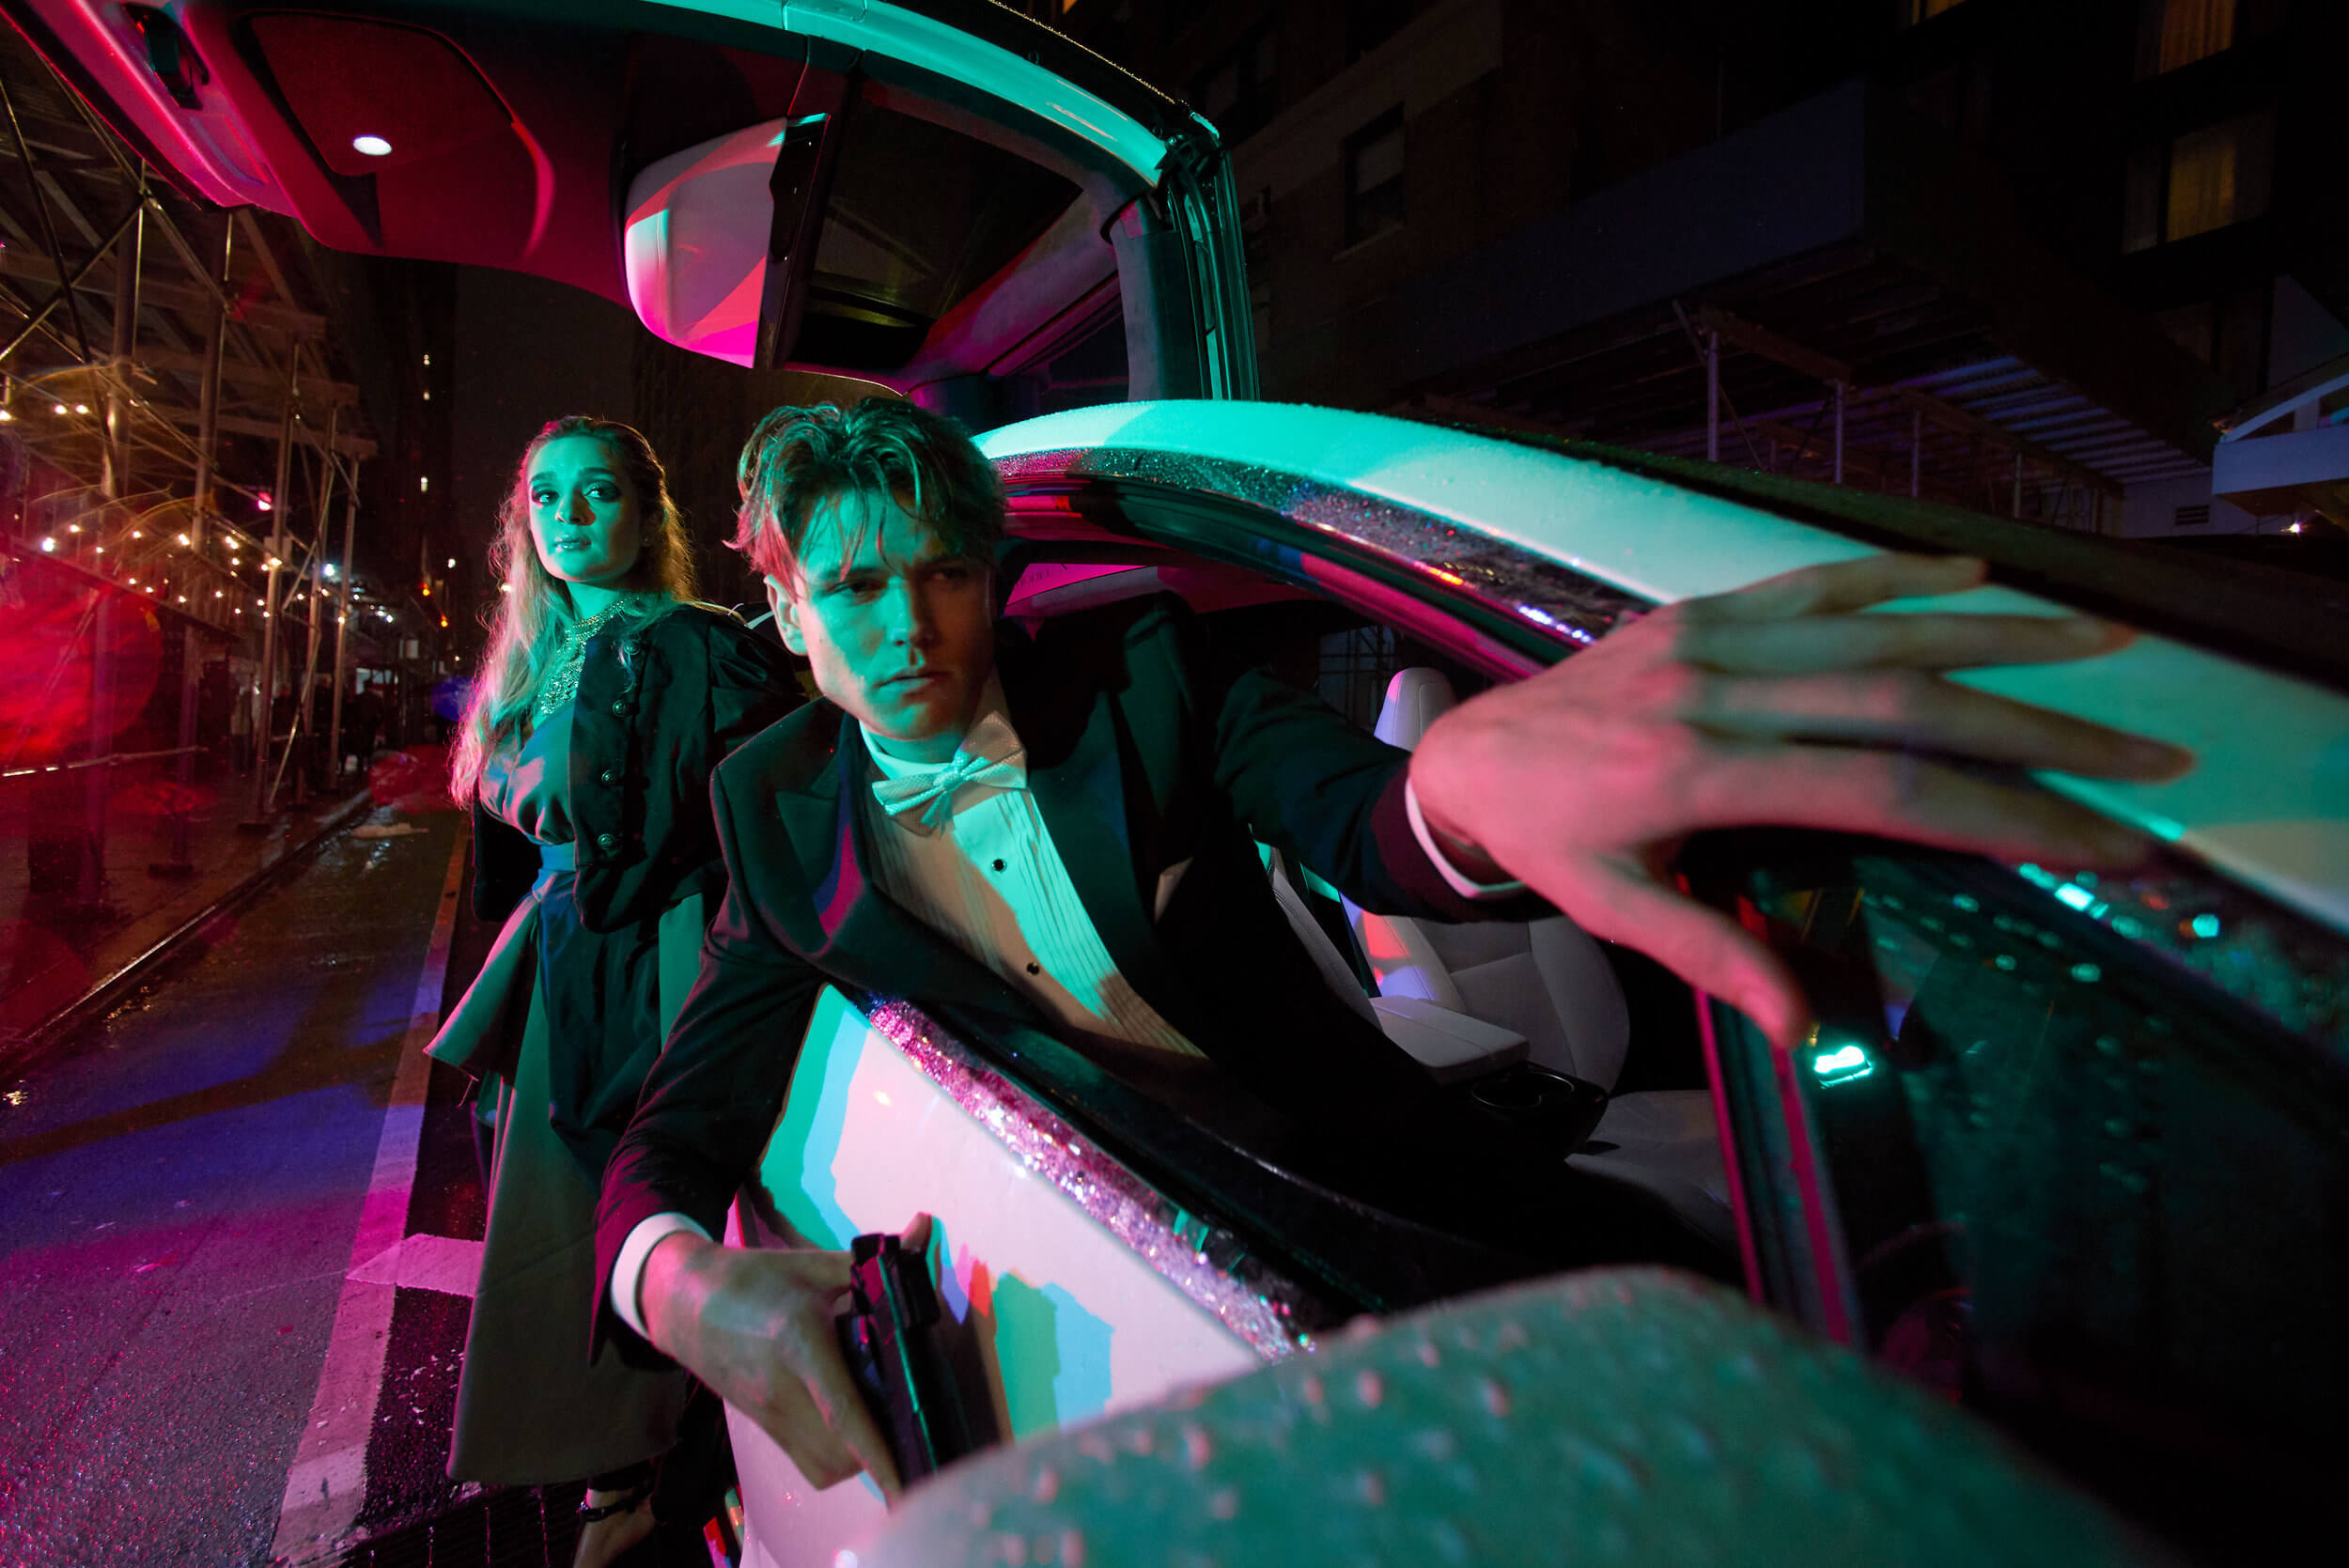
 

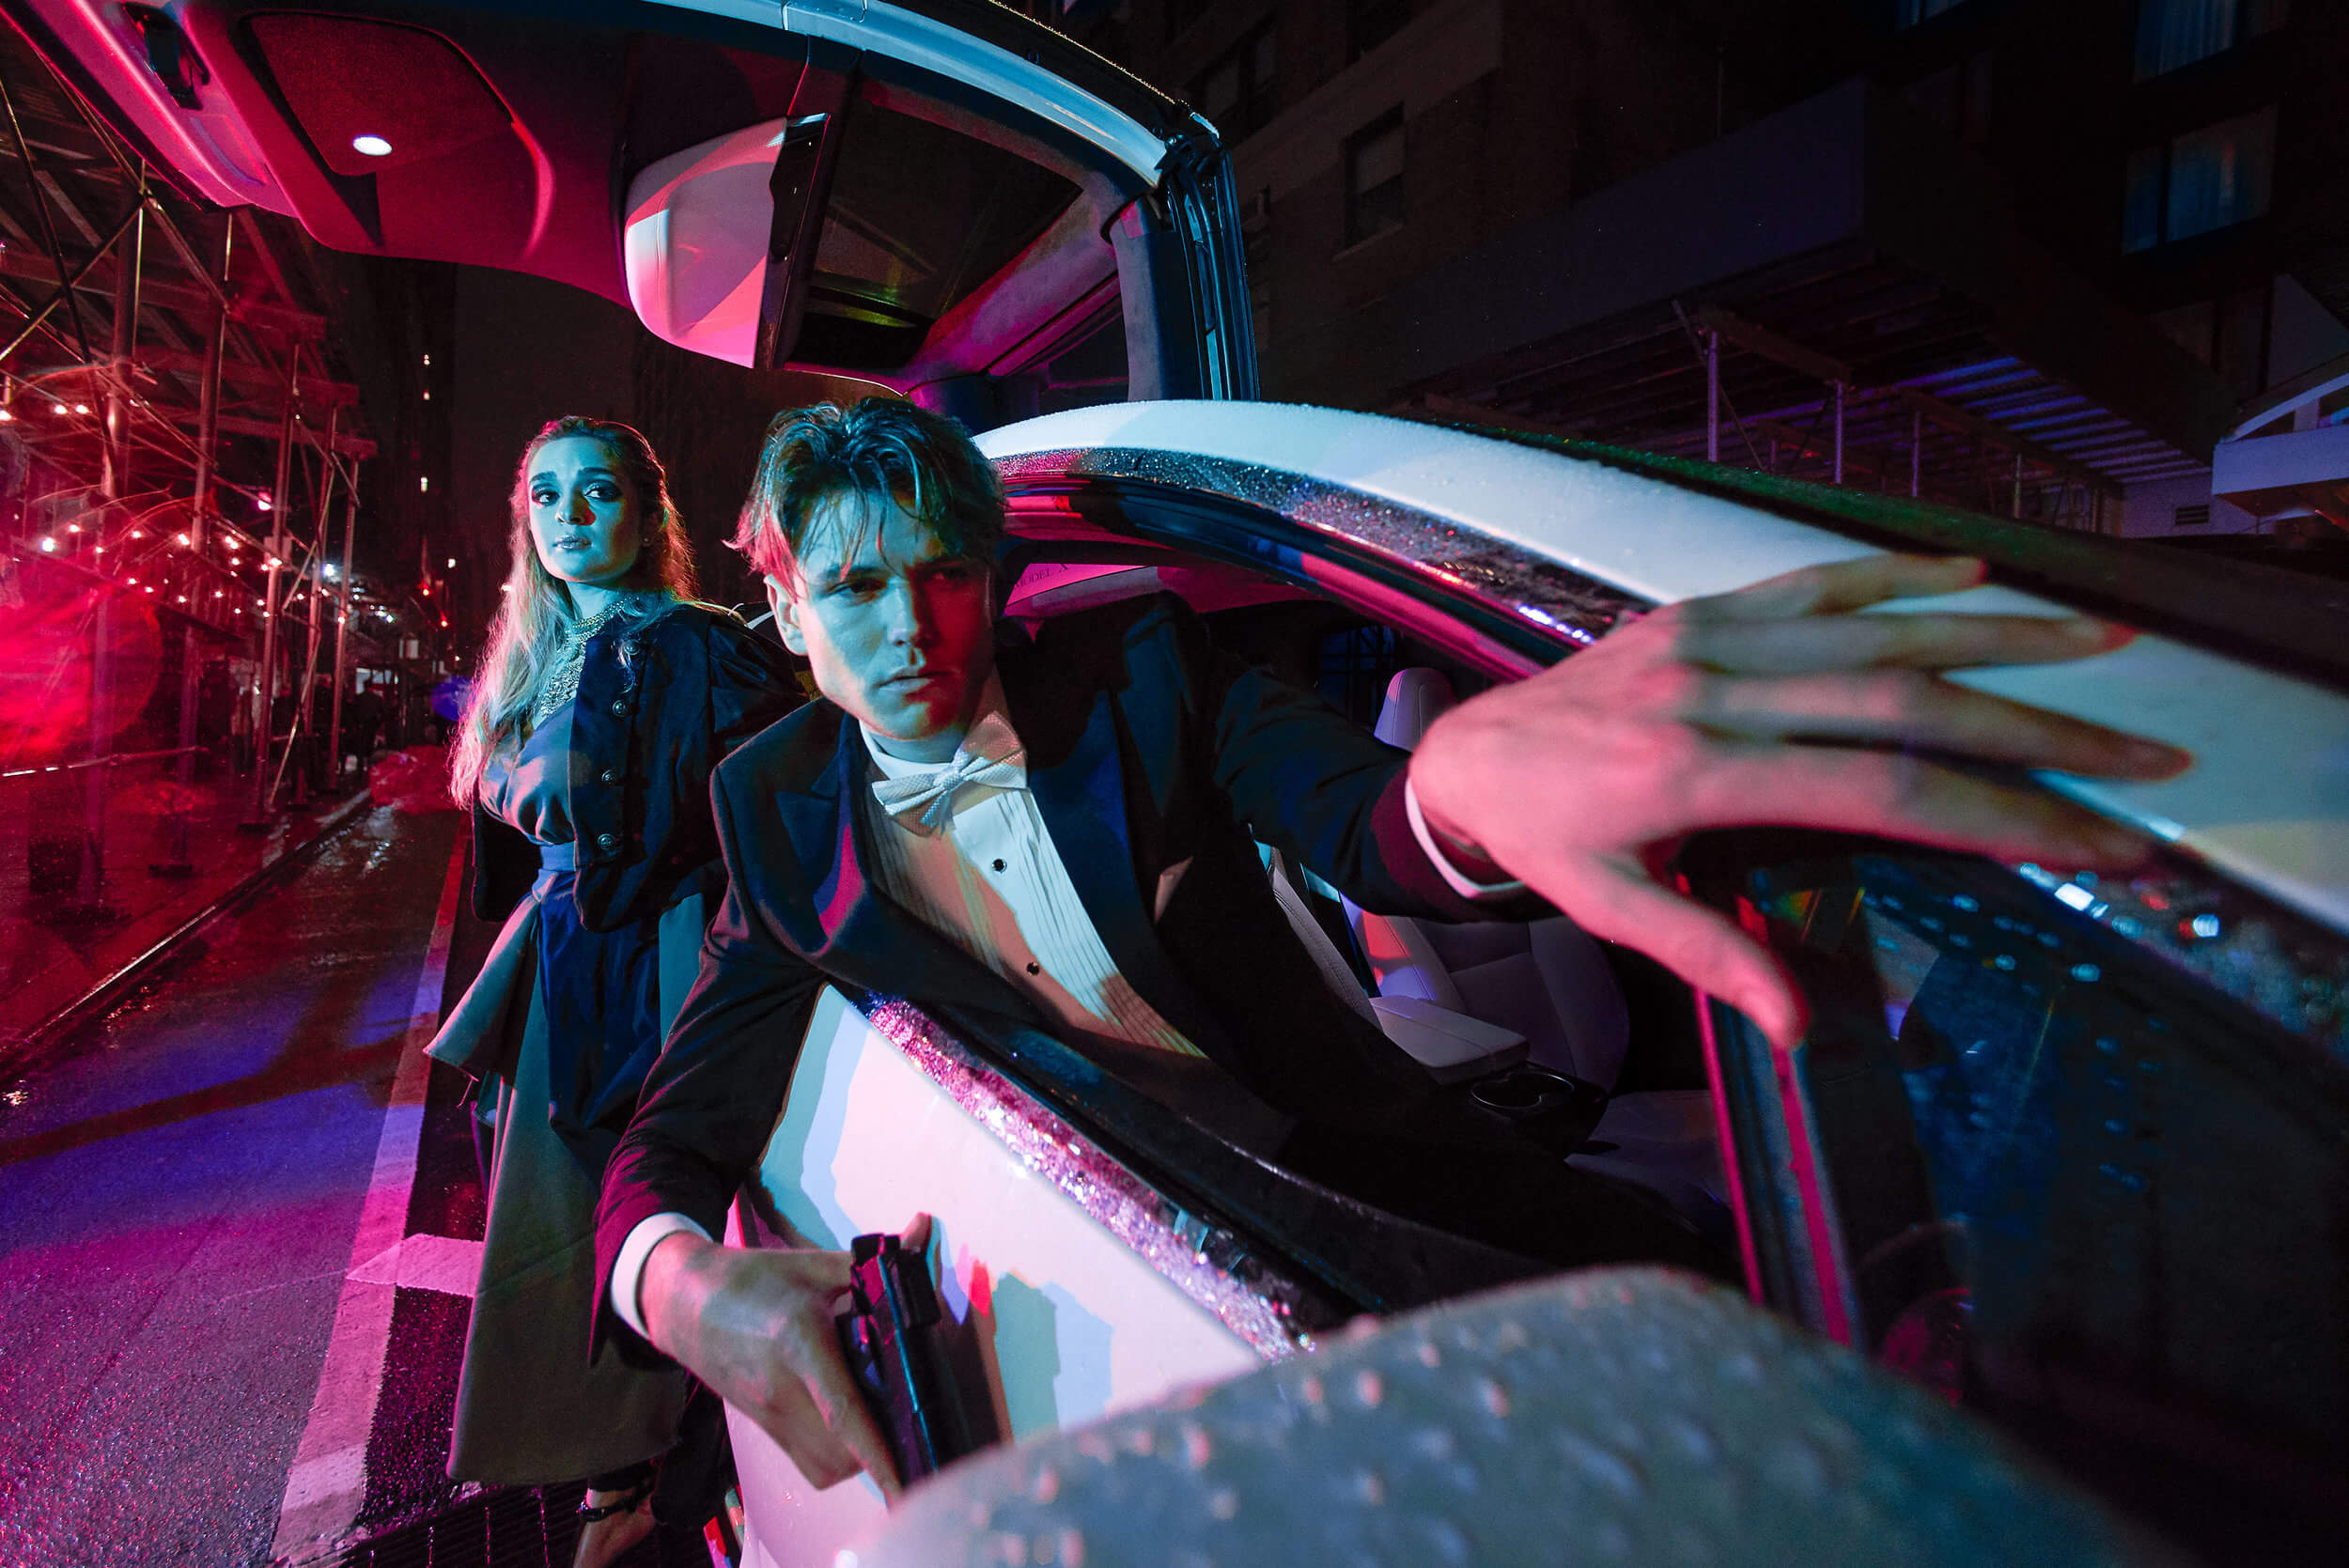
Nathaniel Dodson of TutVid Uses Infinite Color Panel In Creative Ways

When I started my video editing journey, I used to look at the channel TutVid on YouTube to piece together information that I was looking to learn. Nathaniel played an instrumental role in my journey. Naturally, once we had ICP, I wanted to ask Nathaniel what he’d do with the panel because I am always excited too see what open minded creatives can come up with. It shows how to use the panel in ways in different ways in the color grading process that we may not normally consider!

He created two videos using the panel on two different topics that I think you’ll find interesting!

Video 1:
A walkthrough on using Infinite Color and using it on a beauty image. 

Starting at 17:45

This is the video where Nathaniel plays with Infinite Color in his own way to color grade a beauty image. What’s cool is aside from going over the features, he makes it his own by showing he modifies what it comes up. He combines what ICP generates and adds his own adjustment layers to push it further. I love seeing how takes what it makes as a base and makes it his own. He also goes into using just what it generates along with blending options and folder opacities to control the intensity further.

It goes to show you don’t have to stick to the path and you can deviate from it to bring home your vision! ICP is a reference to a good starting point, and is fully designed to be tweaked to your vision.


Video 2:
Creating LUT tables with Infinite Color in Photoshop and adding it to video. 


The first video is primarily targeted to video editors or people who want to save a set of layers into one personal file. Let’s say you shoot video and stills and want to color grade them to match, you can use LookUp Tables! These “LUT” files save the set of adjustment layers you make in Photoshop and can be added to your video so you get the same color grade on both.

This is so powerful in creating your own library of colors and also making sure your video and stills match!

_

Have you tried the panel yet? We’d love to see your creations! Get in touch on Instagram @infinitecolorpanel or the Facebook Infinite Color Panel group and show us your work.

If you haven’t tried the panel yet, get started here:  https://infinite-tools.com/infinite-color-plugin/
 

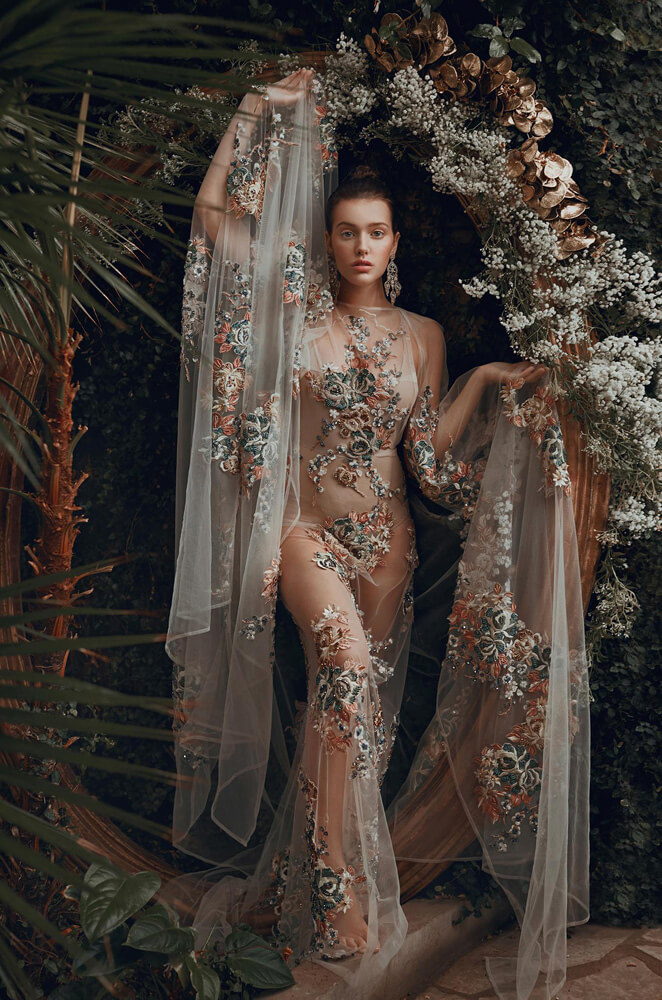
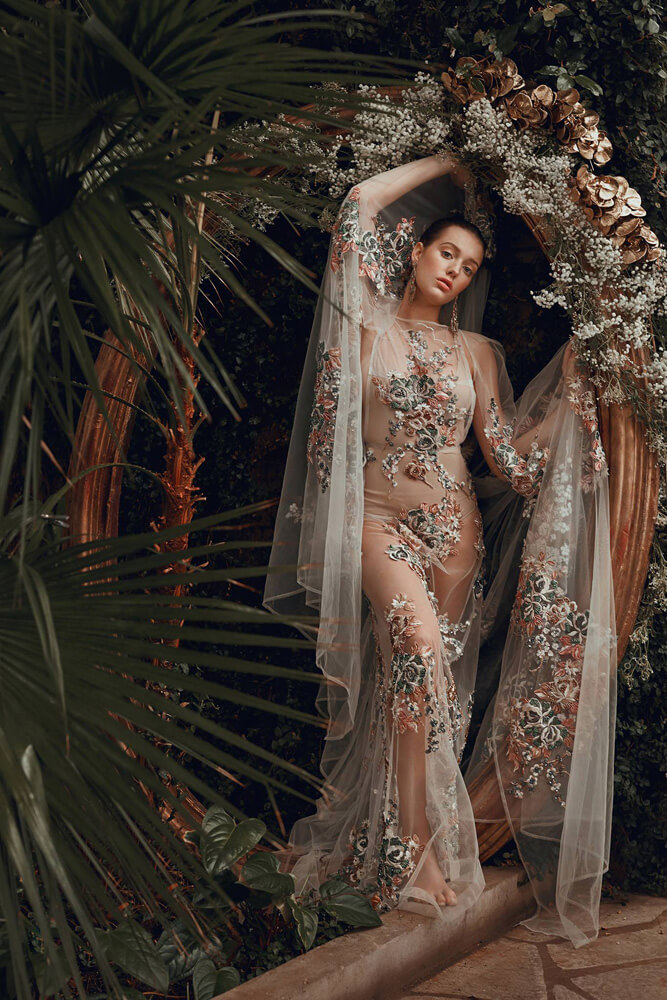
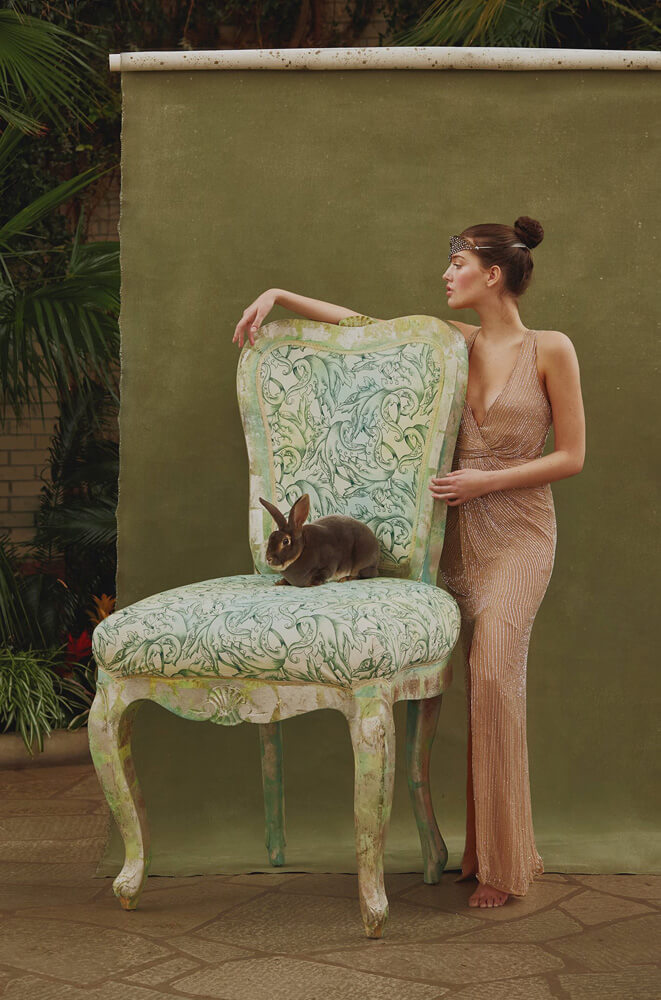
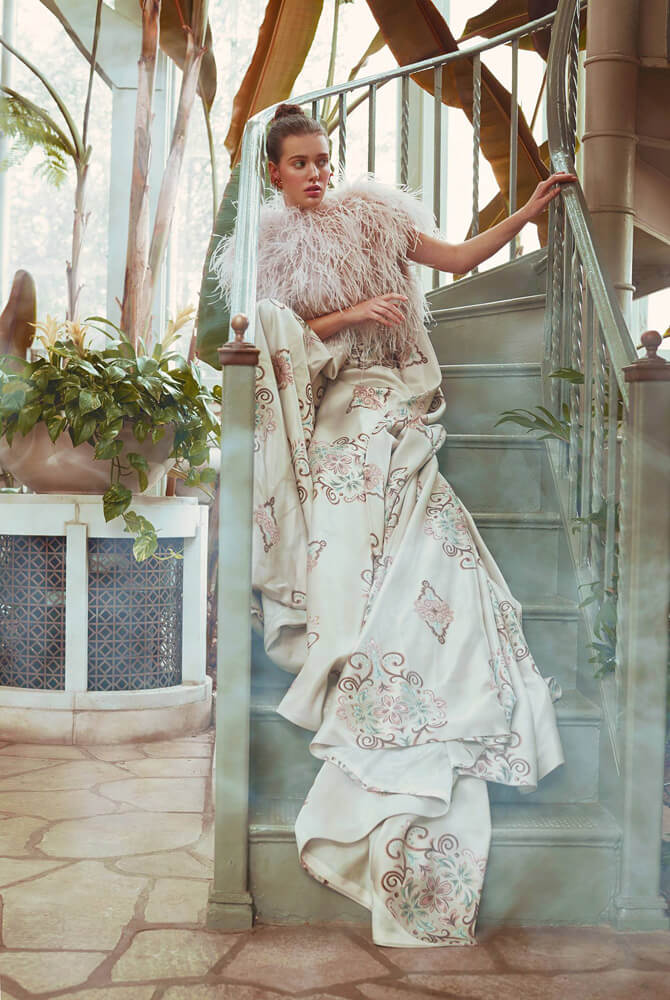
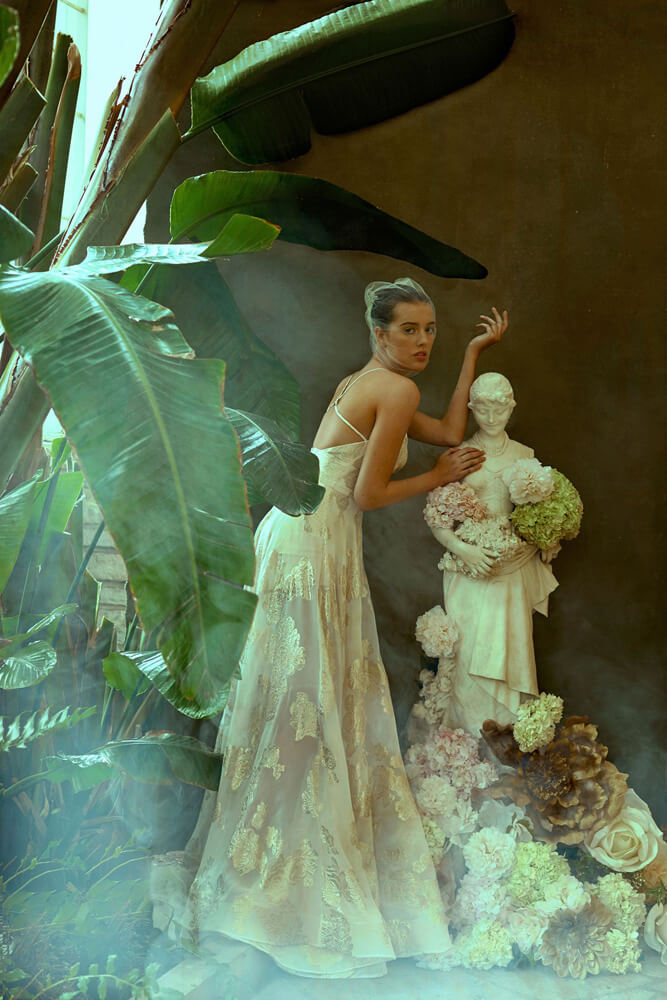
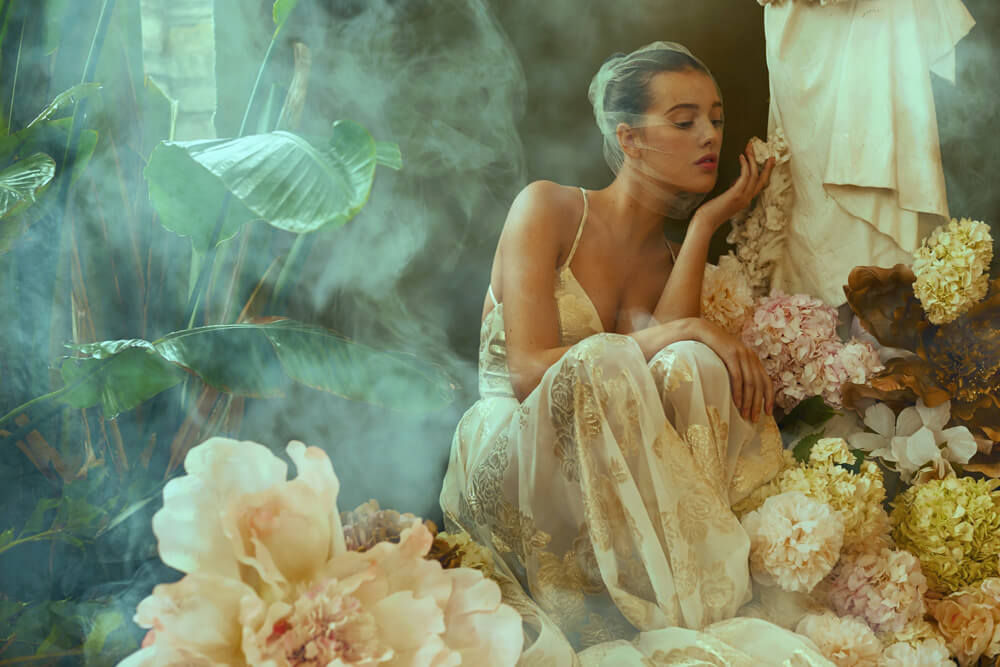
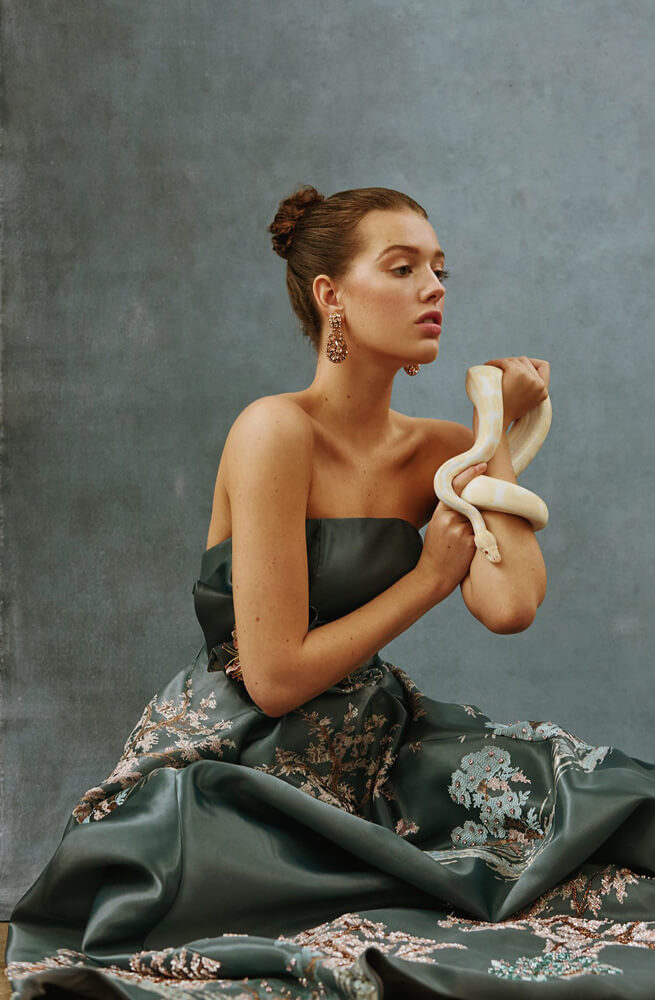
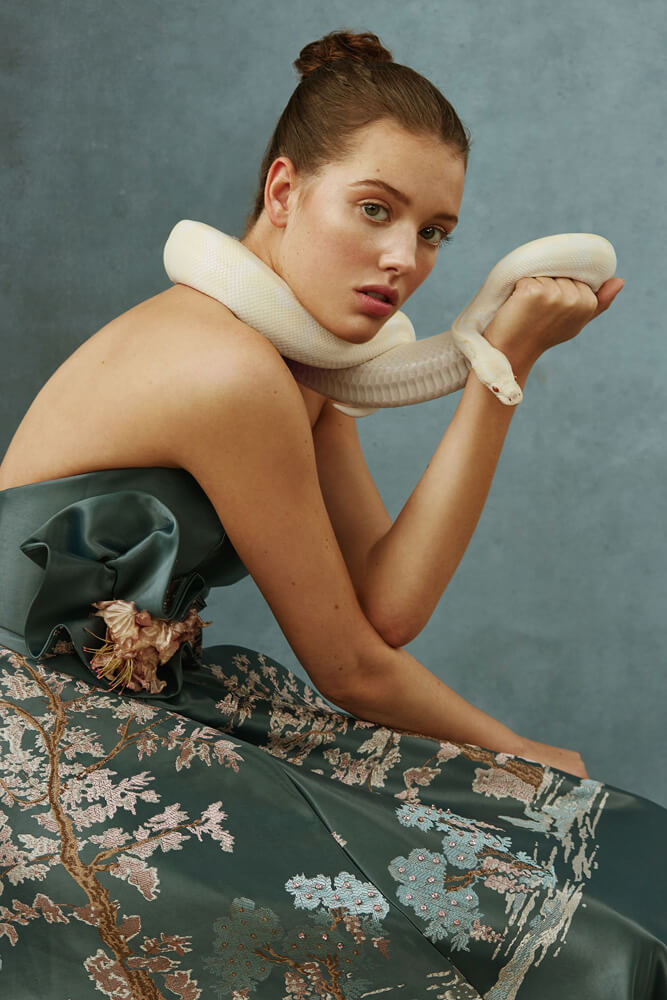
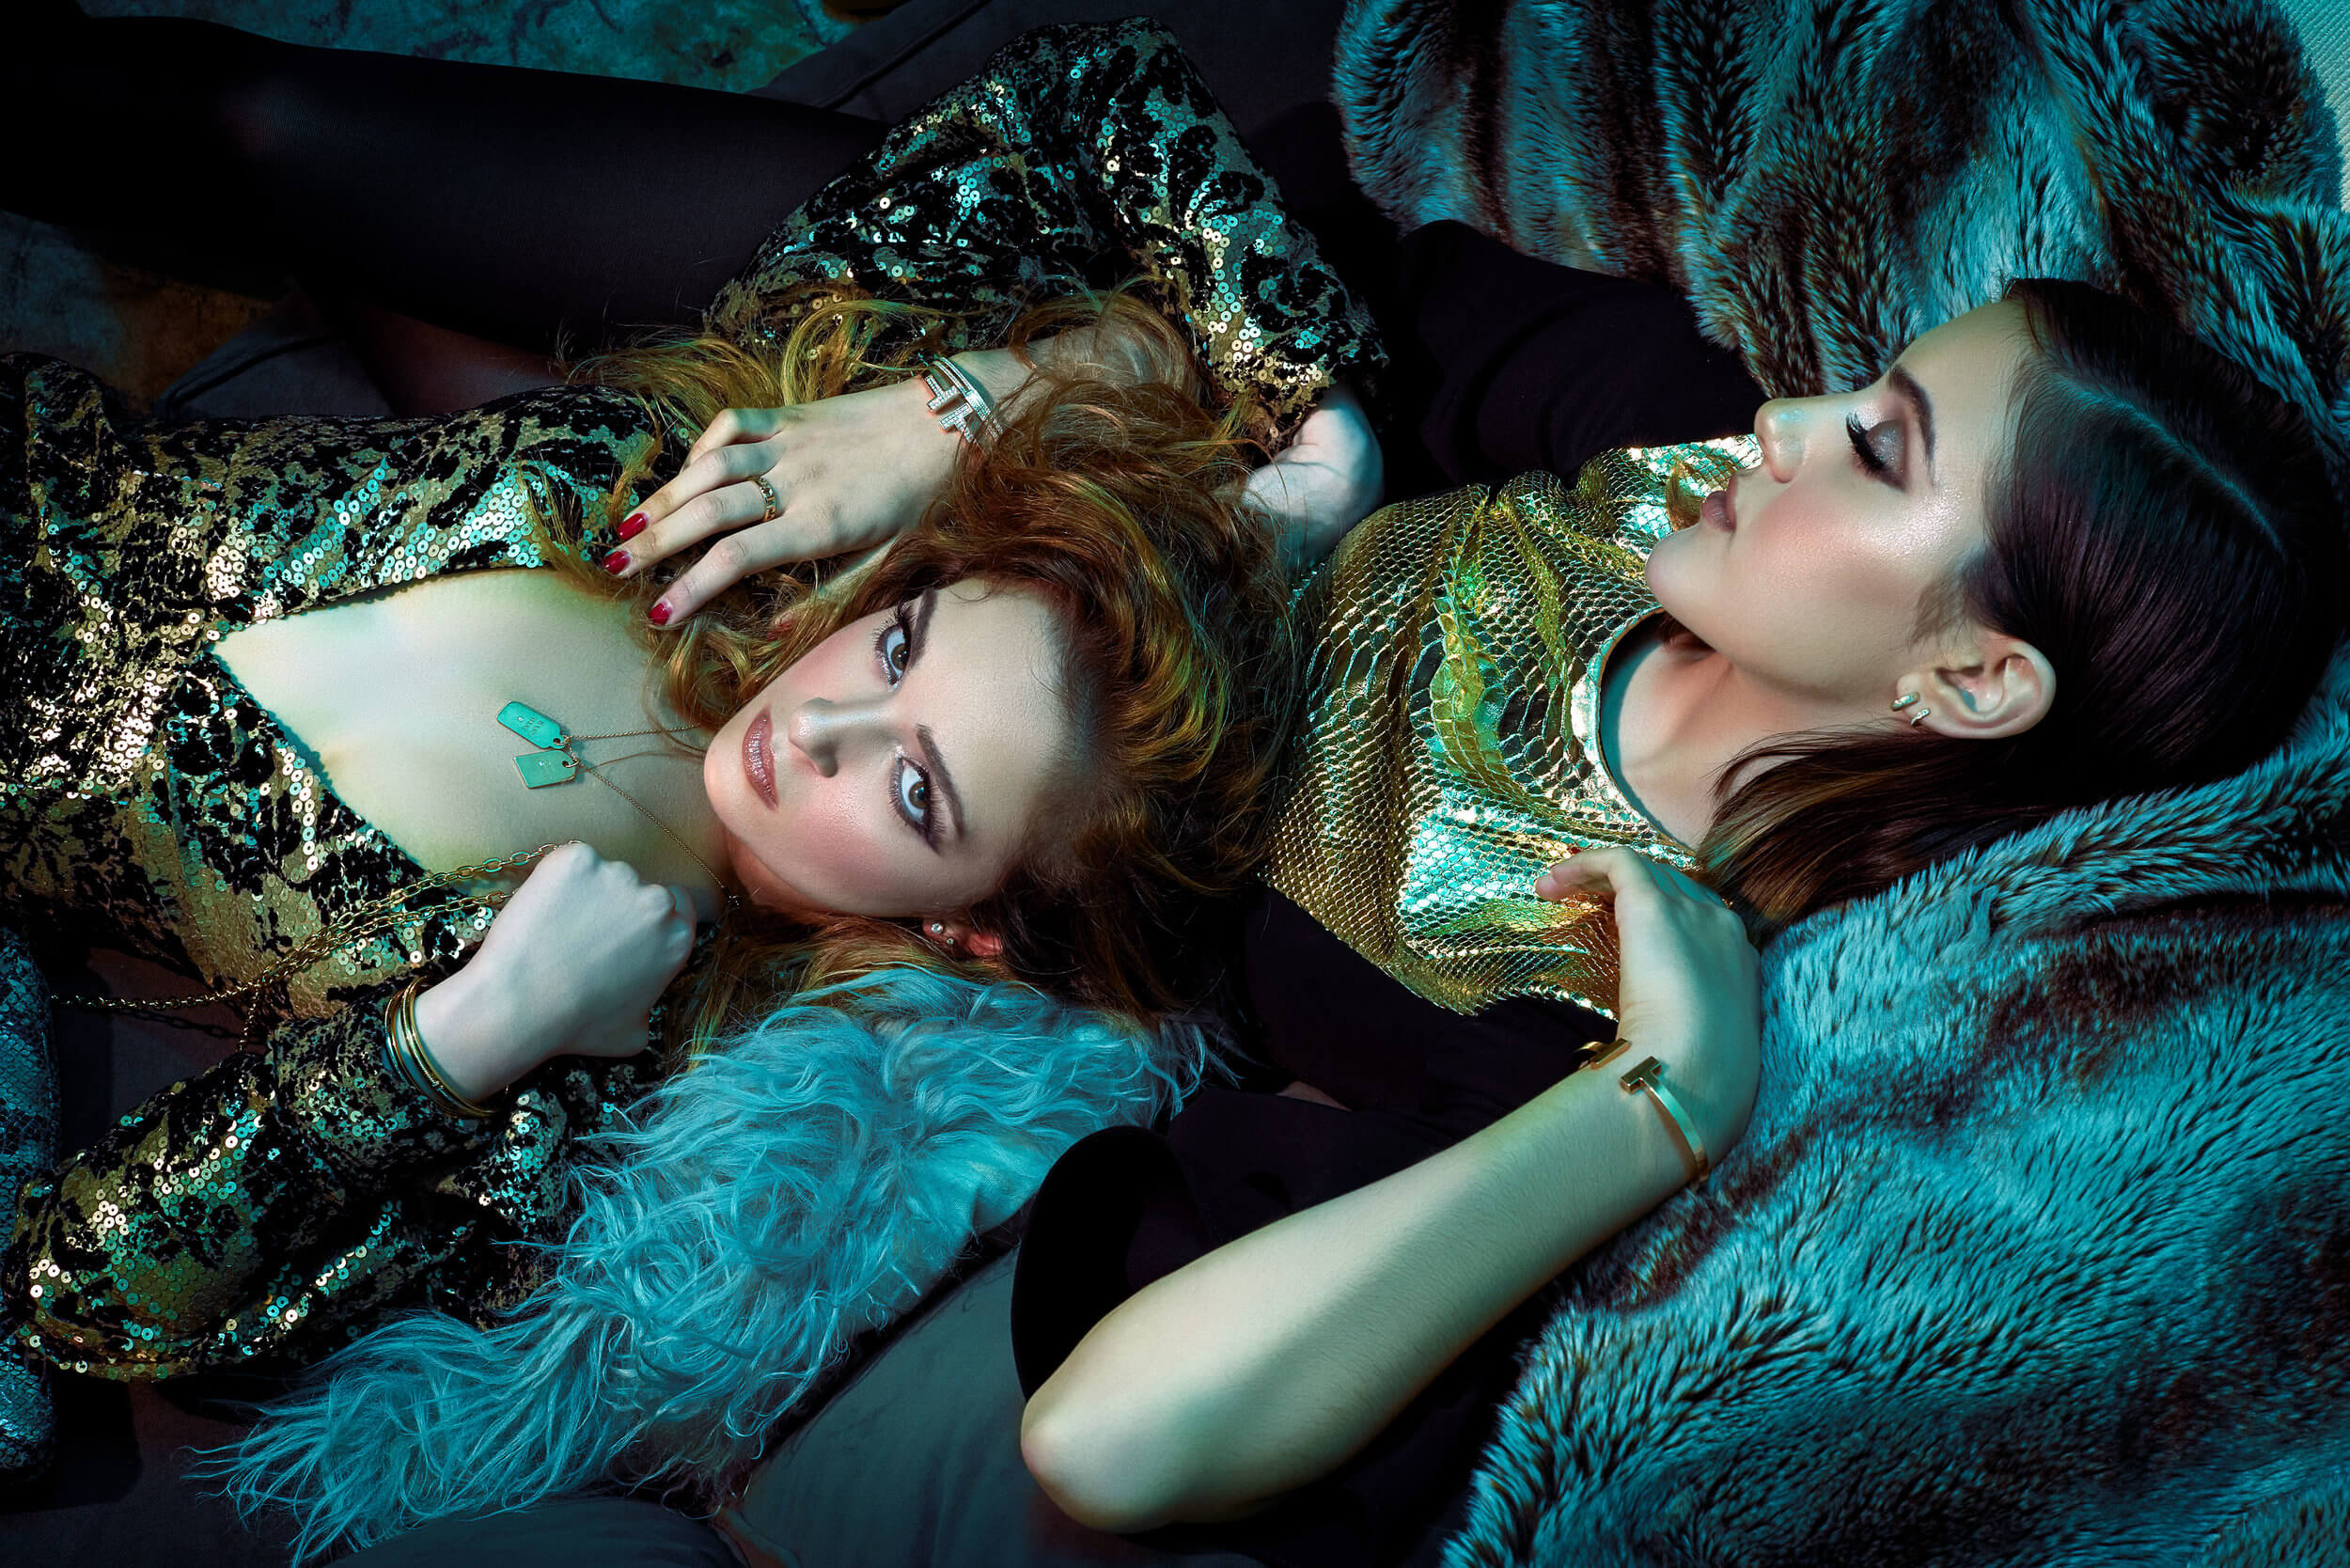
An Exemplary, Expressive Editorial, with Jai Mayhew

Feature crafted by Jonny Edward

Jai is a veritable legend, in the realms of fashion & portraiture, and an absolute icon in the Infinite Color community.

Though her art is always breathtaking, perplexingly lovely and consistent, this specific editorial stopped us in our tracks, as it’s particularly sublime.

From color and tones to textures and fabric; poses and mood to angles and framing, we are in love with this set!

Today we are featuring her editorial for Stl Mag (feature) that we fell in love with! We’re honored and delighted, to know that the Infinite Color Panel is an integral part of Jai’s editing workflow. It’s such a joy, to see so many brilliant artists creating magic with the Panel.

Be sure to follow her on Instagram! If you’d like to peruse more of her beautiful work, you can do so on her website.


CREDITS

Photography: Jai Mayhew

Editorial: Stl Mag

Hair & Makeup: Brady Nance, TalentPlus Talent & Entertainment Agency

Wardrobe Stylist: Kristi Pinkham

Styling Assistants: Hannah Chancellor & Leah Sostman

Photography Assistant: Izaiah Johnson

Location: The Jewel Box

Model: Caroline Stallings, West Model & Talent Management

Special Thanks: The Rep prop rentalThe Tye-Dyed Iguana & Bethany Joan Gresoski

_

Have you tried the panel yet? We’d love to see your creations! Get in touch on Instagram @infinitecolorpanel or the Facebook Infinite Color Panel group and show us your work.

If you haven’t tried the panel yet, get started here:  https://infinite-tools.com/infinite-color-plugin/
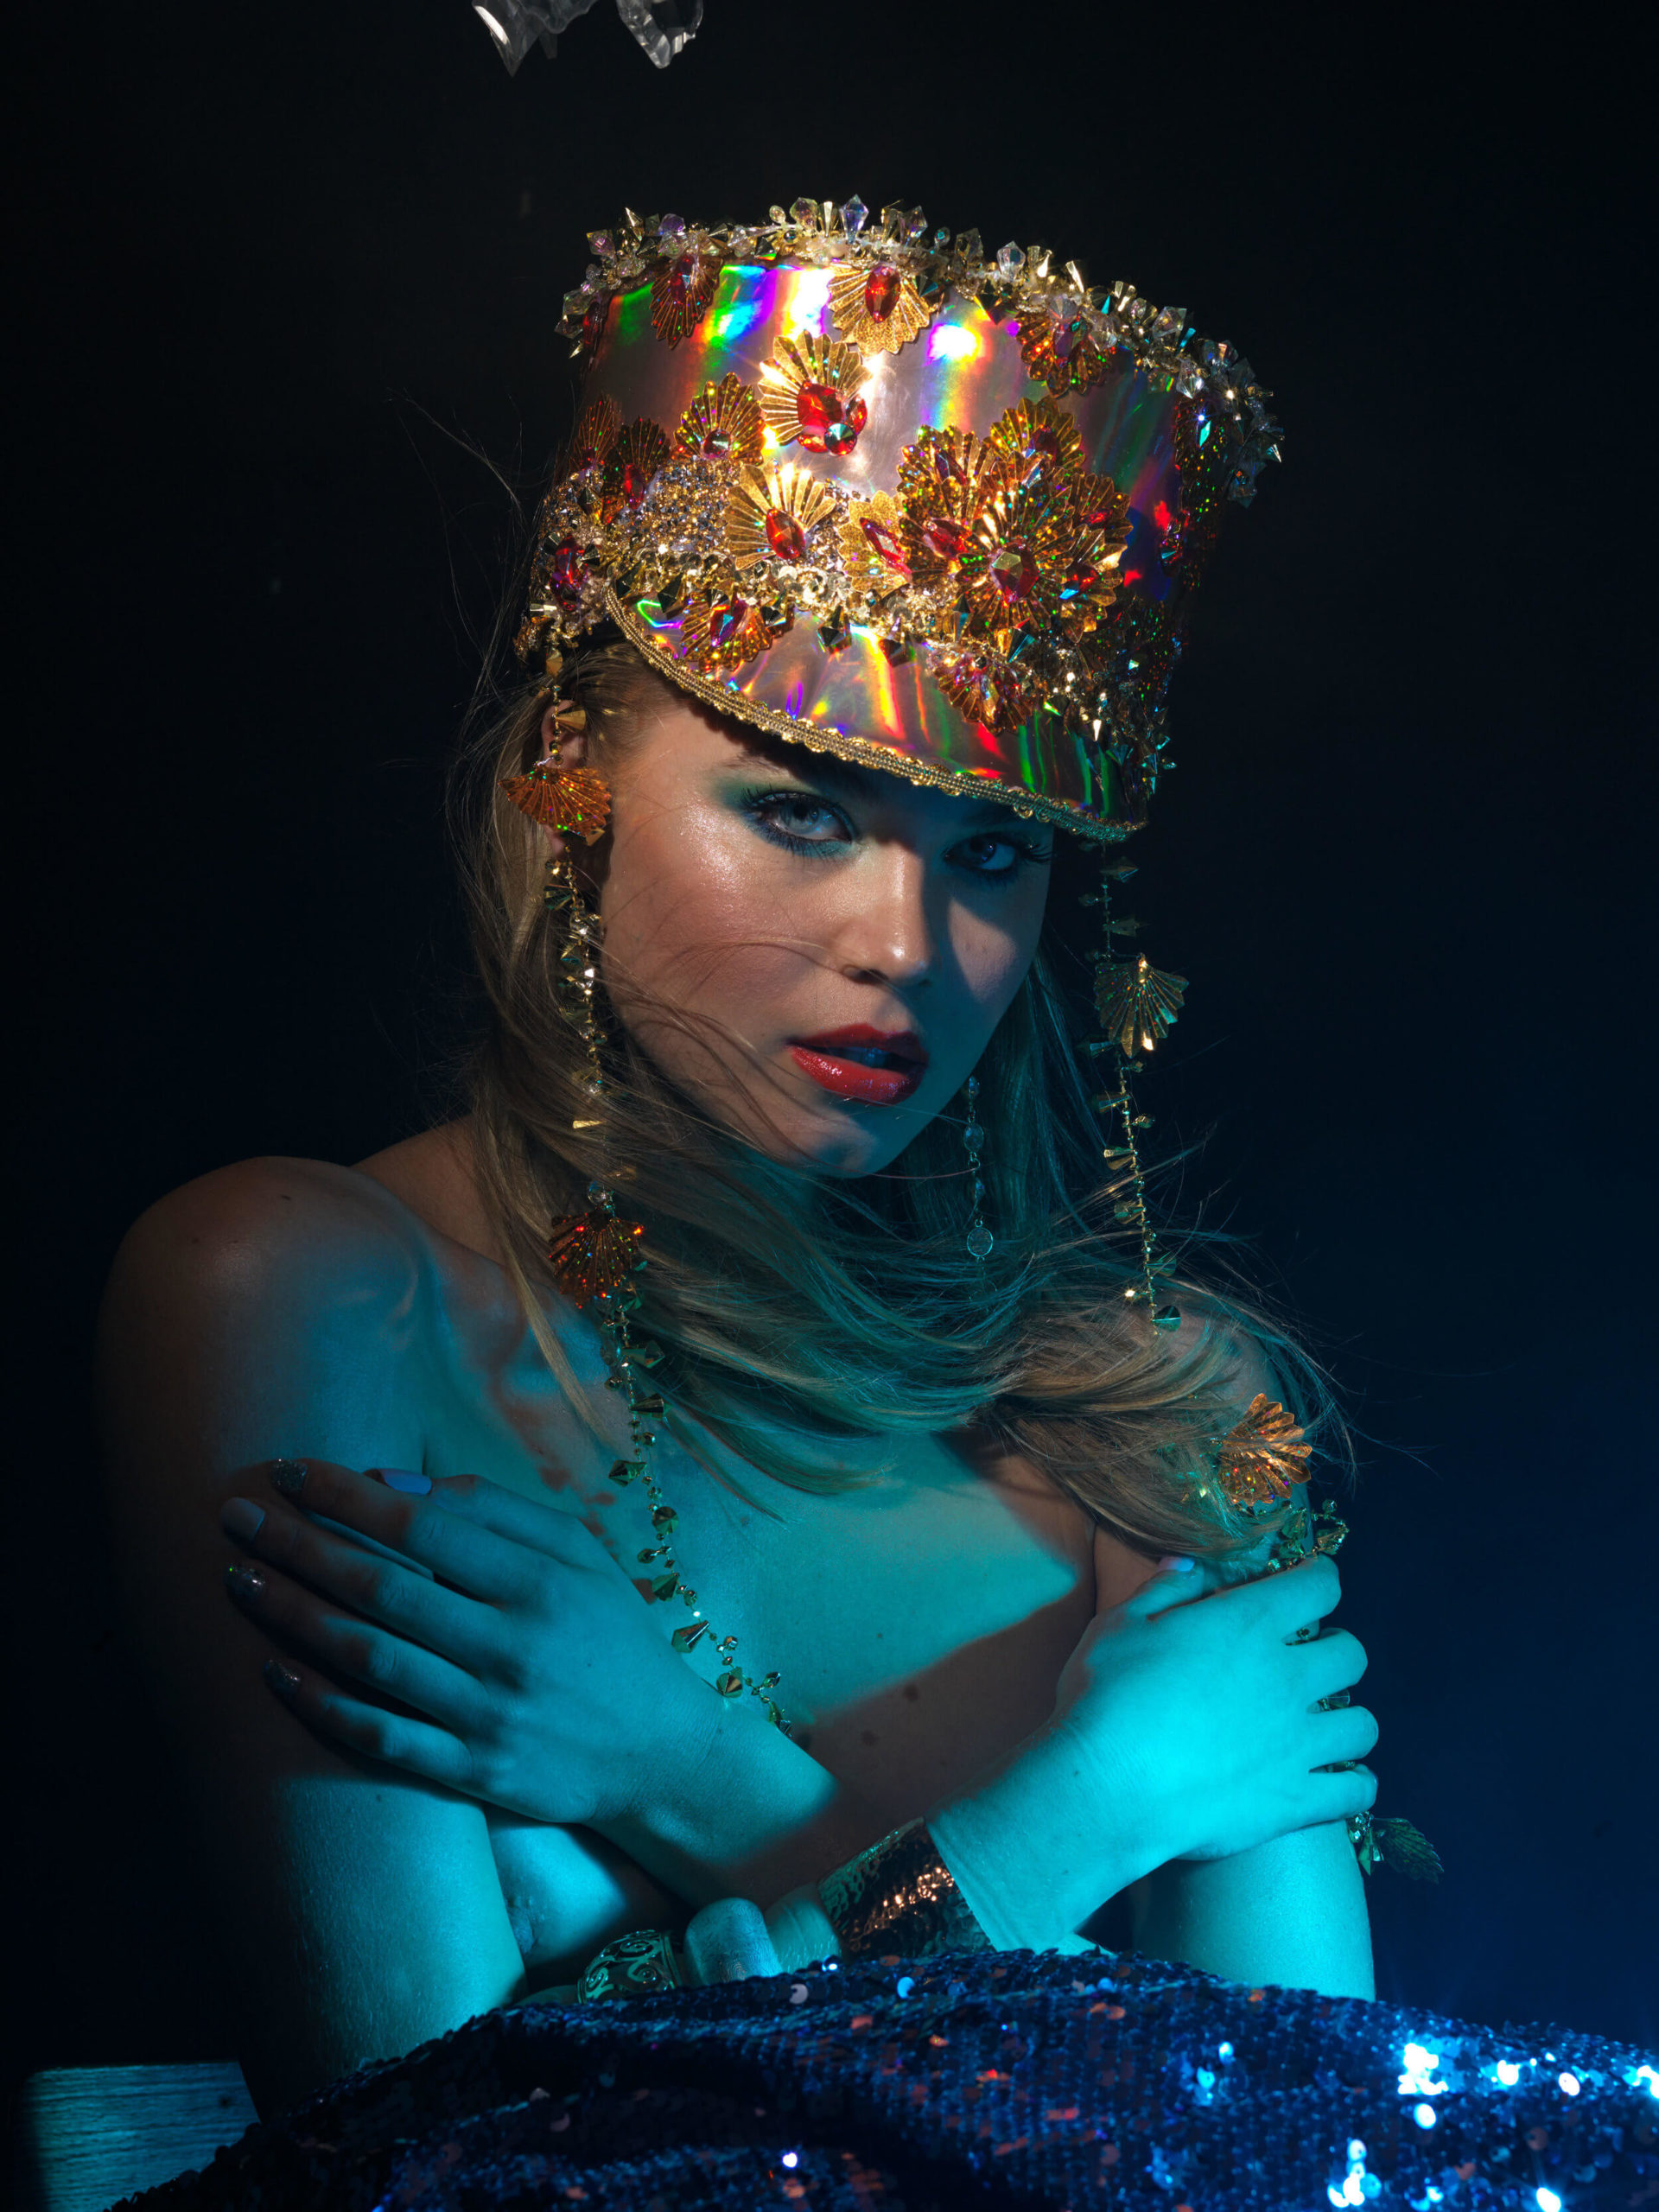
Creative Conversations with The Uniquely Brilliant Brett Stanley

Article written by Pratik Naik & Jonny Edward


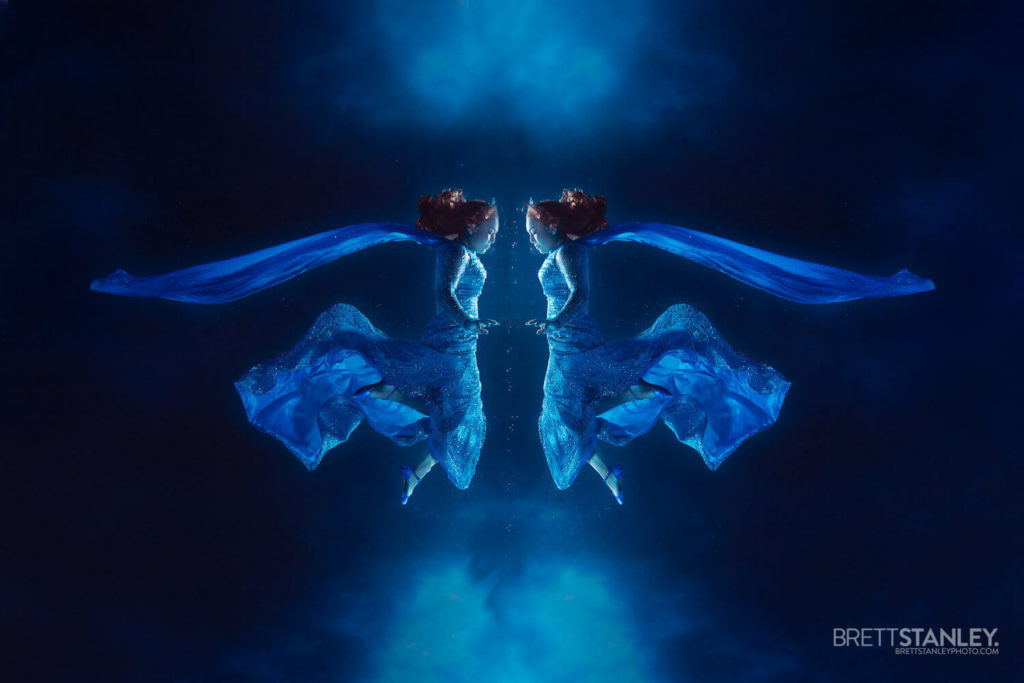
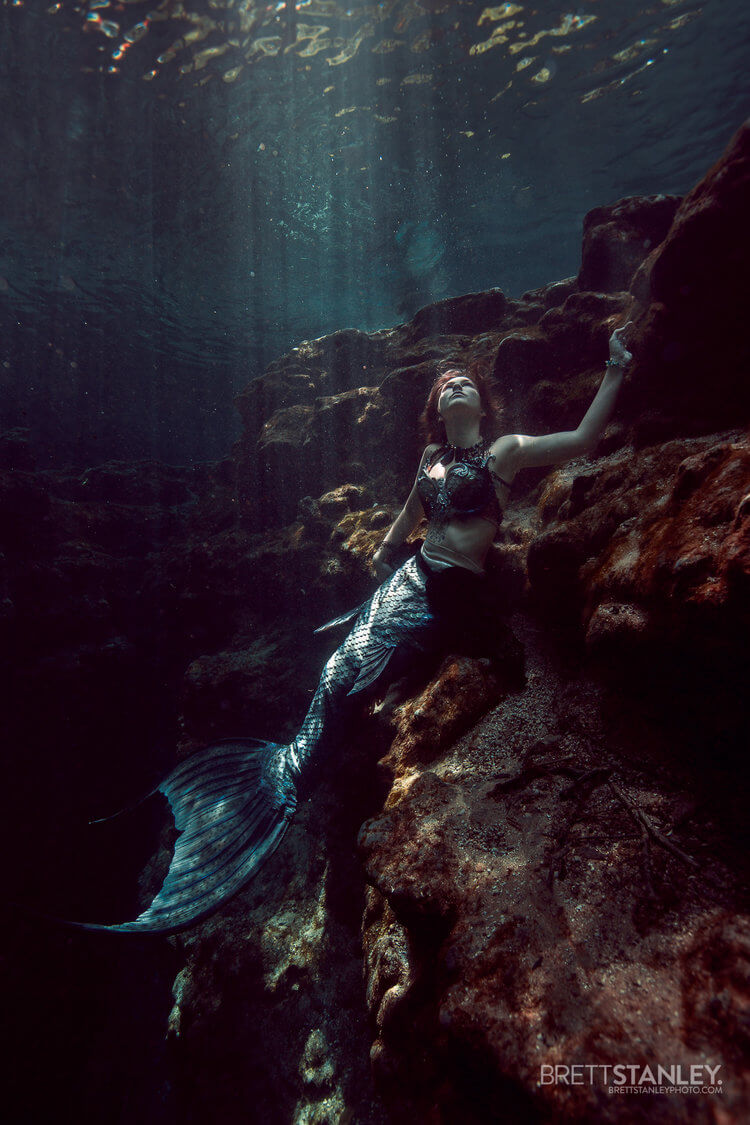
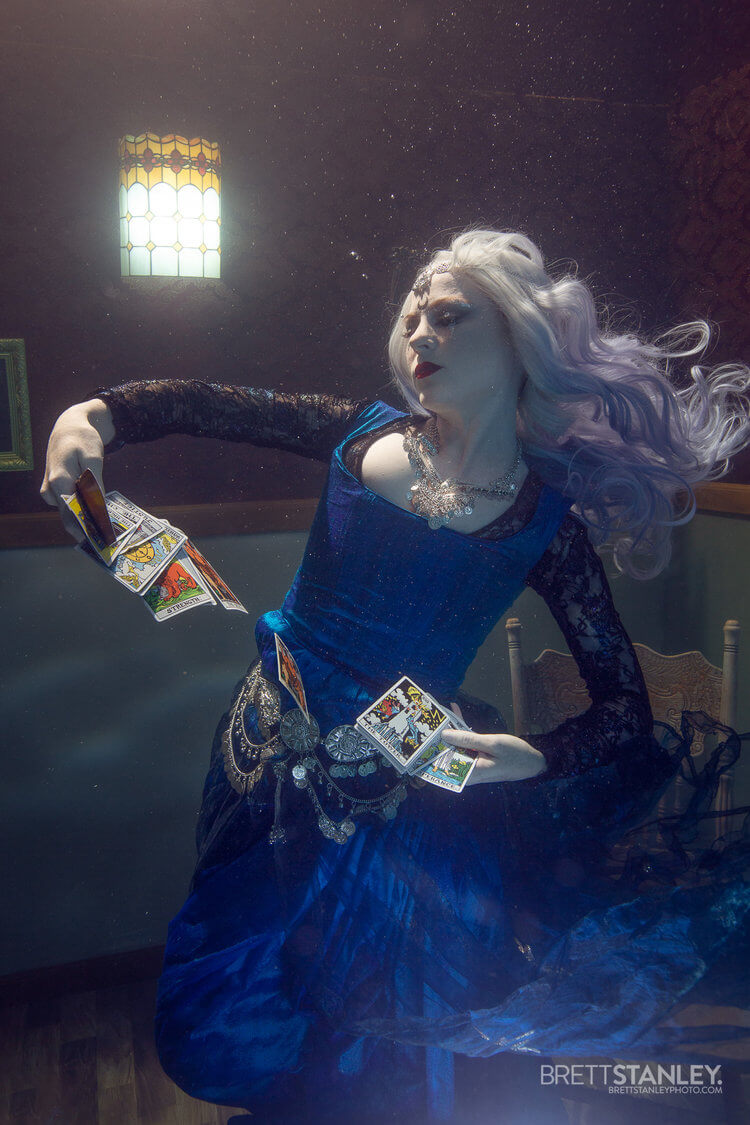
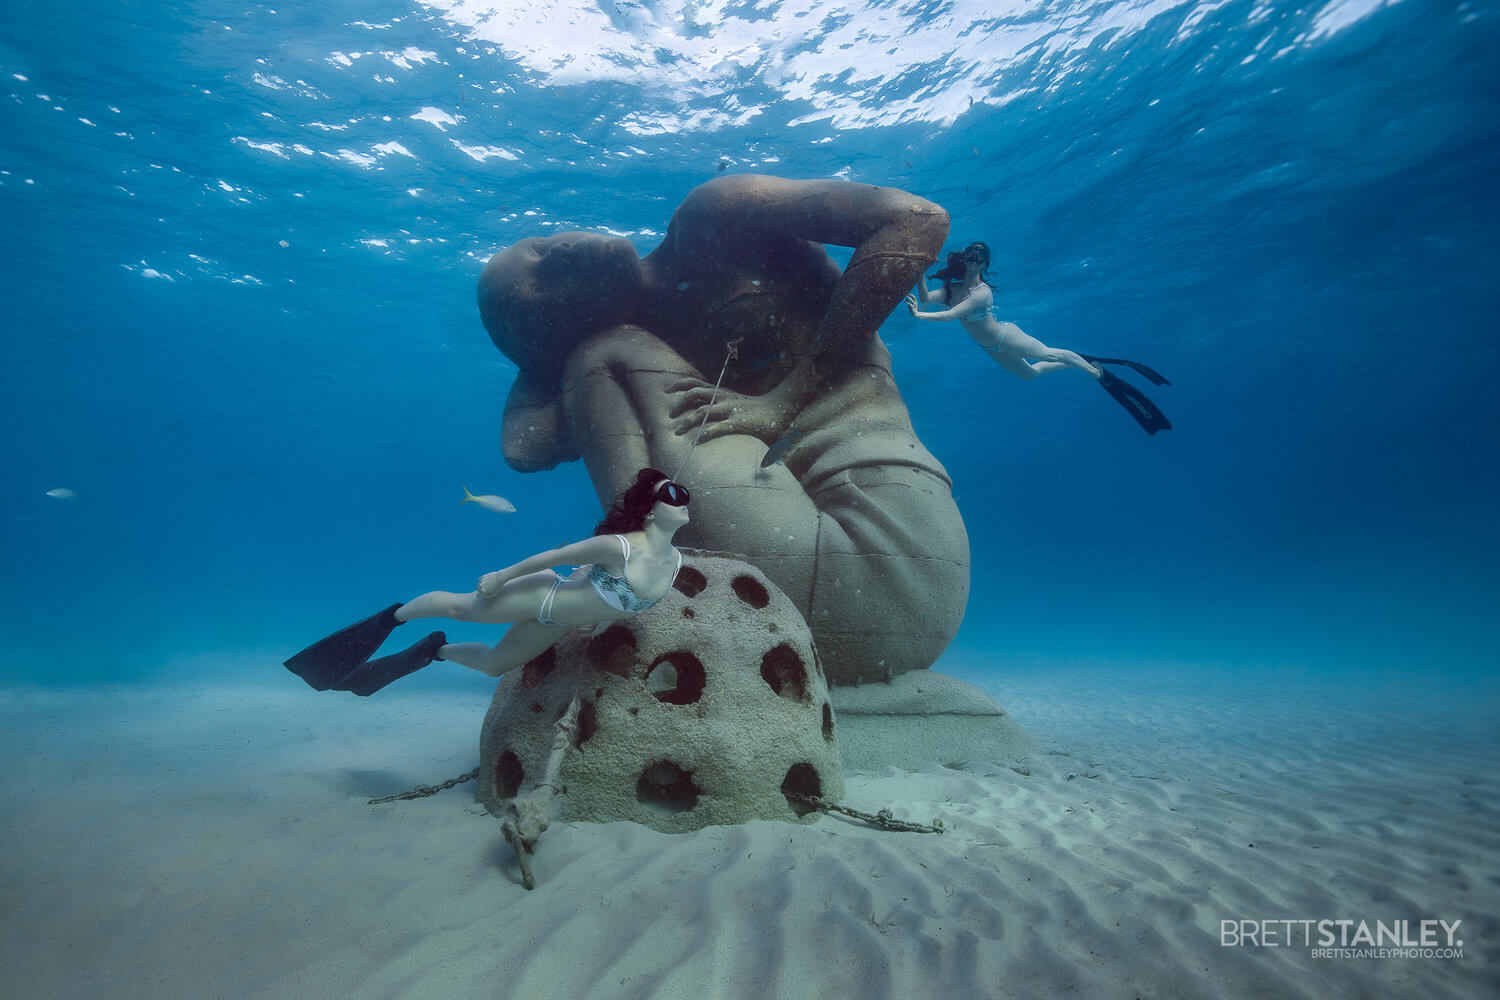
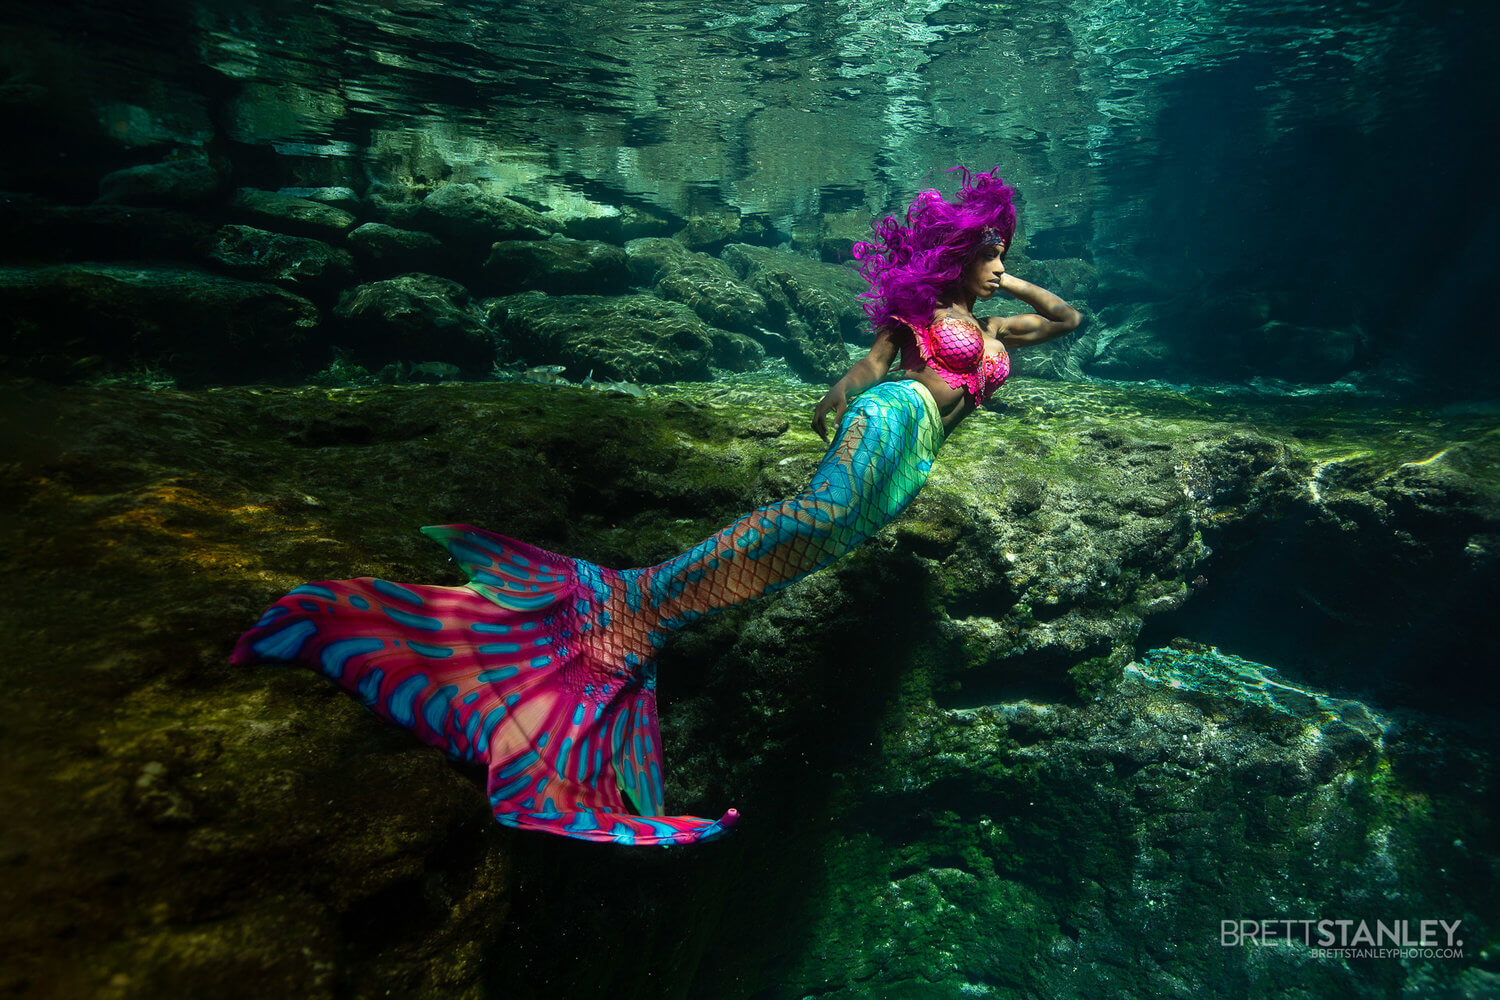
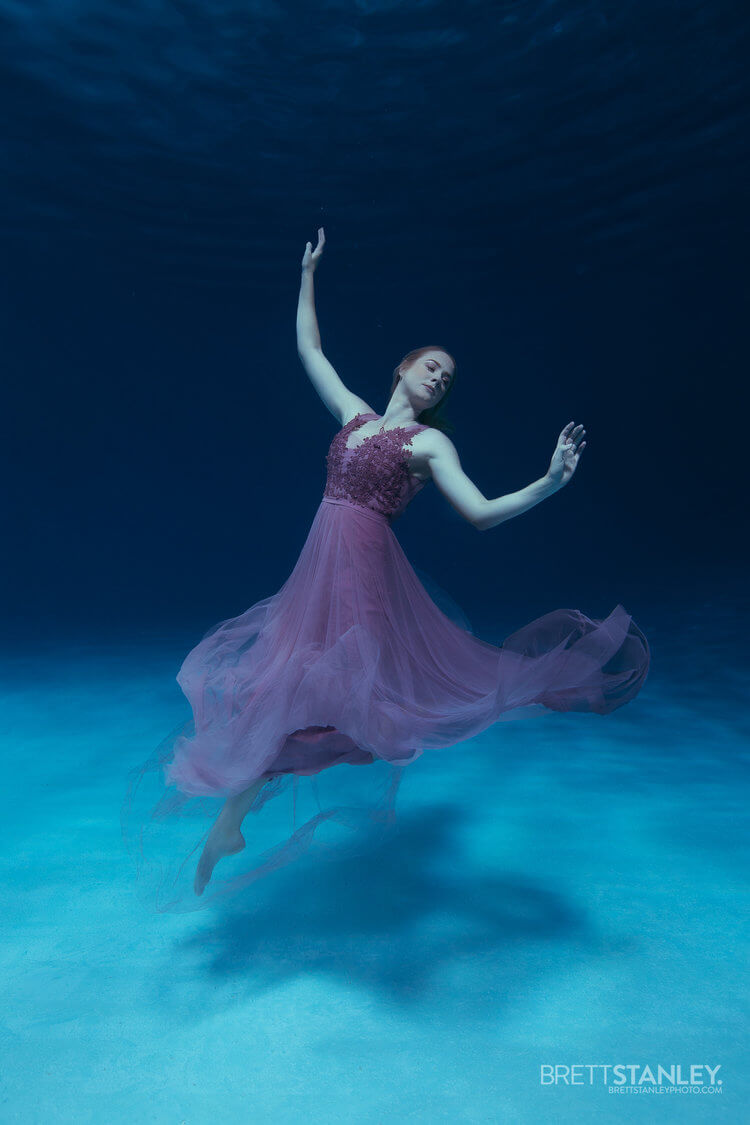
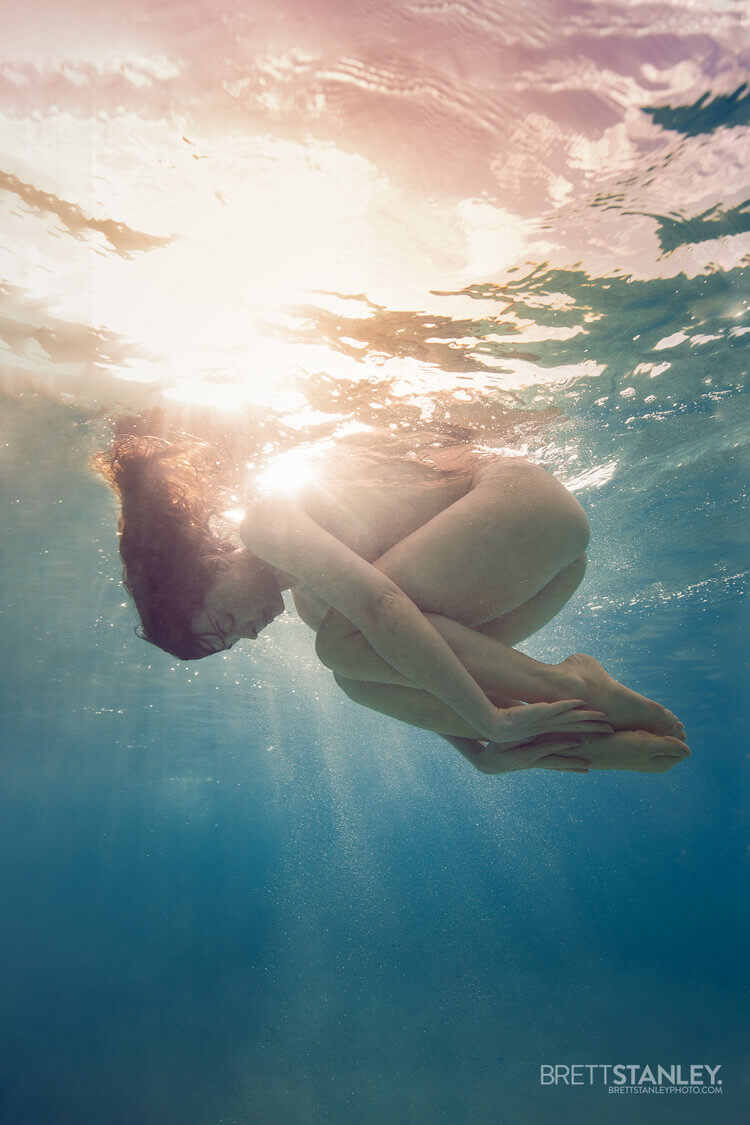
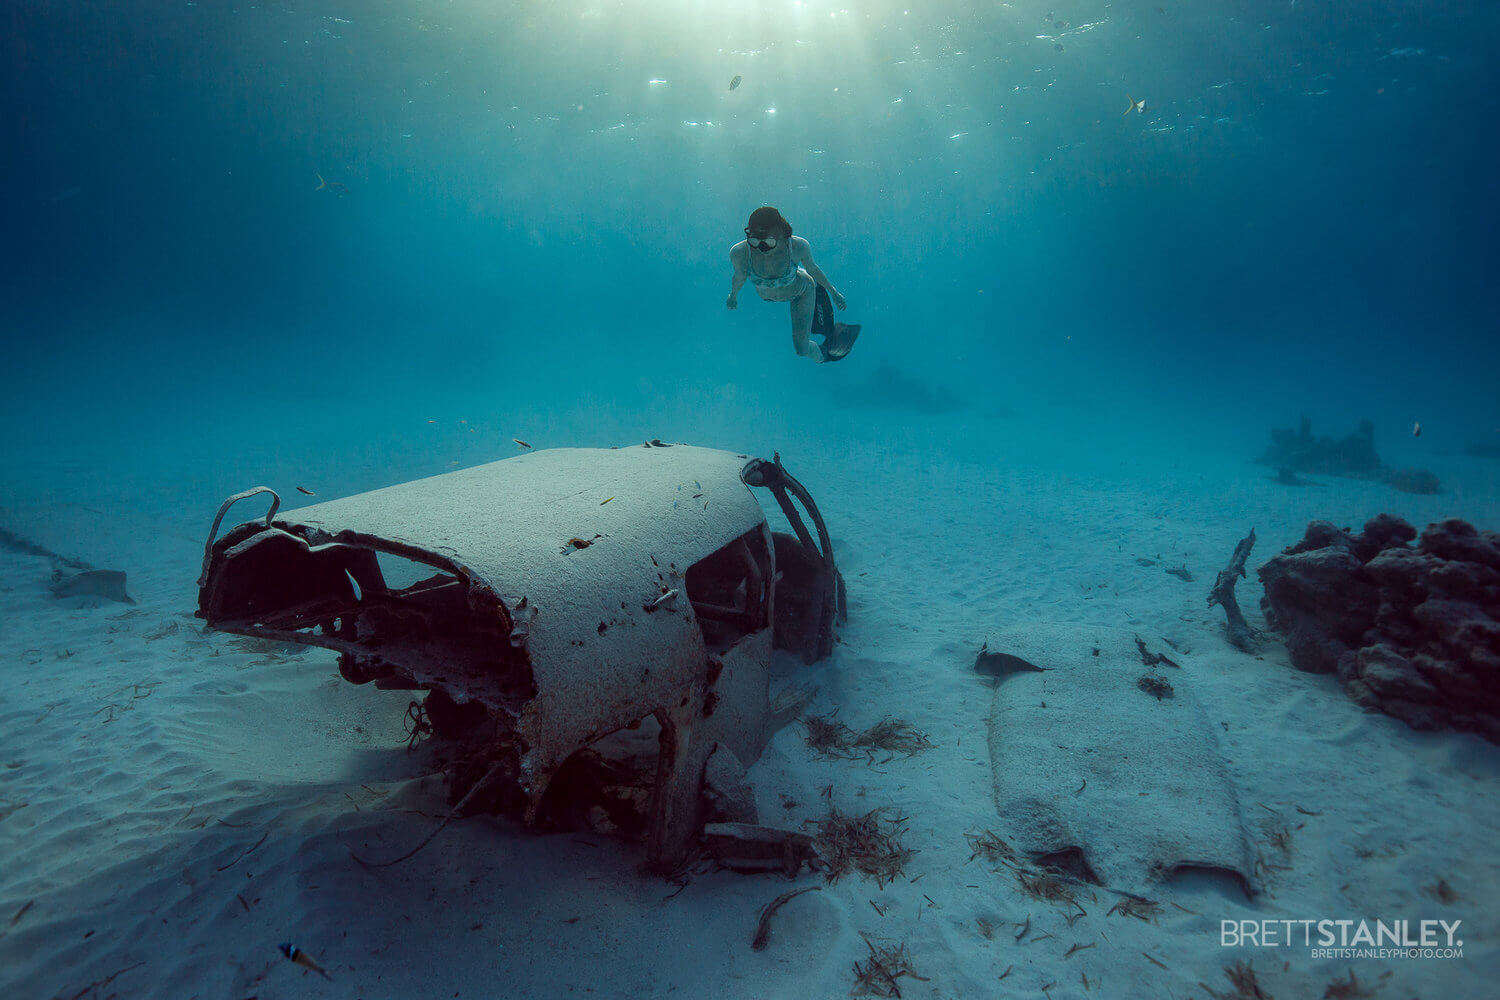
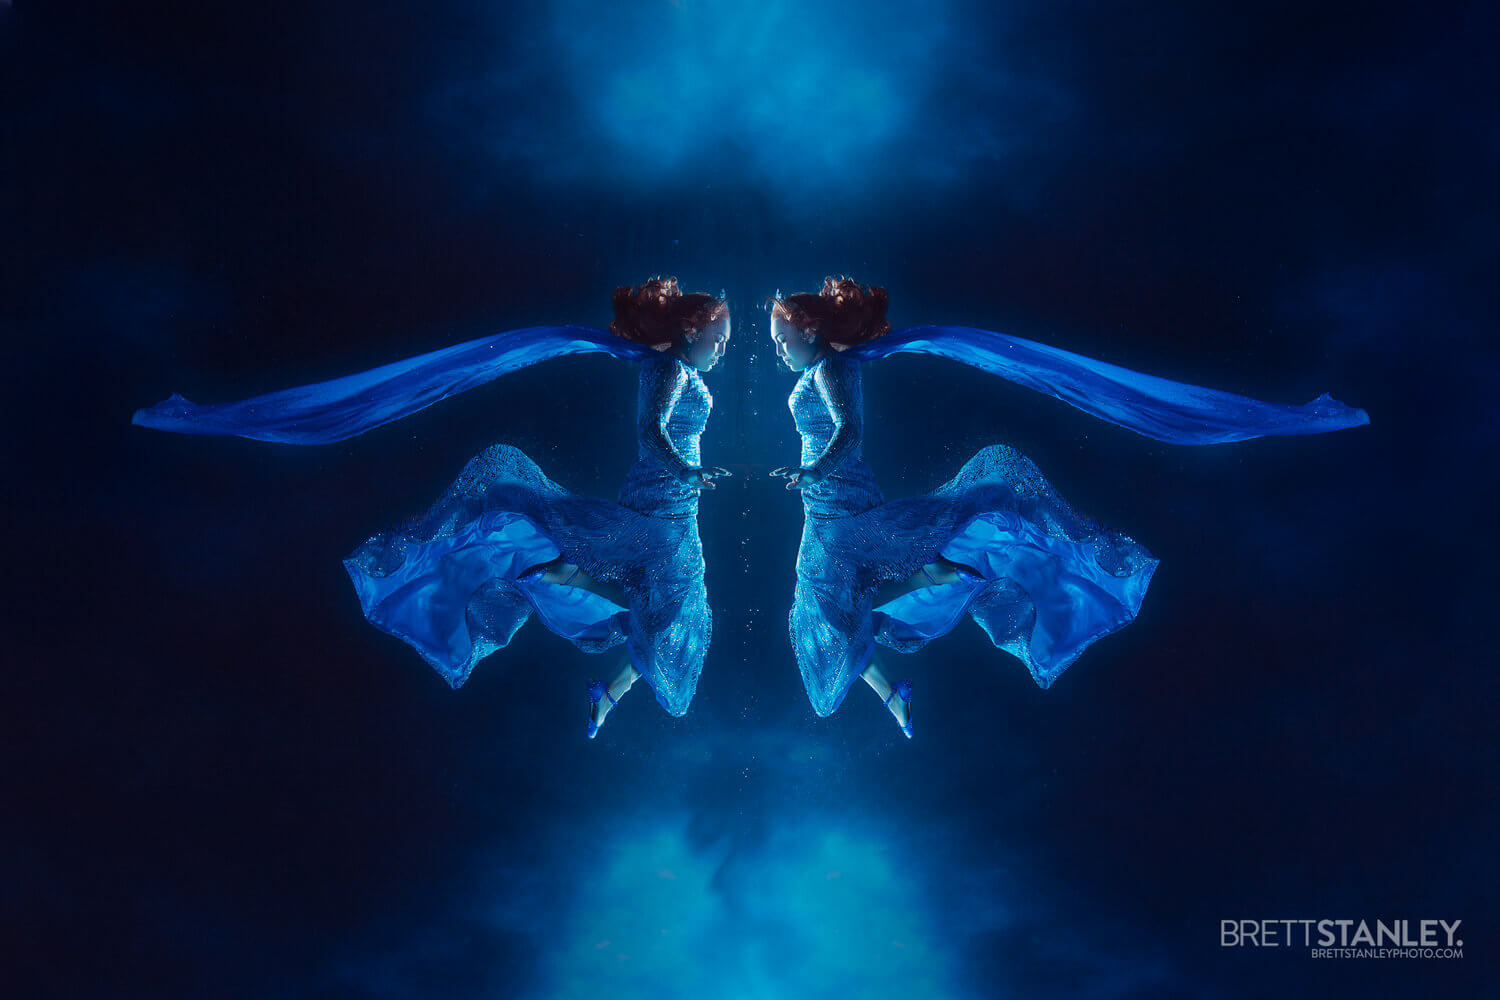
Brett’s beautiful, surreal, underwater photography is uniquely mesmerizing. We were drawn to not only his artistic vision, but unique use of a color in an environment that is altogether different than land, in terms of hue, saturation, tone, and wavelength intensity. In this color conversation, we discuss Brett’s creative origin(s) and explore his inventive productions; inspiration, challenges, and triumphs.

Follow Brett’s work on Instagram and his website.

You are best known for your underwater imagery – what first sent you beneath the waves – how did you get started with underwater photography?

I started photographing underwater properly about 6 years ago, just after I moved to Los Angeles from New Zealand. I’d always loved the water (it’s my happy place), started scuba when I was 16, but never really got in to underwater photography then as I found taking pictures of fish kinda boring. It wasn’t until I was at a point in my photographic career where I was searching for something new. I was sick of trying to pitch for work with a hundred other photographers in the commercial/advertising world, I needed something to differentiate myself from the rest of the pack so I started looking back underwater. Once I realised I could shoot people in water it opened up a whole can of worms and it just took off.

How different is planning and preparing for an underwater production, as compared to a normal, or more traditional photo session?

An underwater session is different mostly due to safety, speed, and the inability to communicate whilst under the surface. In a dry shoot, you can direct the model as you go – refining their pose or movements in real-time; but underwater you can’t do that. So there’s a lot of discussion and direction before myself and the model go underwater. If the model hasn’t worked with me before I kinda have to teach them HOW to pose under the water, as it’s a whole different world down there with the lack of gravity, water up the nose, and the not being able to breathe thing.
Lighting and general setting up takes a lot longer to do in the water as well, you can’t just walk over to a light to adjust it. Props will float, dresses will sink, it’s a whole balancing act just to get that decisive moment.

In regards to color, we presume that shooting underwater has to add a lot of unique variations to your images? Is this a significant concern for you? At what point during your process do you start thinking about the impact that water color is going to have on your shoot? Are there specific factors you take into consideration, regarding location-choice underwater?

I’ve always been driven by colour in my images, I’m afraid of B&W for this reason I think – so hard to let go of the colour. Once you go underwater the colour spectrum starts to narrow, which really can limit your pallet. This is due to the warmer end of the spectrum not being a very strong wavelength and so it fades quite quickly, which is why the ocean is blue and fish look more vibrant out of the water than in. You end up with a lot of blues! You can combat this with underwater lighting but the further the subject is from the light source the colder the light becomes.

White balance plays a large part in it, and I always shoot RAW so I can bring back a lot of the warmer colours if I need to. I also know that certain colour fabrics and paints are going to react better than others which helps to make good choices before the shoot.

A lot of my colour selection happens in the edit, as I tend to just shoot a nice clean flat image knowing that I’ll bring it to life when I retouch. This is why I love ICP so much!

How has the Infinite Color Panel empowered you to realize your creative vision?

By randomly adding tints and colours to the shadows, midtones, highlights etc, and changes to curves it gives me colour options I would never think of. My skill with Photoshop is really limited to cleaning up the image and simple composites so the colourist side of it I really do in Lightroom, and very simplistically at that. ICP gives me the ability to create a more varied pallet in my imagery, which is priceless.


New Zealand seems like it would have ideal waters for your photographic style. Has the move to America impacted your art, for better or worse?

As much as I love NZ, the open water there is coooooold! Even if you can find it clear enough it’s usually not very accessible. The move the the States has given me access to some amazingly warm and clear water to work in. Although I primarily shoot in pools and tanks around the world, it’s nice to get out in the open water and really make the most of that underwater landscape. I feel like my most impressive images are shot in the oceans and lakes I get to visit.

The Underwater Pole Dance series is brilliant! It seems as if it would be more and less challenging, at the same time. Have any non-dancers been part of the series? Are there any expected, or unexpected, challenges that your clients have faced, when producing this series?

Thanks! This was a bit of an ah-ha moment for me, and really started my career underwater. I was doing a series of images underwater with things that don’t belong there, like trapeze and other circus apparatus, and pole just was an obvious choice as it gave people something to hold on to. The main challenge for the models is just getting used to not having gravity. I’ve shot with quite a variety of experience levels with the pole, from competition performers to people who’ve never been on a pole before, and they all find it very different. I think the inexperienced take to it more readily as they don’t know what to expect and just make some pretty shapes on the pole, whereas the more experienced almost fight with their knowledge and muscle memory – thinking that everything will be the same as they are used to.

What you do is so unique and lovely. Does that help or hurt your career, when it comes to finding work or seeking publication? It seems like there would be potential benefits and pitfalls.
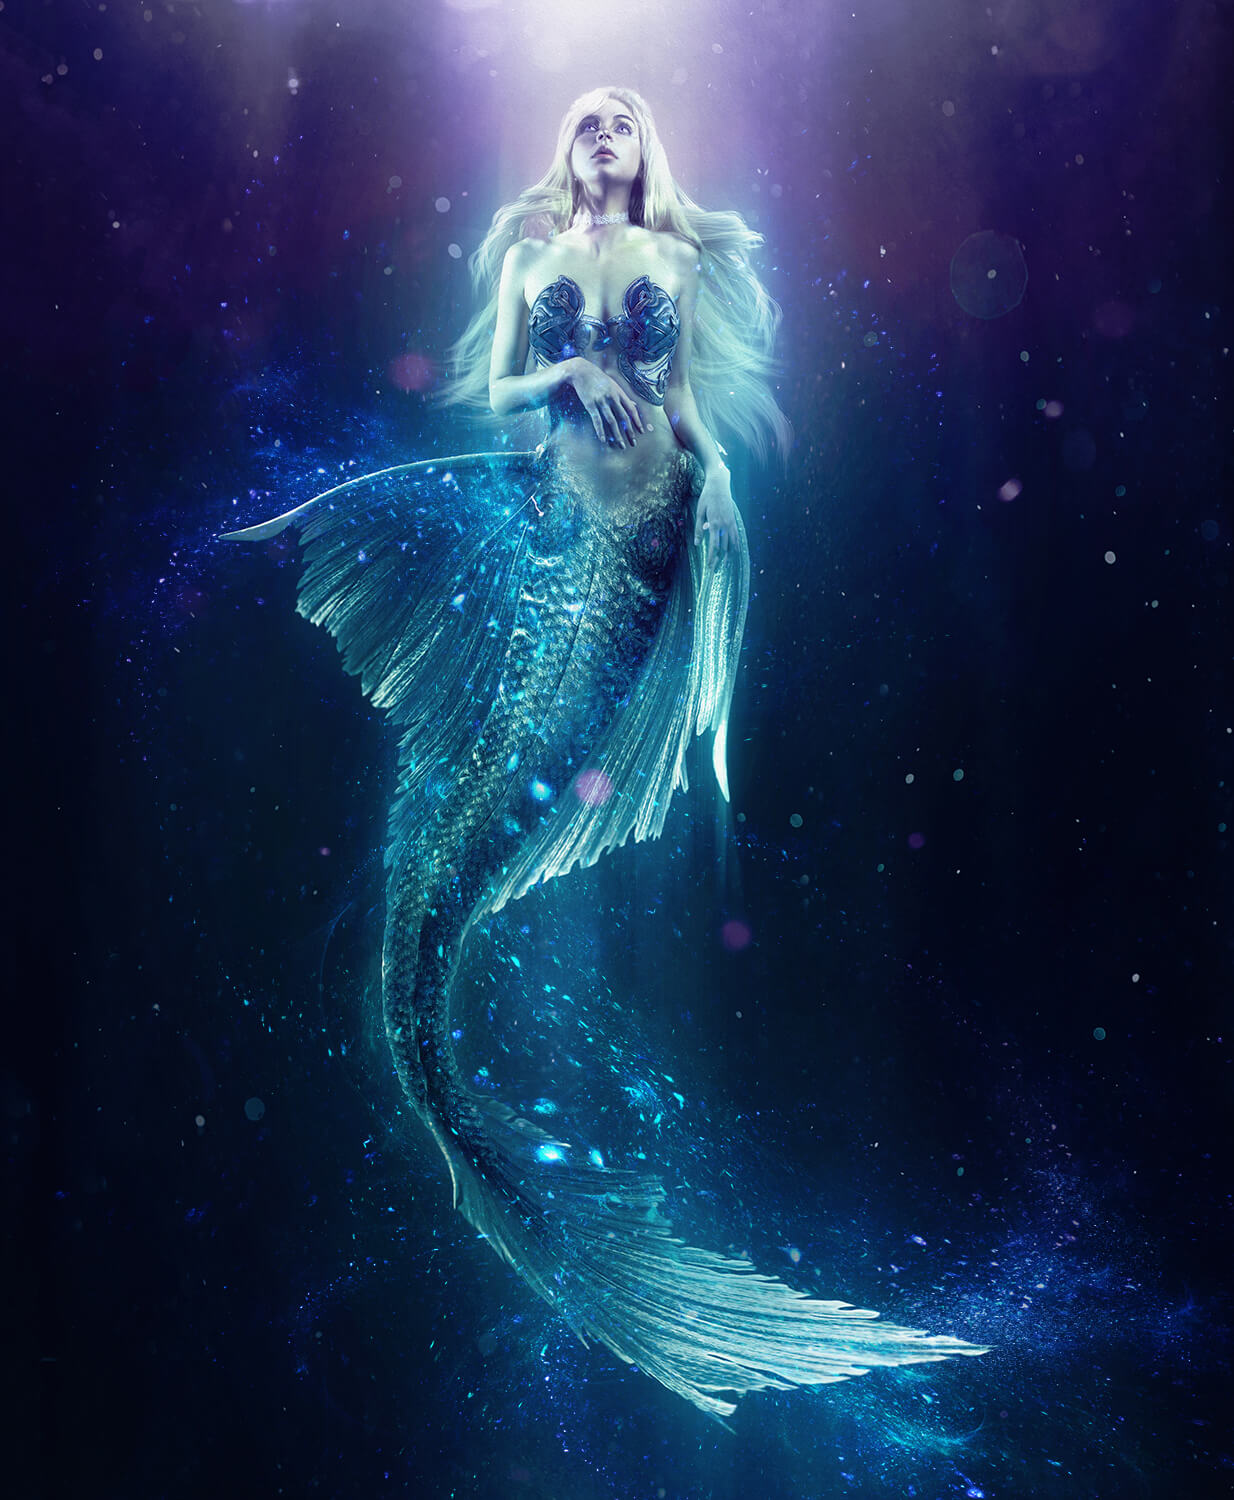
I’ll admit what I do is very specialised, and as someone who likes to try everything it was a little hard at first, but now I love the notoriety of being the “underwater photographer”. Most people haven’t seen this kind of thing before, and let alone got a chance to try it themselves, so I’ve been surprised at the massive response I’ve had to it. Getting published is a little tricky as some of my work is pretty genre based (mermaids, cosplay, pole dancing) but I prefer to see my clients sharing the images to their own networks which generates more buzz for me – I love seeing their excitement.

_

Have you tried the panel yet? We’d love to see your creations! Get in touch on Instagram @infinitecolorpanel or the Facebook Infinite Color Panel group and show us your work.

If you haven’t tried the panel yet, get started here:  https://infinite-tools.com/infinite-color-plugin/
 

Creative Conversations with The Iconic Donatella Nicolini

Article written by David Parish and Pratik Naik

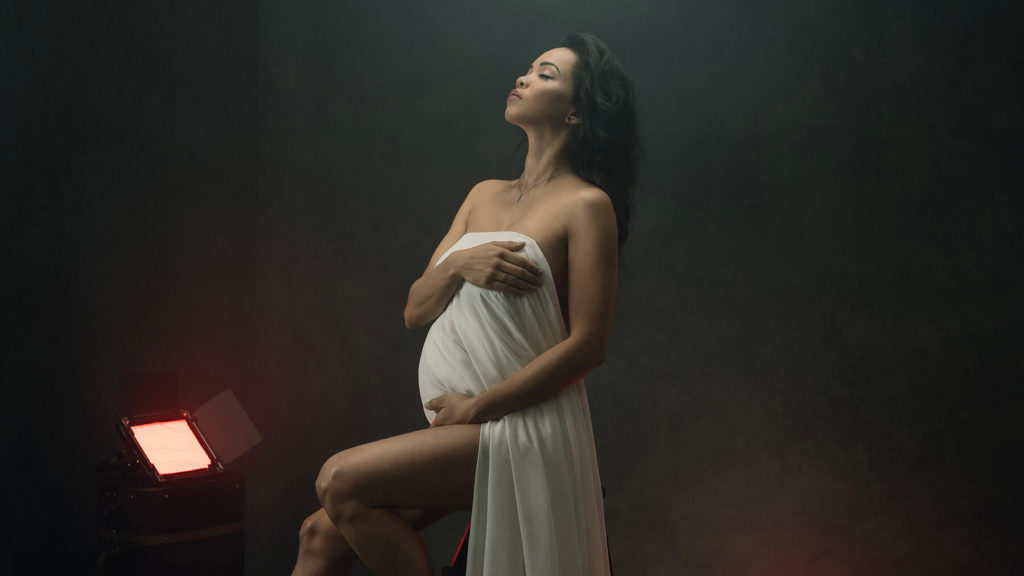
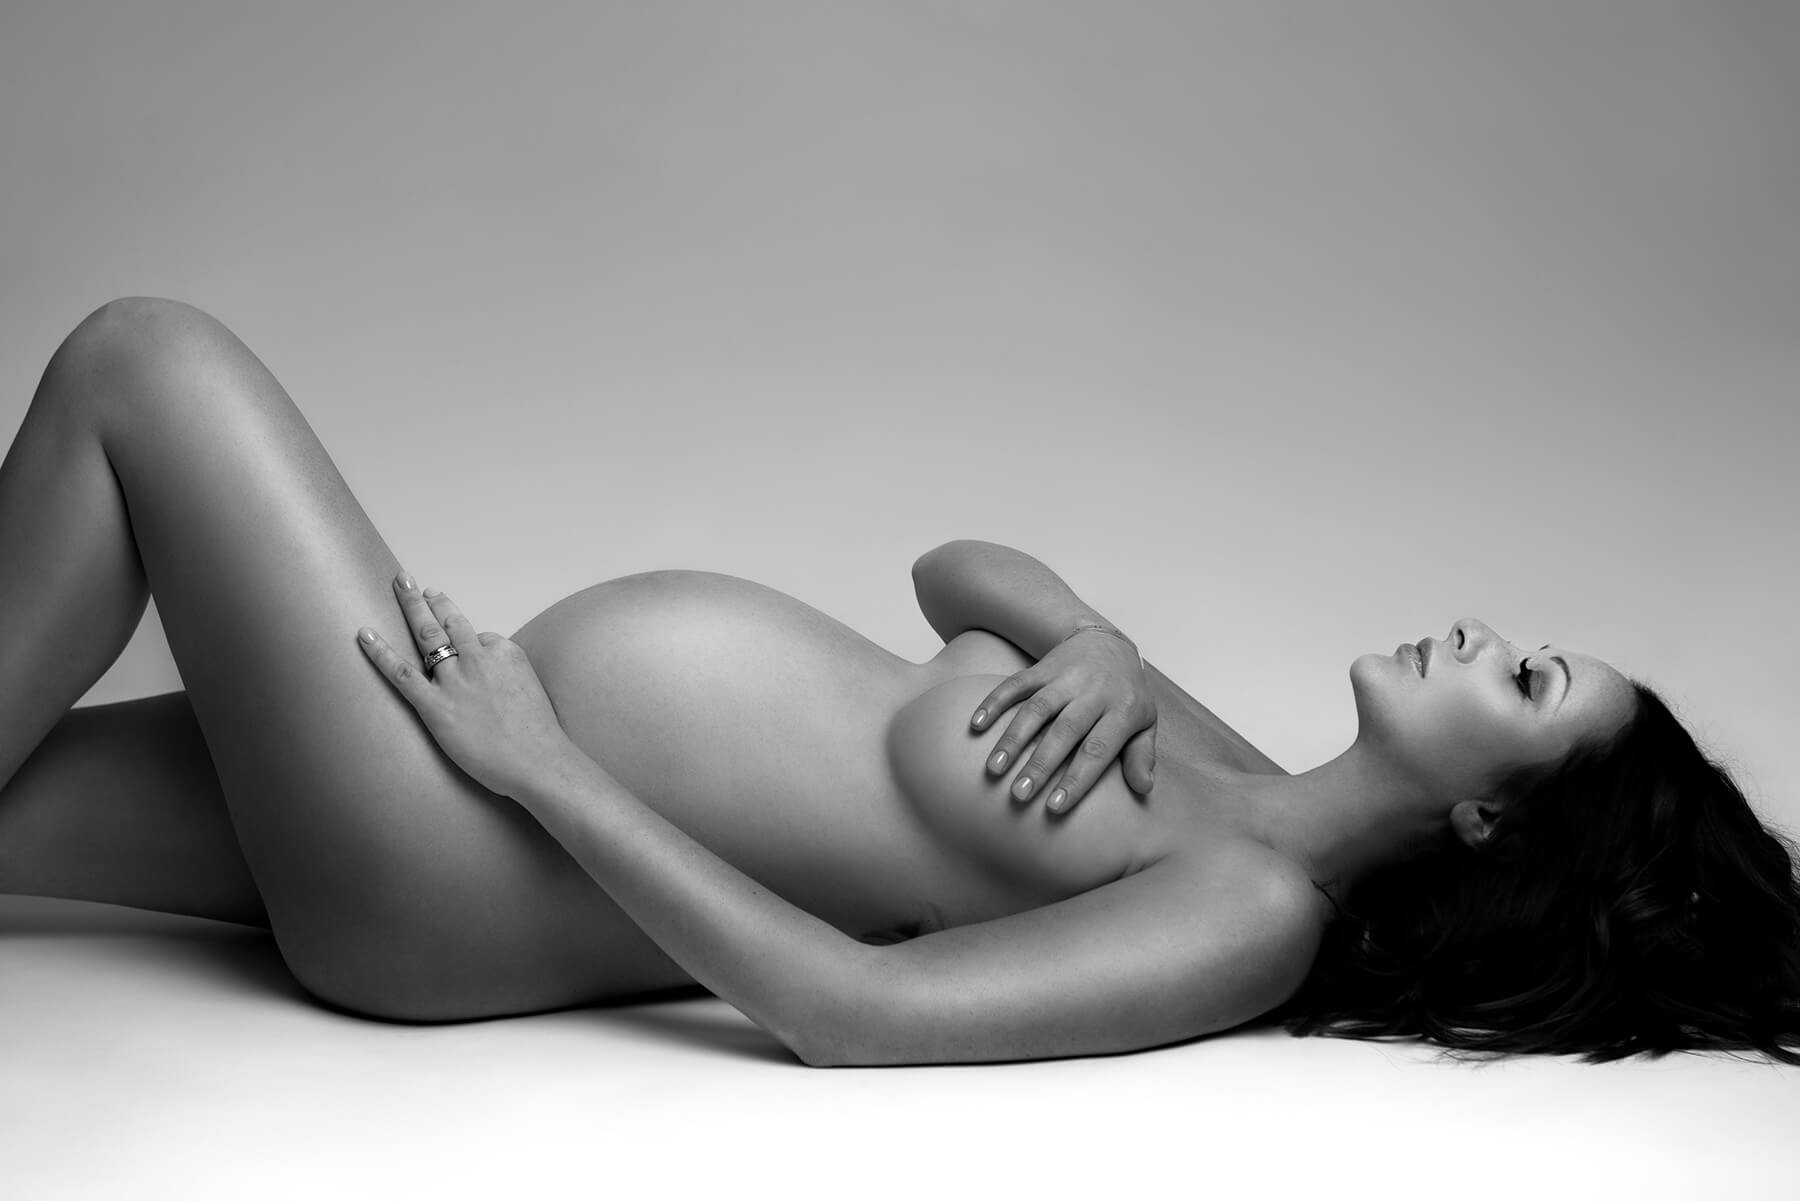
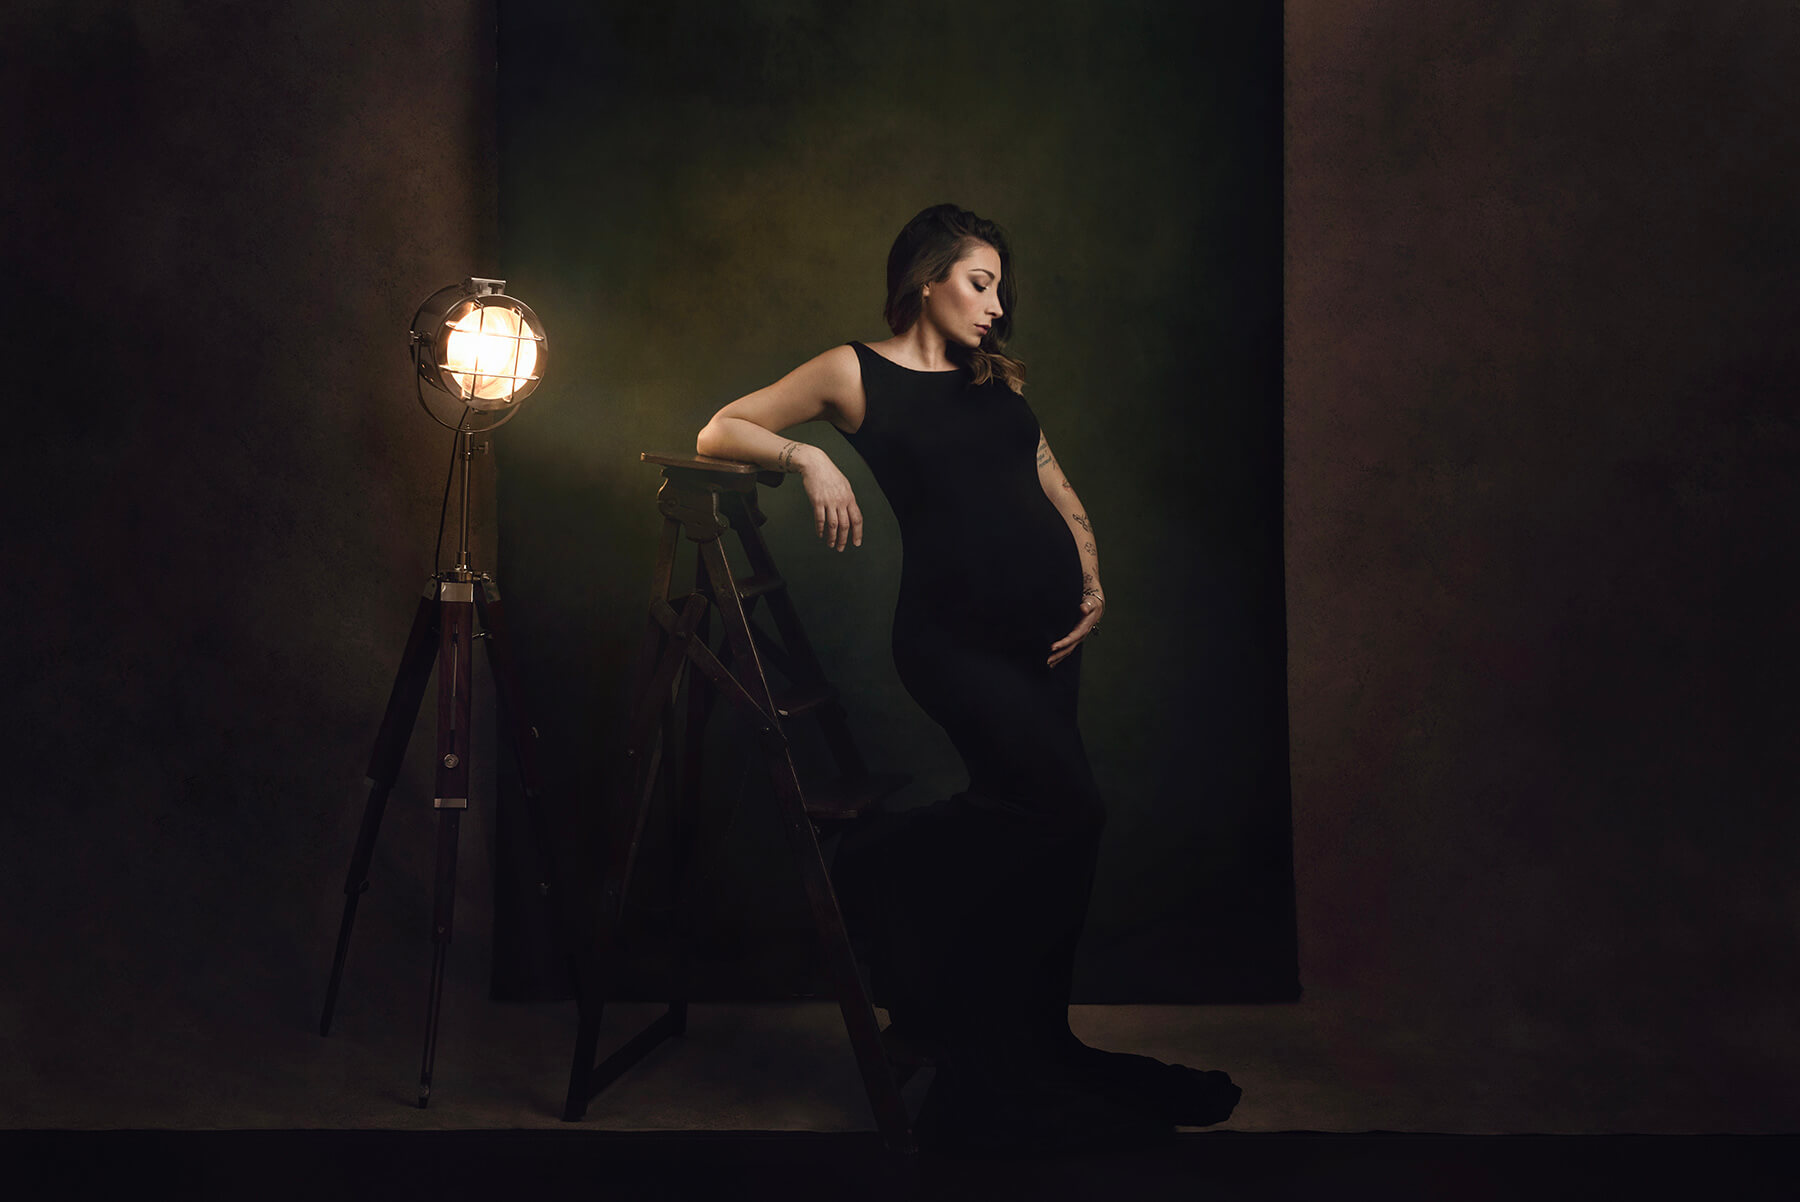
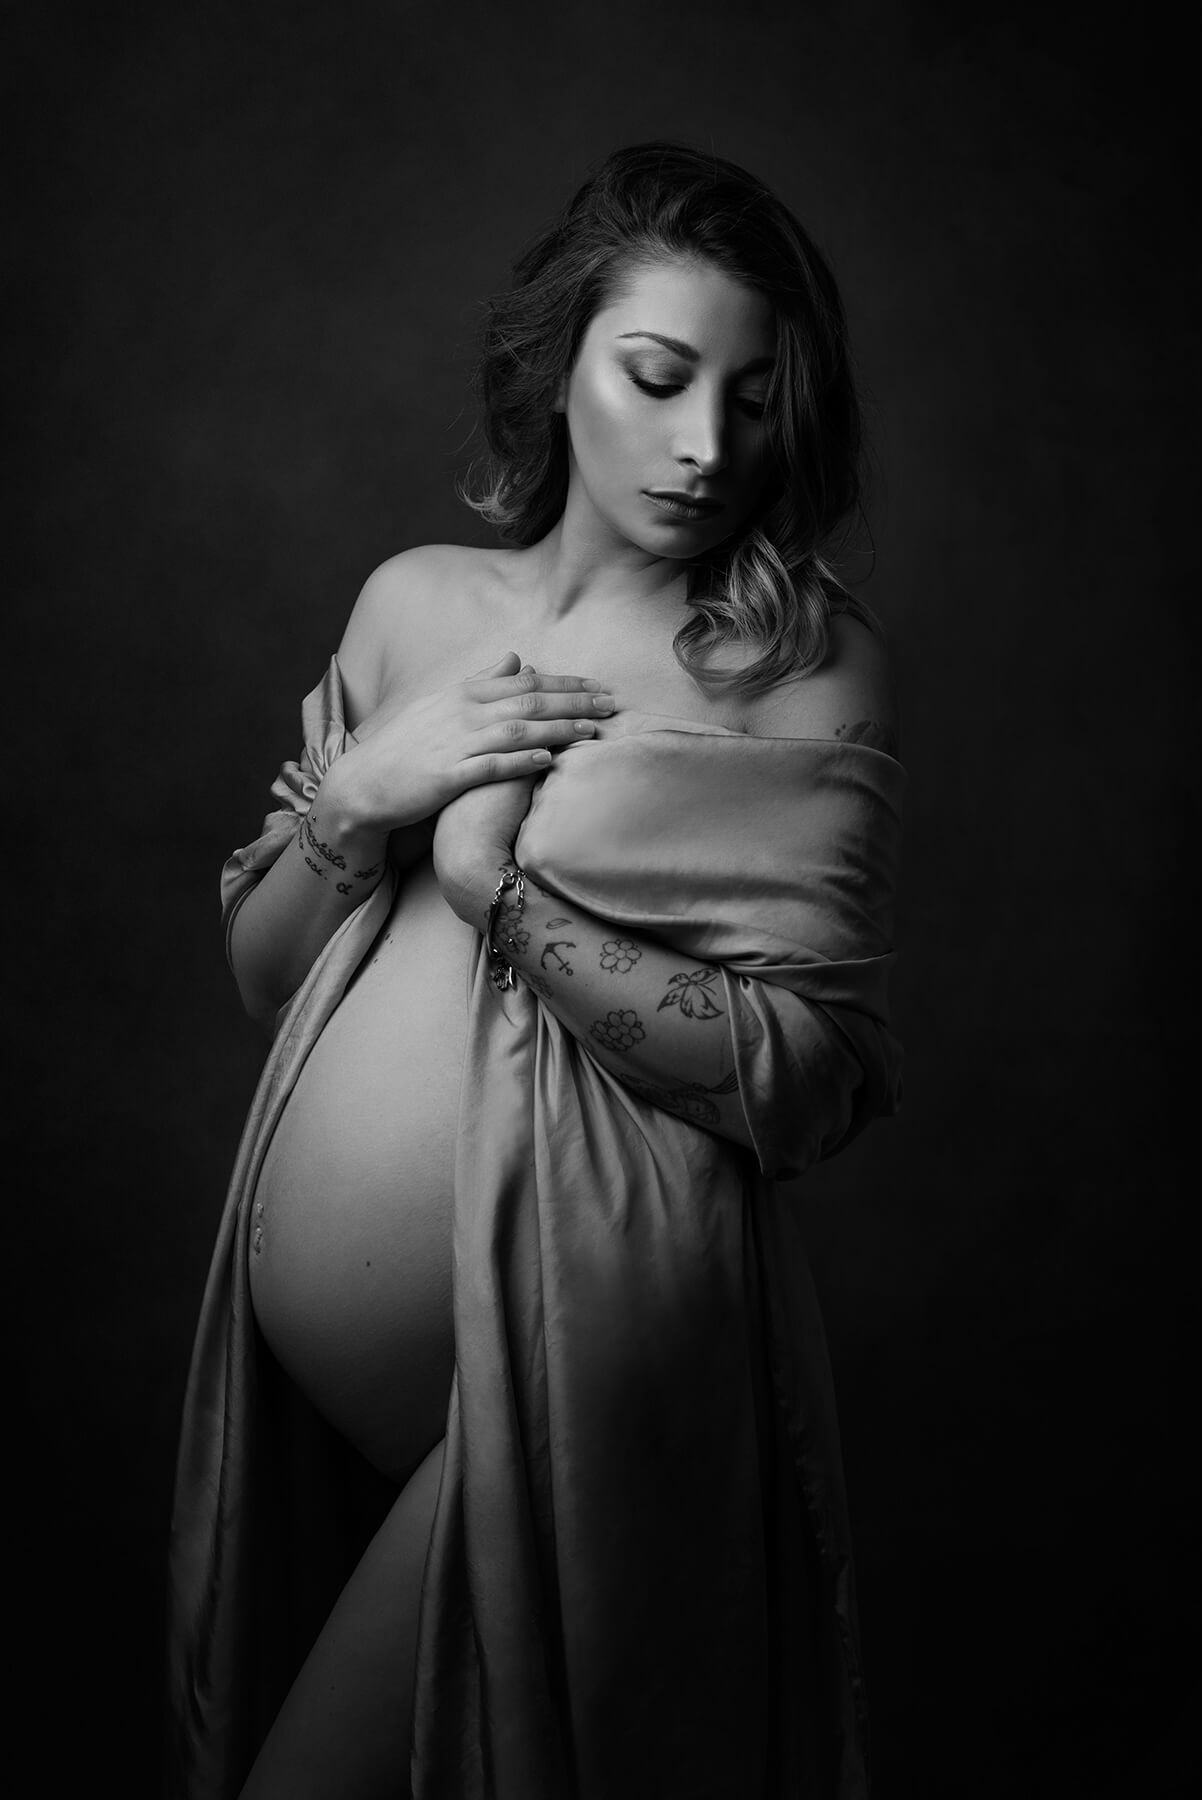
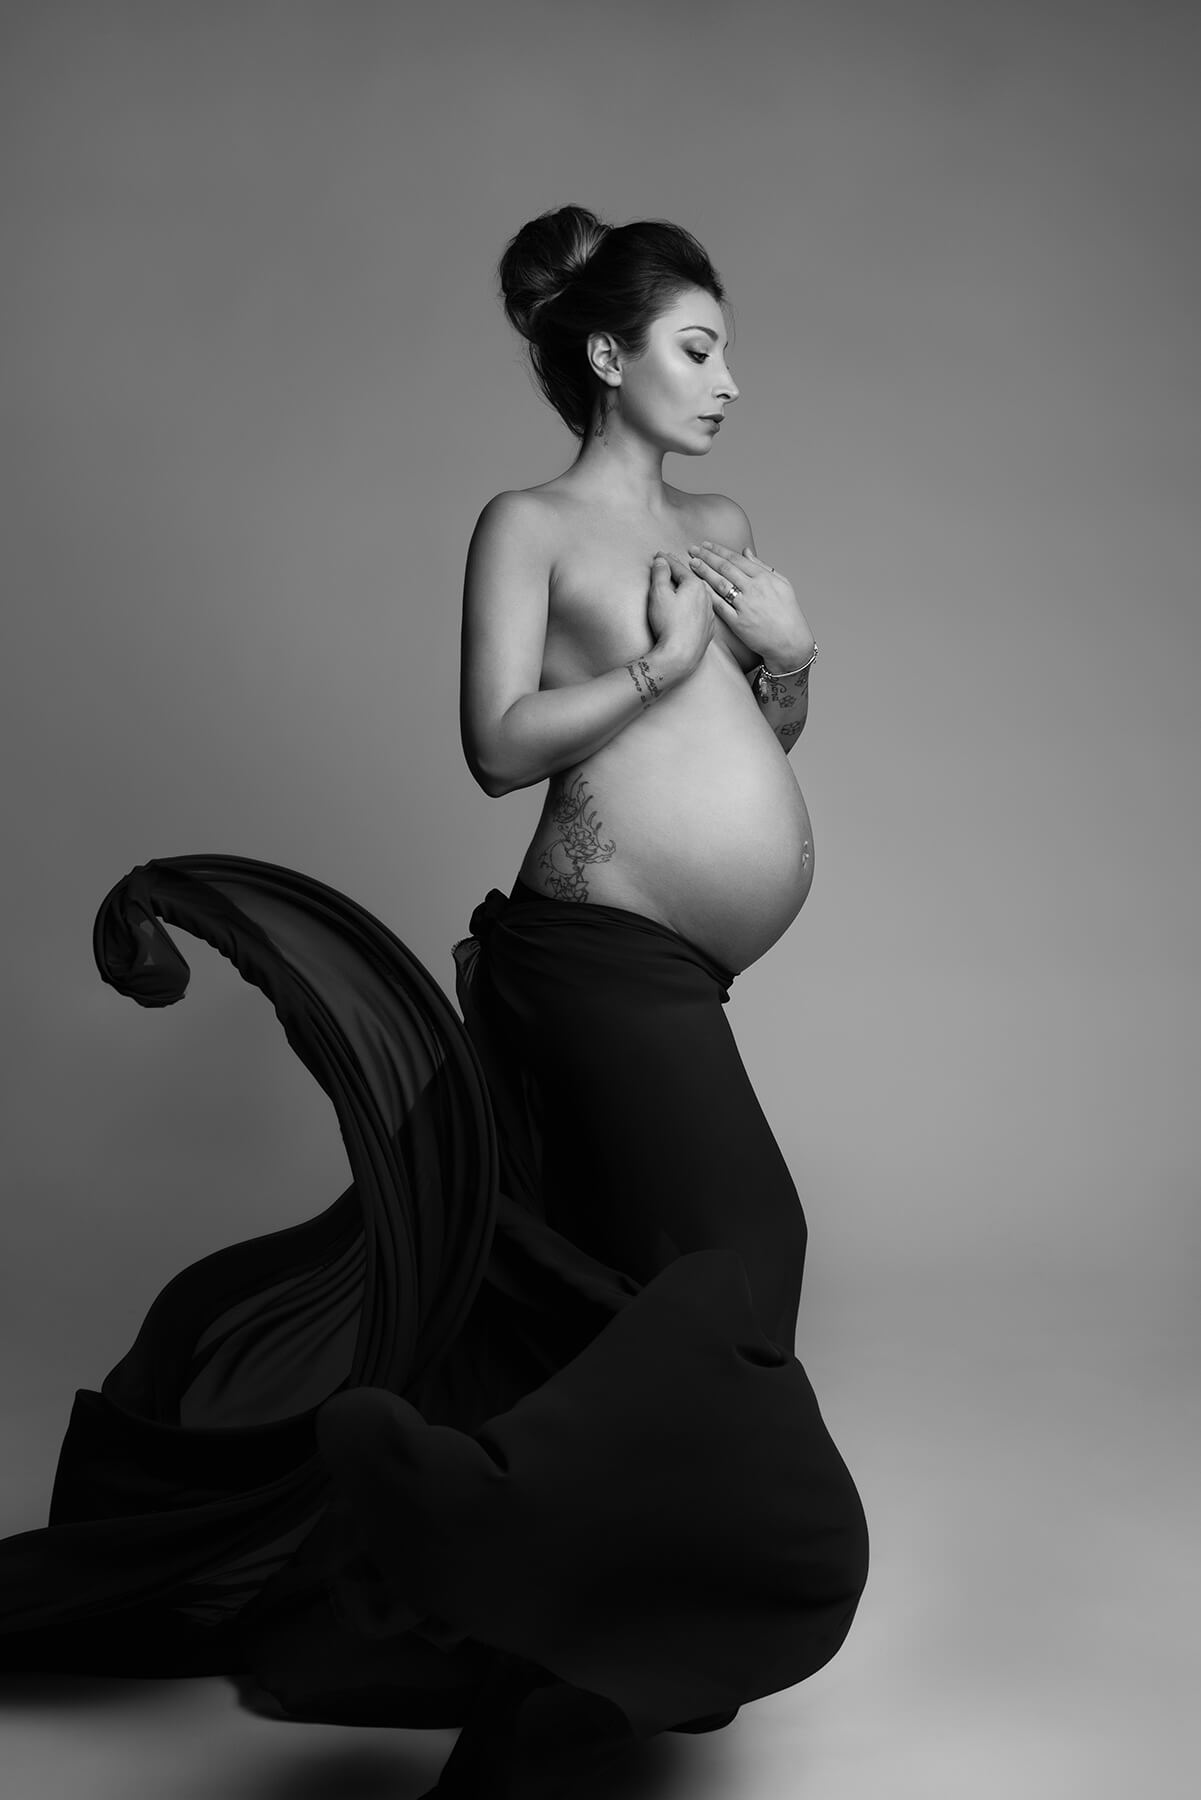
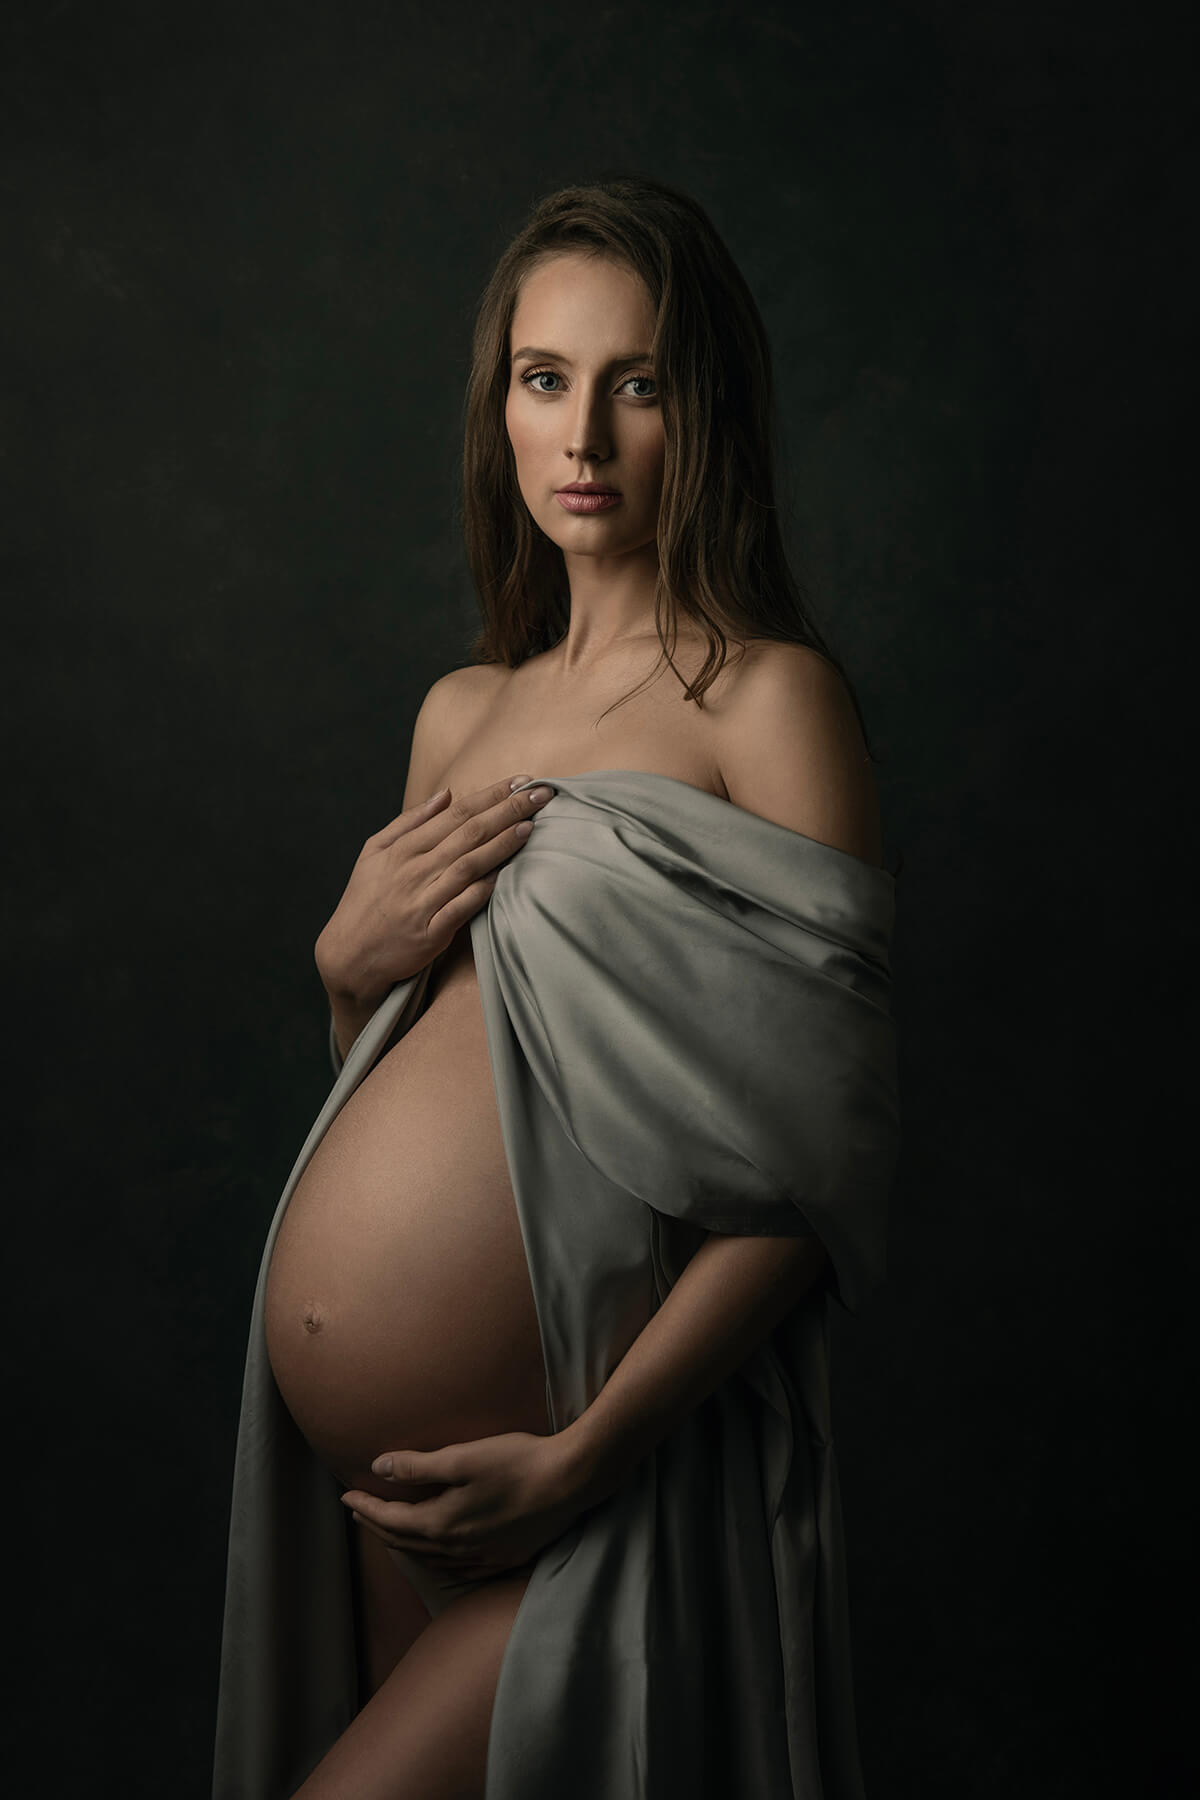
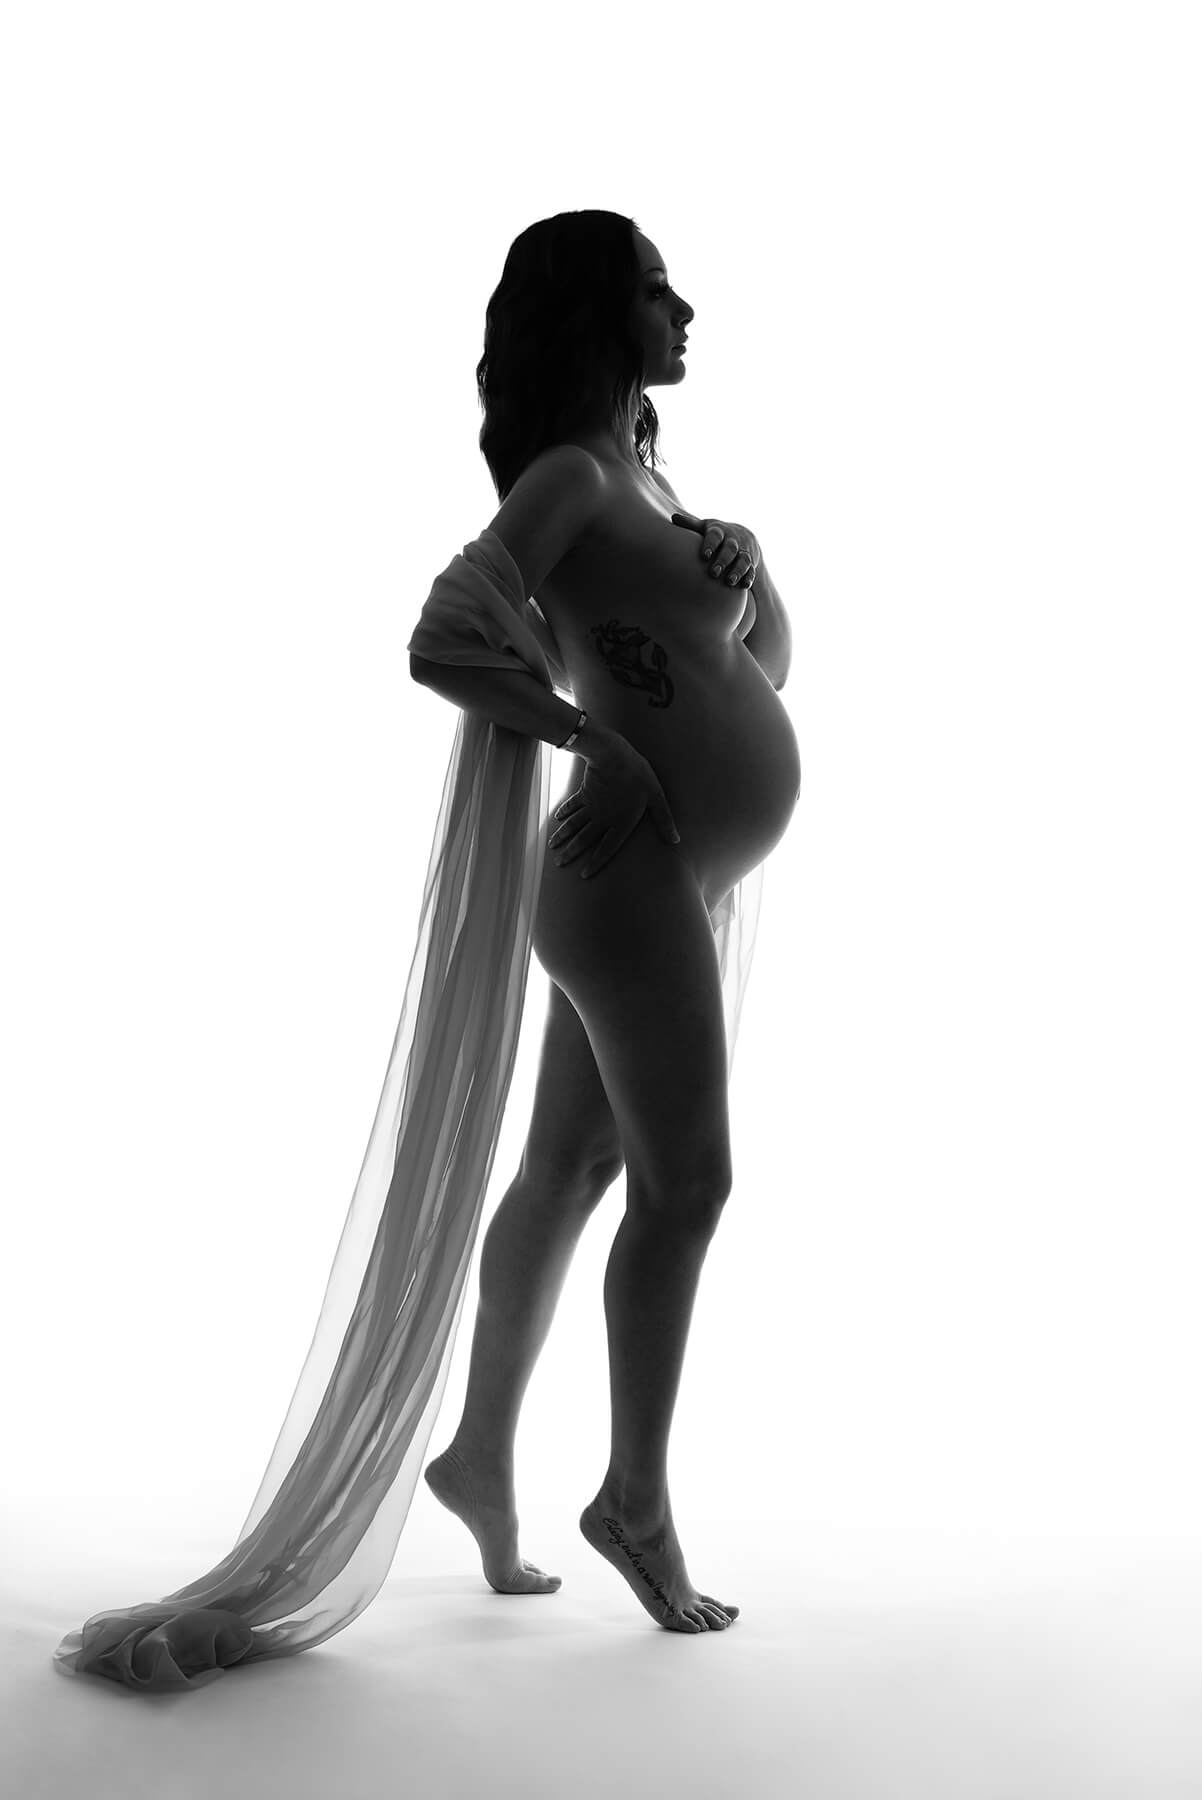
Donatella Nicolini is a modern legend. She’ll be who you hear about for years to come and then say, “I knew her back in the day!” She’s a maternity photographer that has such a beautiful style to her work, crafted over years of learning and testing. We asked her about her humble beginnings, her moments of growth, how photography helped her realize what a gift she had with people, and more.

Follow her work on Instagram and her website.

Your images are instantly identifiable in the numerous groups and social platforms we see them in. How did you go about learning your unique approach to imagery?

First of all, thank you! I love that! I trust my instinct and my personal taste and I put it all in my images. I believe it’s important to learn and find inspiration from many different sources. I still educate myself everyday and when I create an image I don’t think so much about what style I should go with, I just create what I love in that specific moment of my life. All that I study, read, explore and look at everyday, the work of different artists, in photography as well as in movies, blend together and work inside of me, mostly as an unconscious process.

You seemed to settle into shooting maternity photos fairly early on in your career. Did you always aspire to be a maternity photographer or was there an evolution in your work that brought you here?

I started with portraits, I was very shy as a kid and growing up I had a difficult time managing relationships with people. I found out that when I was photographing people, all that changed. I realized I could connect with people more while taking their portraits then in any other situation. It warmed my heart to realize that even if i wouldn’t normally like some people, when I looked at them through the camera I saw beauty in each and every one of them. I remember feeling so much love for these people that I didn’t even know before the photoshoot, it was something so new to me.

I knew, clear as day, portrait photography was my thing. It was my therapy. I admit, to these days, I don’t recognize the person I was anymore. Now spending time with people, getting to know them is my favorite thing. Wherever I am I make some friends, I talk to anyone and I love it! So, after taking portraits for a while, I decided I wanted that to be my full time job. There was nothing else I would’ve loved more to do for the rest of my life. I started to study about business and one of the first things I learned is that I needed to pick a niche.

At that time, my nephew was born and I was looking at newborn and baby pictures in order to learn how to take a decent portrait of my baby boy. Those babies photos were so cute and it seemed to be a solid trend in the US, Australia and UK, while it wasn’t already popular in my country (Italy). I saw it as a good business opportunity and I thought: Great! I found my niche! I’ll be a newborn photographer! I focused on that for a while, learning all about safety and posing, attending workshops and such and practicing with my friends’ babies.

One day a mom asked me if I could take her pregnancy photos. I never had a maternity session before, but I was very excited about it and so I said yes! I took the opportunity and I spent a month studying everything I could find about maternity photo shoots. I already knew something about lighting and composition due to my previous portrait work, but I knew I needed to prepare specifically for that. I wanted to flatter her pregnancy form as best as I could. I remember I went on Creative live, Pinterest, Youtube and bought any course about maternity portraiture available at the time. So the day of my first maternity photoshoot came and I loved it! I felt very comfortable about the whole experience and was very involved and connected with my client.

I posted the first portraits on my social media accounts (Facebook, Instagram etc) and I got a great response from people. For the first time I got a photo of mine published on a photography magazine in India! Go figure! Shoot after shoot it hit me, this was my real niche. I saw incredible beauty, strength and magic in every pregnancy session I did and I wanted other people to see it too. I wanted my mom-to-be clients to feel proud, strong, gorgeous in their pregnancy, especially the ones who felt all the opposite. I knew I found my mission.


Have you had any formal education in photography or any assisting jobs in your career? Do you believe it’s valuable to study others or discover everything through trial and error?

I didn’t follow a formal education in photography and I never had an assisting job.

However I attended a lot of workshops, both in person and online. I am constantly studying, everyday. I keep buying new online courses, reading books, planning on attending new workshops, watching Youtube videos and so on. Practice is also key. Making mistakes is so important to grow and become a better photographer. Is one thing to know a technique in theory and a whole other thing to actually do it and make it work on set. I think the point is when you love what you do, you also love studying and knowing as much as you can about it. It’s a lifetime journey of improvement and I love it!

Newborn photos seem to be something you often photograph as well. Was this a natural progression of past maternity clients asking for newborn photos or was this always part of the plan?

As I mentioned earlier, it was the other way around! Newborn photography led me to Maternity photography and that proves that it is important to pick a niche, even if your first choice is not the perfect one because it will bring you closer to the right one for you. If I didn’t pick newborn photography as a niche, I might’ve never had the chance to photograph a pregnant woman or that would’ve happened much later in my life. So, picking a niche, even if you’re not 100% sure about it, is still better than keeping your work generic and not picking any.

There is a balance of colored and black/white images in your portfolio. Do you prefer one over the other? What do you use to decide which one you would go with?

I love both, but if I really think about it, I would say I have a thing for black and white. In a maternity session I usually show clients 70% black and white images and 30% color. I love playing with color grading though. I love movies so much, when I work with colors I like to create images that have a cinematographic touch. Most of the times I know which images are going to be colored and which in black and white before I shoot them. I plan every shoot and see every image in my mind before I create it. That helps me deciding what colors to use when choosing clothes/props/backdrops etc for every specific picture.

What would you say the panels have done for you in your workflow? Do you think it’s something that works for beginners as well and what would it teach them?

I love the panels! I have been using both of them with every image ever since I’ve got them.

The panels show you, in the easiest and fastest way possible, an endless stream of creative possibilities that help you choosing the final look for your image. Each look communicates something different. It’s that extra final touch that makes you say “Yeah. Now it’s done!”.

I think they’re both extremely helpful for beginners too, as the panels can help achieve looks they wouldn’t know how to get otherwise manually or wouldn’t even consider possible to do. I definitely recommend the panels to everyone who wants to explore his creativity and save time during the editing process!

_

Have you tried the panel yet? We’d love to see your creations! Get in touch on Instagram @infinitecolorpanel or the Facebook Infinite Color Panel group and show us your work.

If you haven’t tried the panel yet, get started here:  https://infinite-tools.com/infinite-color-plugin/
 

Creative Conversations with the Spectacular SJ Van Zyl

Written by Pratik Naik

Photographer, creator, co-producer, and lover of peanut butter, SJ Van Zyl is someone you may have already heard of. If you haven’t, you’ve definitely seen his work! He has a way with his subjects, you can truly sense that they are relaxed and exude true emotion when you look at his images. I wanted to take a deep dive into how he’s able to do that and what his secrets are. In combination, he pairs it up perfectly with a great color palette and he graciously explores these topics with us! I learned a thing of two from him and can’t wait to apply it in my own work!

Be sure and check out his work via Instagram and his website!

Your work always has this piercing attention with the subject! What allows you to get it out them and are there any key tricks you employ that can be utilized for every client?

I always try to create a safe space for my clients where they can just be whomever they want to be. There is always a lot of laughing, jokes, and loud and joyful music playing during my shoots (many, many old school and nostalgic tunes). I also don’t try to control the process too much and allow all members of the team to suggest things, try new things and be part of my creative process. We work as a team and succeed as one.


When you’re shooting with a subject that you’ve never met before, what are some things you always do with every client to set the tone before a shoot?

I always request pre-consultation session over a cup of coffee in the studio where we can discuss the shoot in detail and get to know each other before we shoot in the studio. By the time they have their moment in front of my camera they are relaxed and confident knowing that they can just be themselves. If they struggle with posing or creating the right mood I will step in and help but if they are doing a good job I leave them to do their magic.


Is photography the thing you enjoy most about life? If not, what would you say comes second?

Peanut butter? I swear it makes everything better in life. But yes photography is definitely my main passion in life. It challenges me, inspires me, fulfills me and makes me feel like I have a place in the world telling people’s stories with a visual medium. I am one of those pale humans sitting in front of the Imac screen for hours on end and loving every second of it.

Sometimes when we’re in a creative rut and don’t feel motivated, we always look to others and feel guilty that we’re not as passionate. Do you ever go through times where you’re not always driven to create and how do you overcome that?

Yes of course I have those moments, I think all creatives face those moments often. A big challenge for me is the balancing act where you have to create work that is inspiring and motivating towards your creative being and work that is also commercially lucrative in terms of payment and sustaining yourself as a creative. When I have those moments I feel uninspired I often go on a social media cleanse for a few days where I don’t look at others work and reevaluate my priorities and selectively choosing what makes me happy and feeds my creative soul. The less white noise I have around me the better I can focus and think in those type of uninspired moments.


Was there a moment where you knew that photography was going to be for you the rest of your life? Or was it something that just gradually became more and more integrated till it was too late?

I studied Graphic Design and immediately knew I wouldn’t do it for a living. I was really bad at it. But part of my course did include photography and an introduction to Photoshop and its editing capabilities which I loved from the moment I started working with it. I have always been a huge fan of films and photography, and the visual medium of storytelling has always fascinated me. So I knew I would somehow end up telling stories with images in one way or another. I am just grateful to have the platform and opportunities to do so now.

How do you know what direction to take your work in post processing. Is it planned out ahead of time or does it flow as you start working?

I wish I could say I was organized in such a manner that I know where the post should go and what it needs to look like in the end. I have however been very fortunate that most of my clients trust me with how I retouch the images I take. Which allowed me to create my own style (even if it is ever evolving and changing)

My images talk to you (or is it just me? Maybe I need to get out more?) Meaning that most images I open for editing already come with a mini recipe on how to make them bake in the creative oven. I see an image and instinctively know where what should go and what type of emotional message or connection I am trying to establish with the viewers of my work. Yes it might change a lot during the process but the overall idea usually remains the same in the end. A sound knowledge on colour theory and how to mix and match colors also greatly improves your post processing. My background as a makeup artist also greatly helps me when I retouch skin or cosmetics as I understand the function and placement of the retouching I am applying to those areas of an image.


After discovering your work our Infinite Color platform, we’ve loved following your journey! Why do you enjoy using the panels in your workflow and is it something you believe other people can benefit from for those that barely know about it?

It has been instrumental in my workflow and something I would invest in again and again. The multitude of different effects and finishes the panels offer at the click of a button takes away all the pressure and stress of doing it by yourself. It also gives you many surprise edits and colour combinations that you would have never come up with by yourself. A definite for anybody who retouches their own work or those of others.

Tell us an interesting fact about you that is completely unrelated to photography!

I am also the creator and co-producer of a makeover television show where we change everyday women into iconic women from the past with the use of makeup, hair styling, fashion and photography. I have always wanted to dabble in television or film and the success of the show (2 seasons so far) and the fact that this was my first tv show pitch which got the green light is something I am very proud of. I am keen to do more pitches and shows in 2019.

_

Have you tried the panel yet? We’d love to see your creations! Get in touch on Instagram @infinitecolorpanel or the Facebook Infinite Color Panel group and show us your work.

If you haven’t tried the panel yet, get started here:  https://infinite-tools.com/infinite-color-plugin/