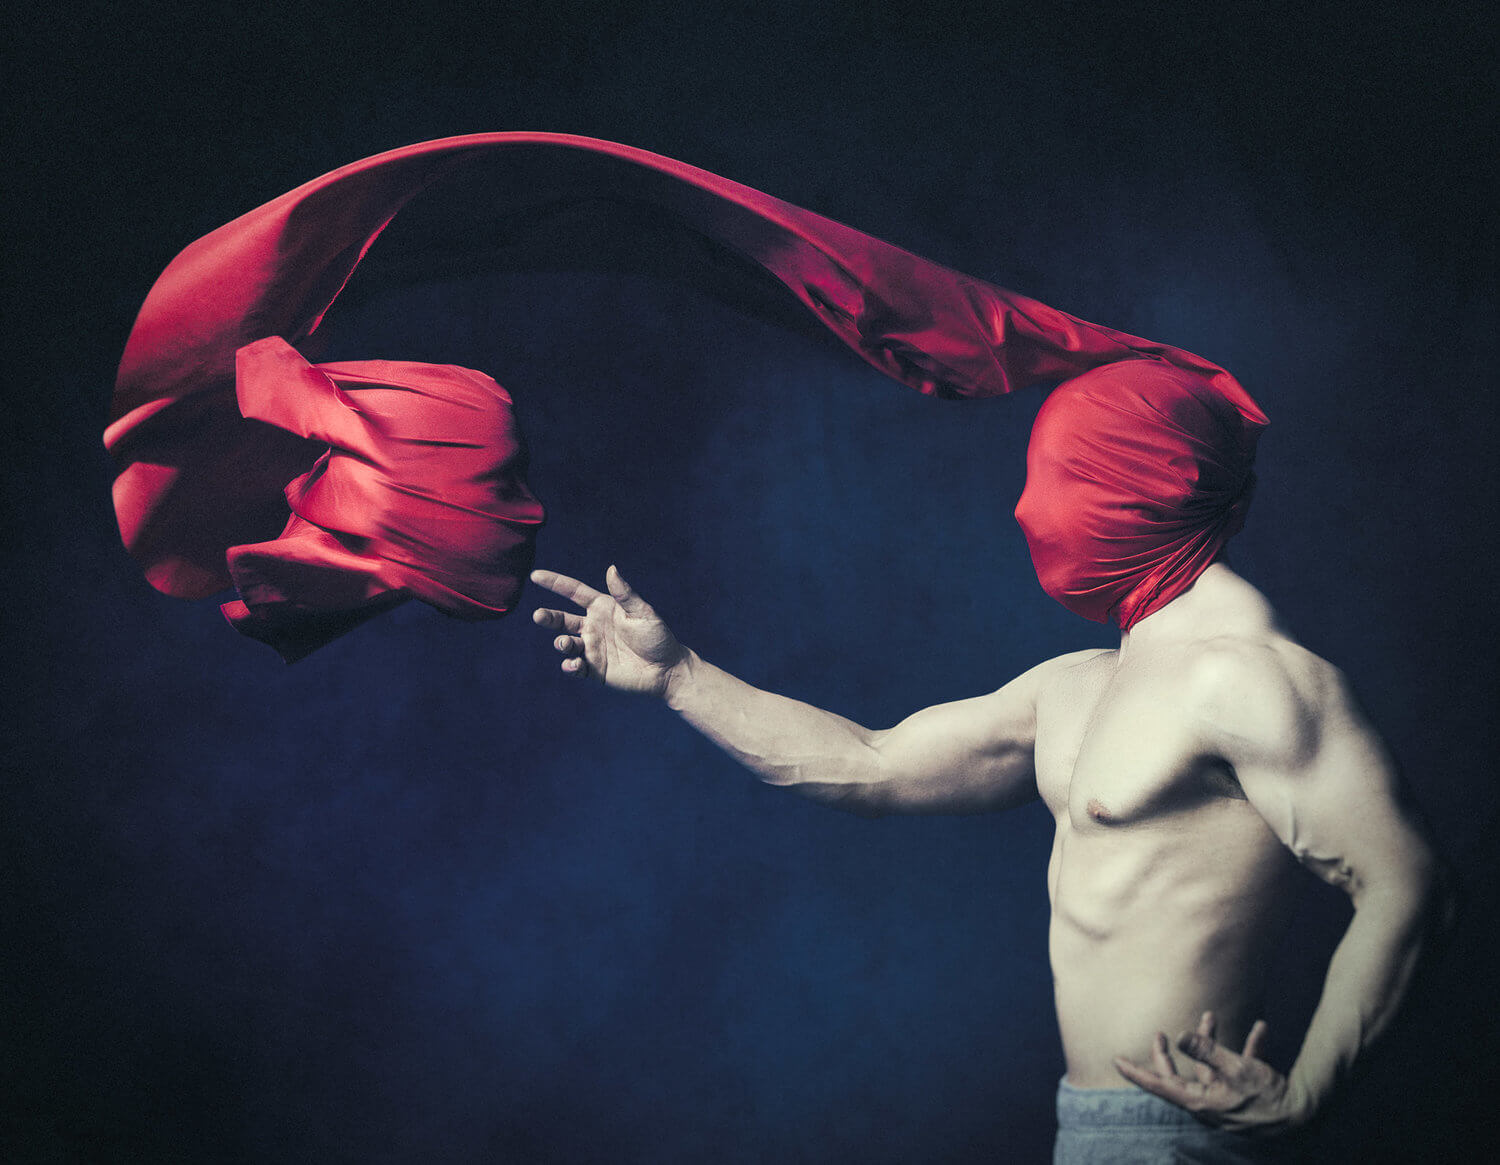
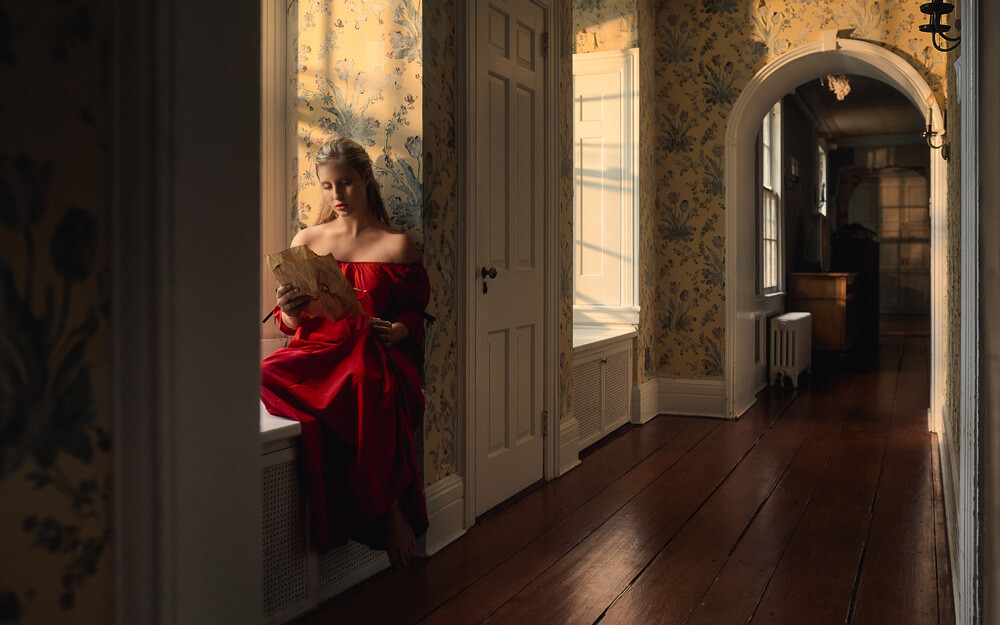
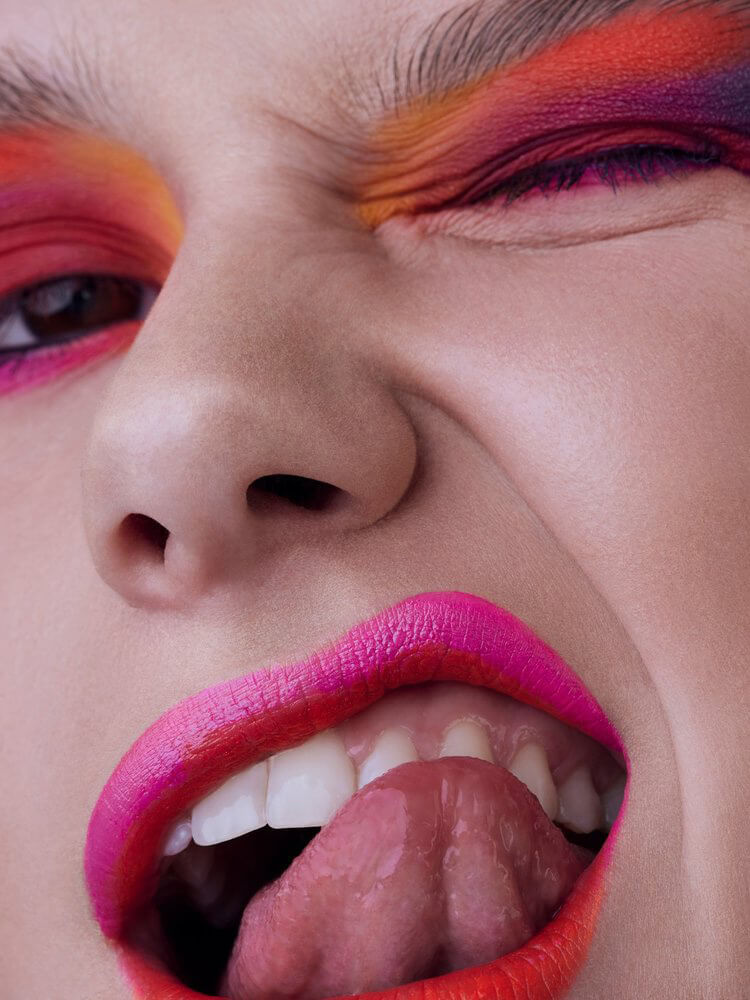
I first learned about Color Grading while watching the DVD extras for the Cohen brother’s film, Oh Brother Where Art Thou. The production filmed it during Spring and Summer, but the Cohen Brothers wanted the film to have an old-time gritty-depression look. They shifted all the bright greens to yellows, browns, and reds, and gave the film its signature look. The film would definitely not be the same story, without the incredible artists who color graded it. It leaves you to conclude that the right color combination is really powerful stuff. It’s like Dynamite, but you got to know how to handle it. It’s honestly not something you can wing, and an intuitive understanding of color harmony is a must.
These days I try to keep my hands off of retouching and focus on being a photographer and videographer. I’m someone who has a hard time sitting in an airplane seat for two hours, let alone sit behind a computer for hours at a time. I’m not sure how brilliant photographers like Julia Kuzmenko photograph and retouch. Not me, I’m too antsy. It tests the limits of my sanity. Perhaps I should slow down on the caffeine a bit.
I, however, do need to be involved with the final touches of the photo. Before the Infinite Color Panel, I would sometimes spend 2-3 hours just playing around color grading a picture, going back and forth, and the indecisiveness was just not healthy. That’s time I could spend with my family, in a gym, or blissing out watching Netflix on my fantastic couch. Time is such a valuable thing and it does not really hit you on how precious it is until you are in your mid-thirties. Anything I can do to optimize my workflow, and deliver stunning visuals is a must. Infinite Color Panel helped me do just that.
My new workflow with Infinite Color Panel consists of the following:
1.) Receive TIFF or PSD back from the retoucher
2.) If using gels, I will more than likely create a Vibrance adjustment layer and pop the colors everywhere except on the skin, eyeballs, and teeth. Adjust Vibrance at your own risk.
3.) Use the Harmonize feature on Infinite Color Panel
4.) Tweak the opacity of the Midtone, and/or Shadow Harmony Layer.
5.) If suitable, I will play around with Light Color Grading options from the Panel, but this is very rare for my photos where I use gels. This is more for shots with natural light or lighting with no gels.
6.) From here, I will merge all visible layers into a new layer and converting it into a smart object. (Note: that I am not flattening my image.)
7.) While selecting the new smart object layer, I go into the Camera Raw Filter, slightly increase Clarity to about +8, and adjust and make some very minor exposure adjustments. Since it’s a smart object, I can always go back in and change my settings.
8.) Finally, I sharpen the image if needed, and off it goes.
Boom! this process takes about 15 minutes or less.

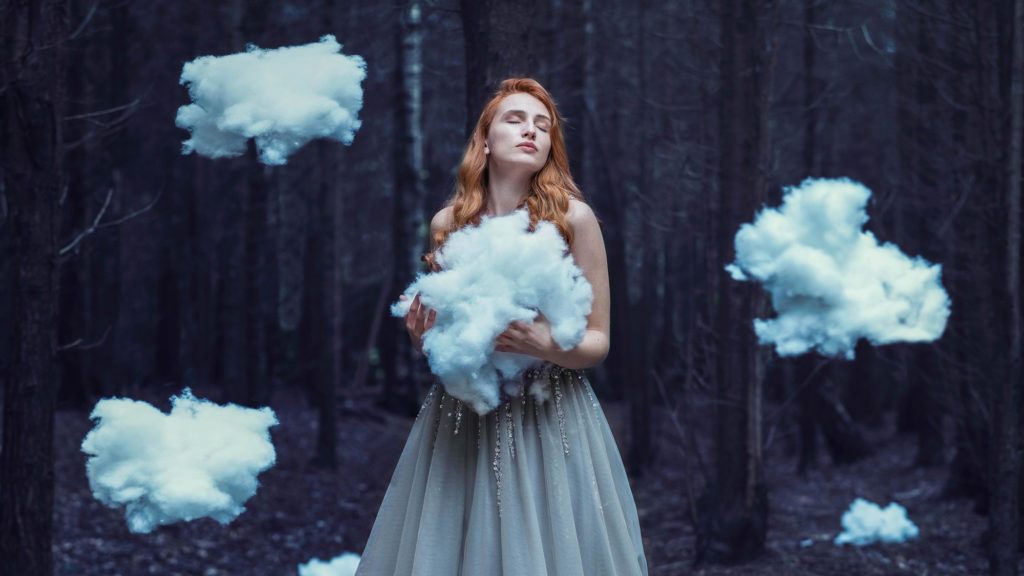
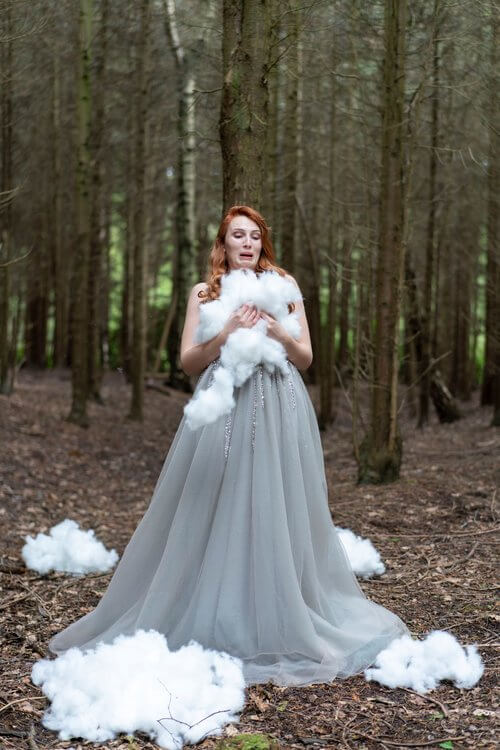
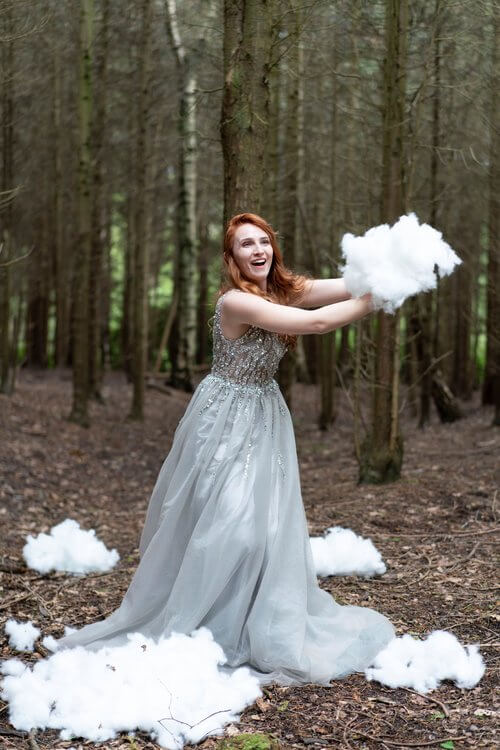
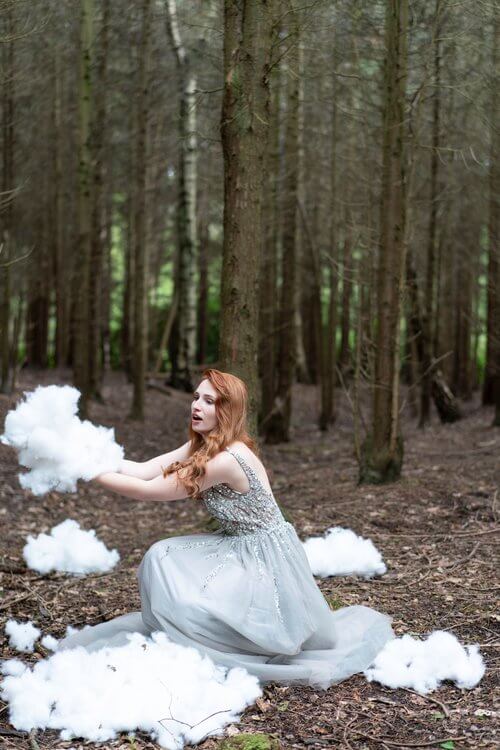
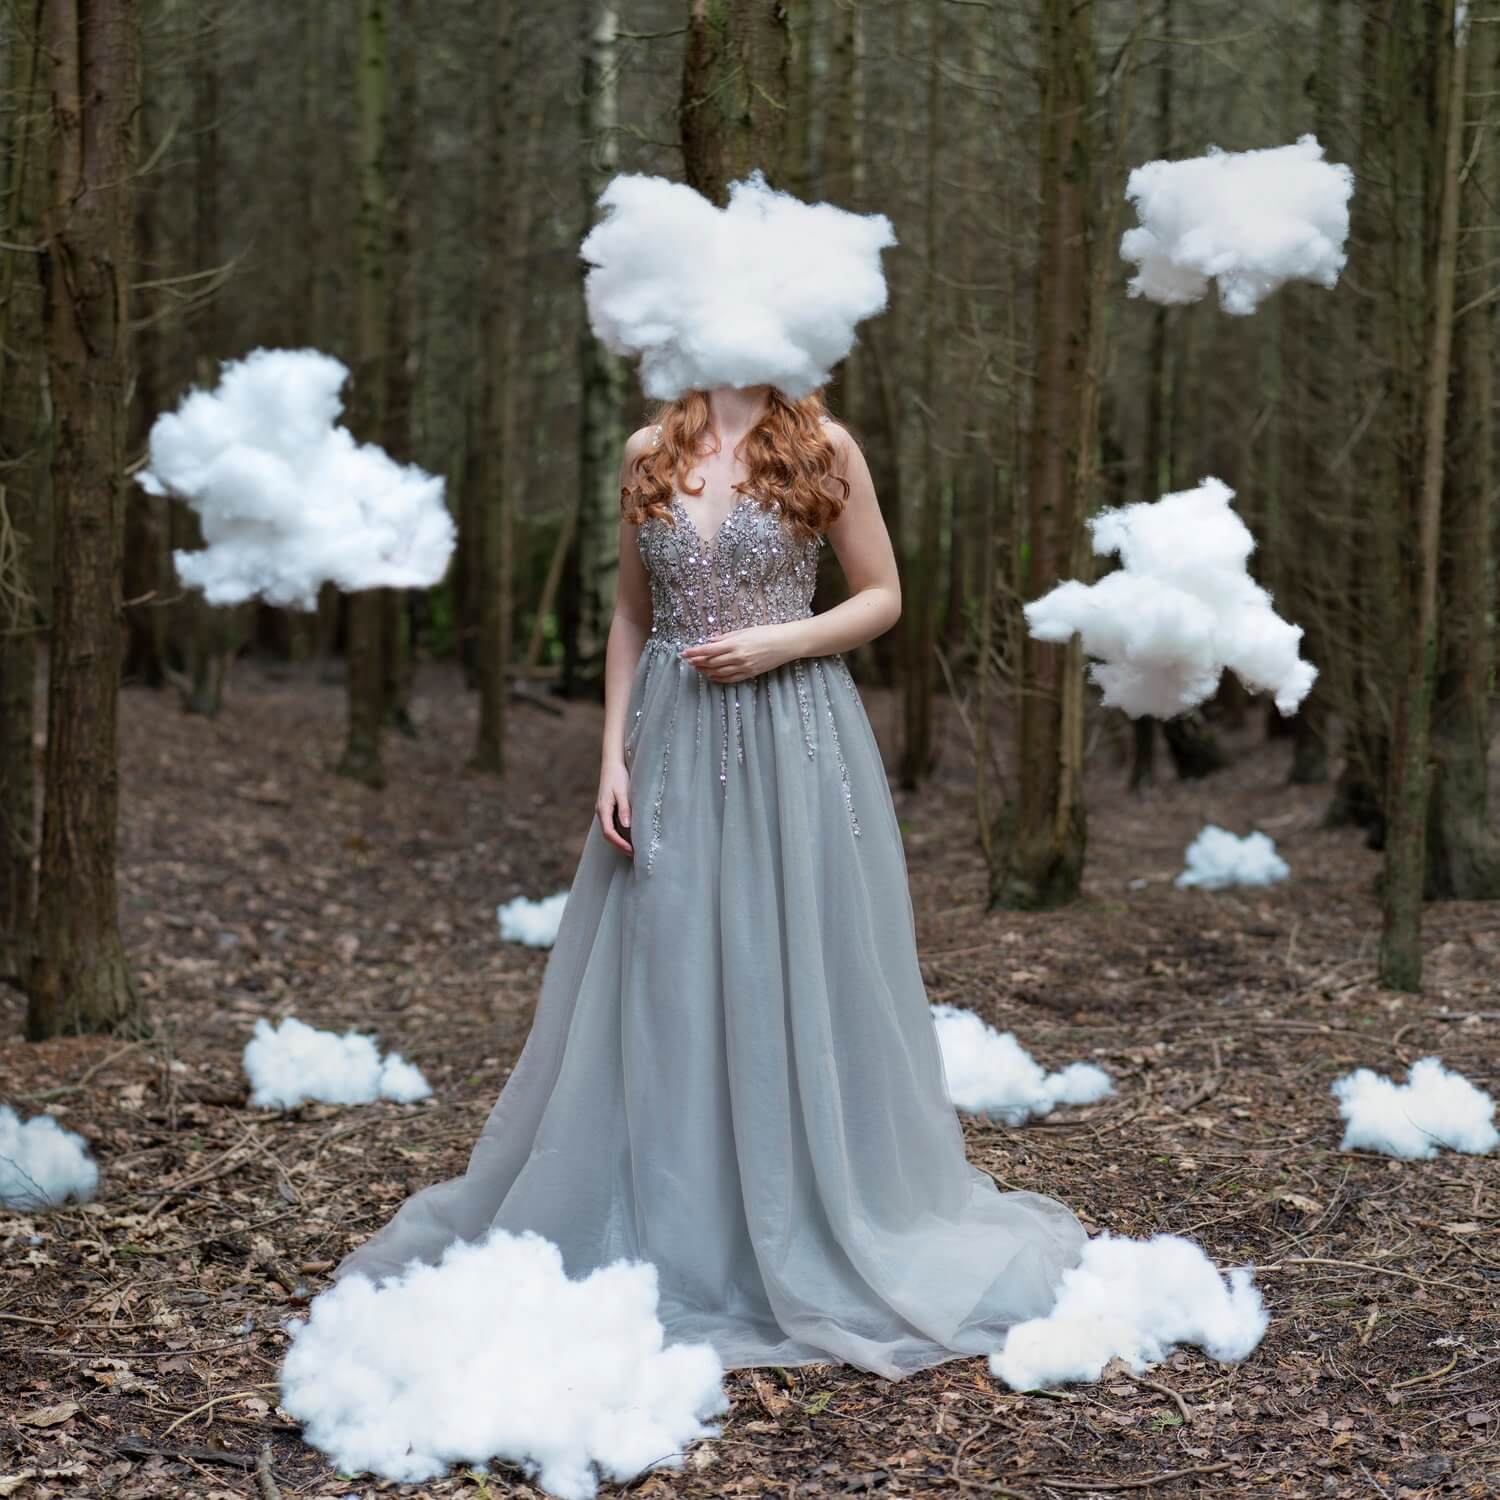
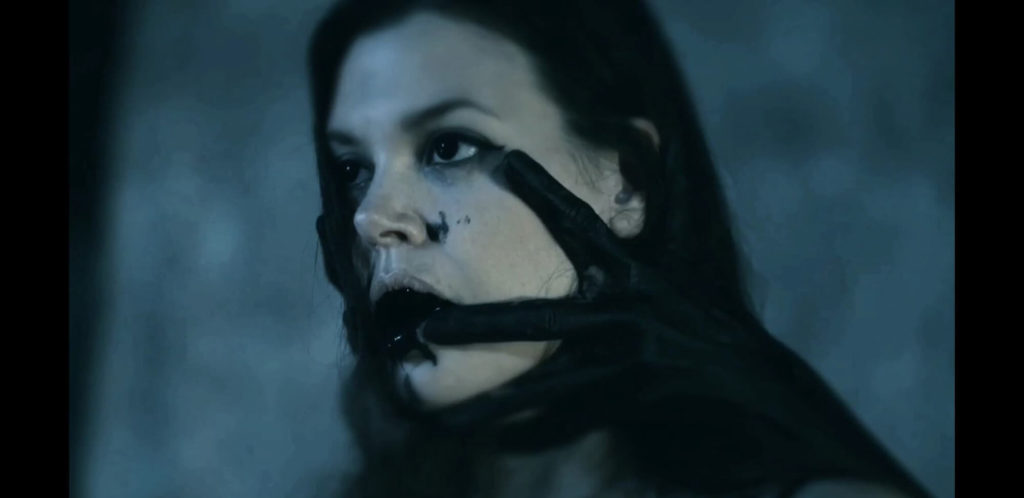
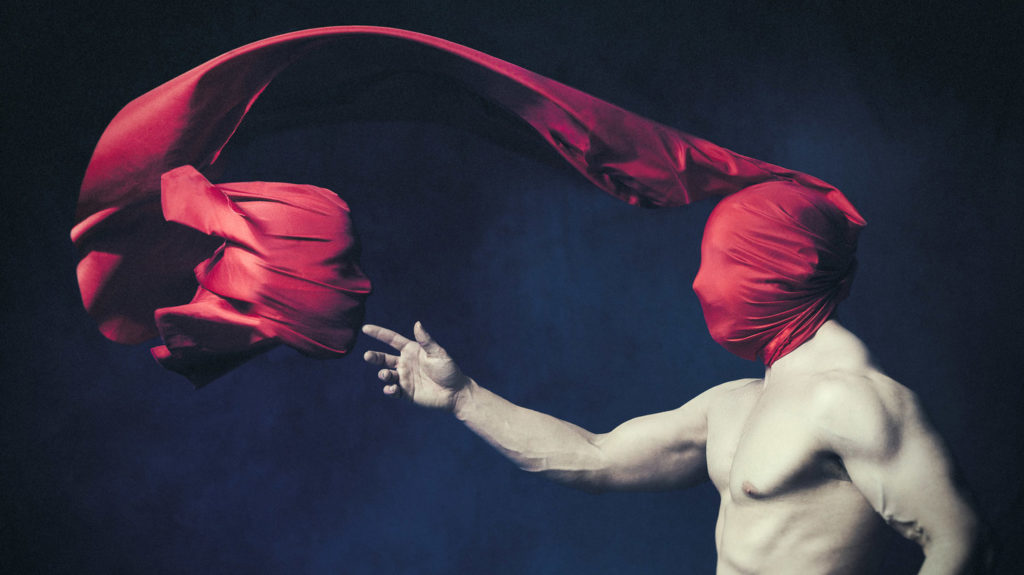
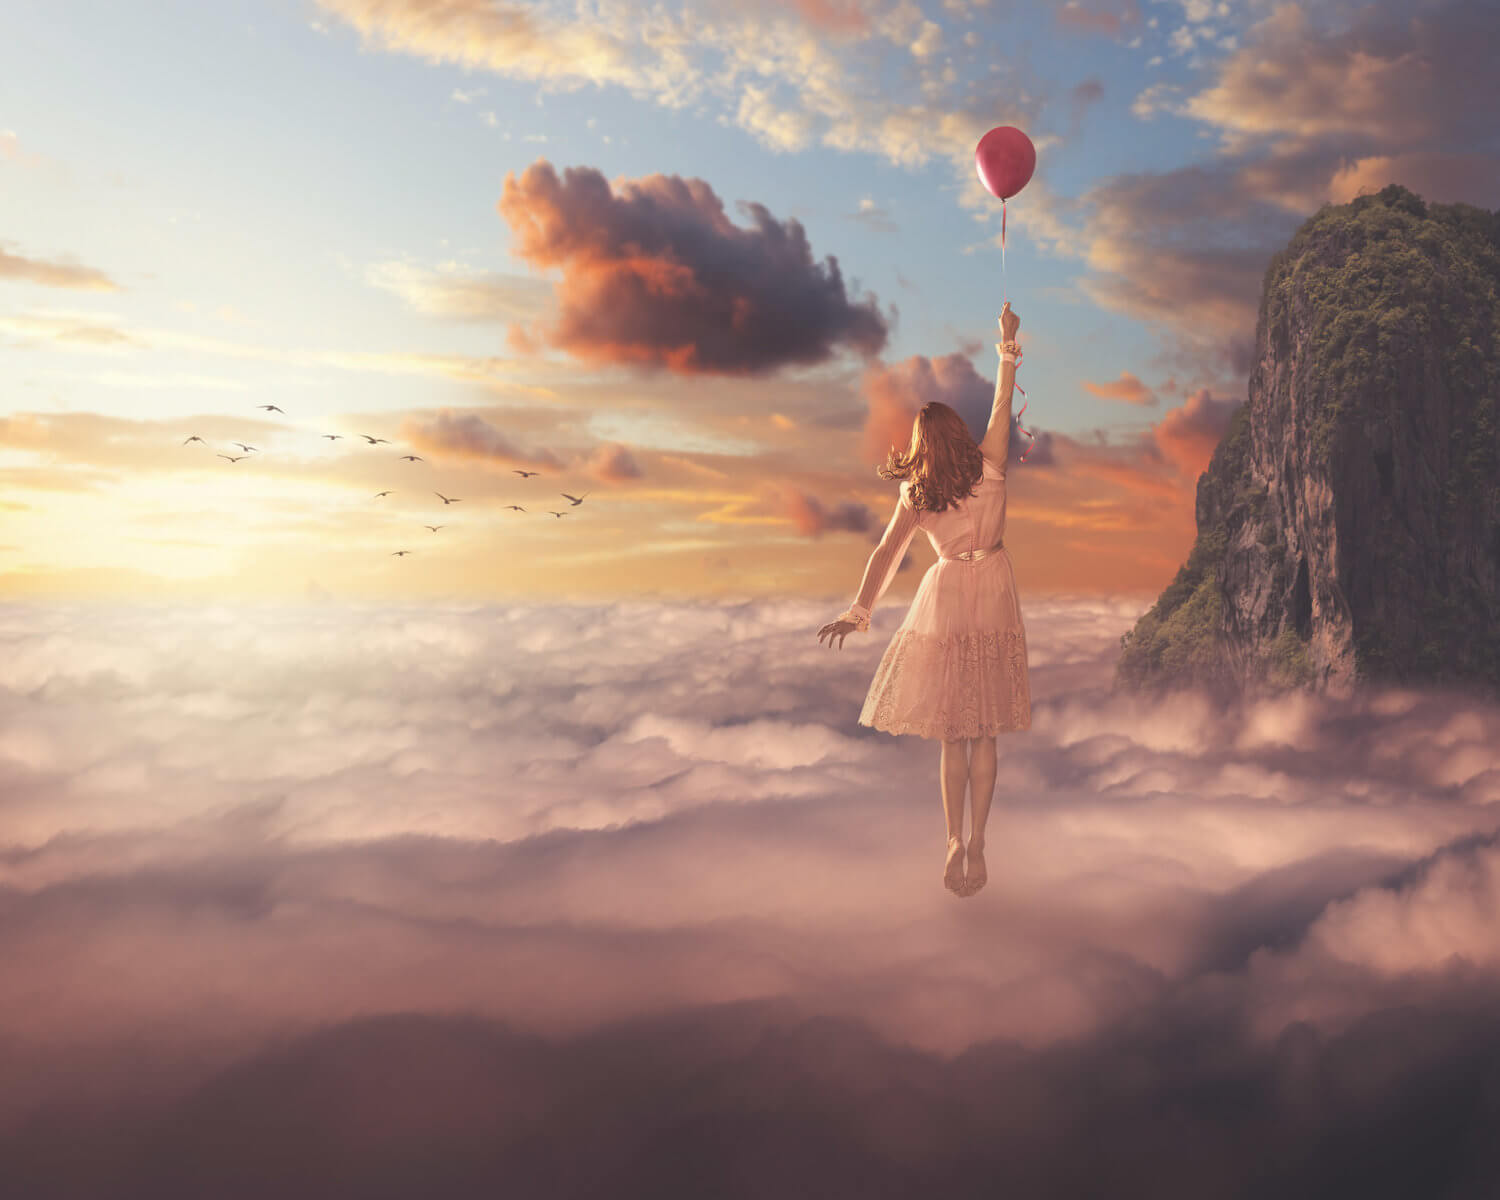
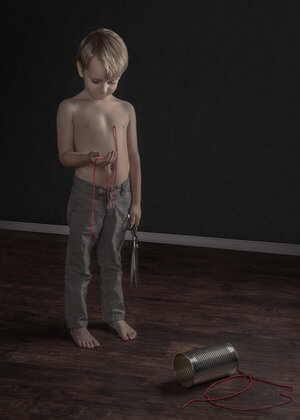
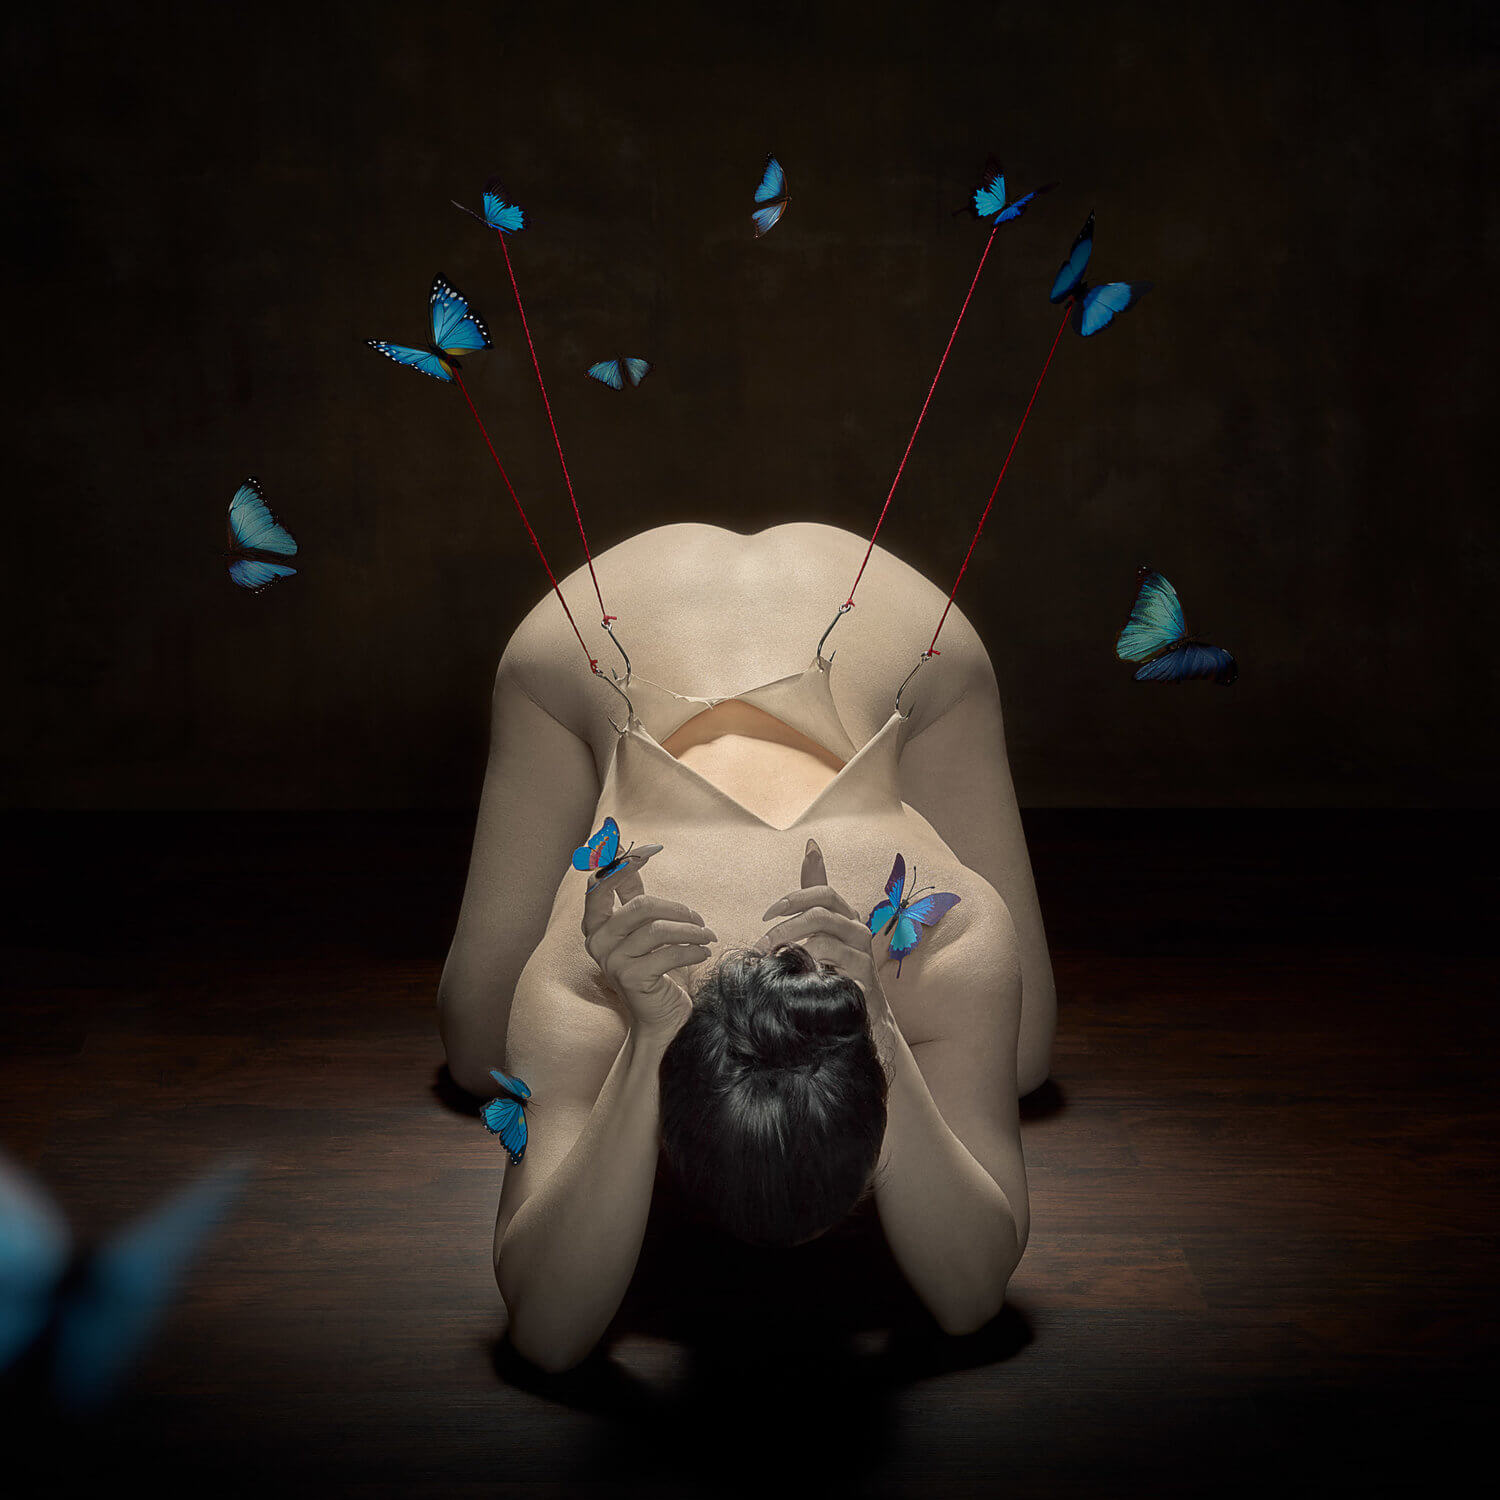
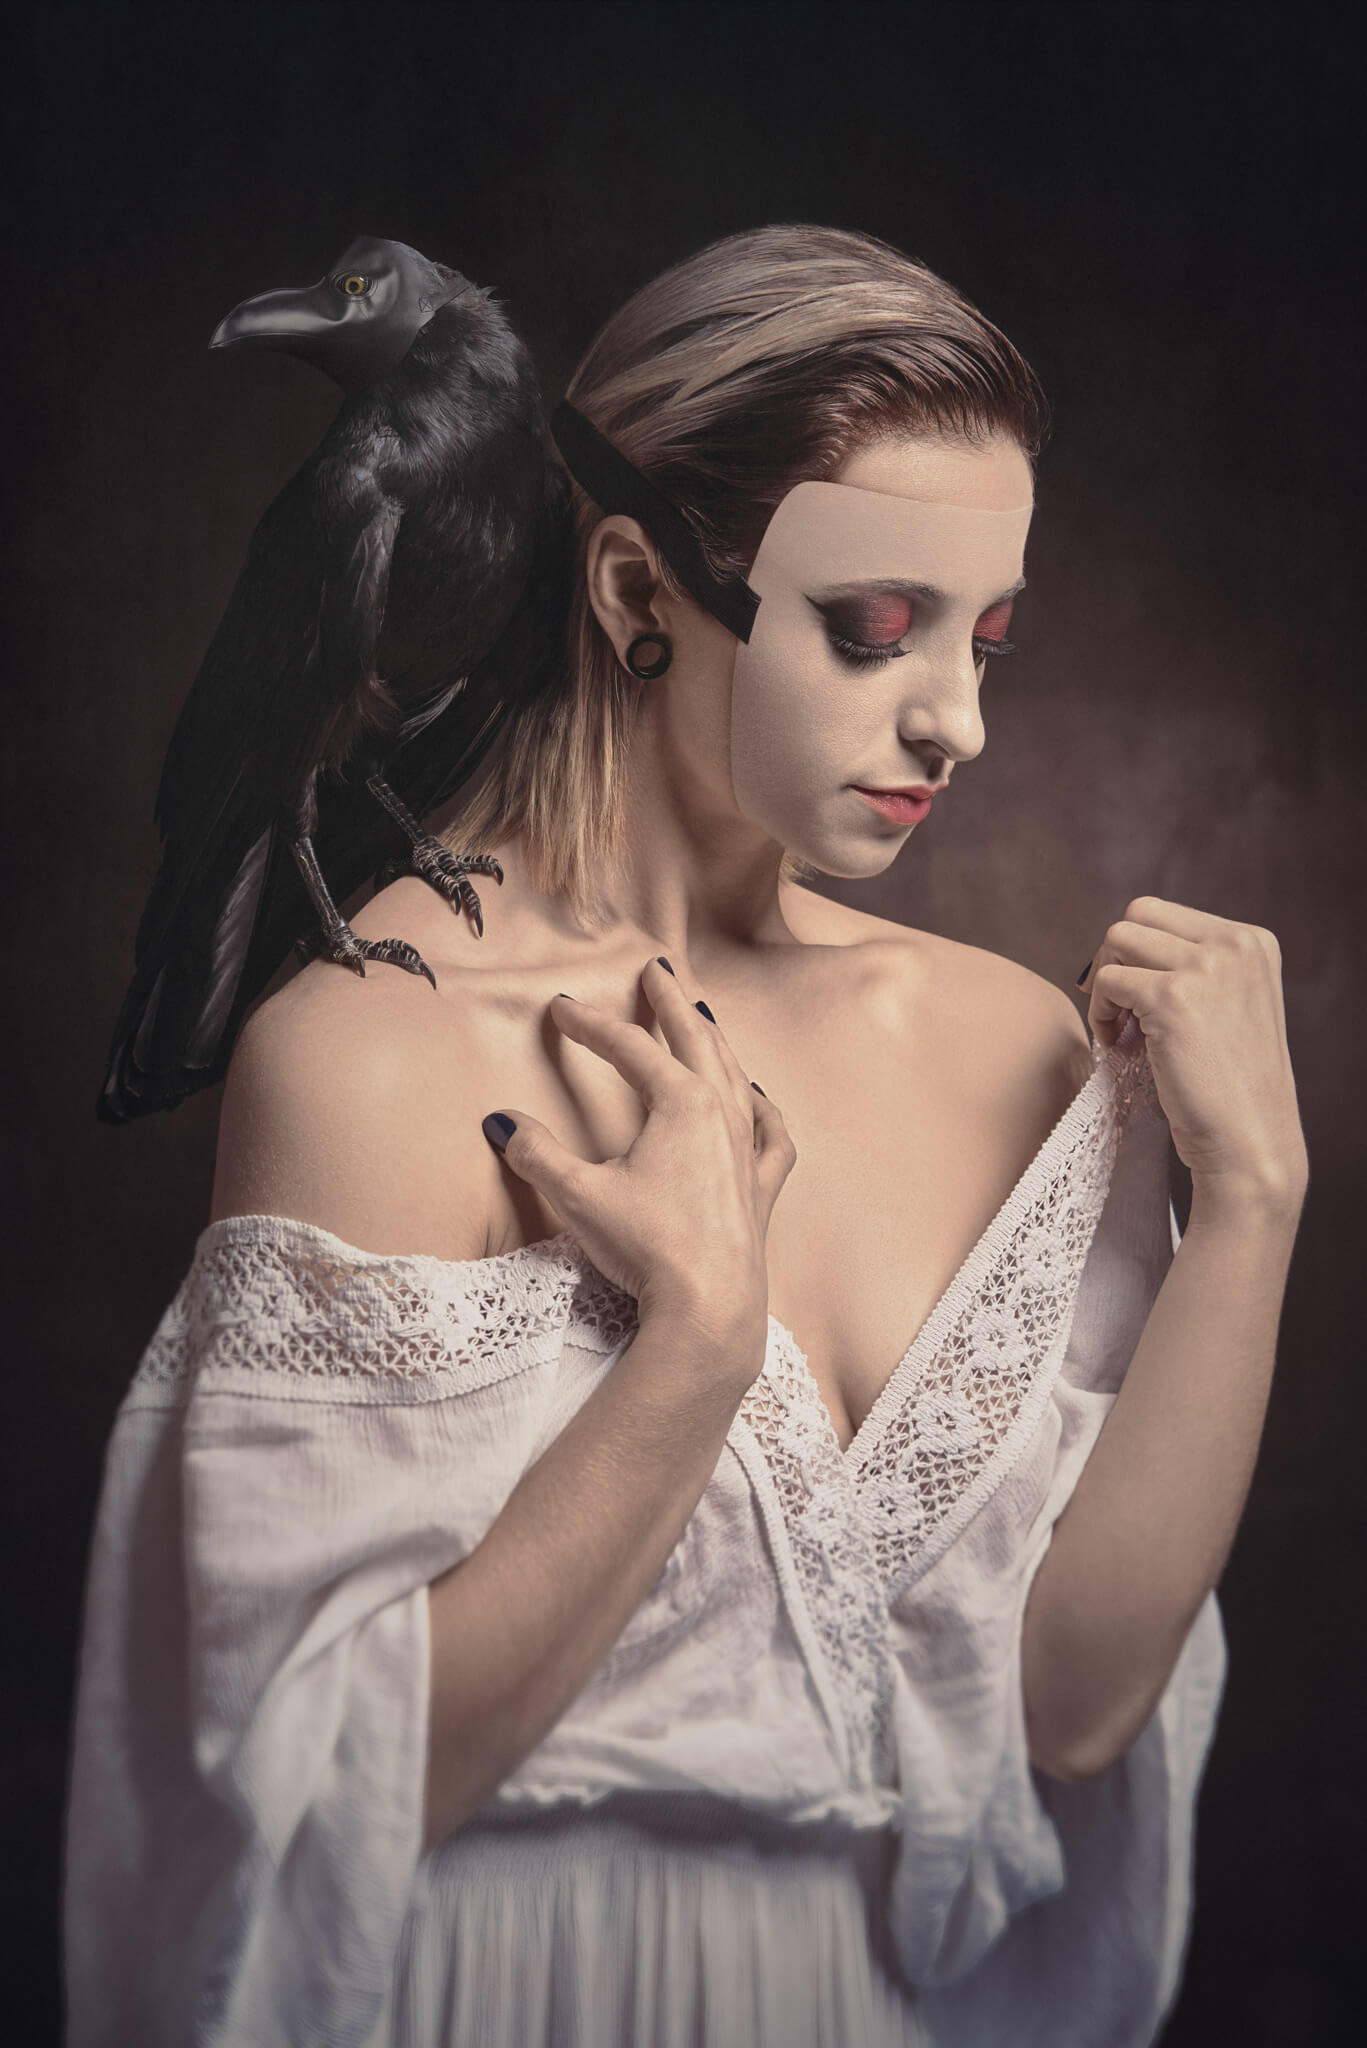
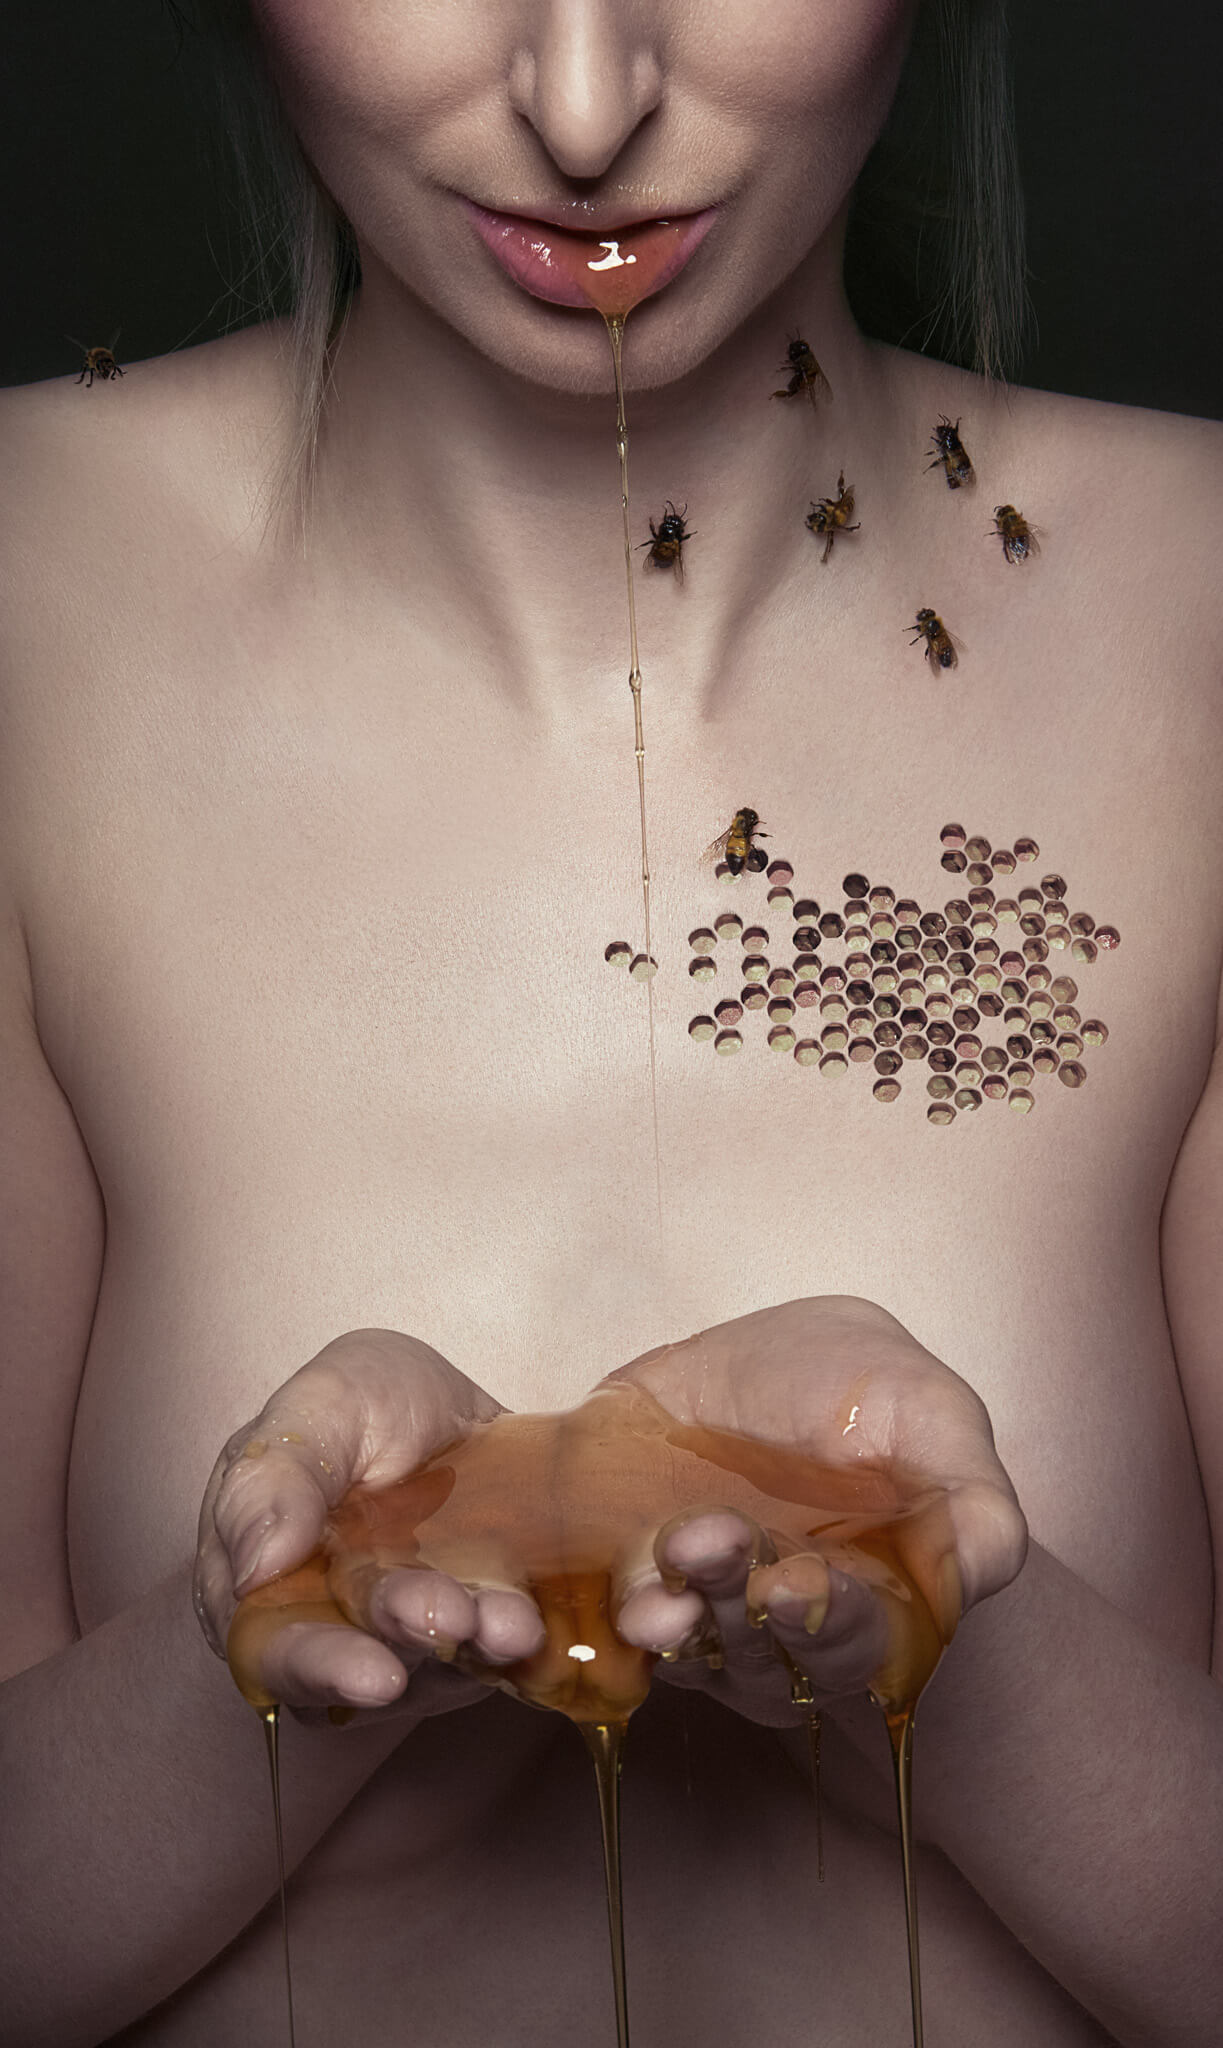
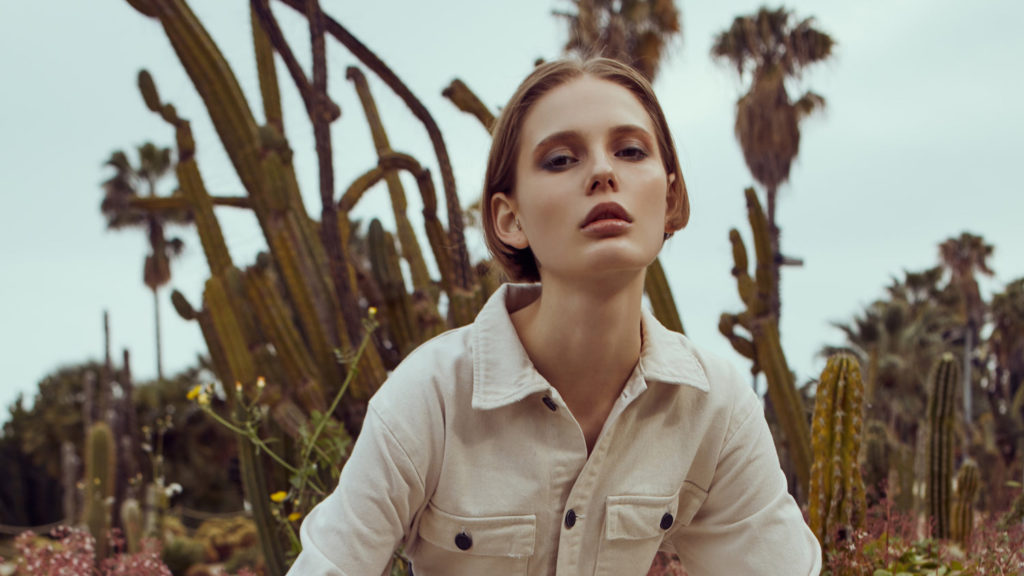
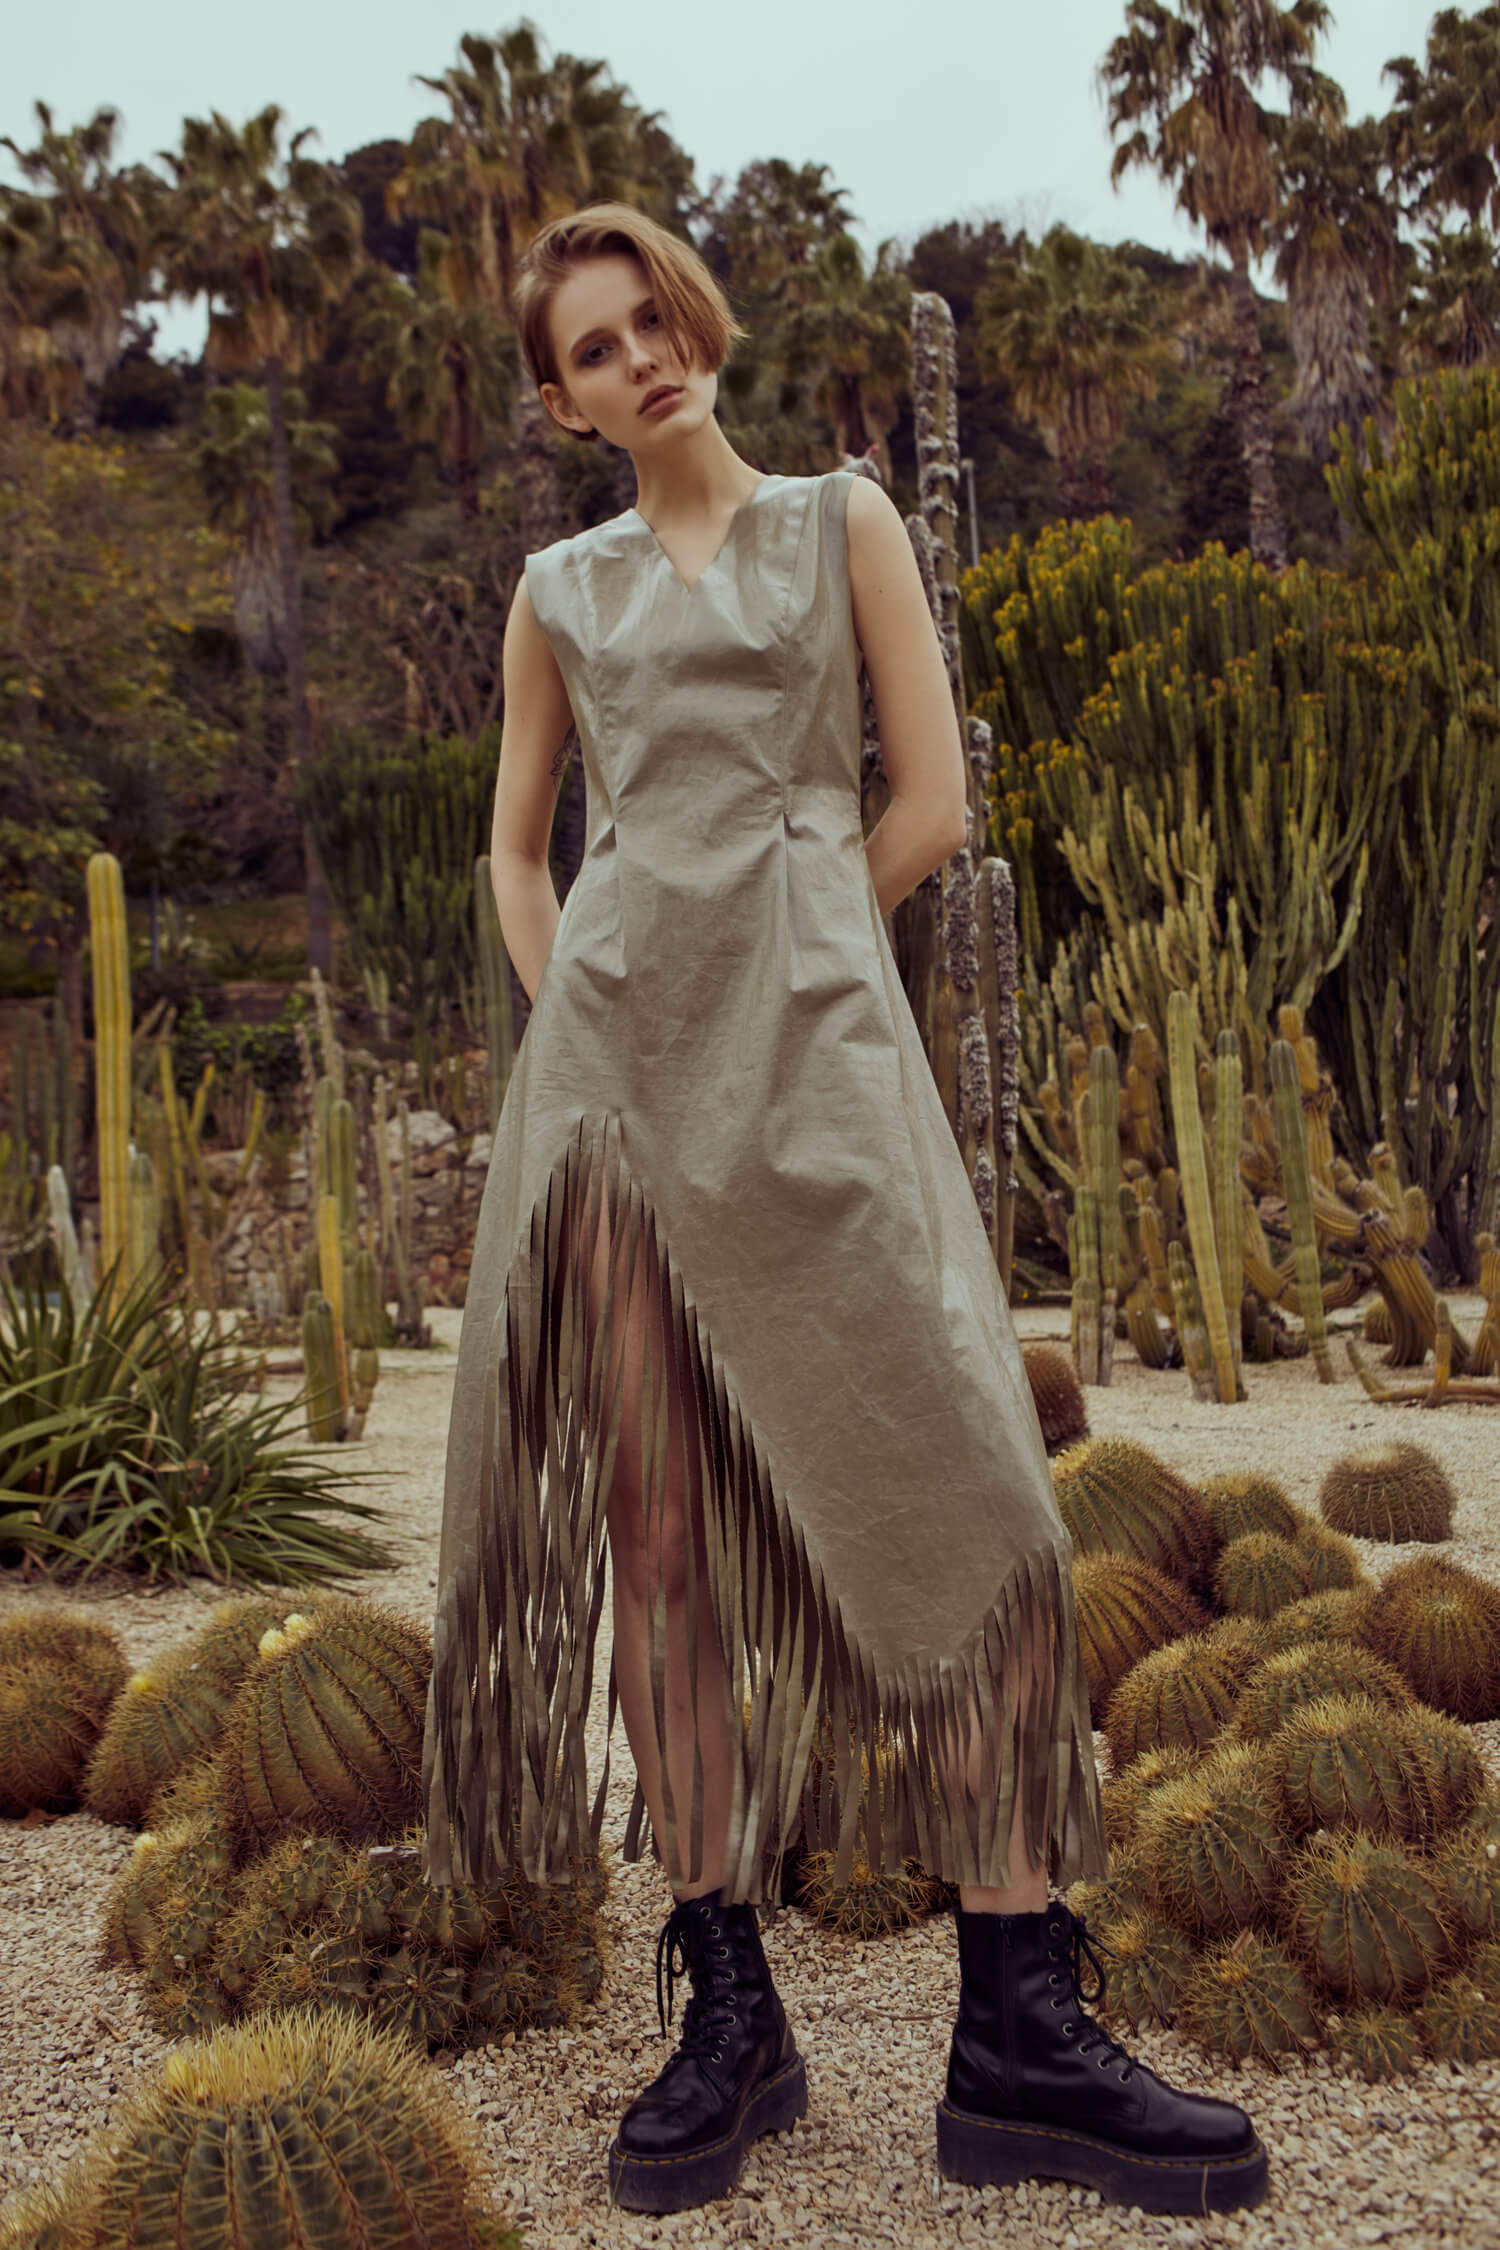
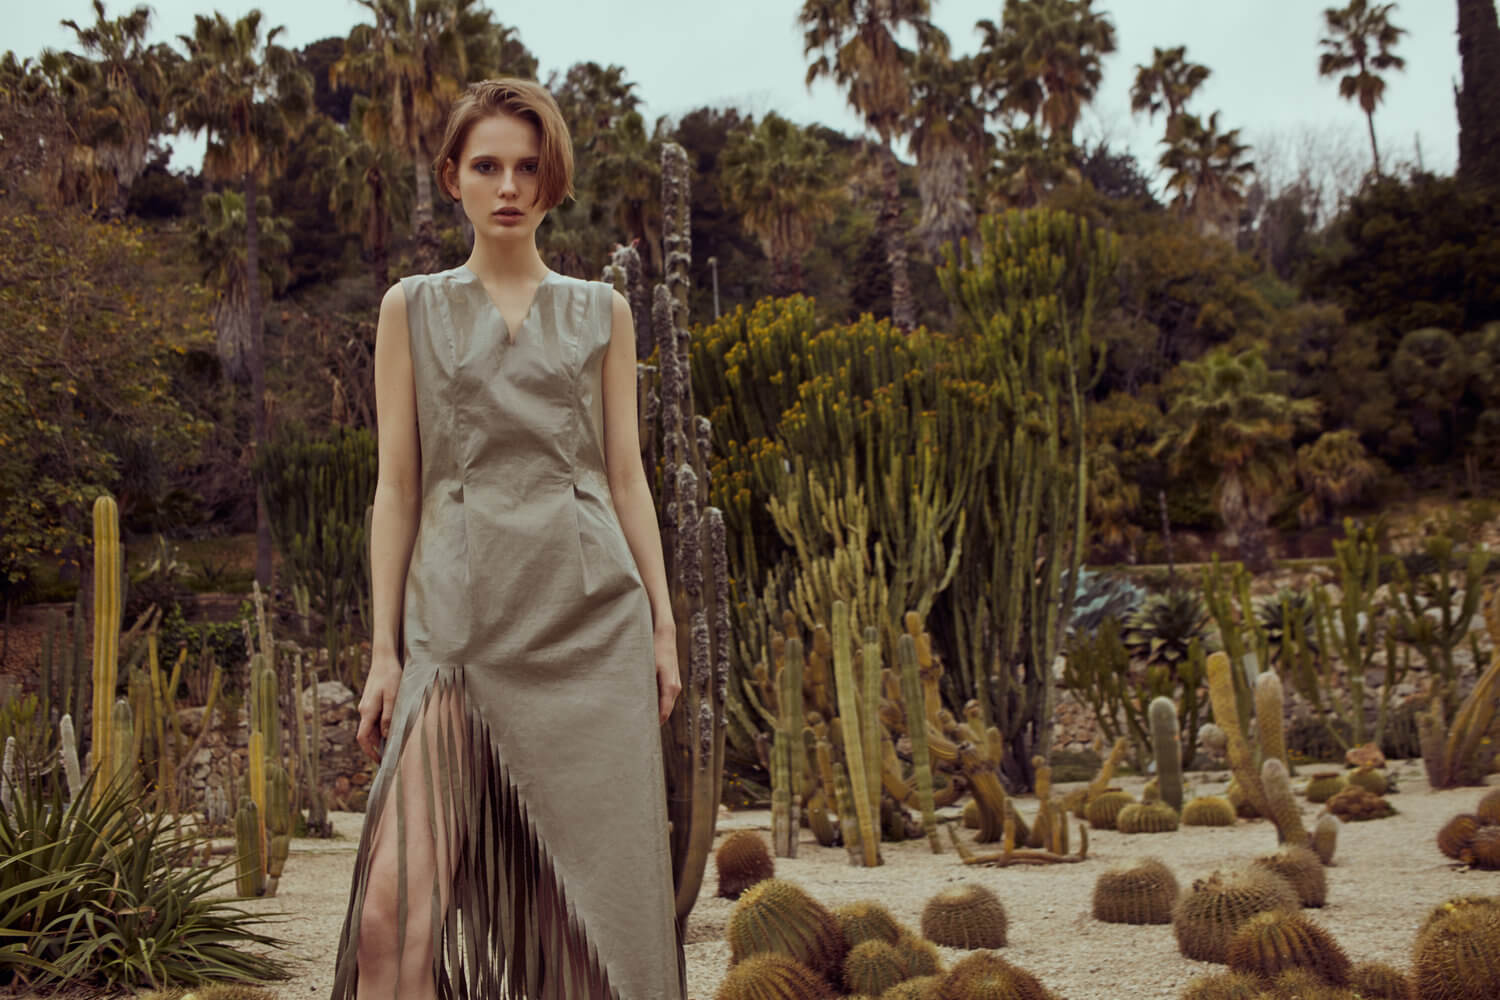
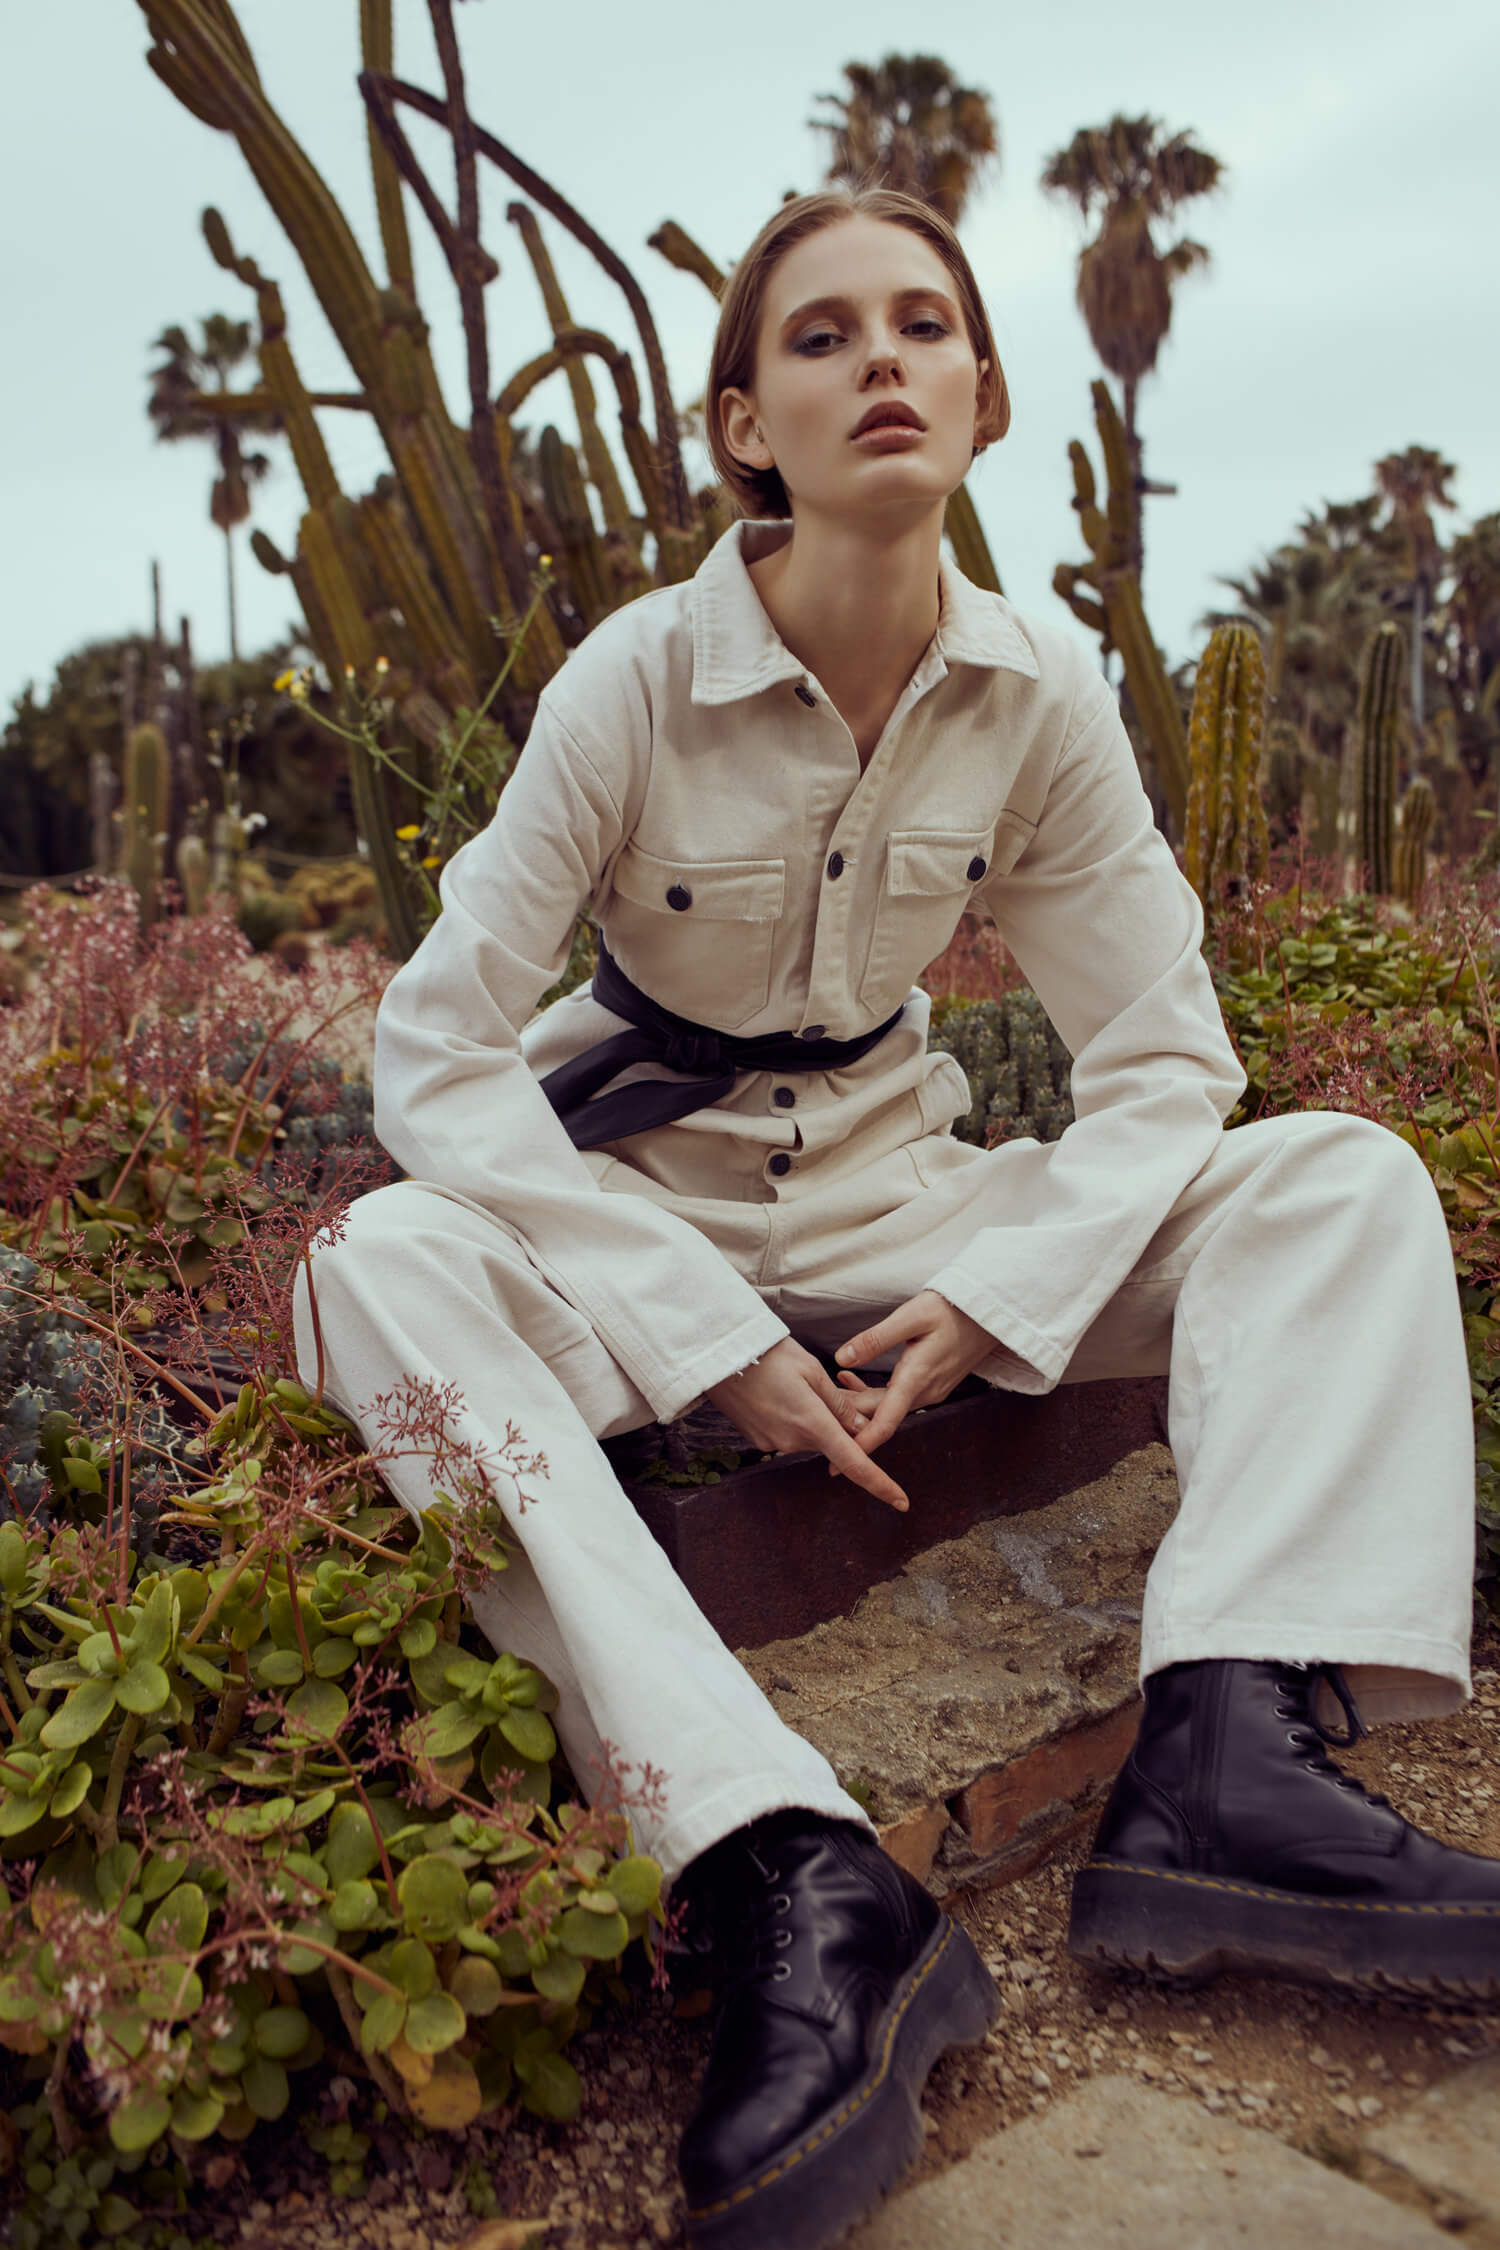
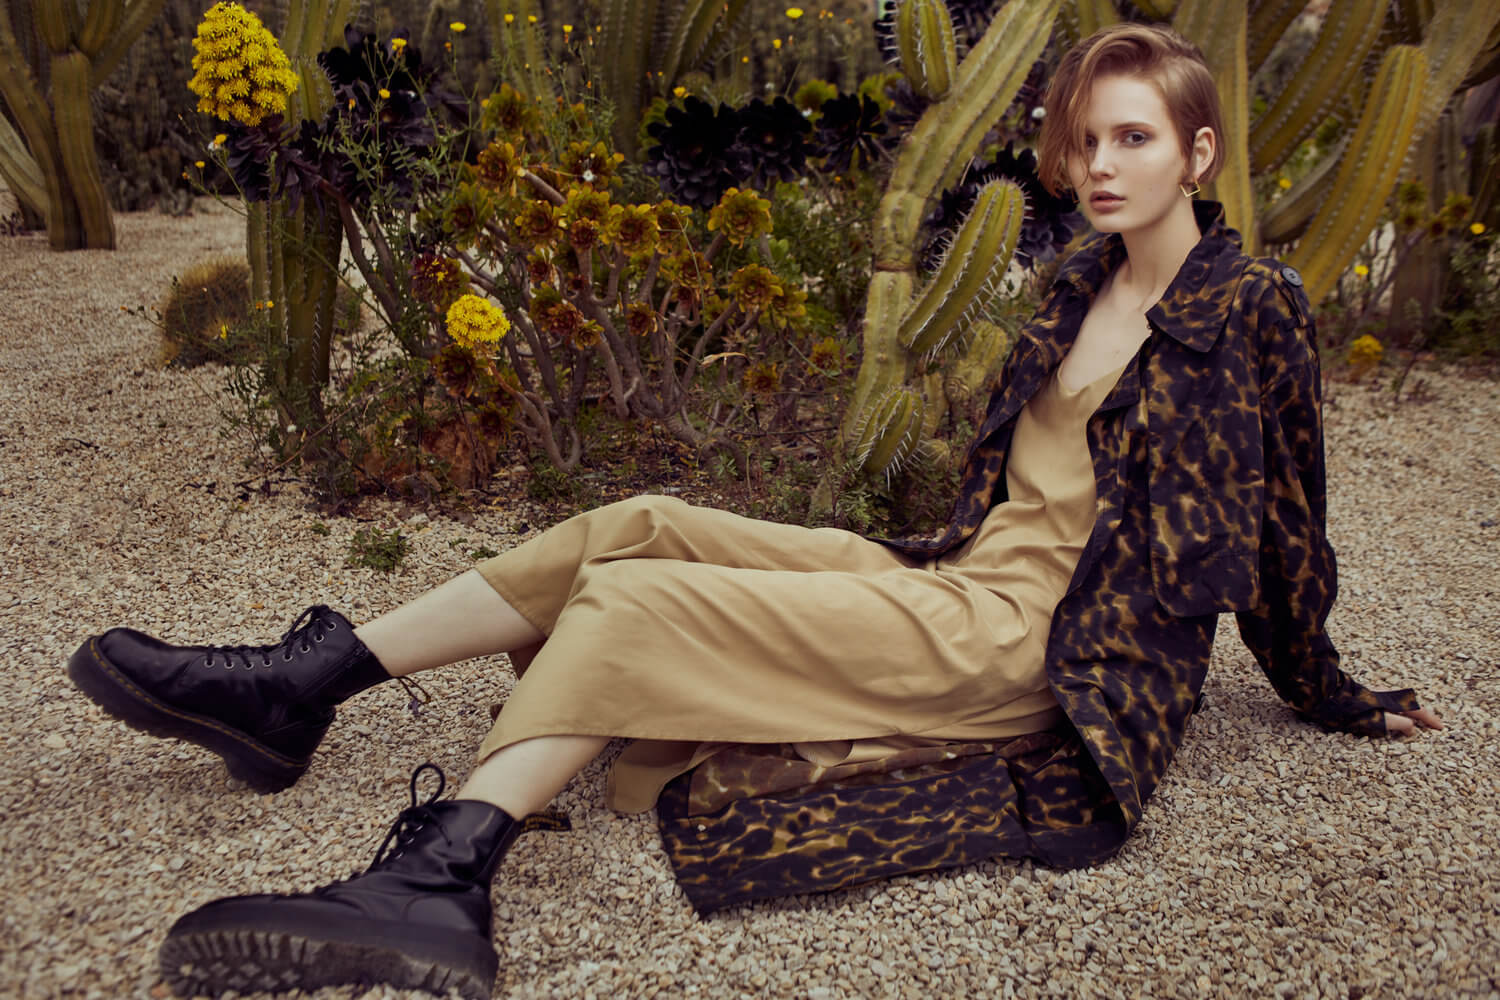
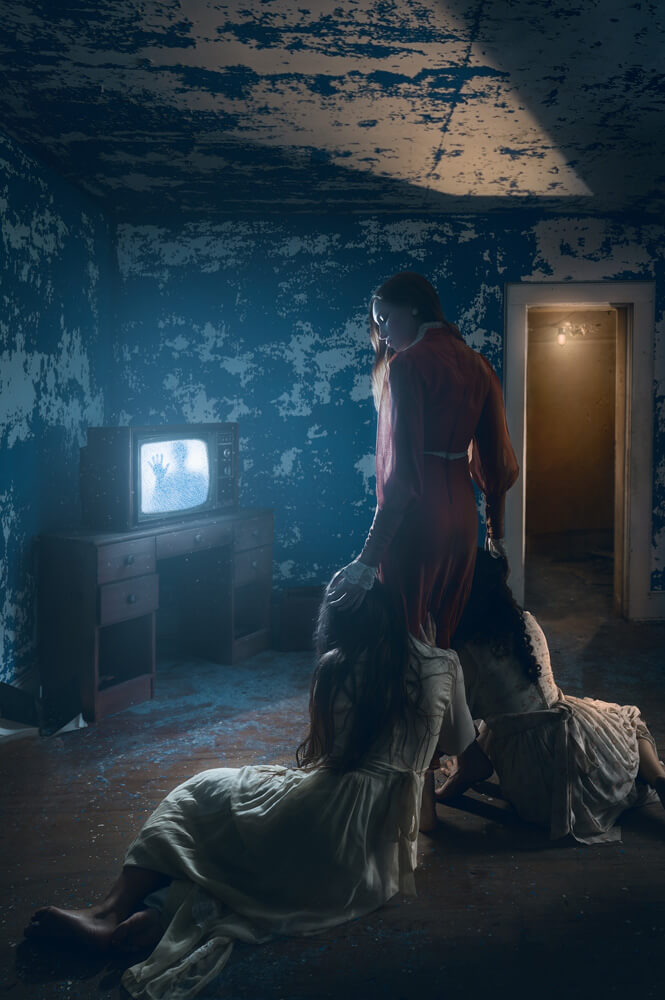
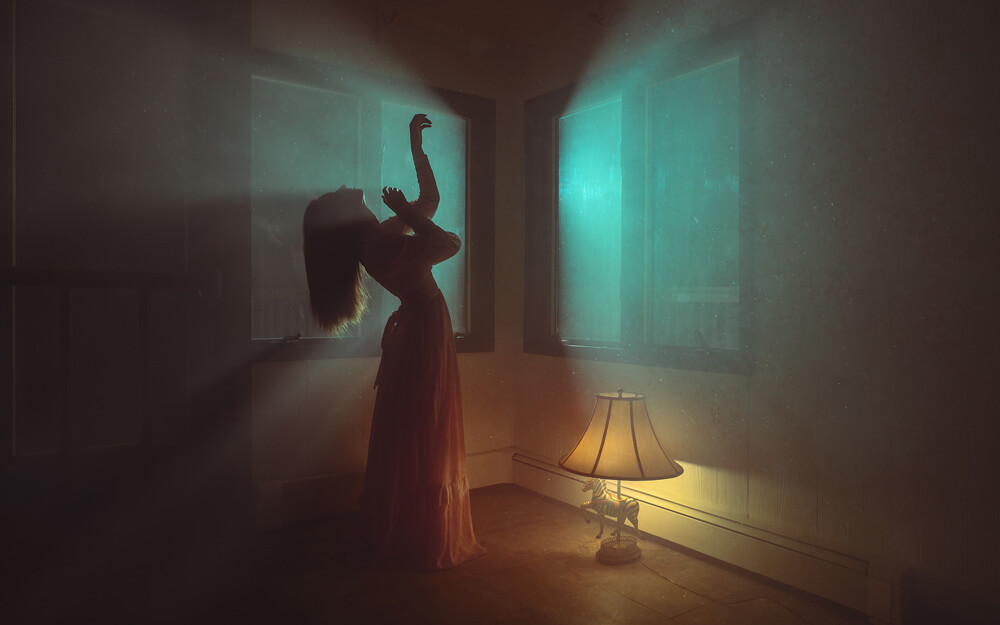
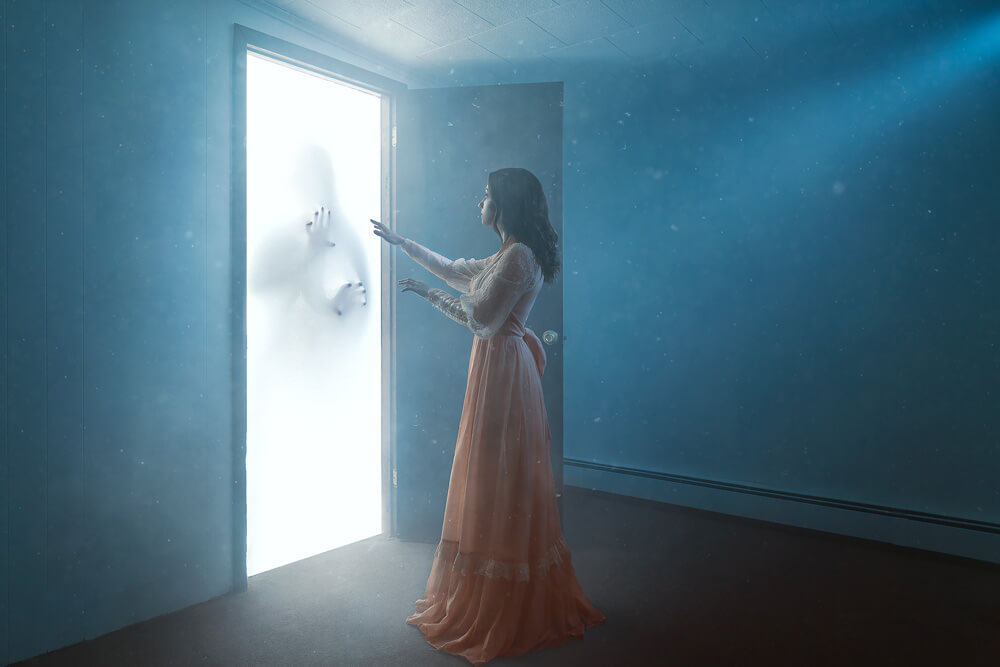
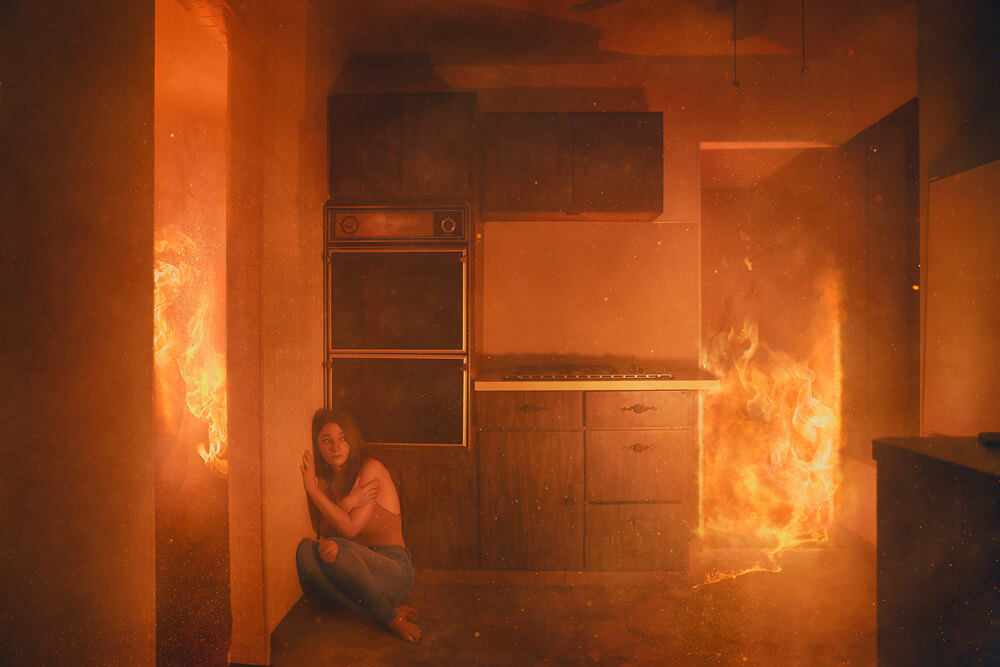
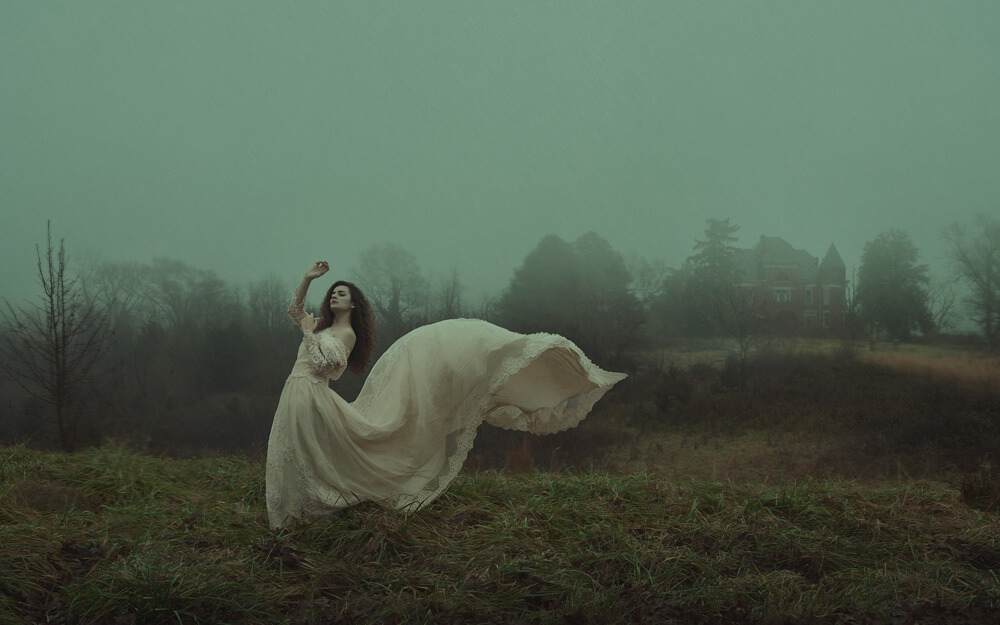
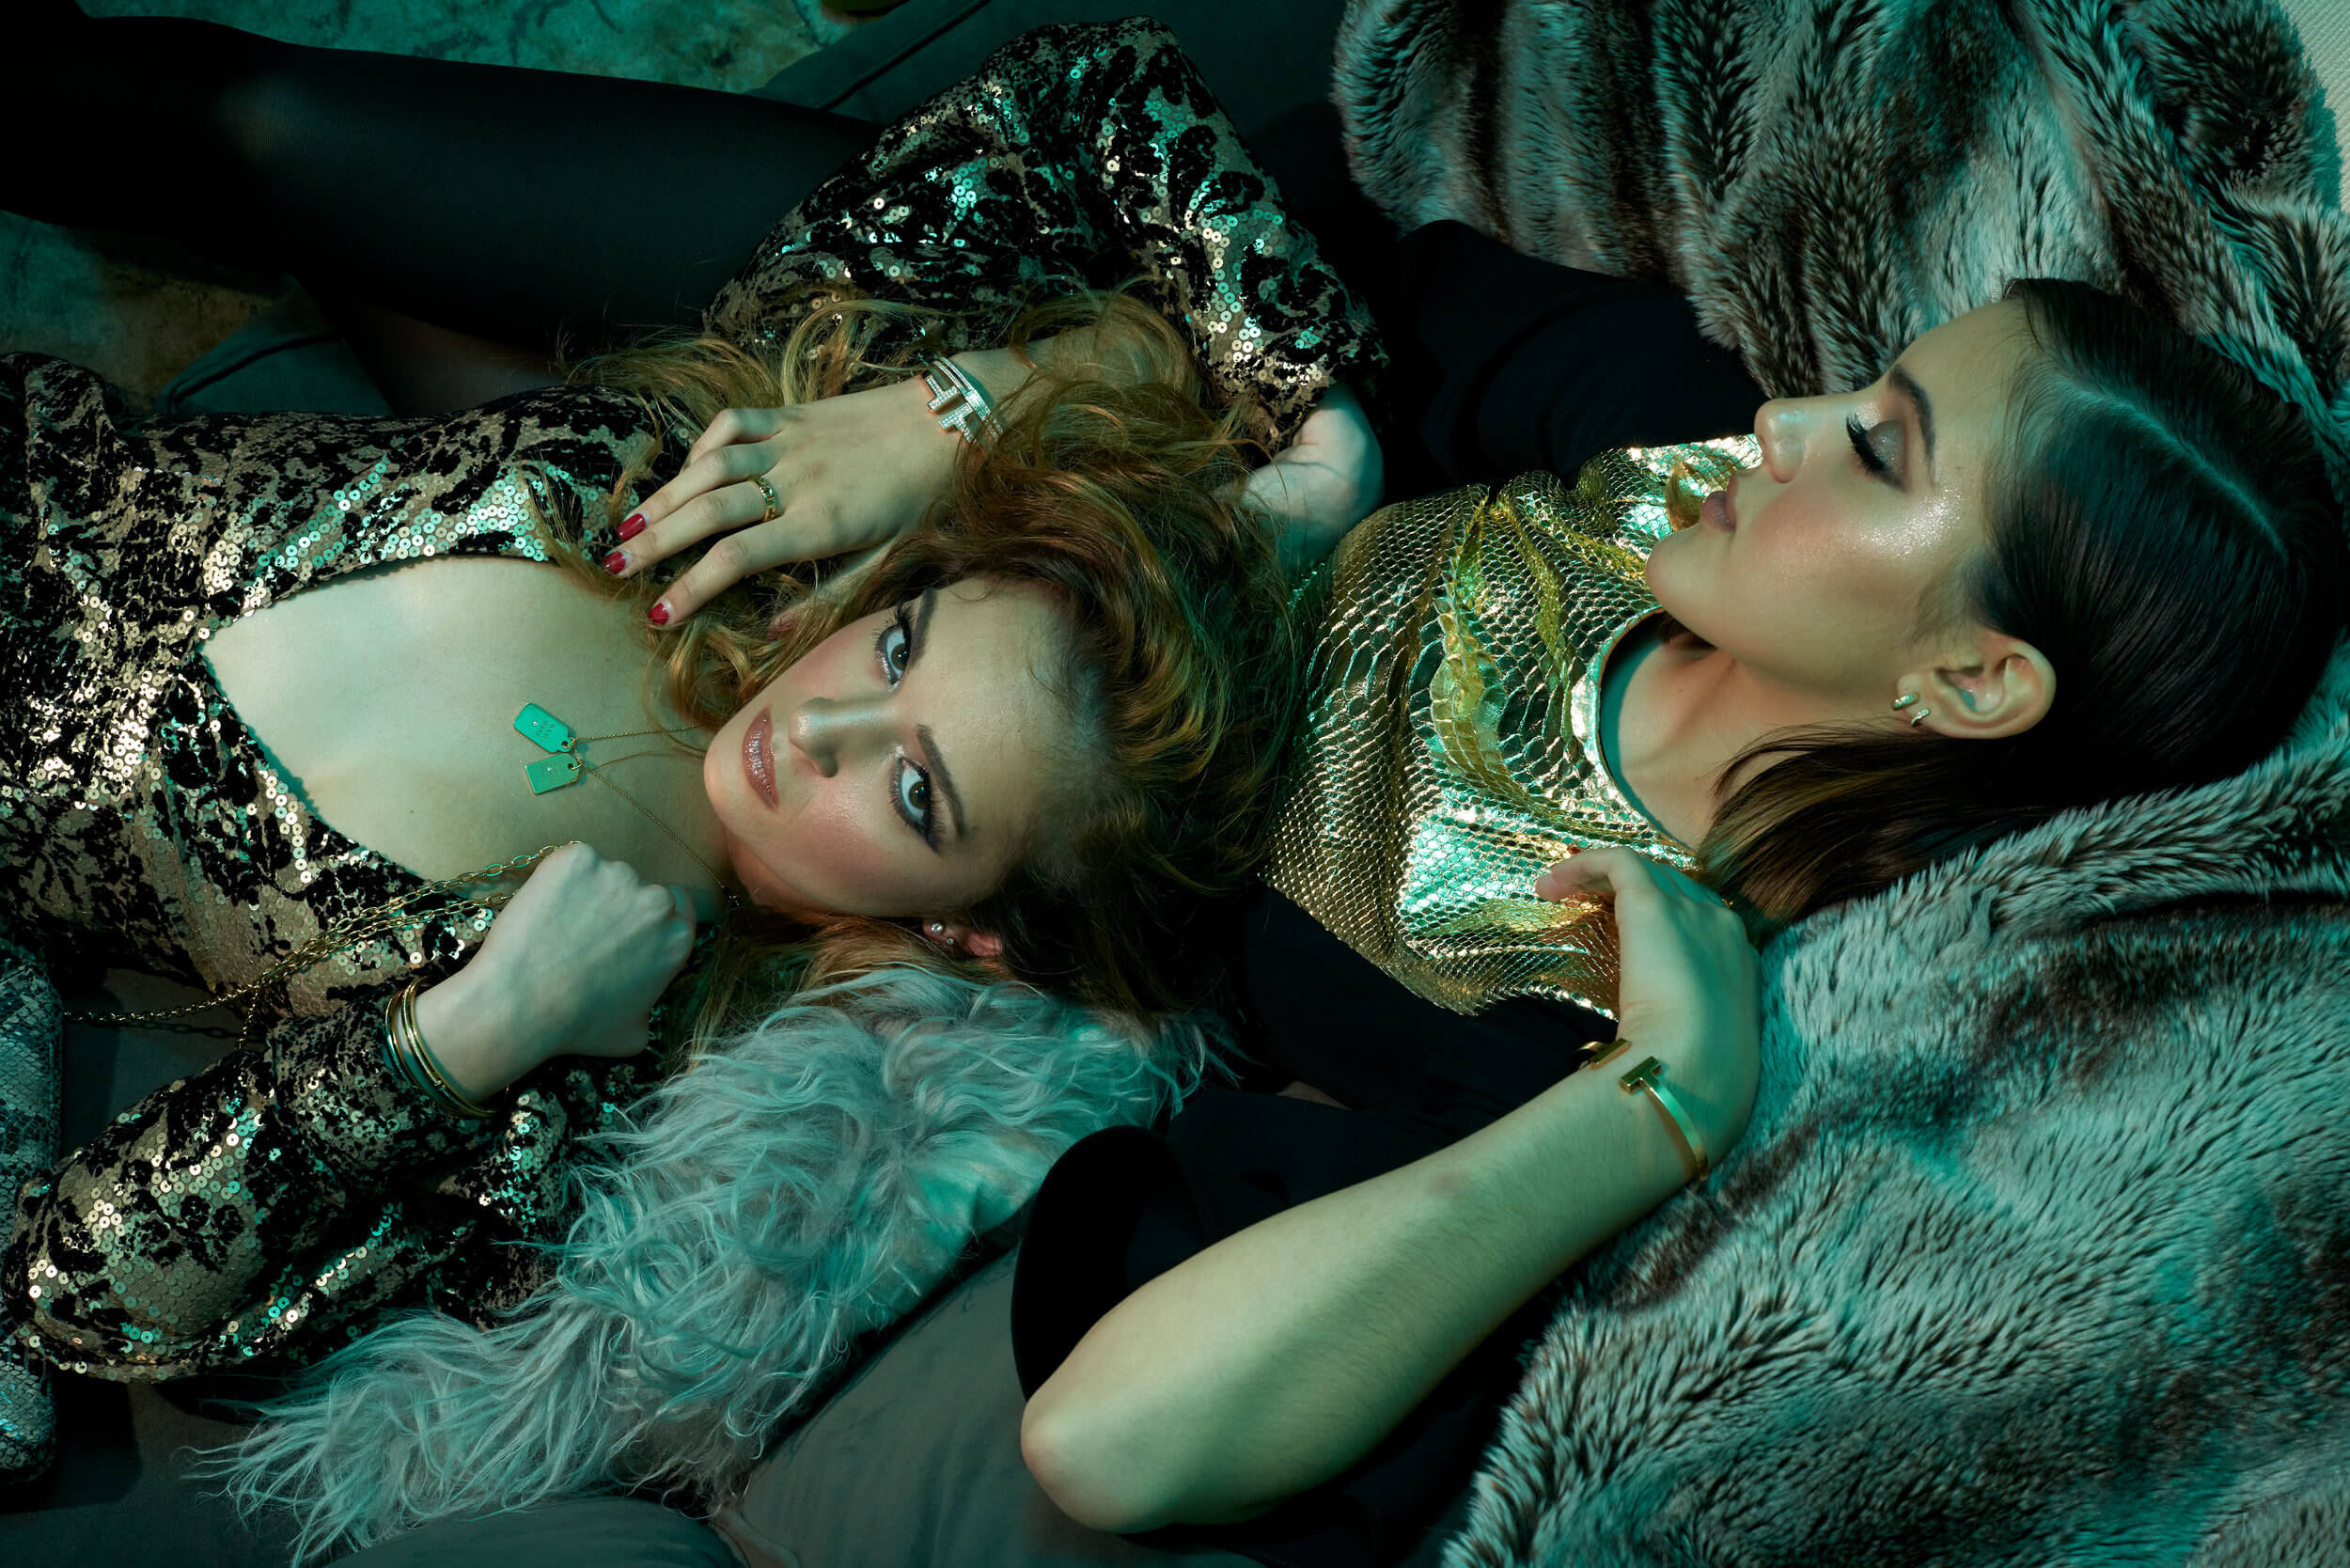
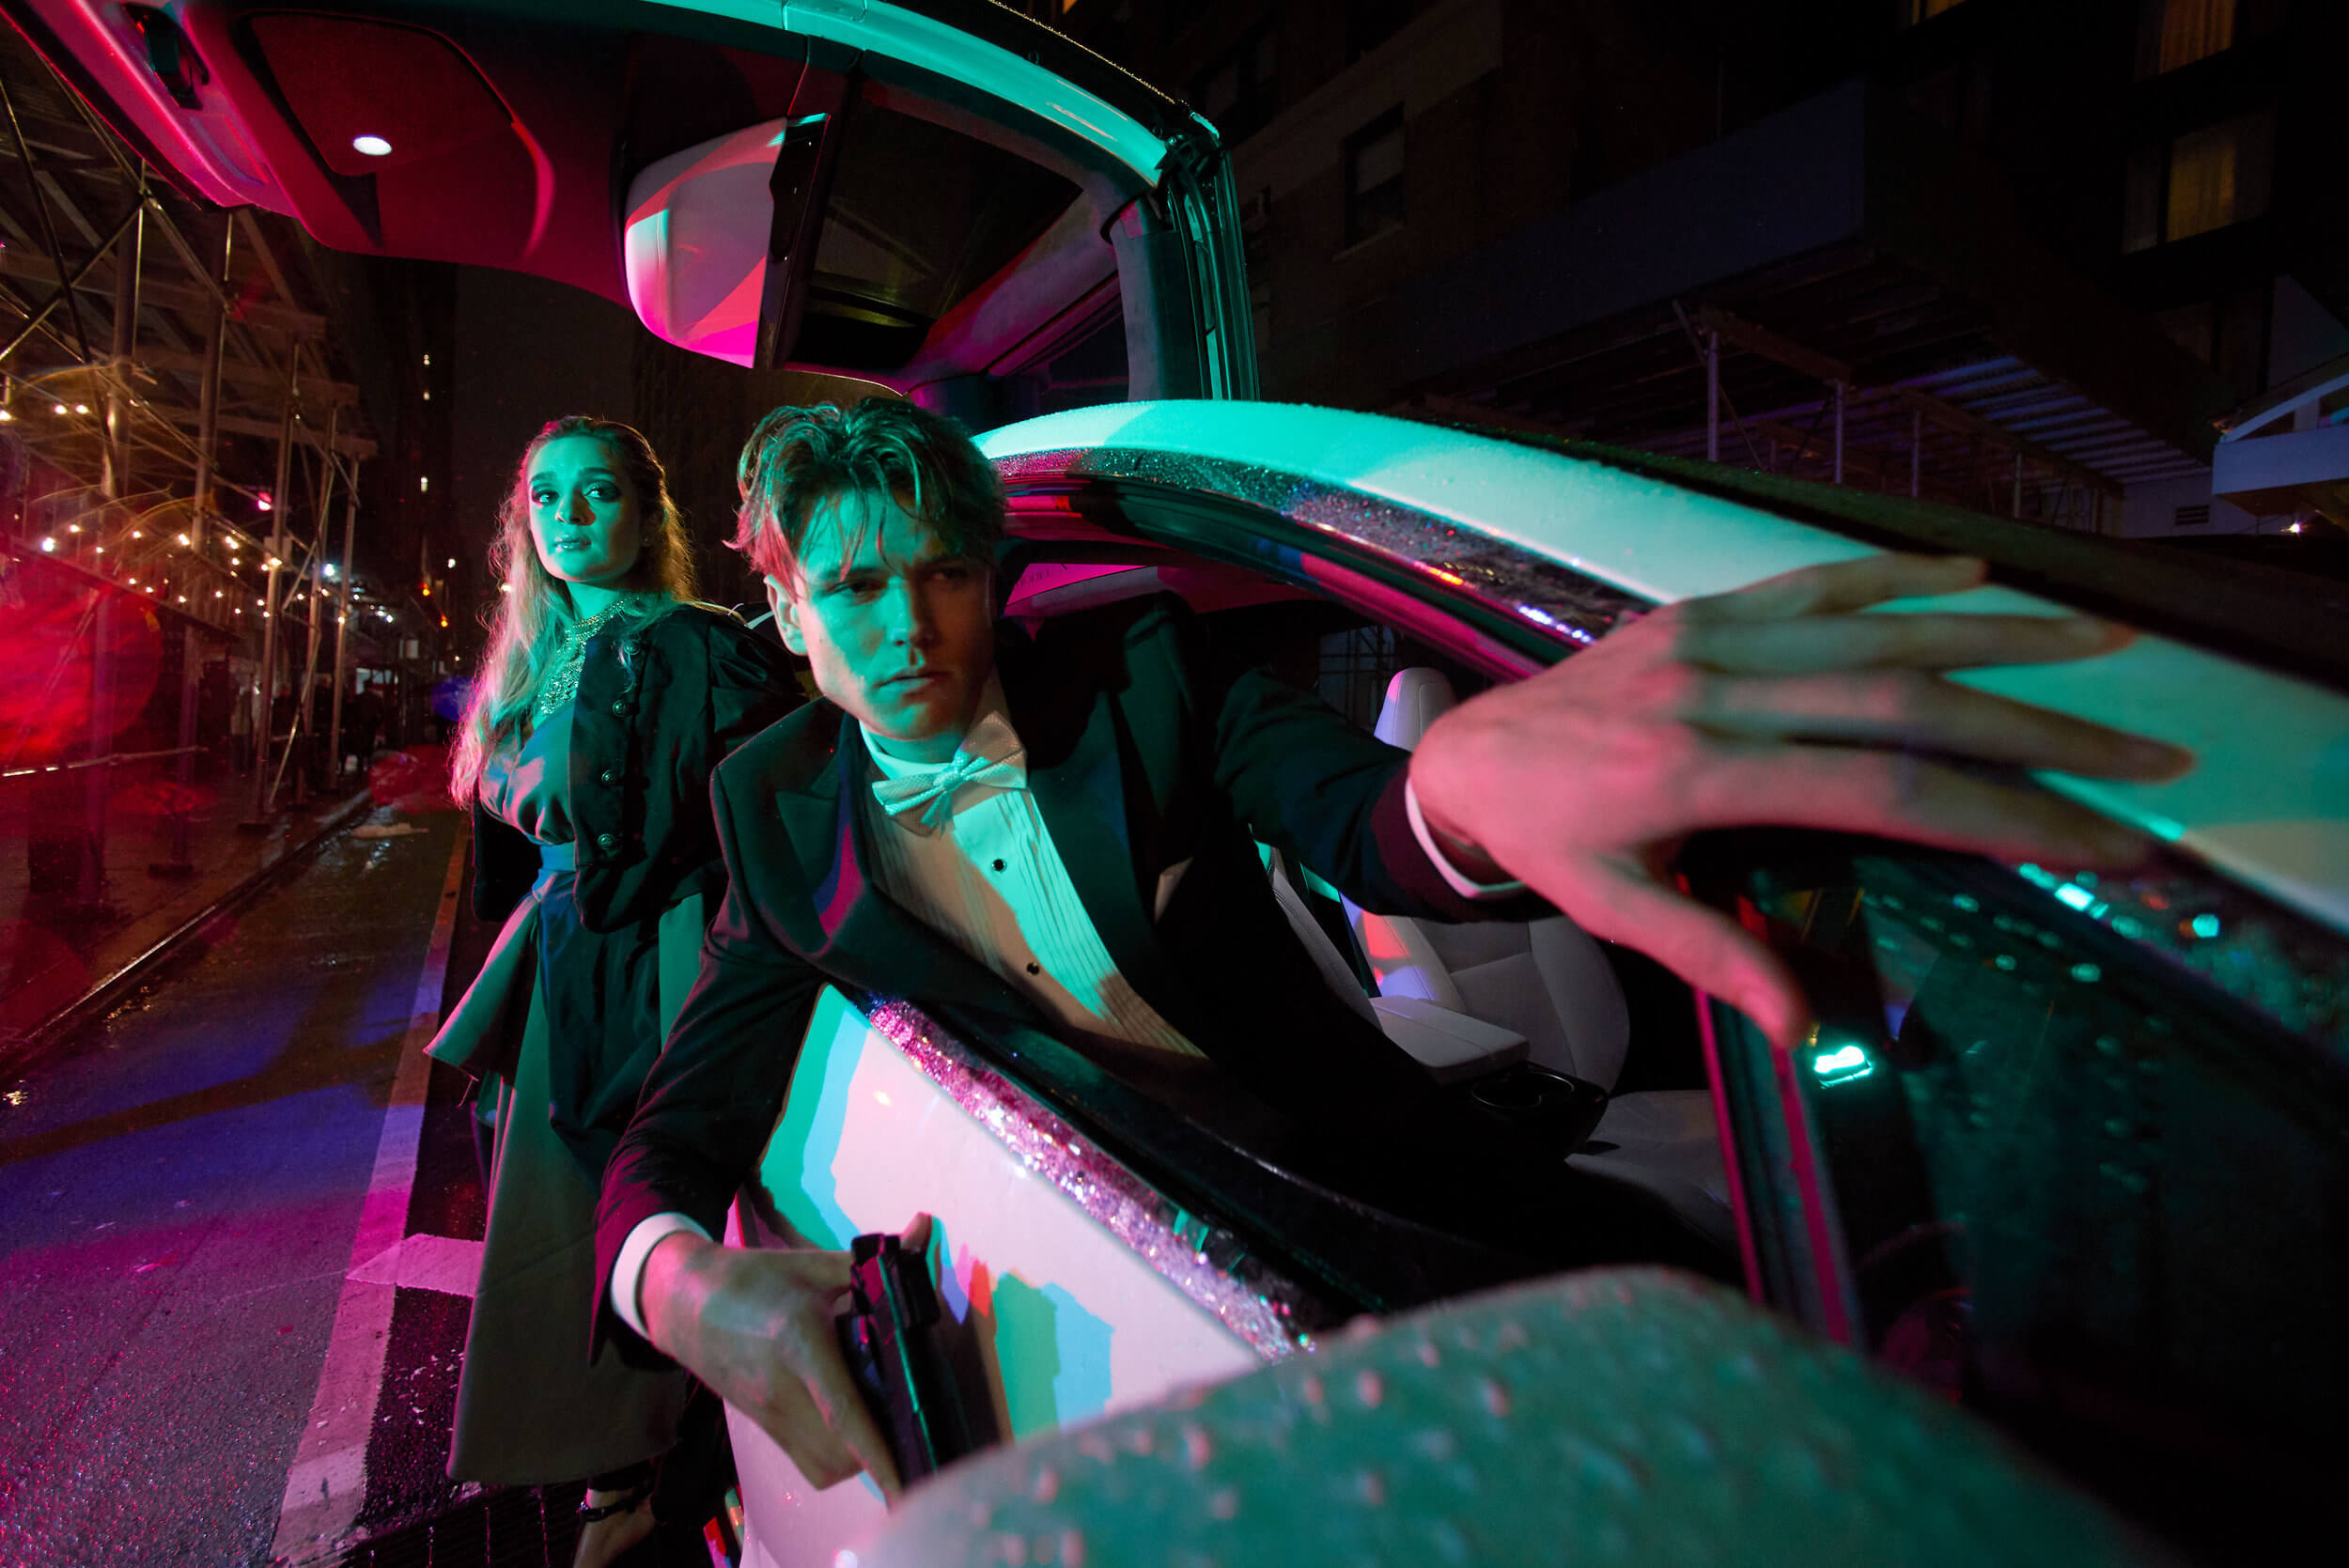
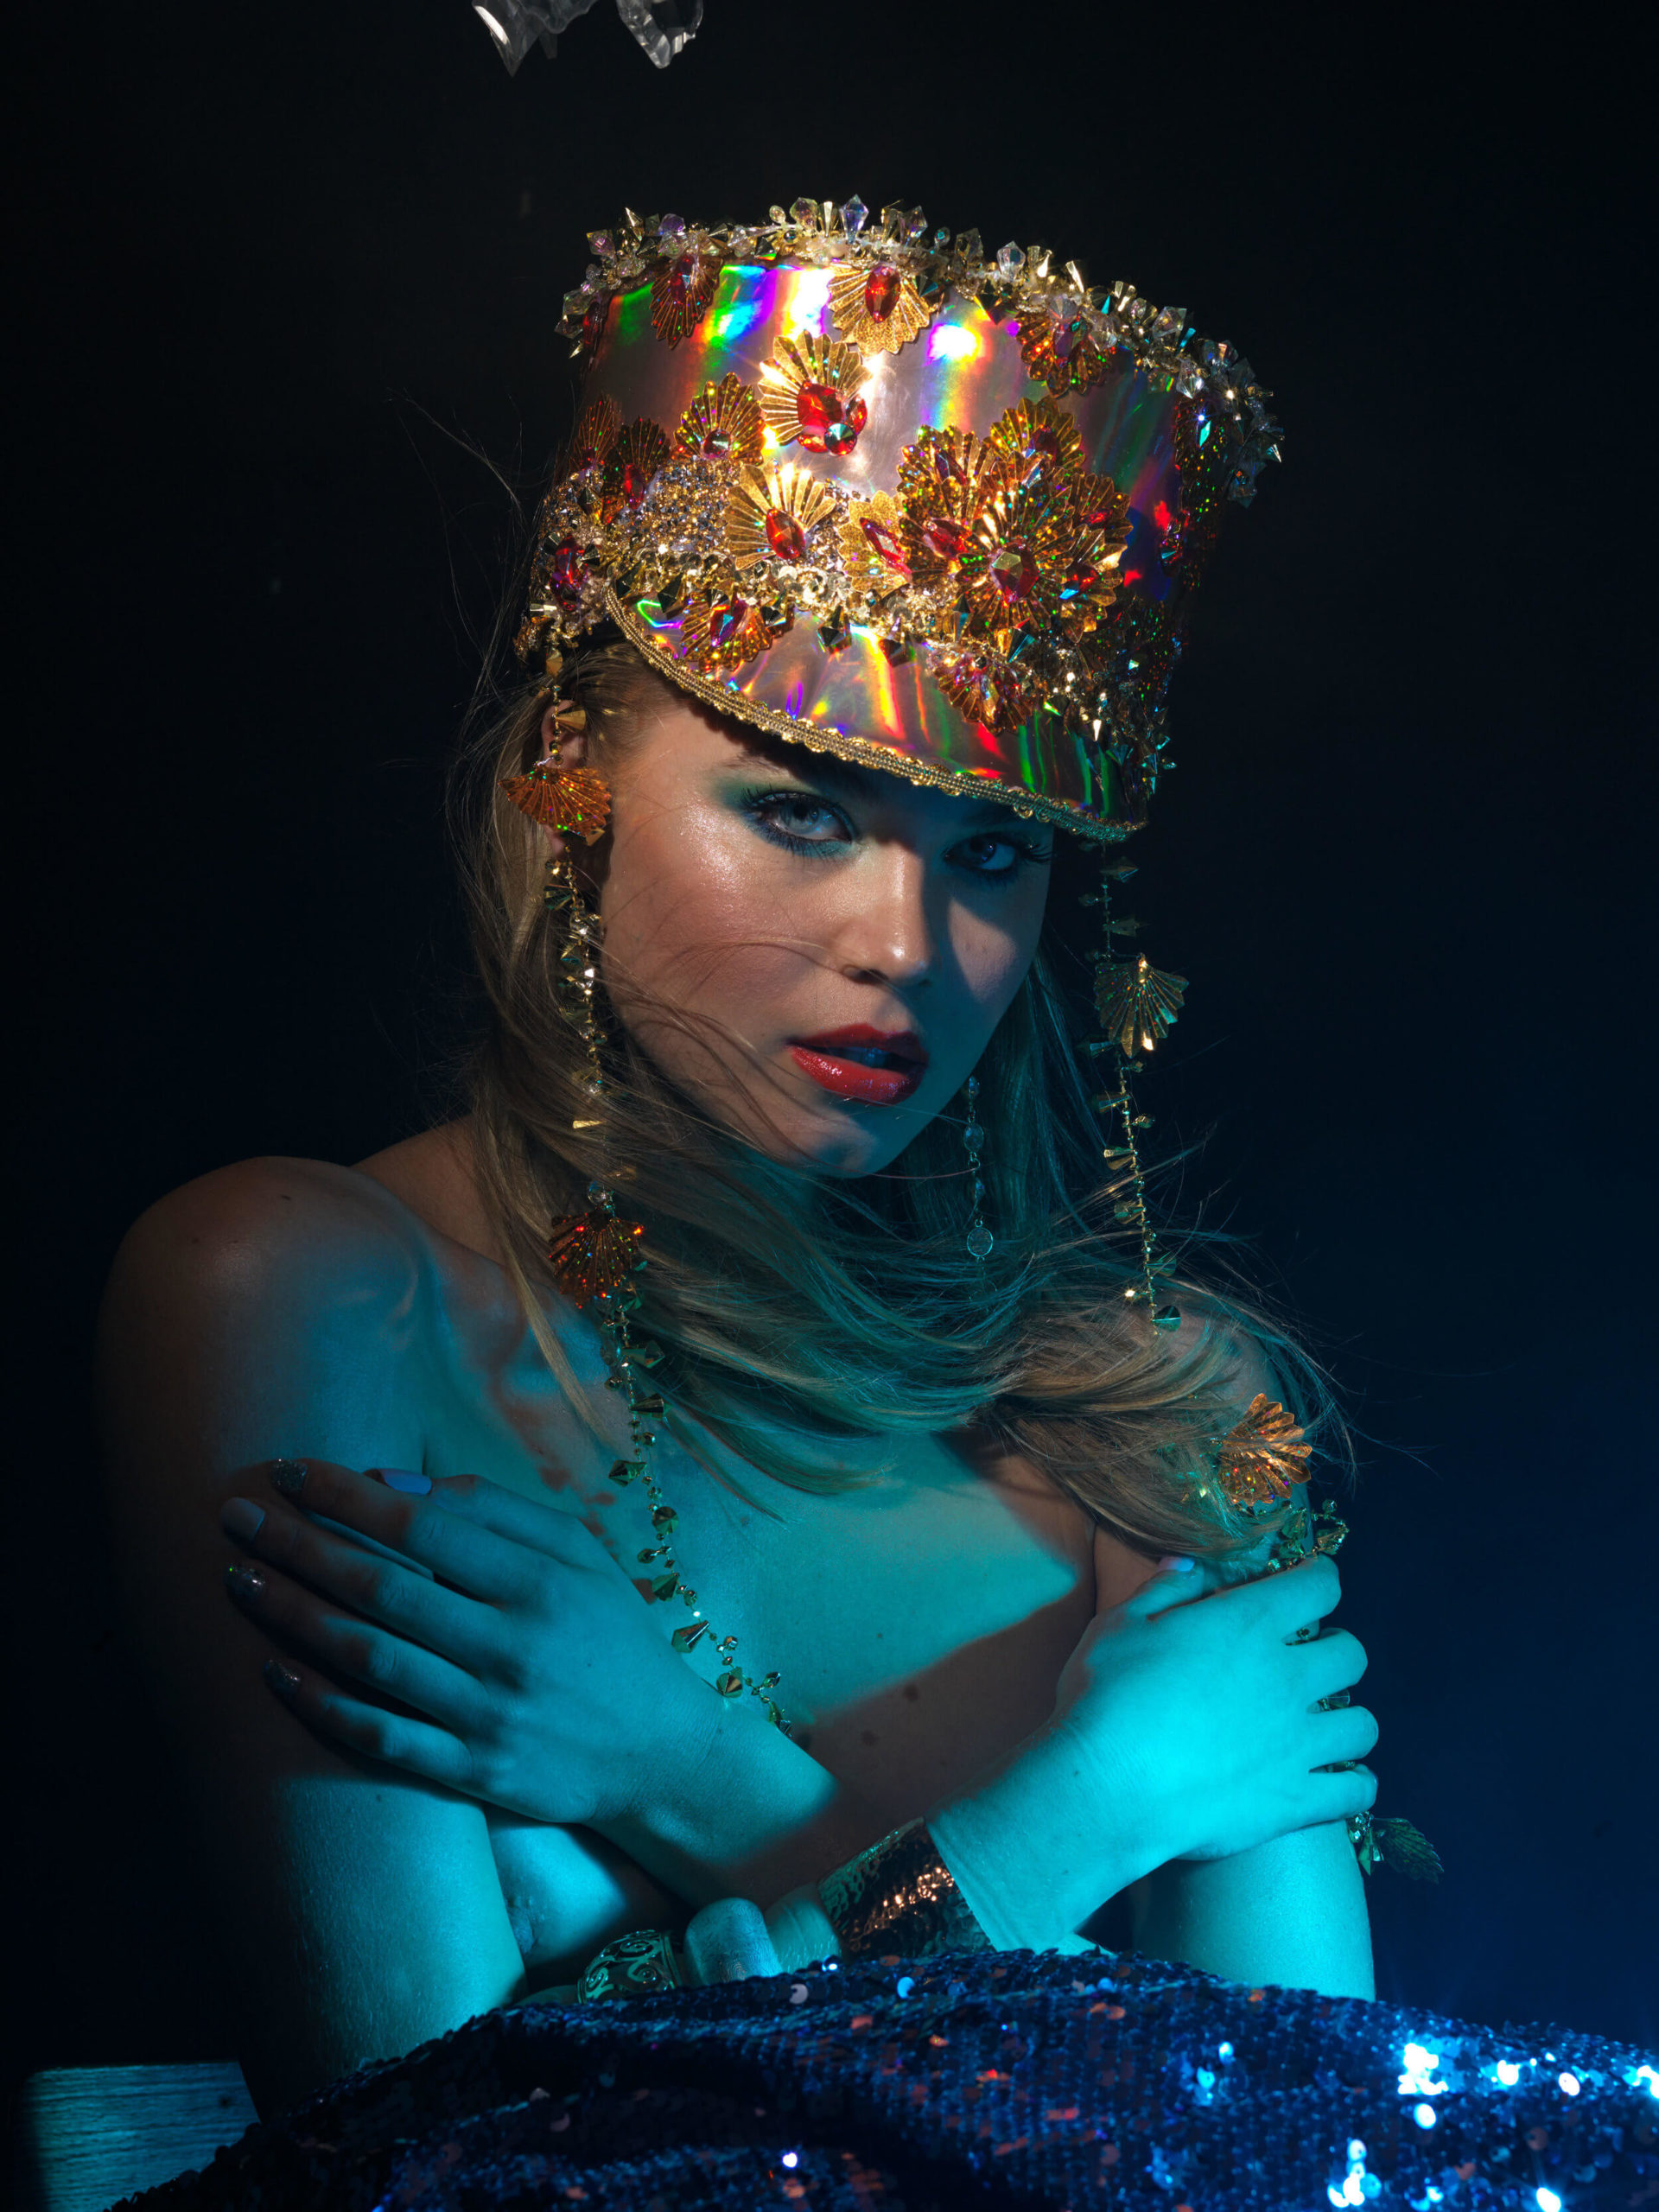
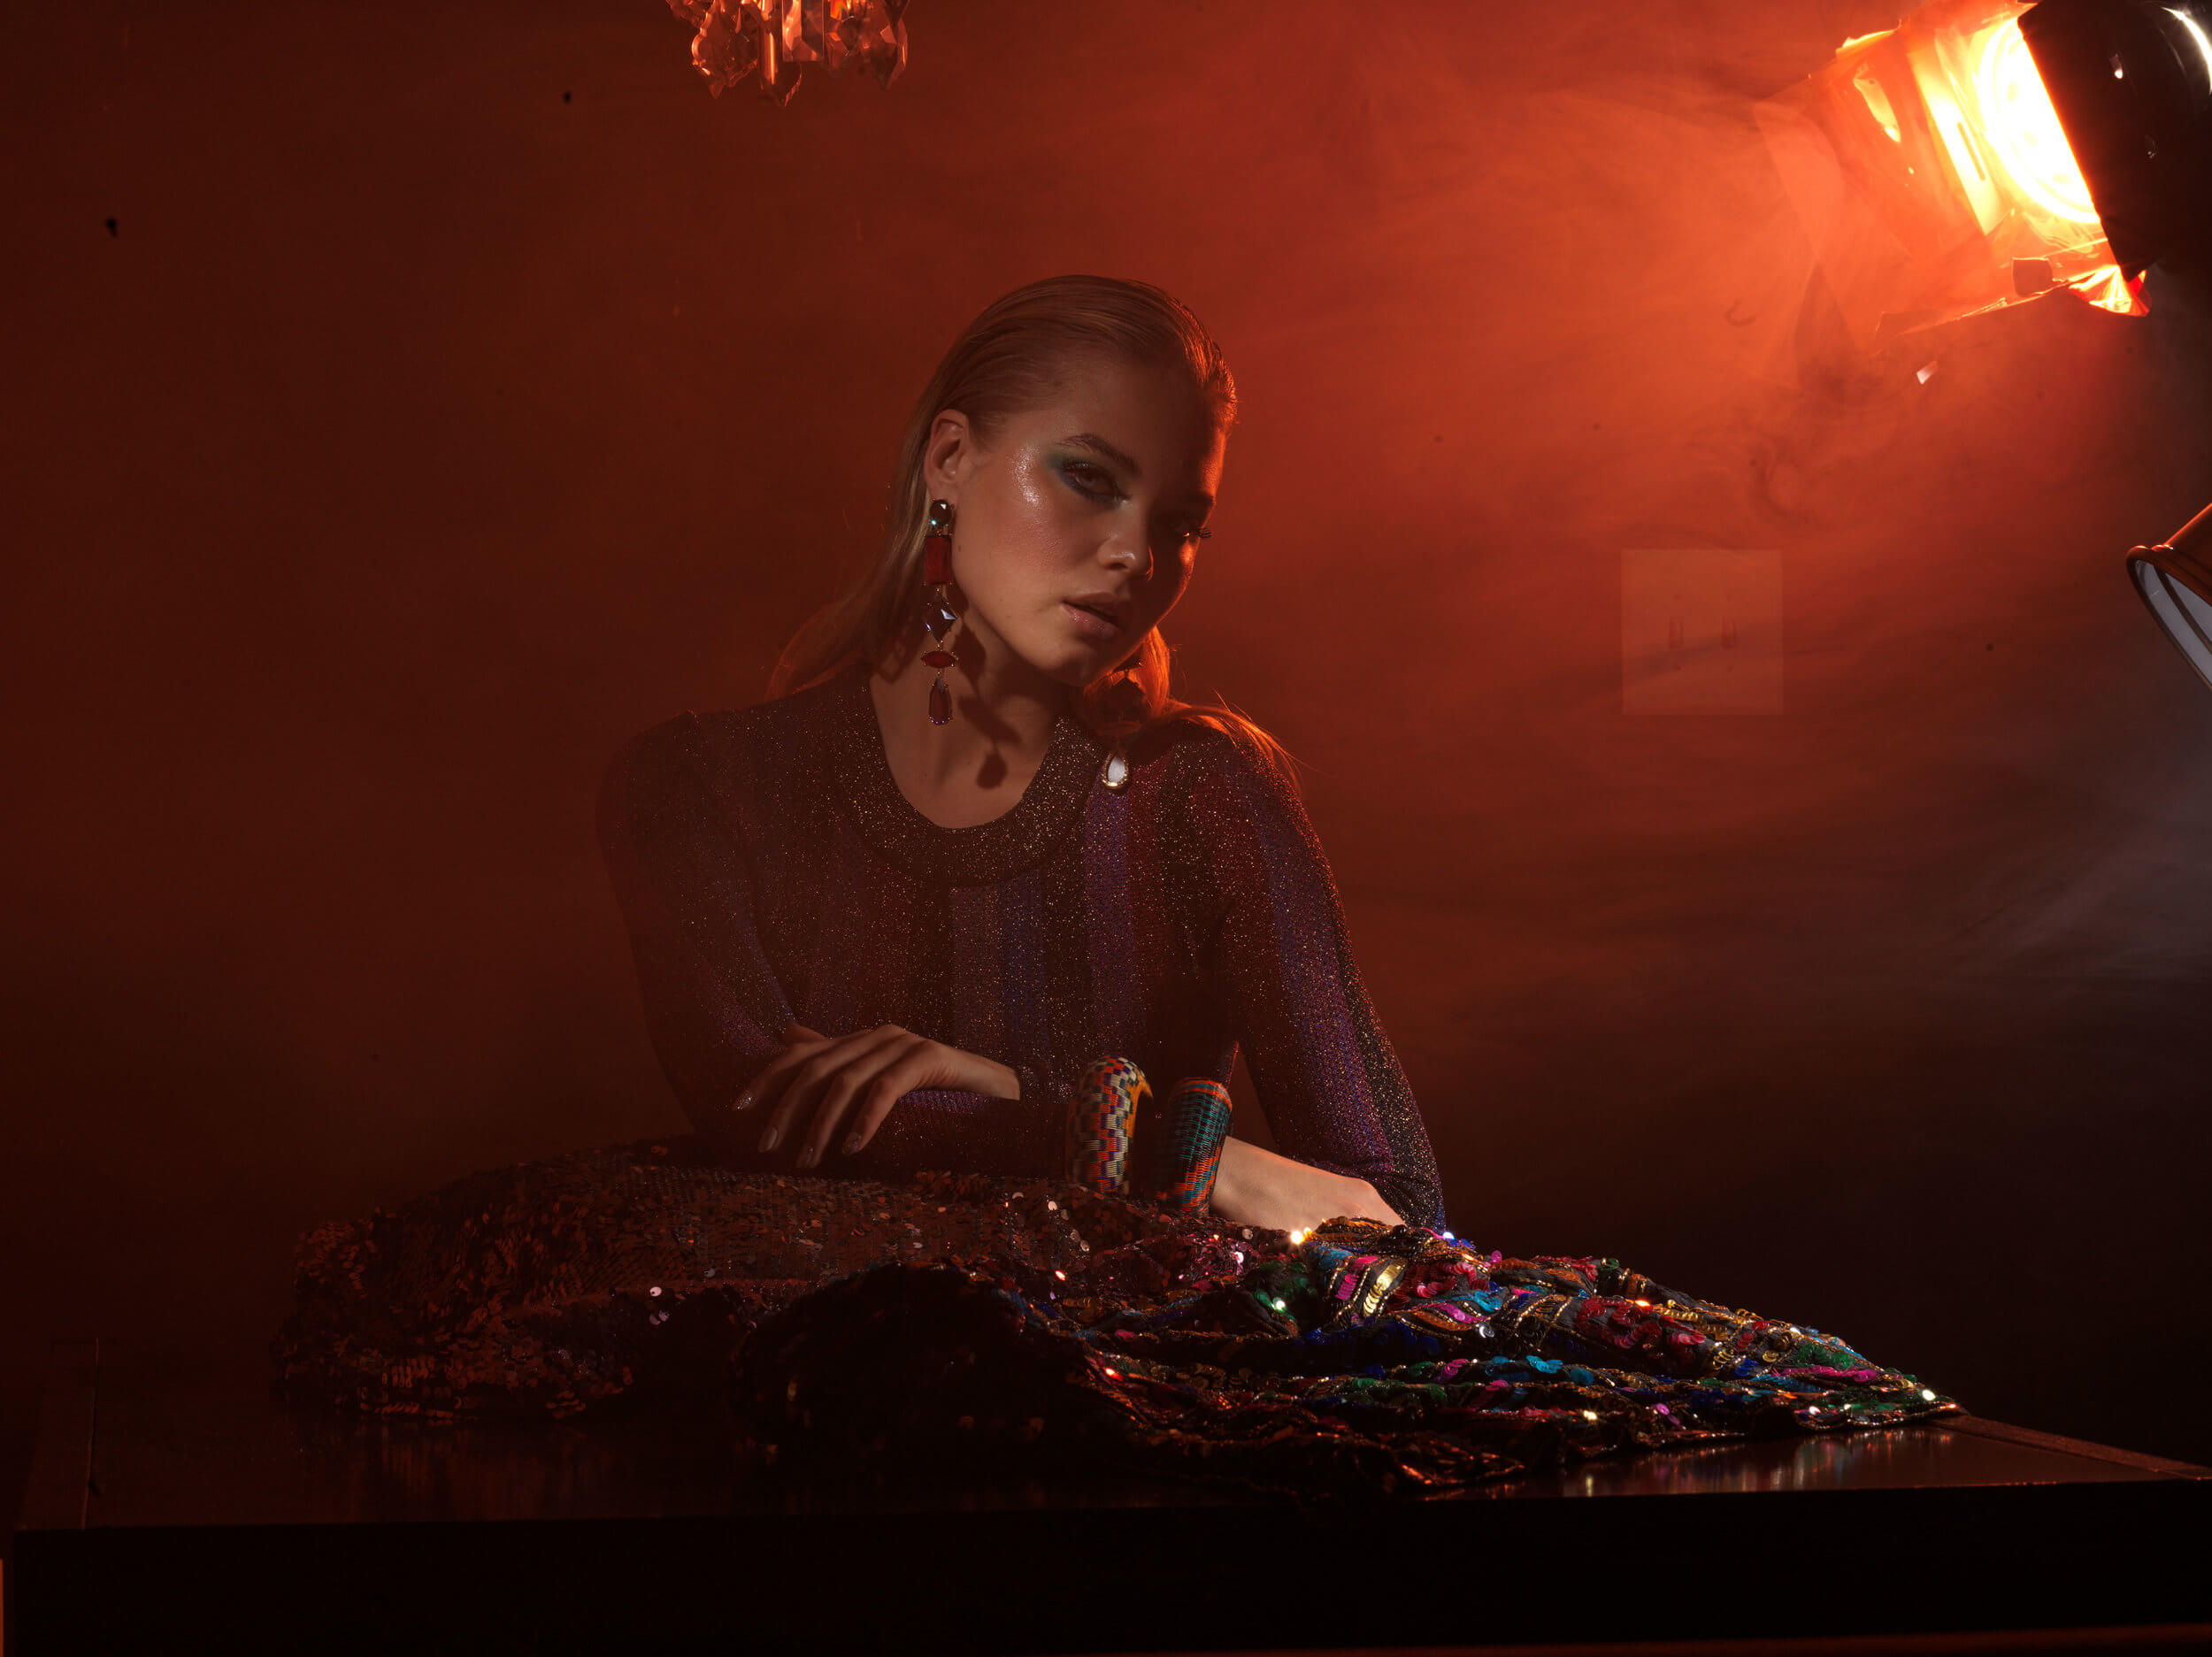
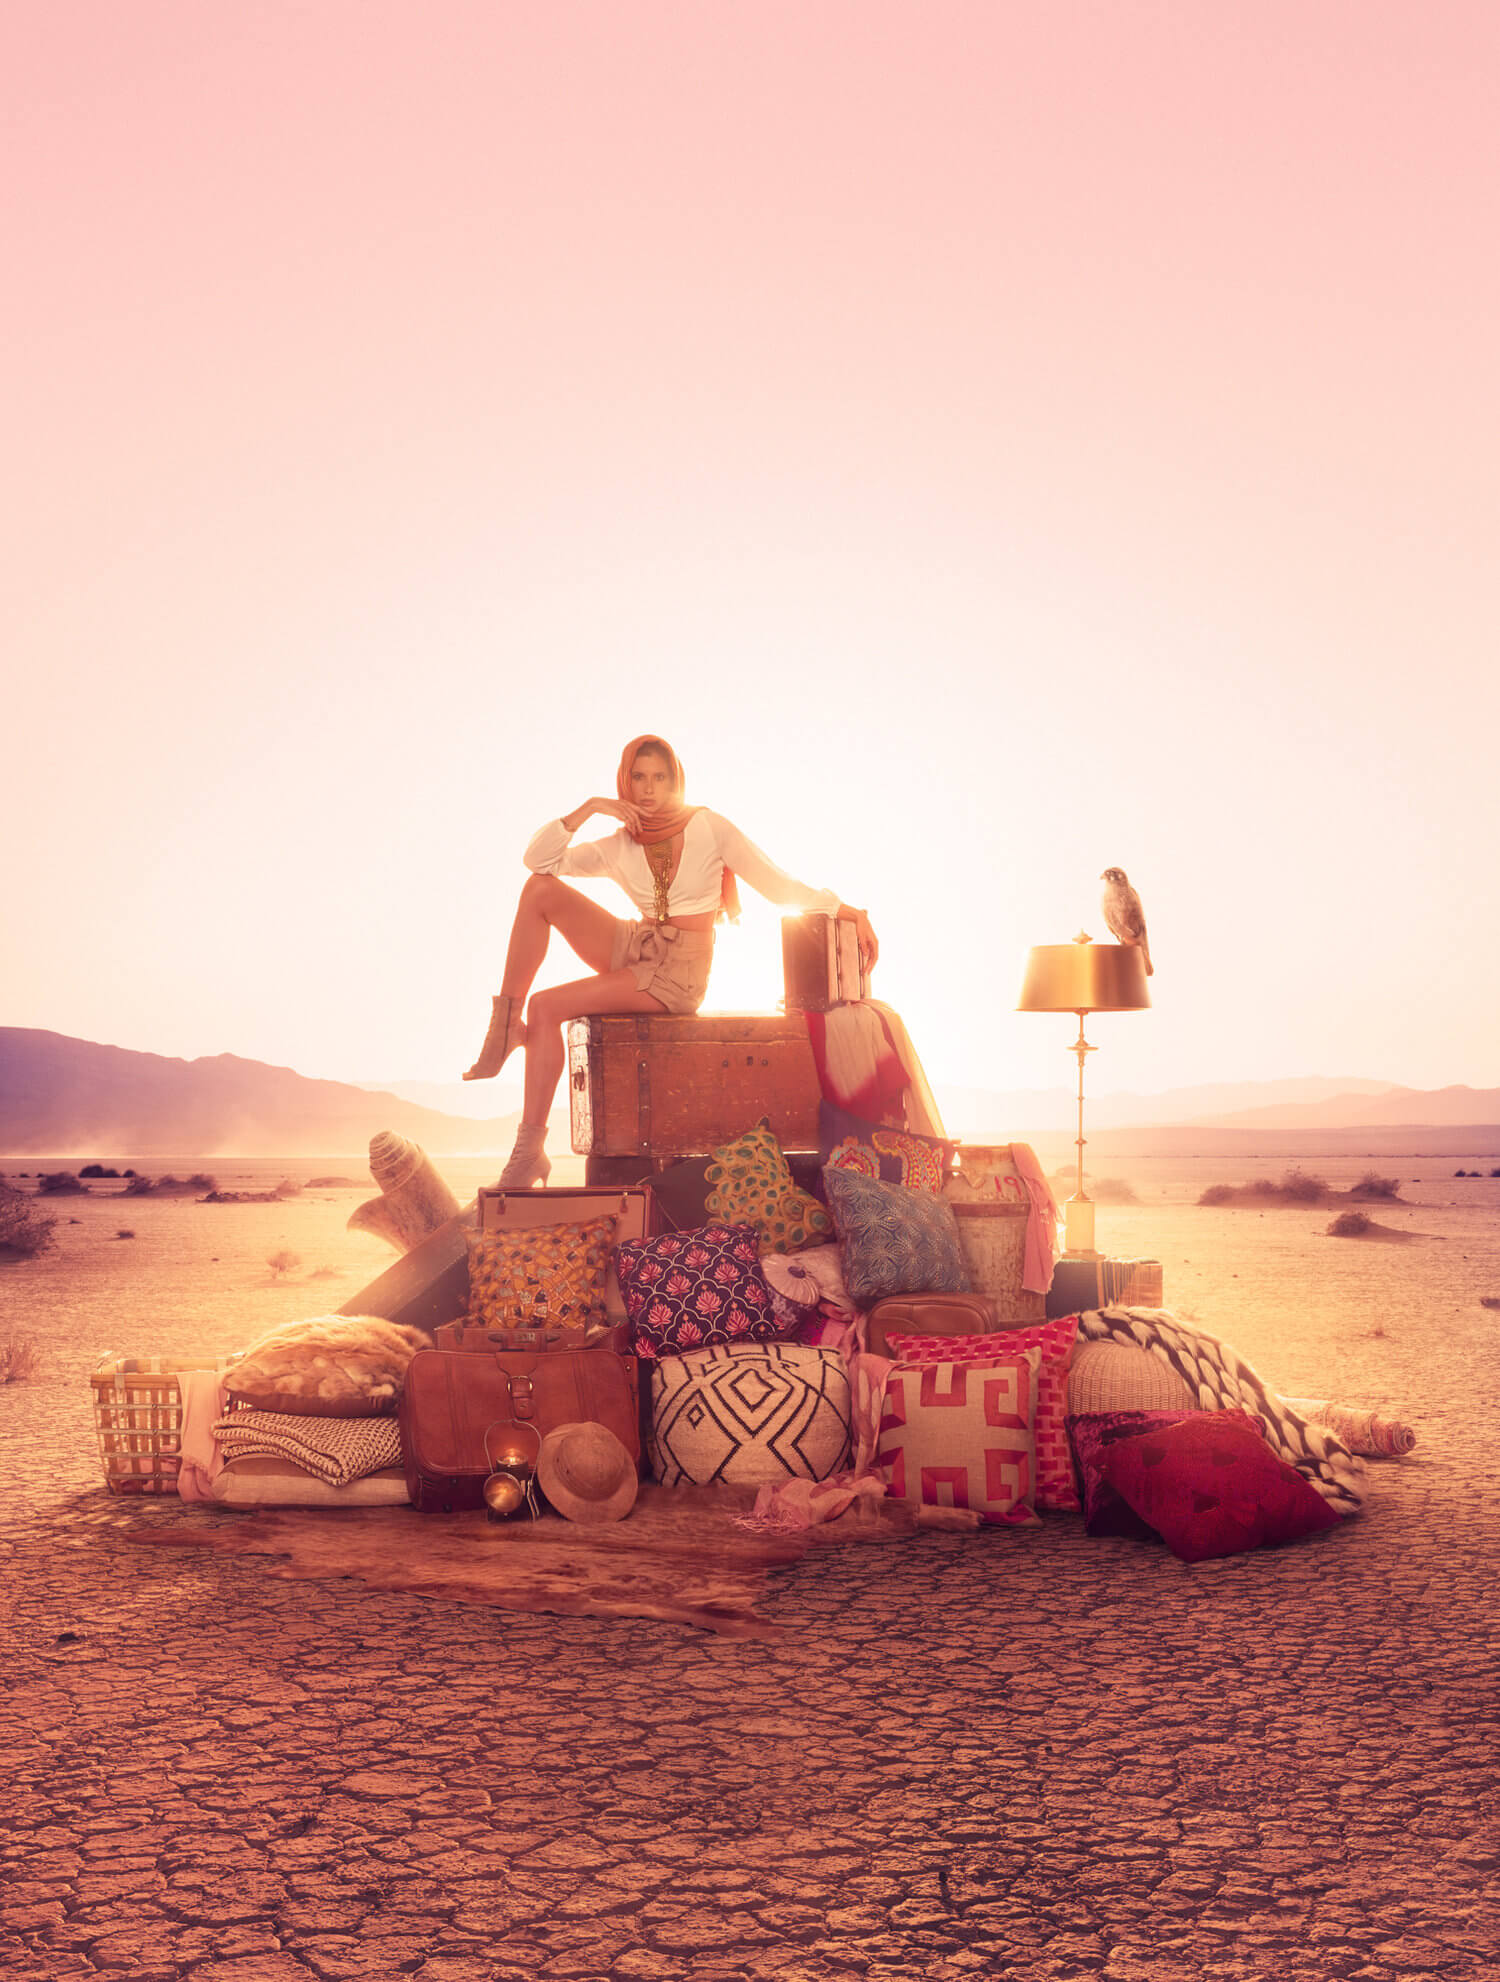
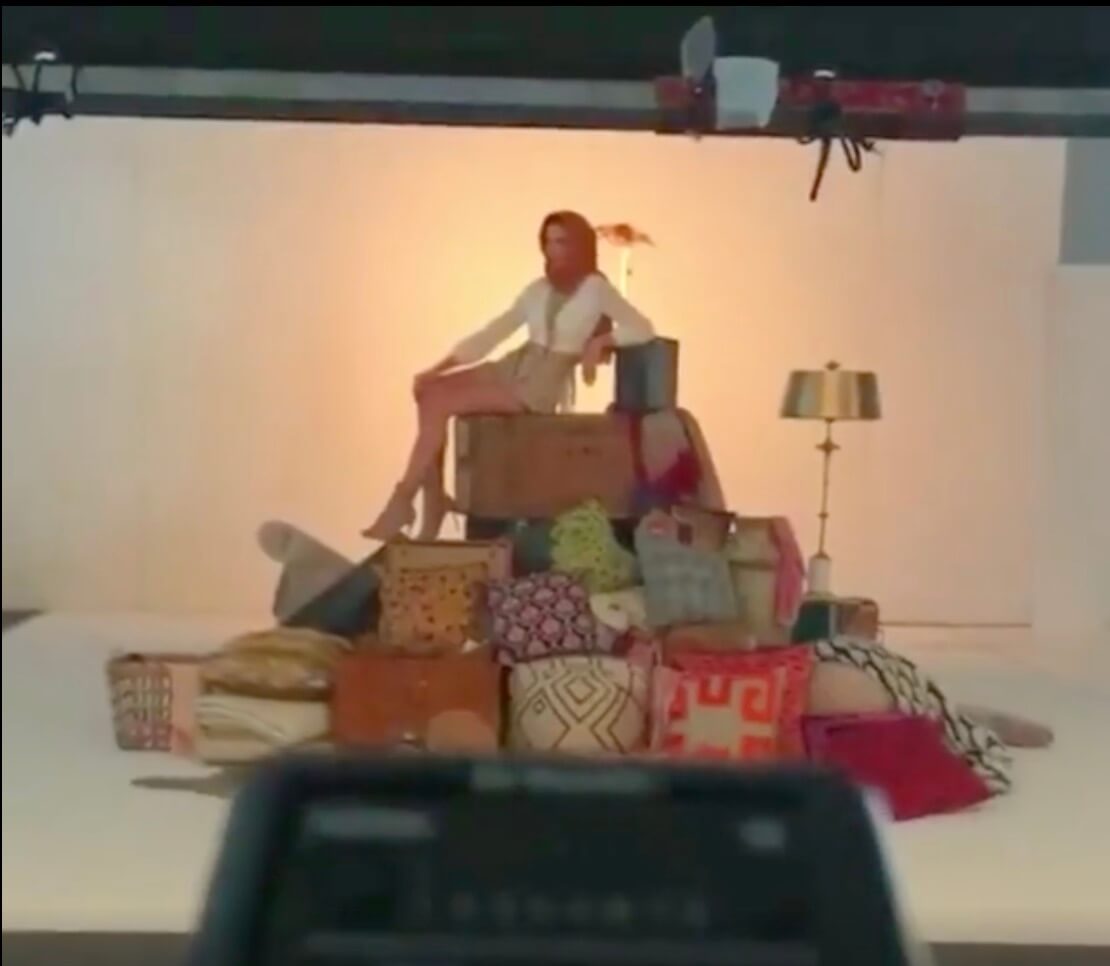
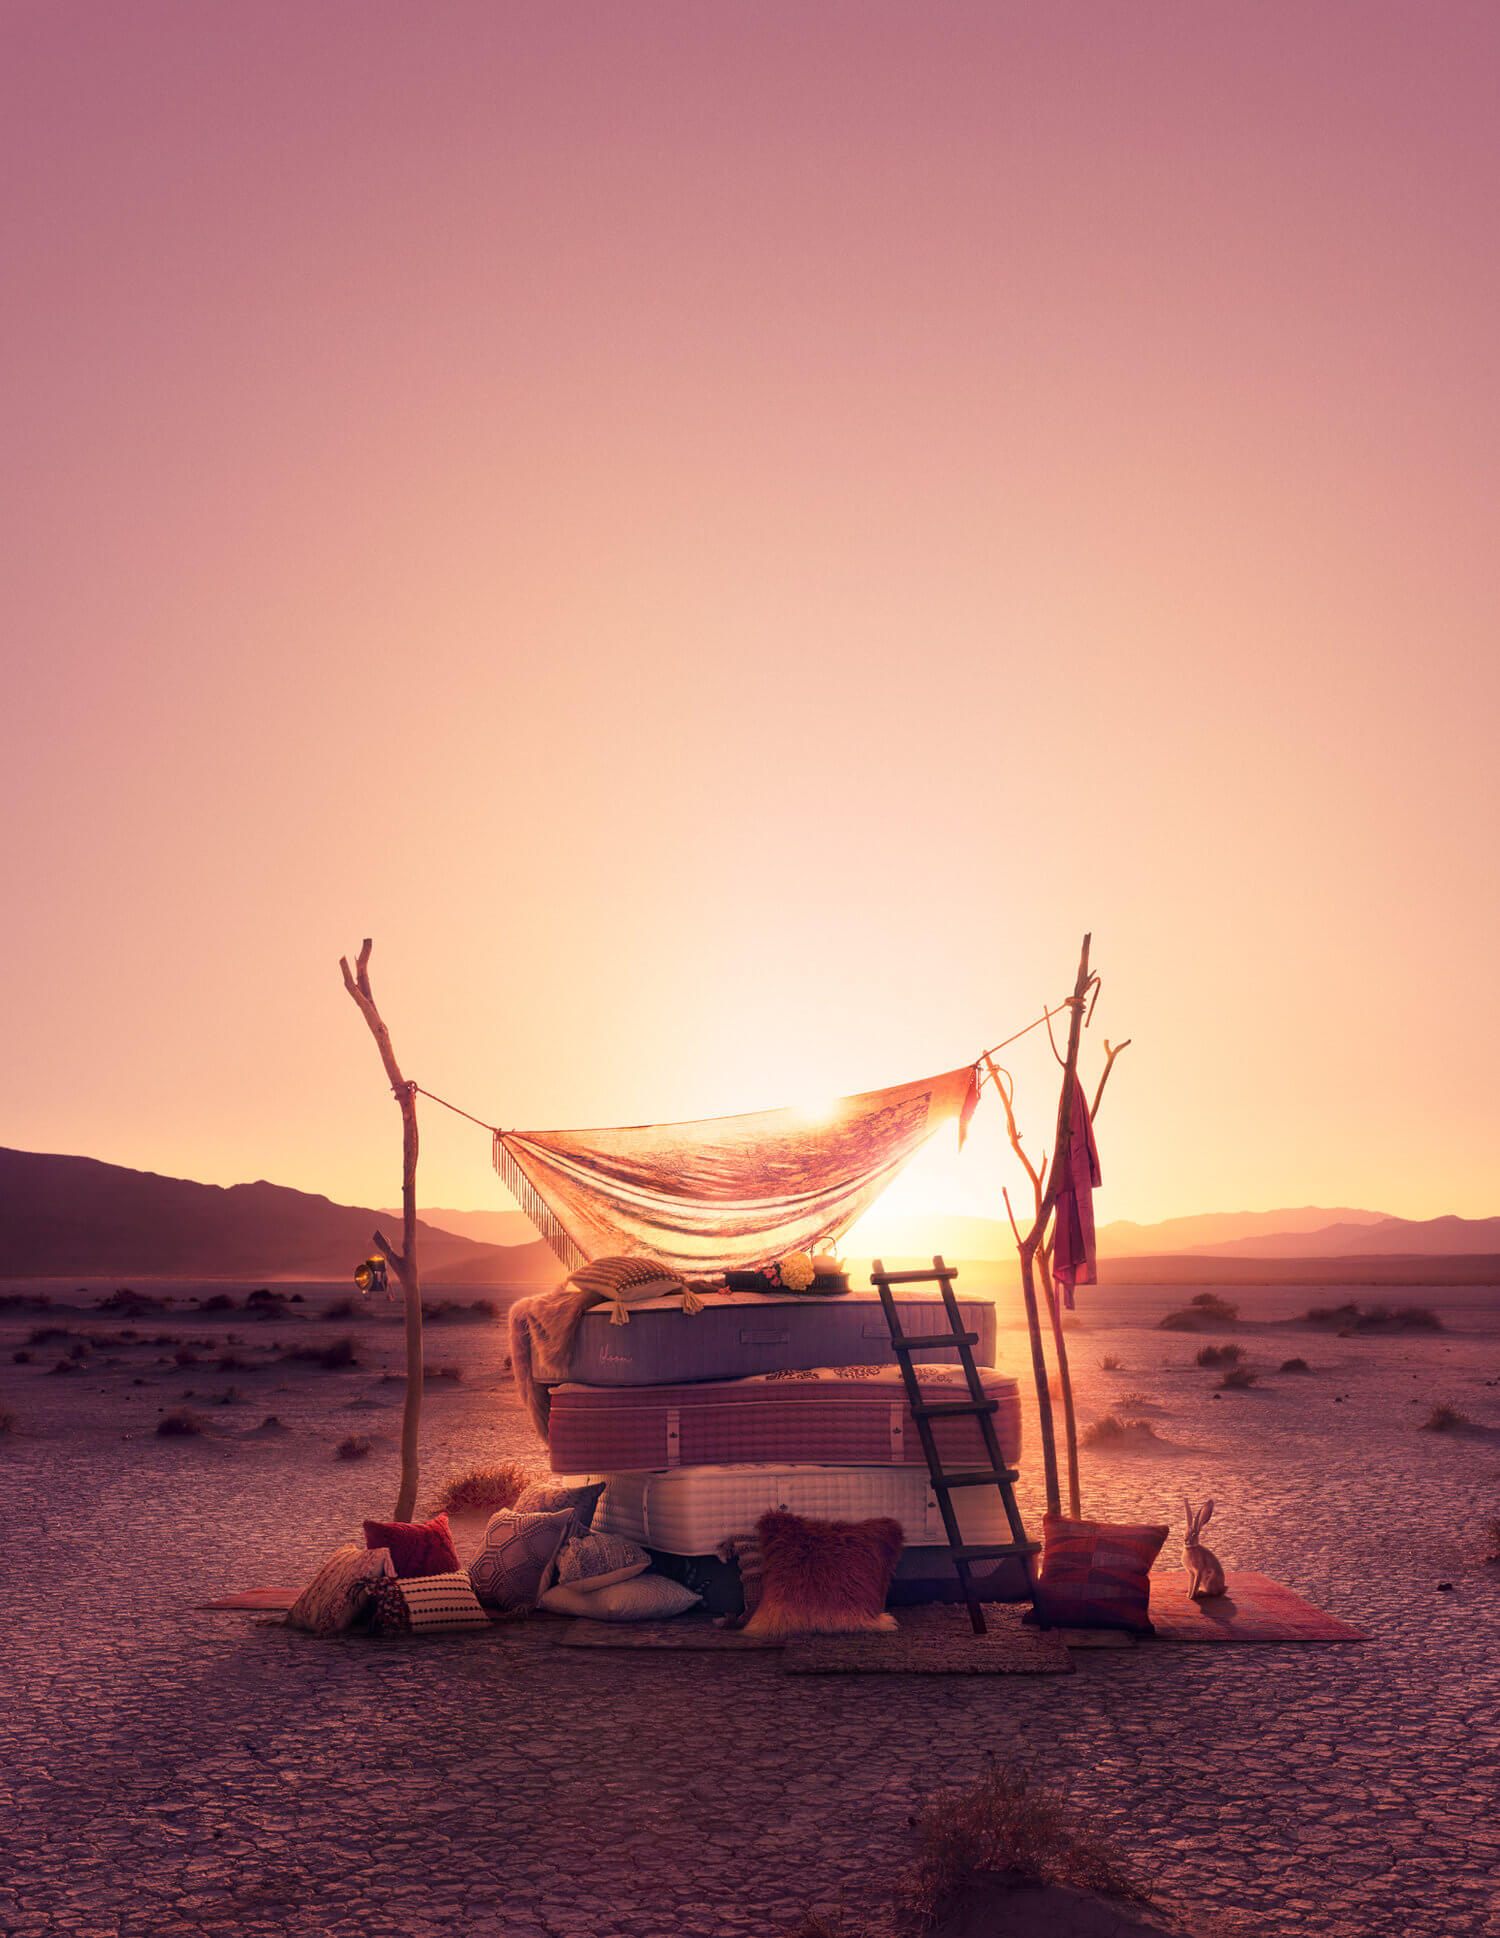
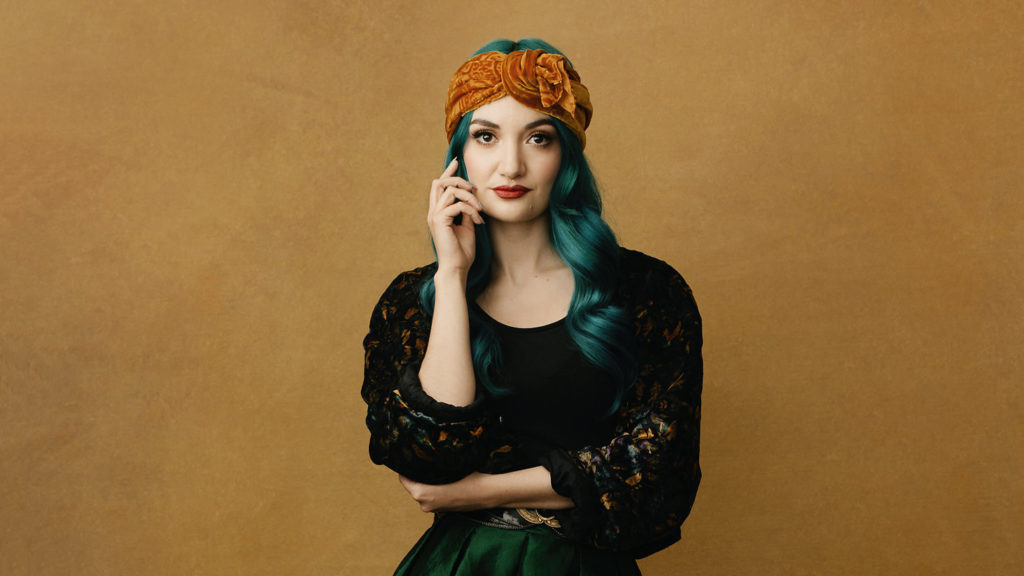
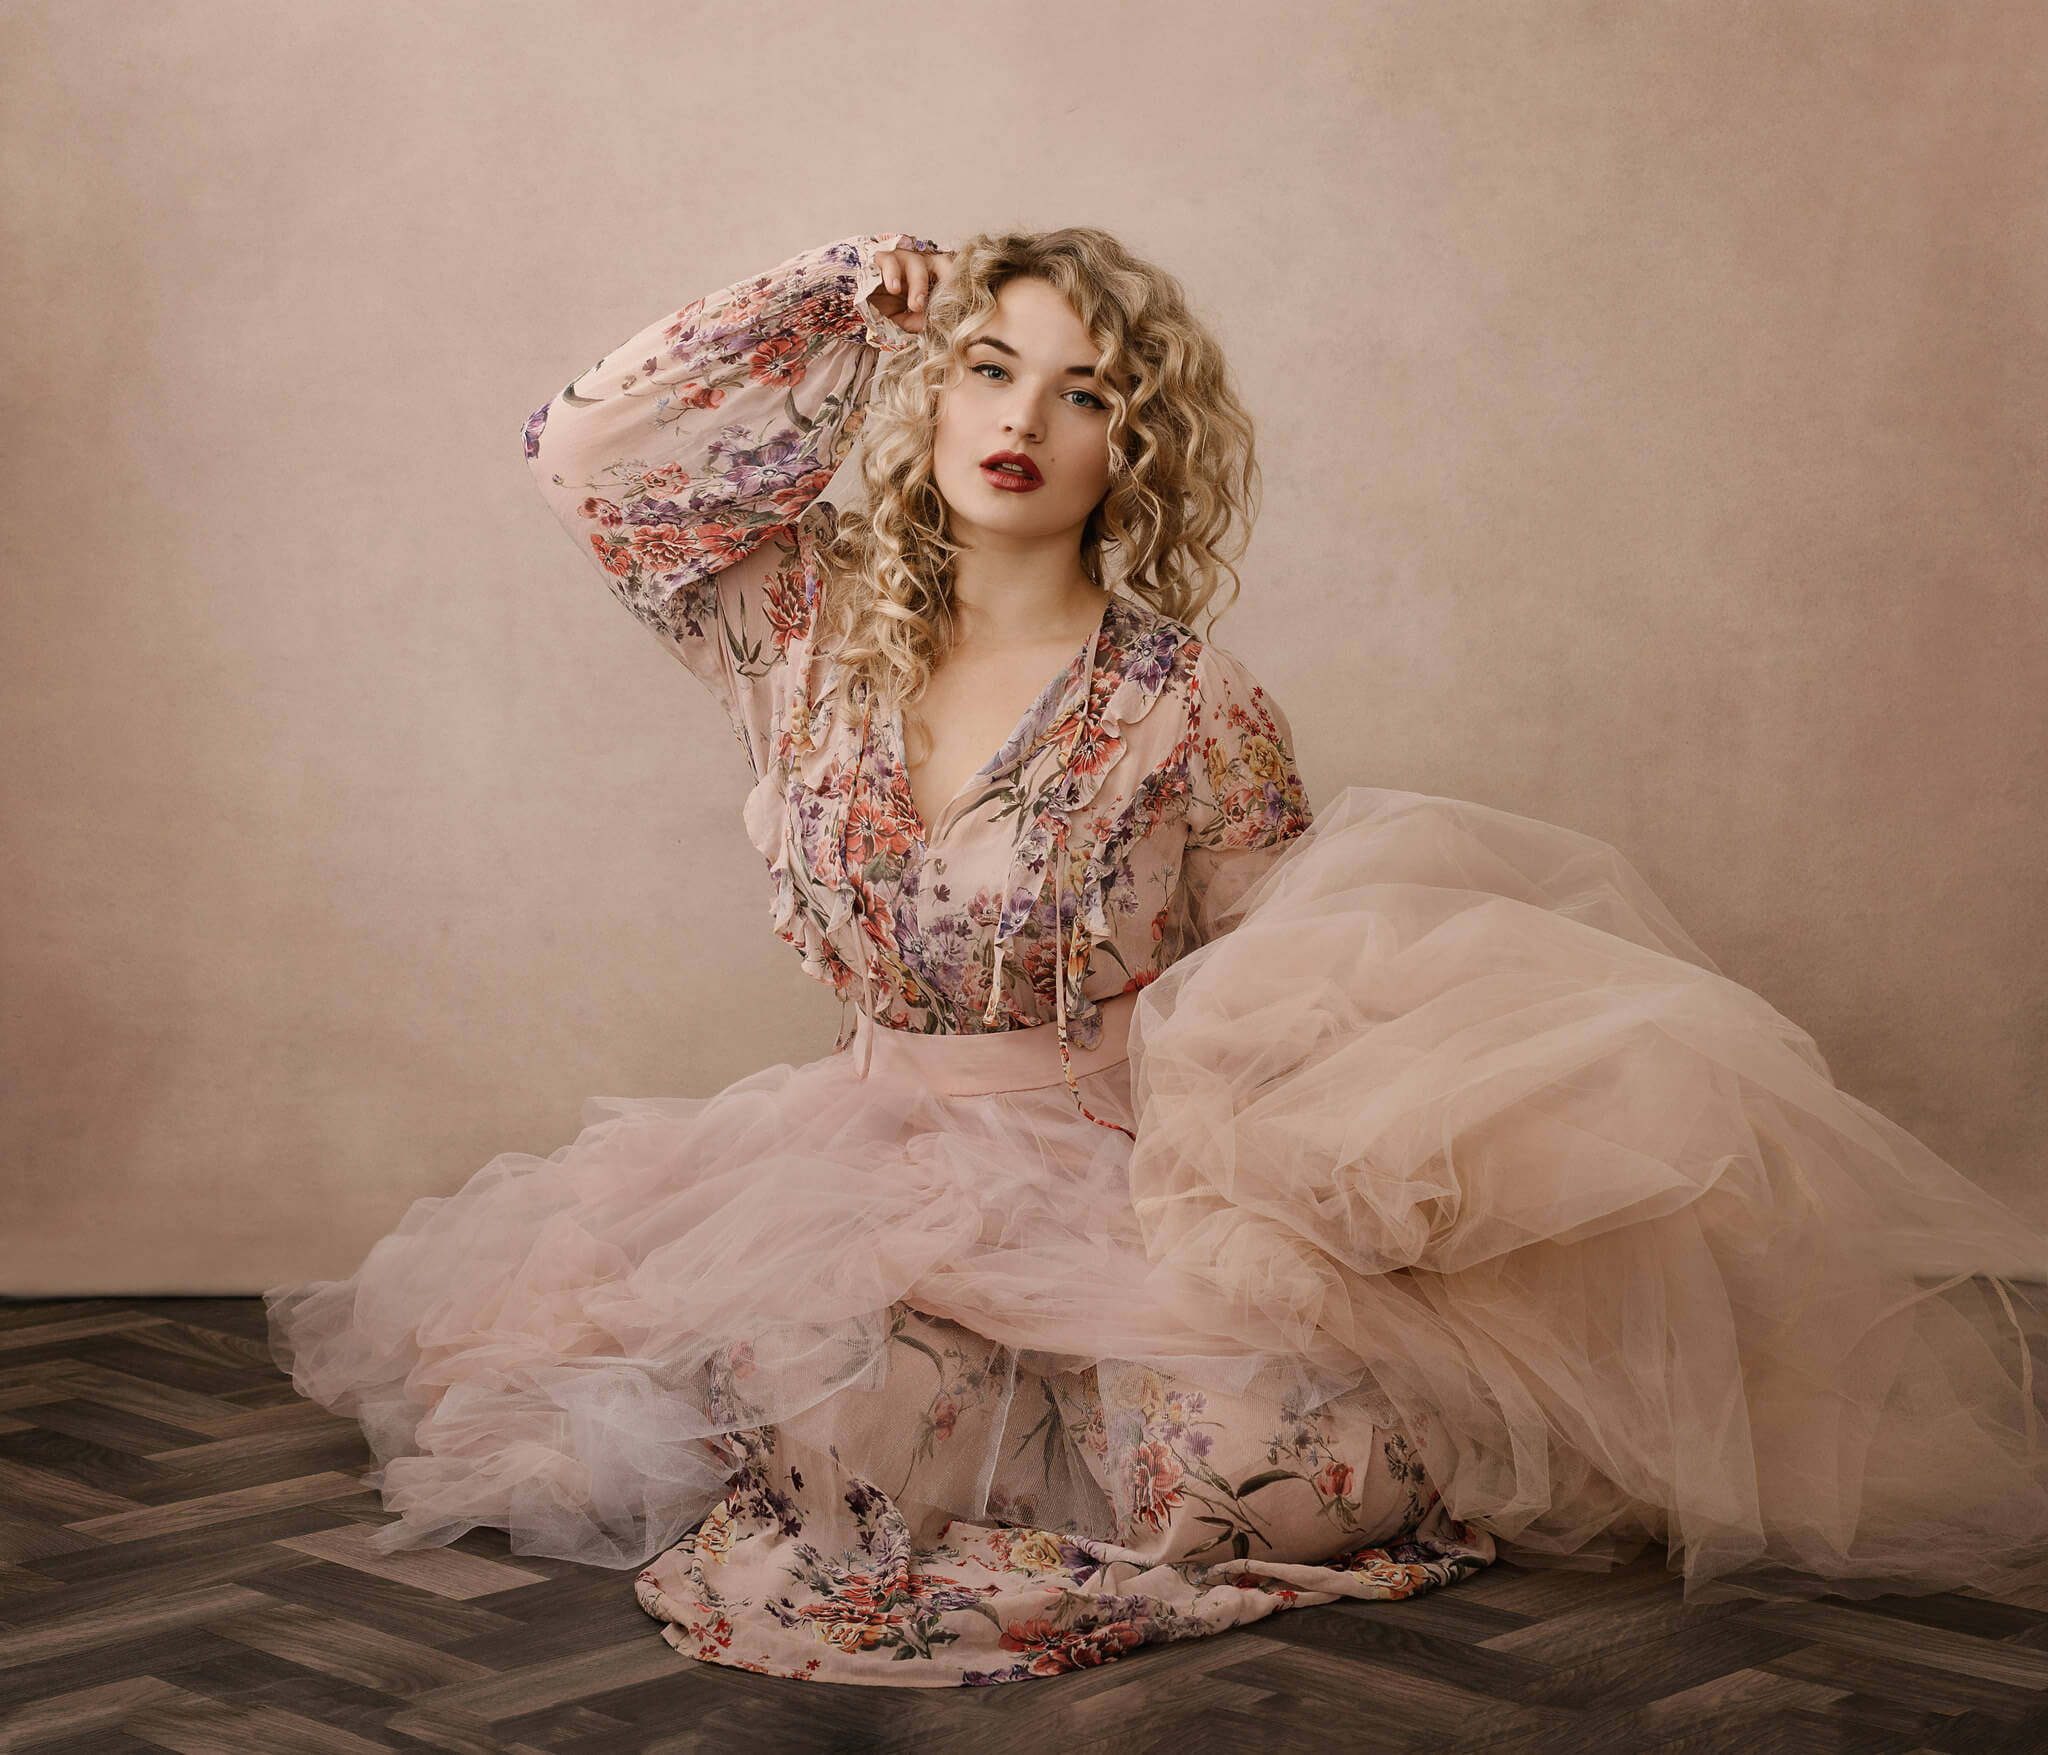
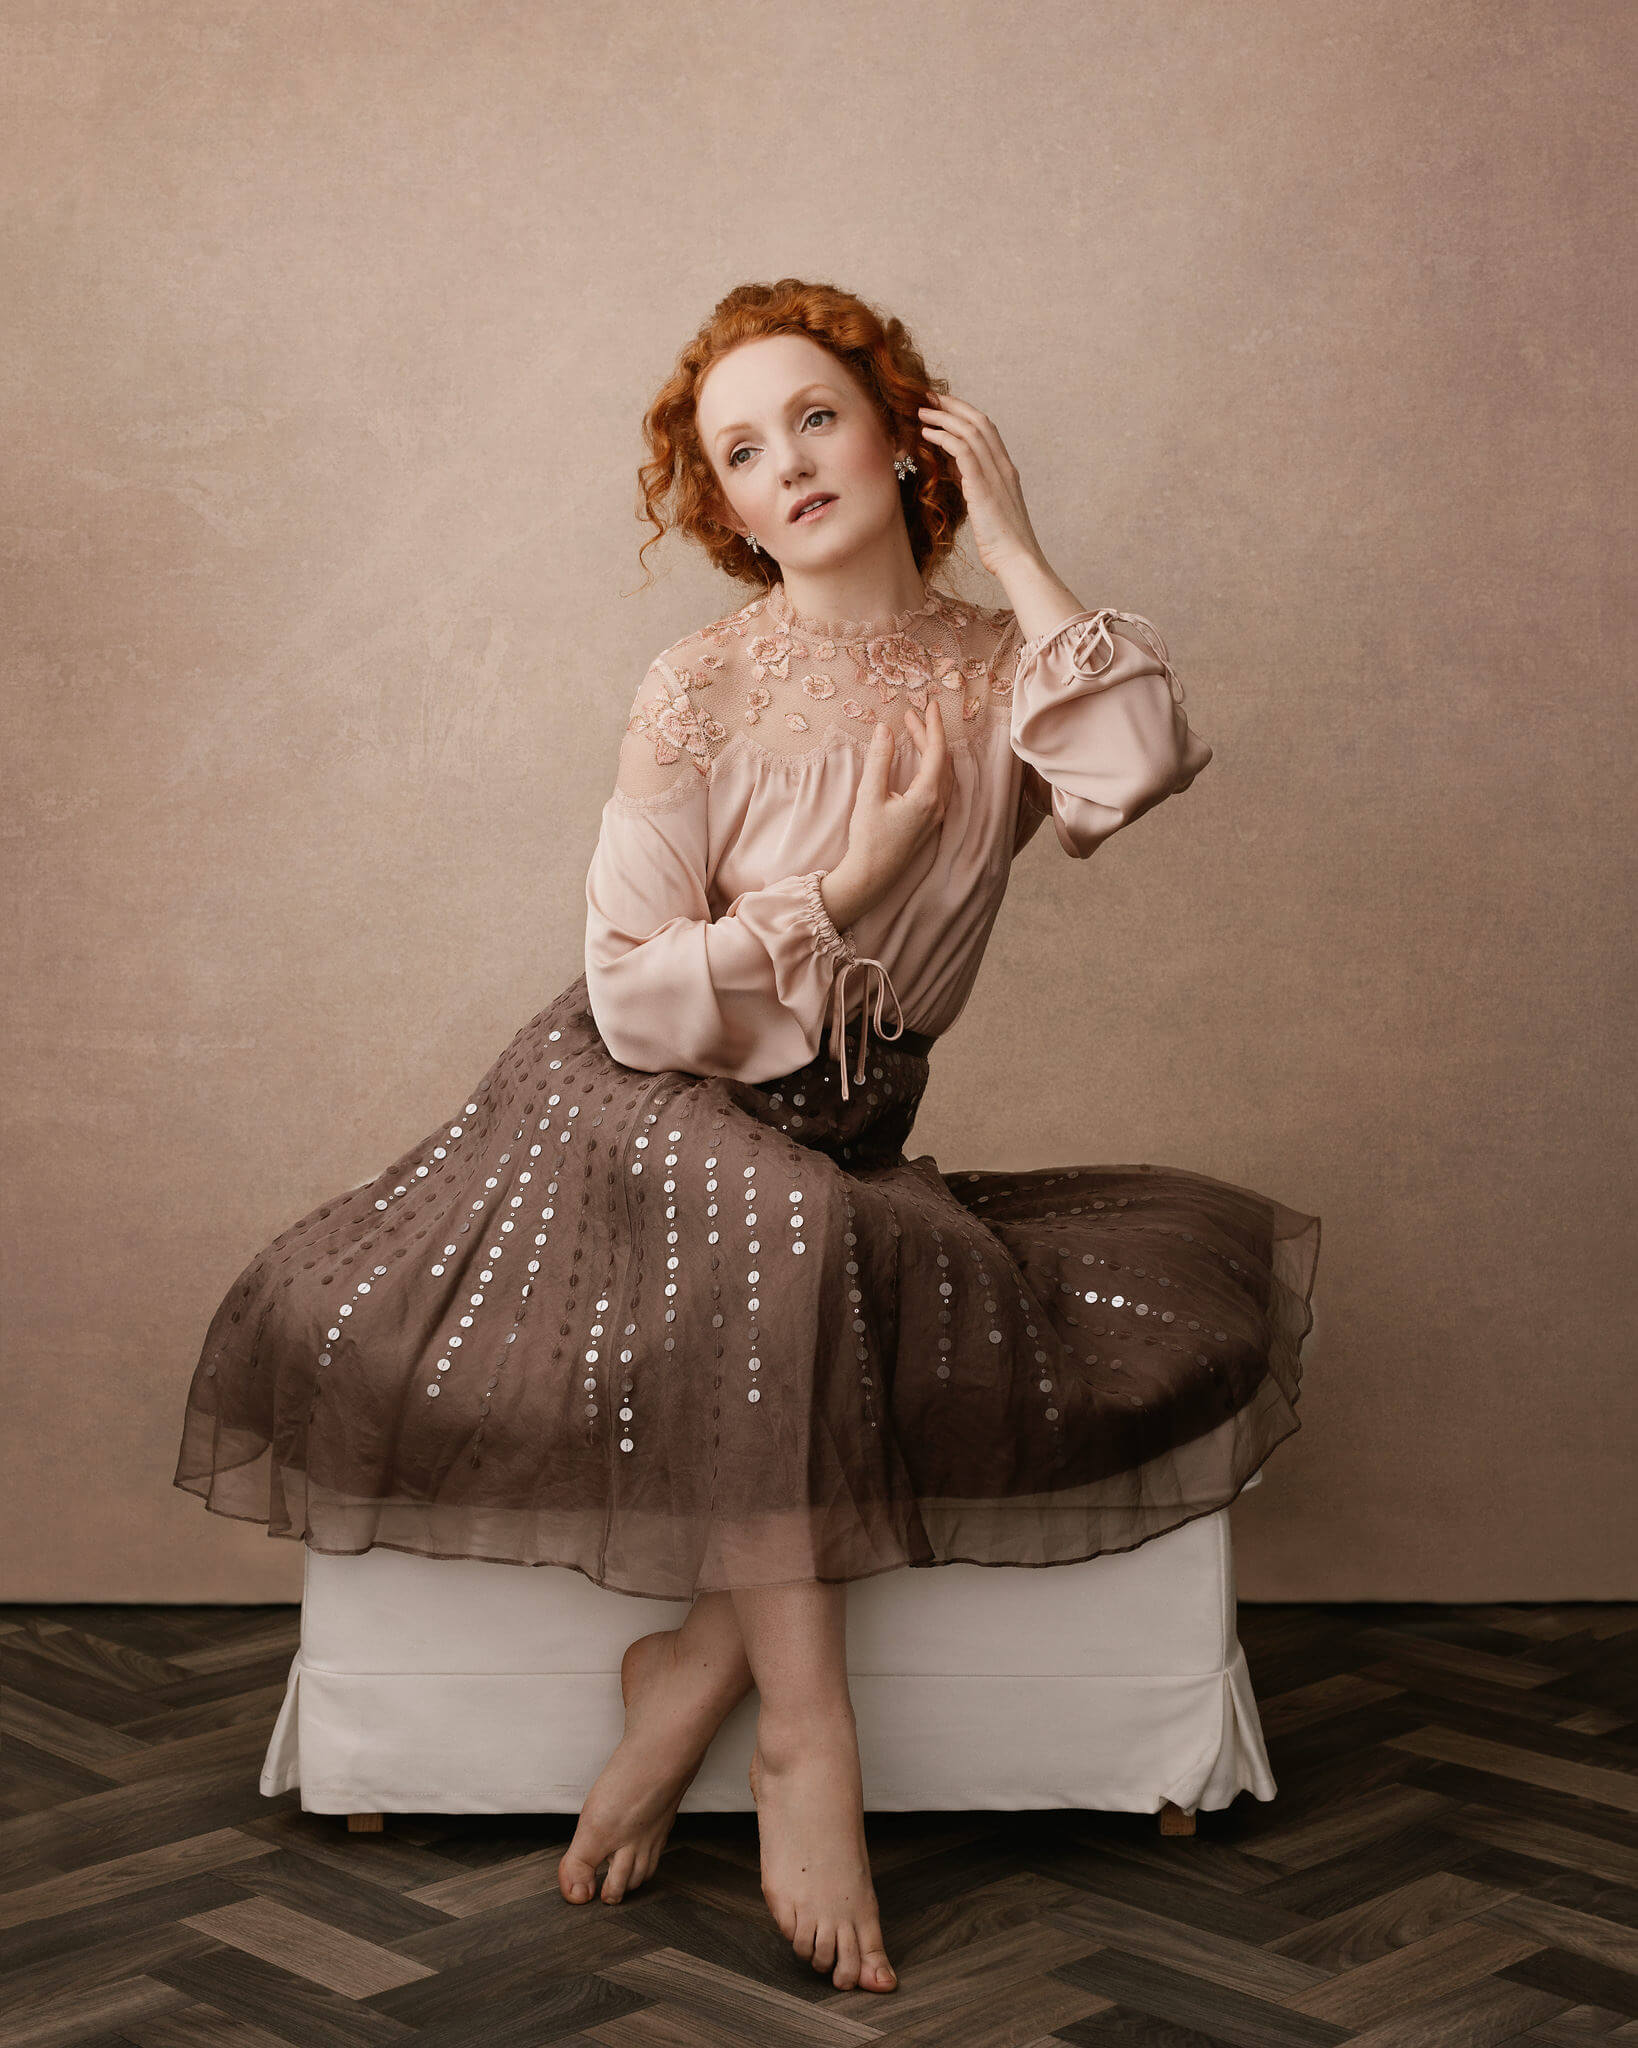
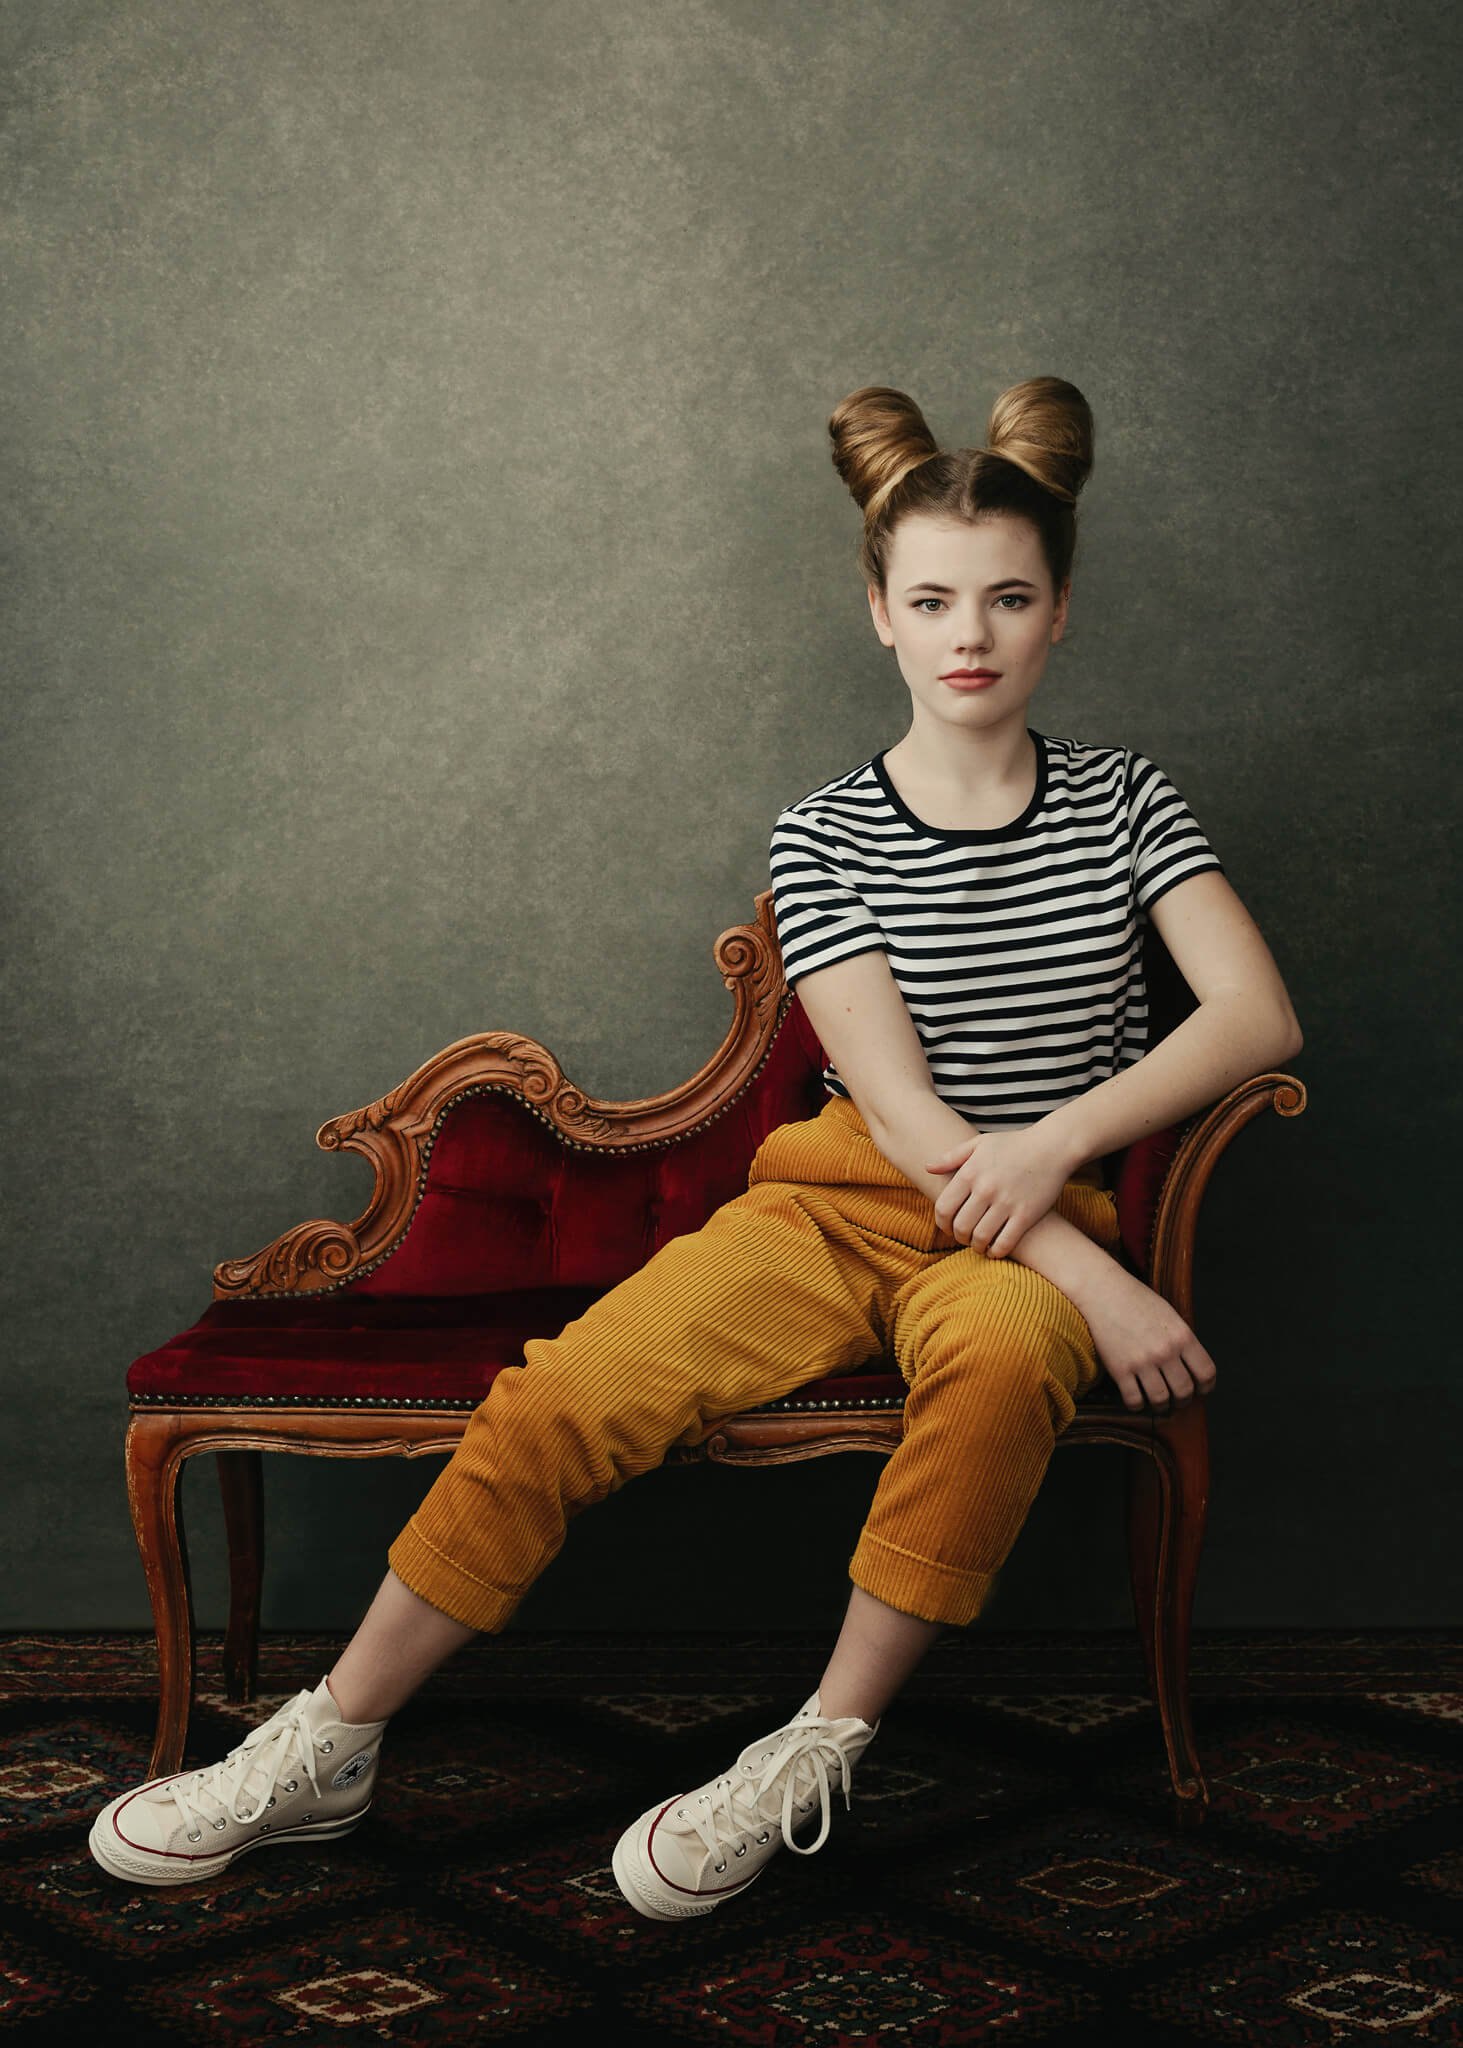
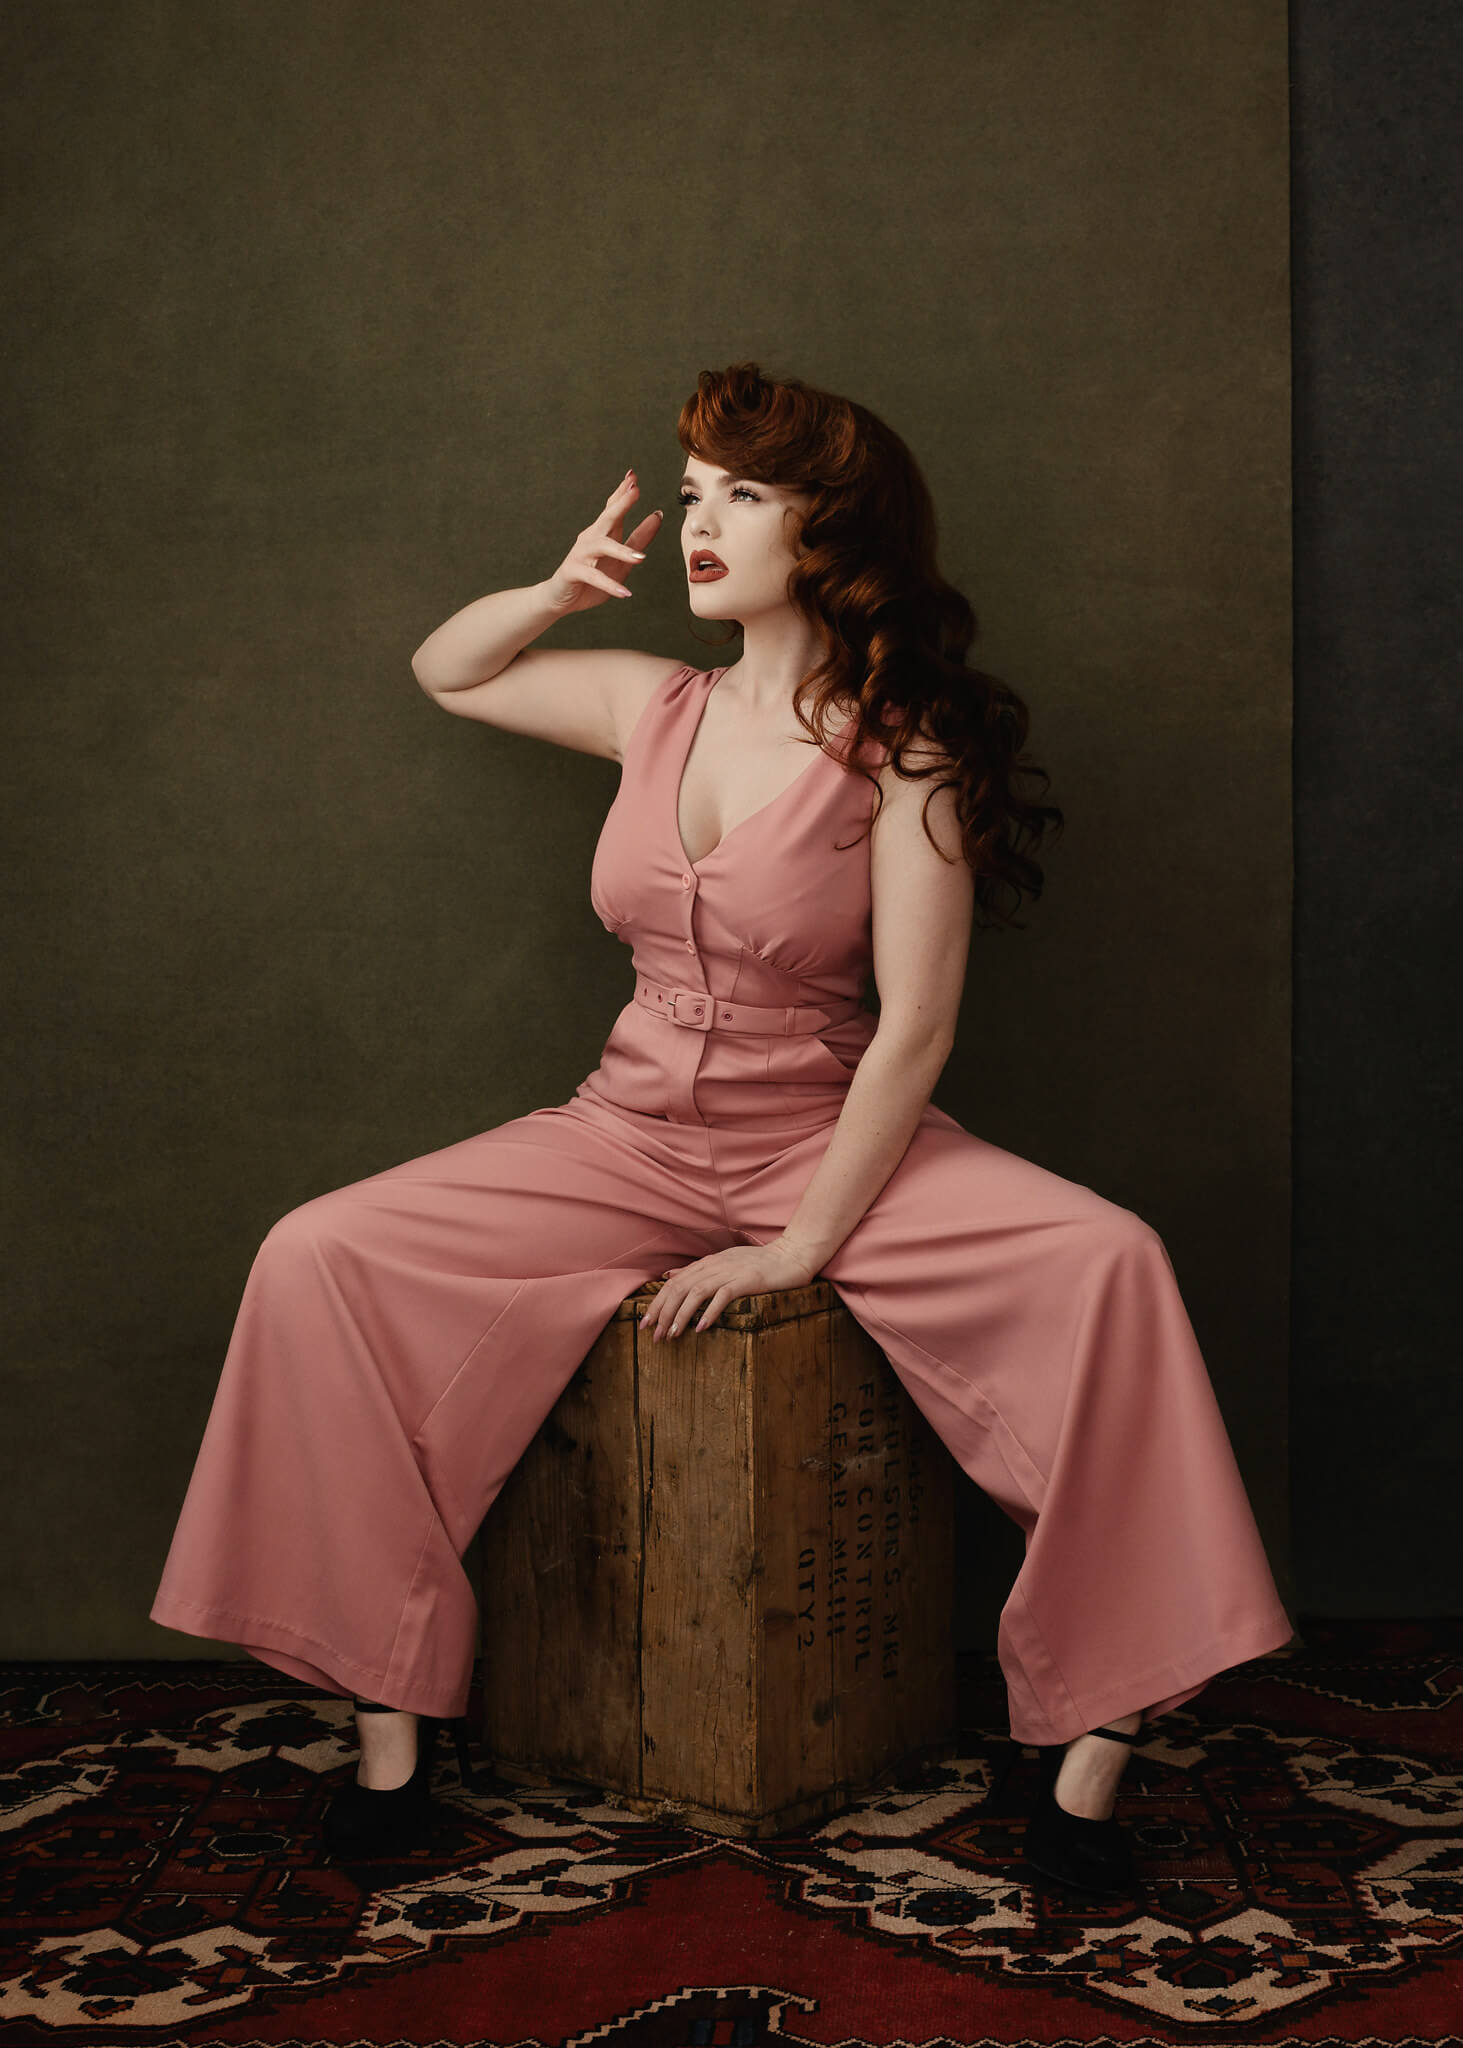
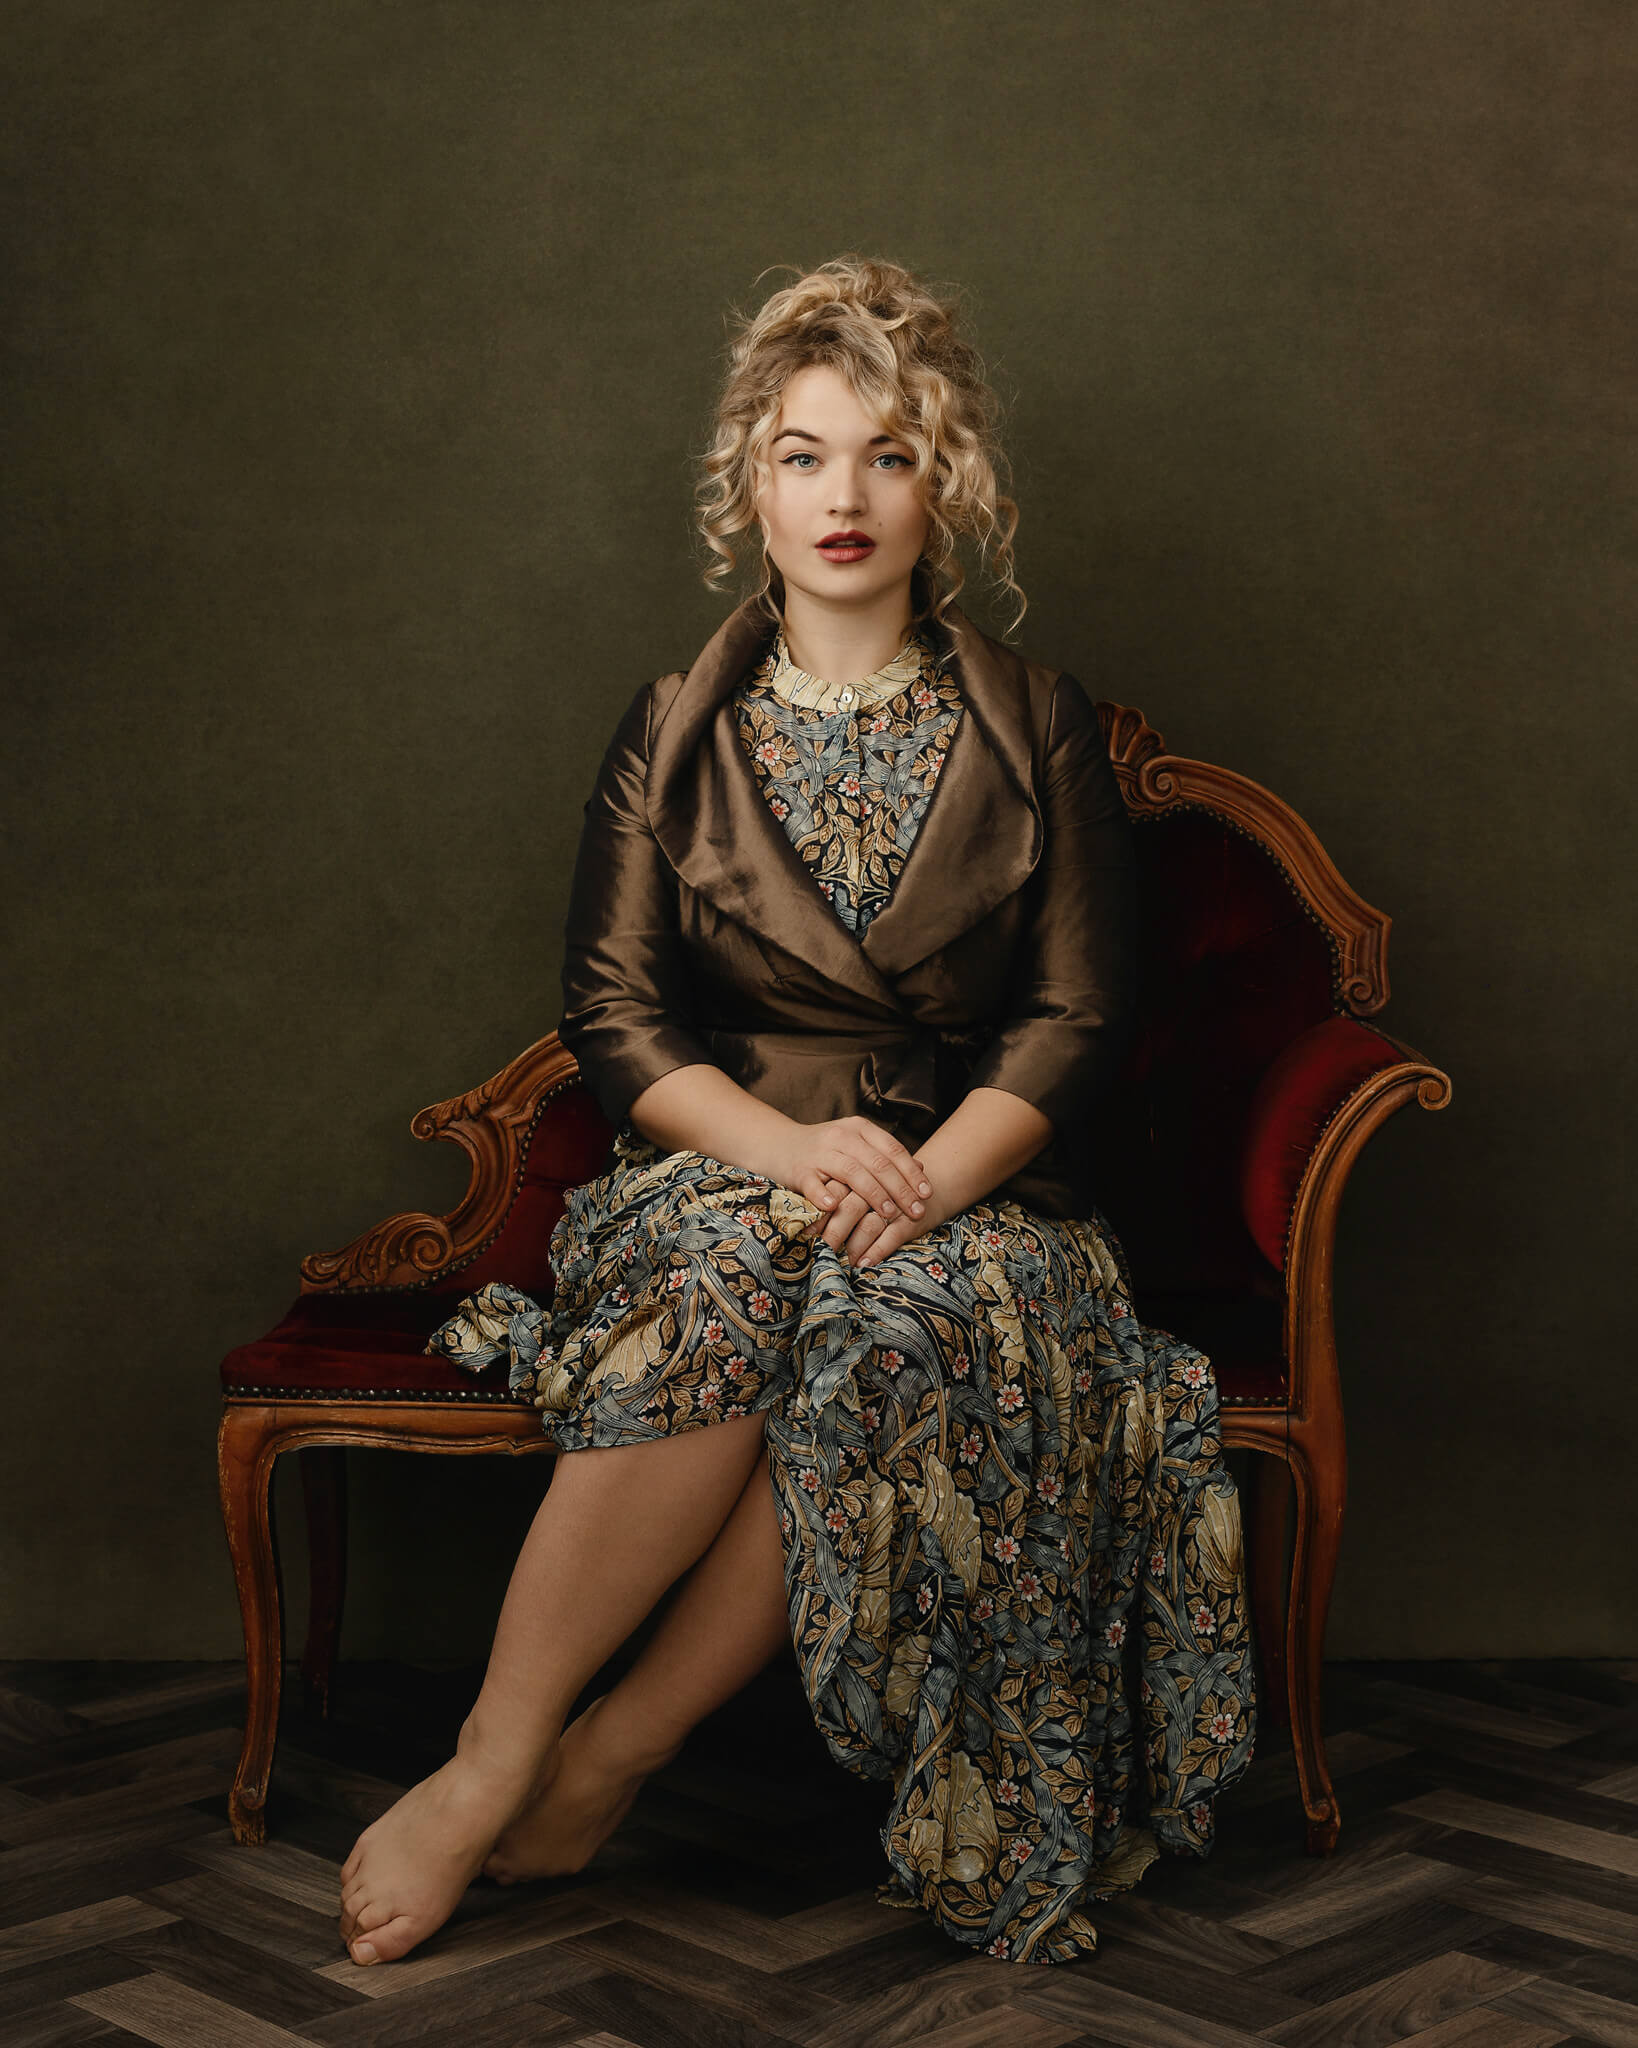
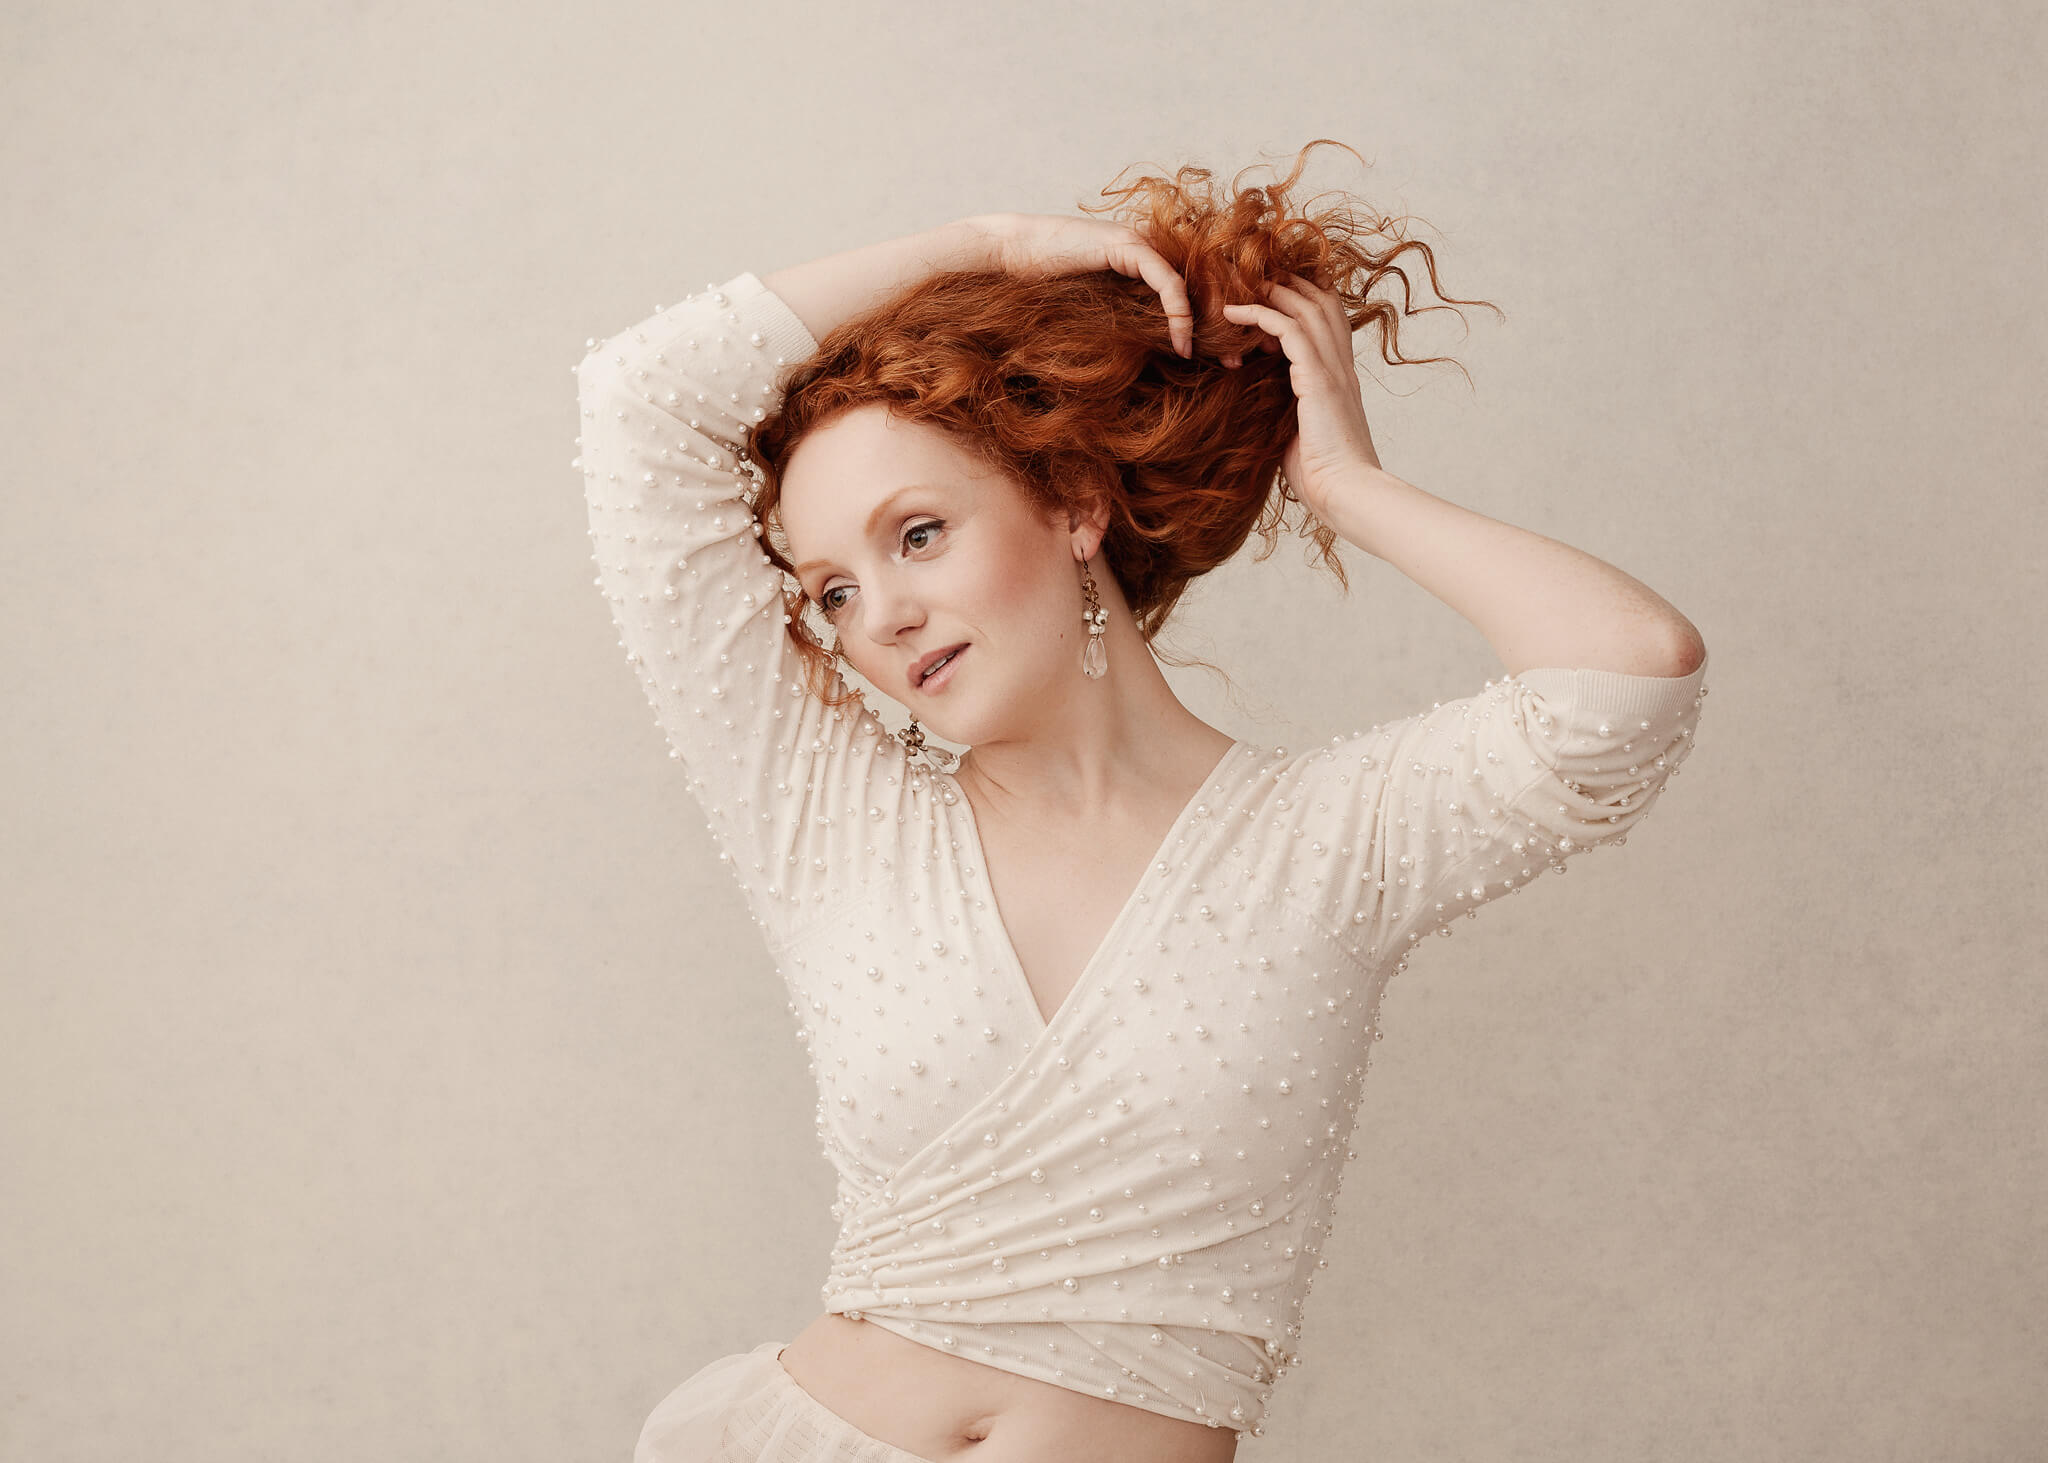
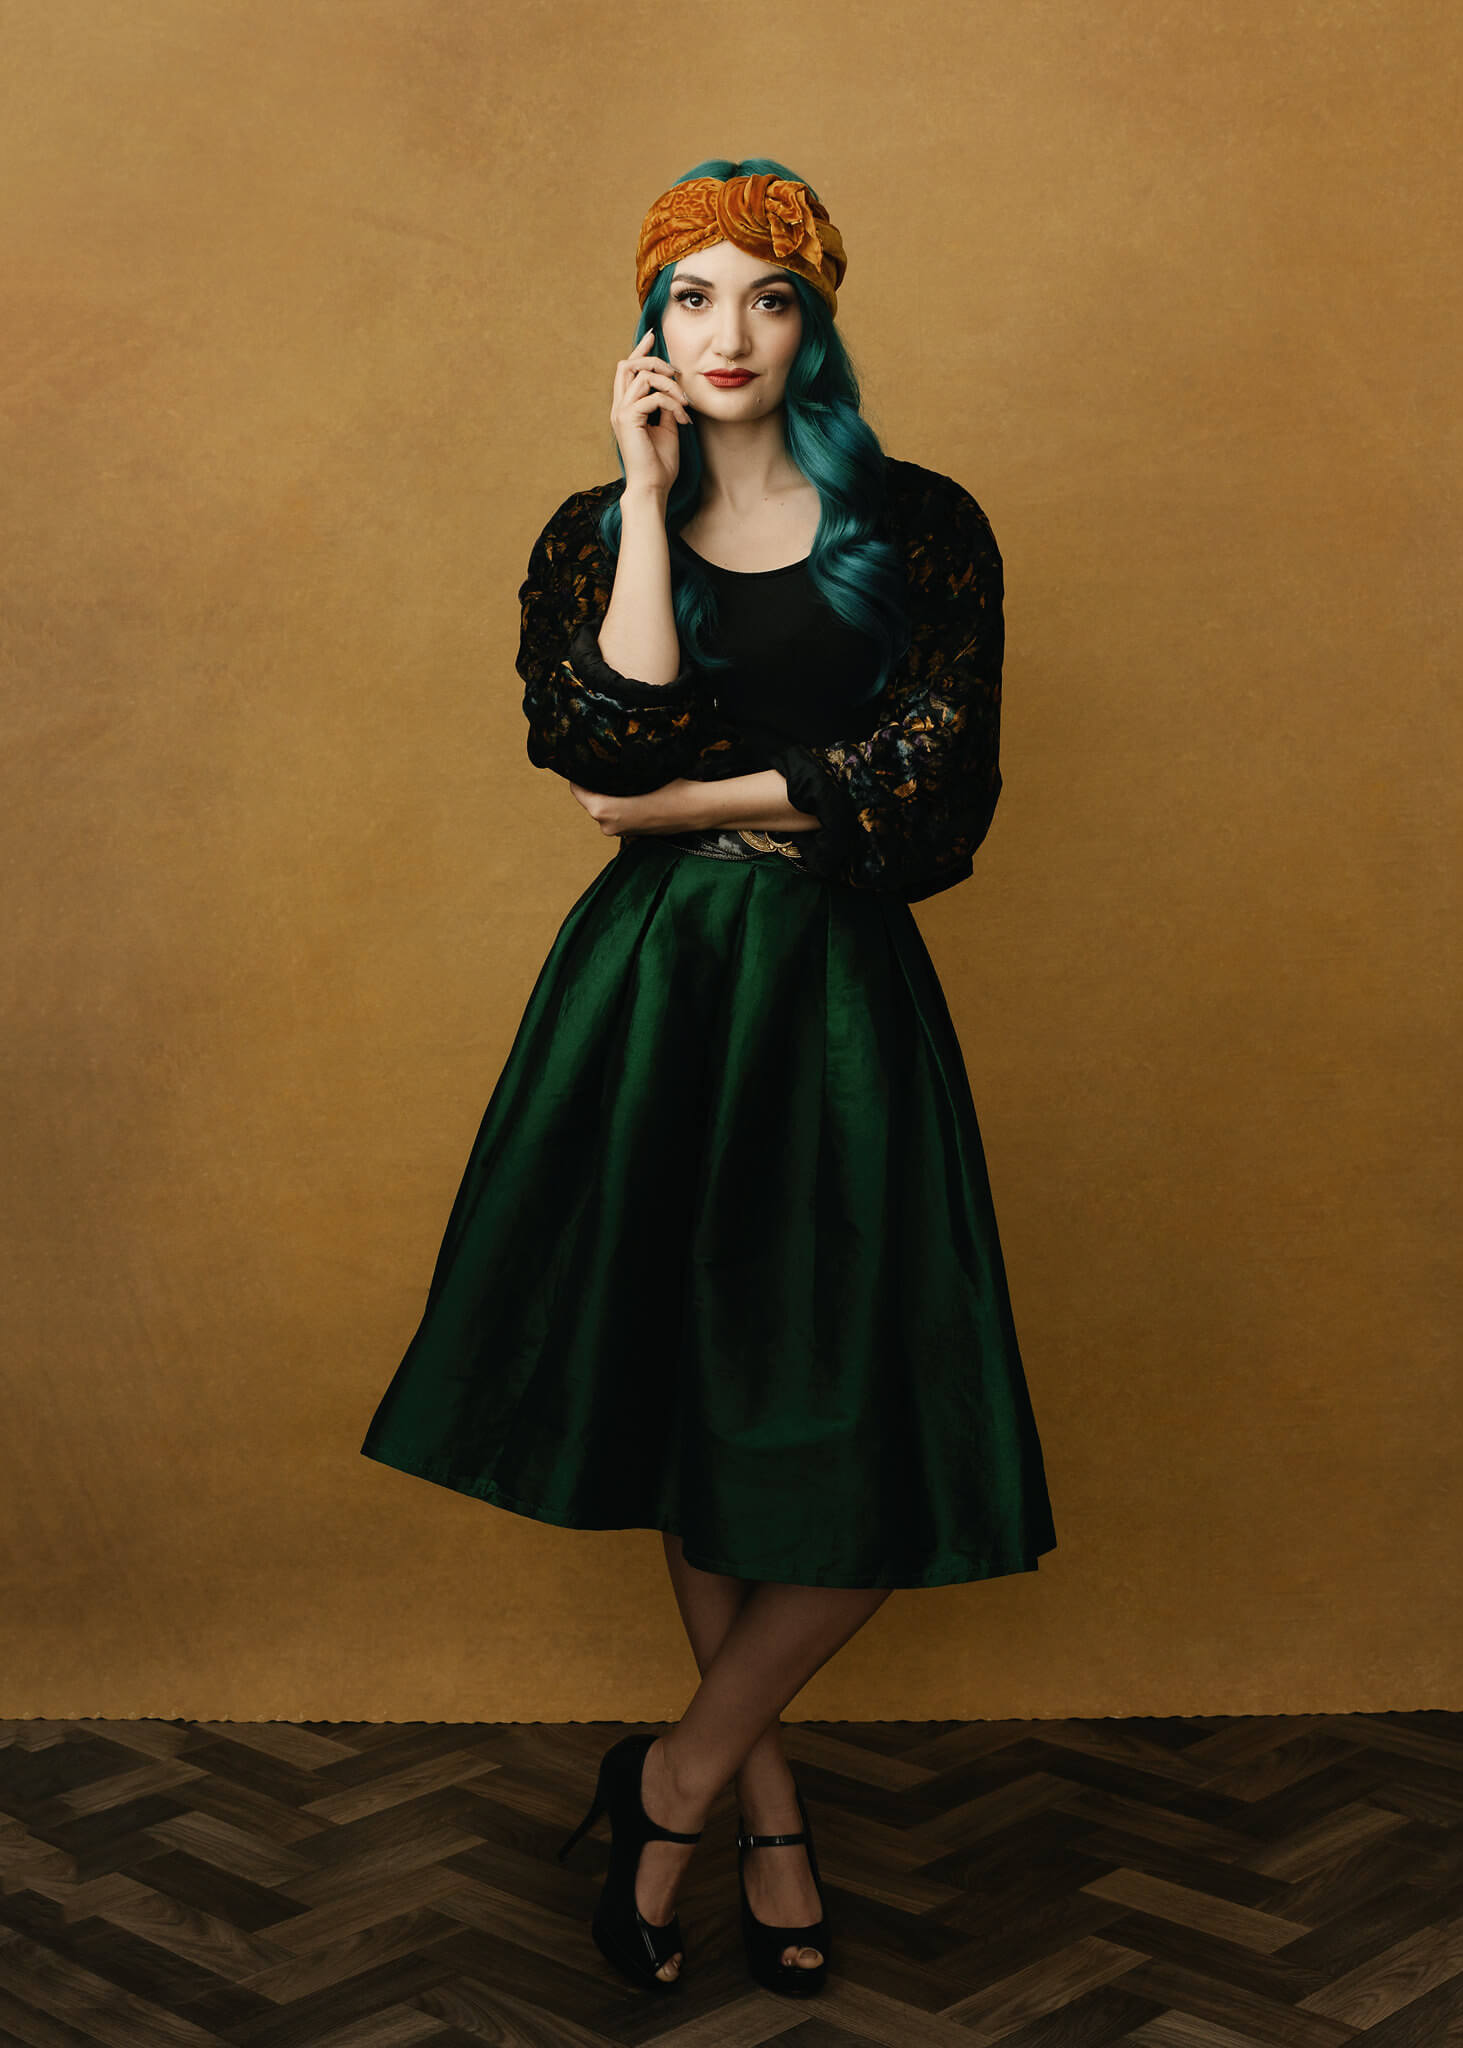
Before
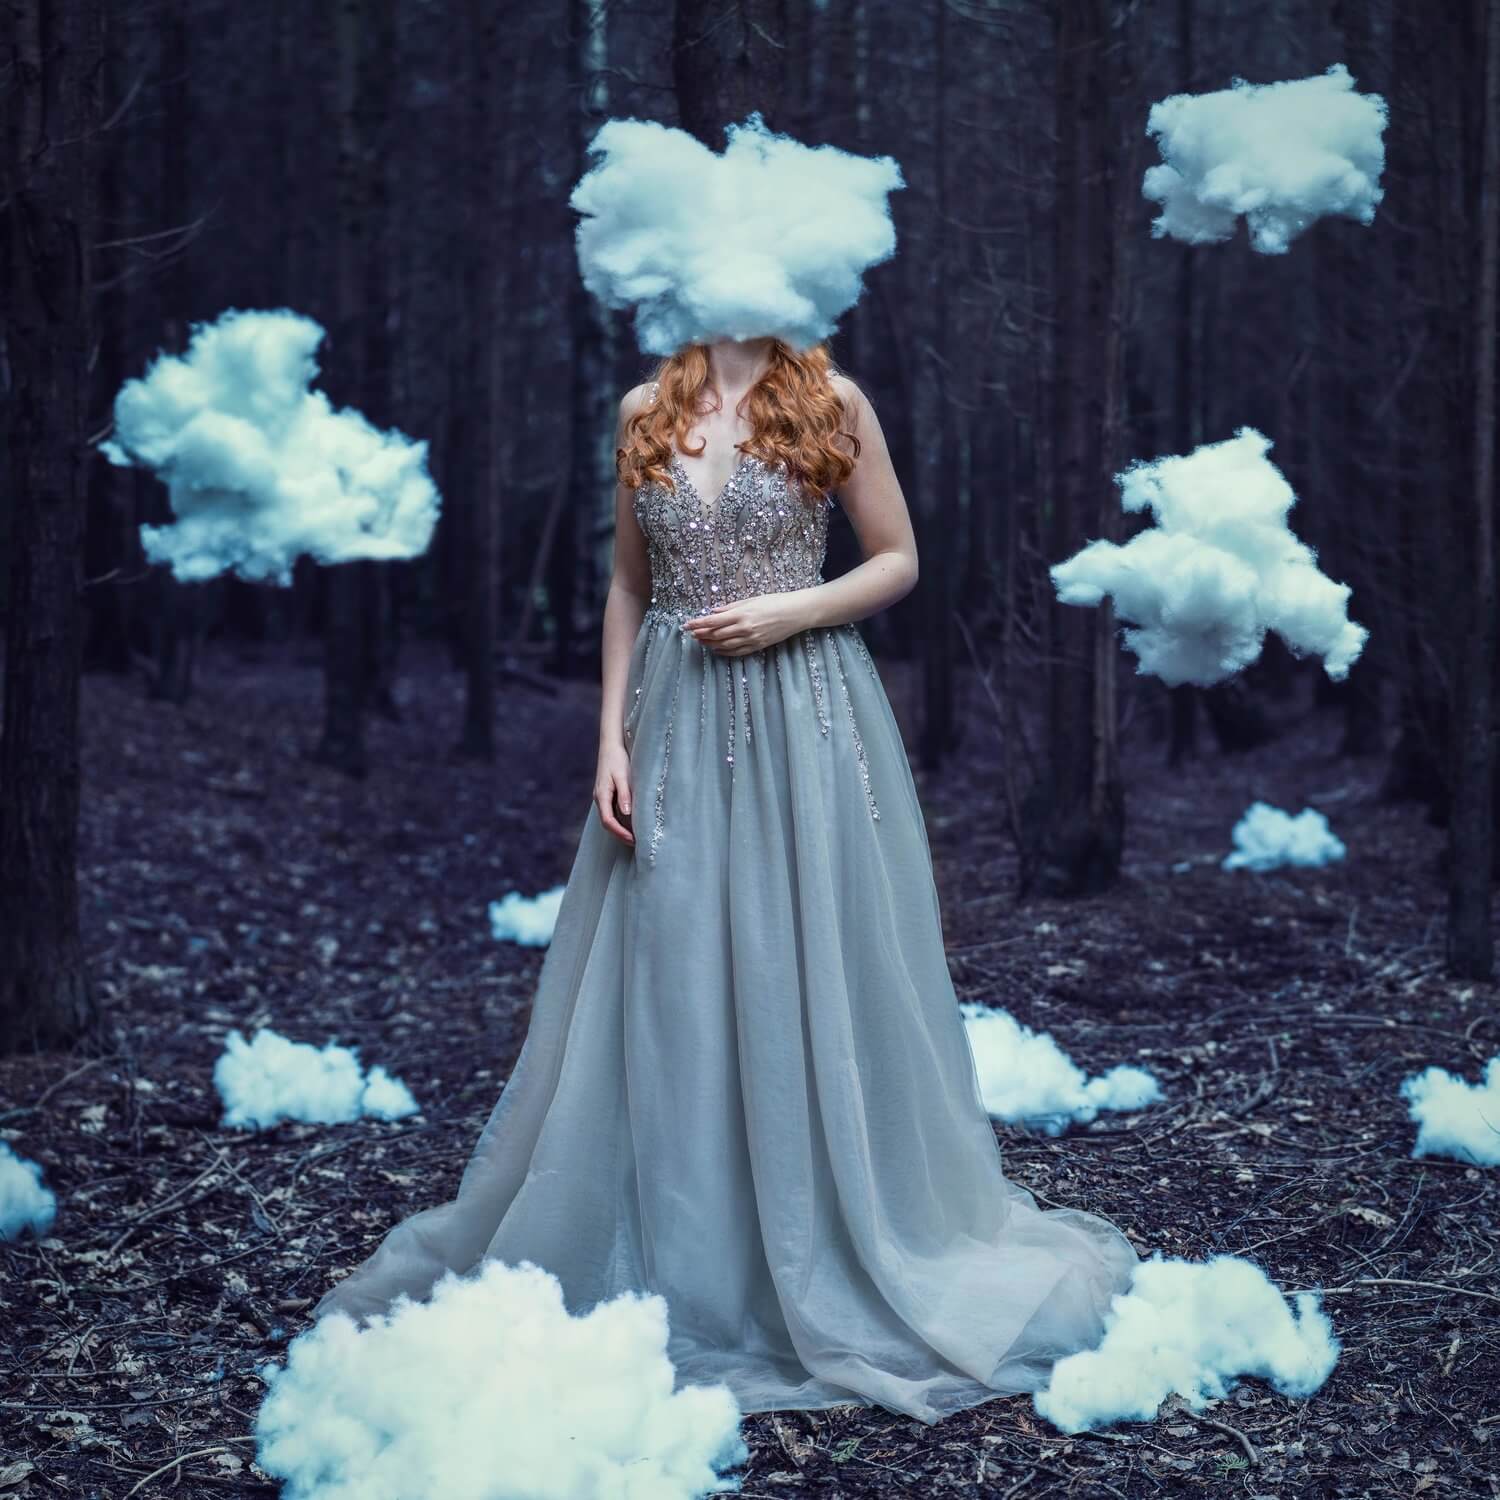
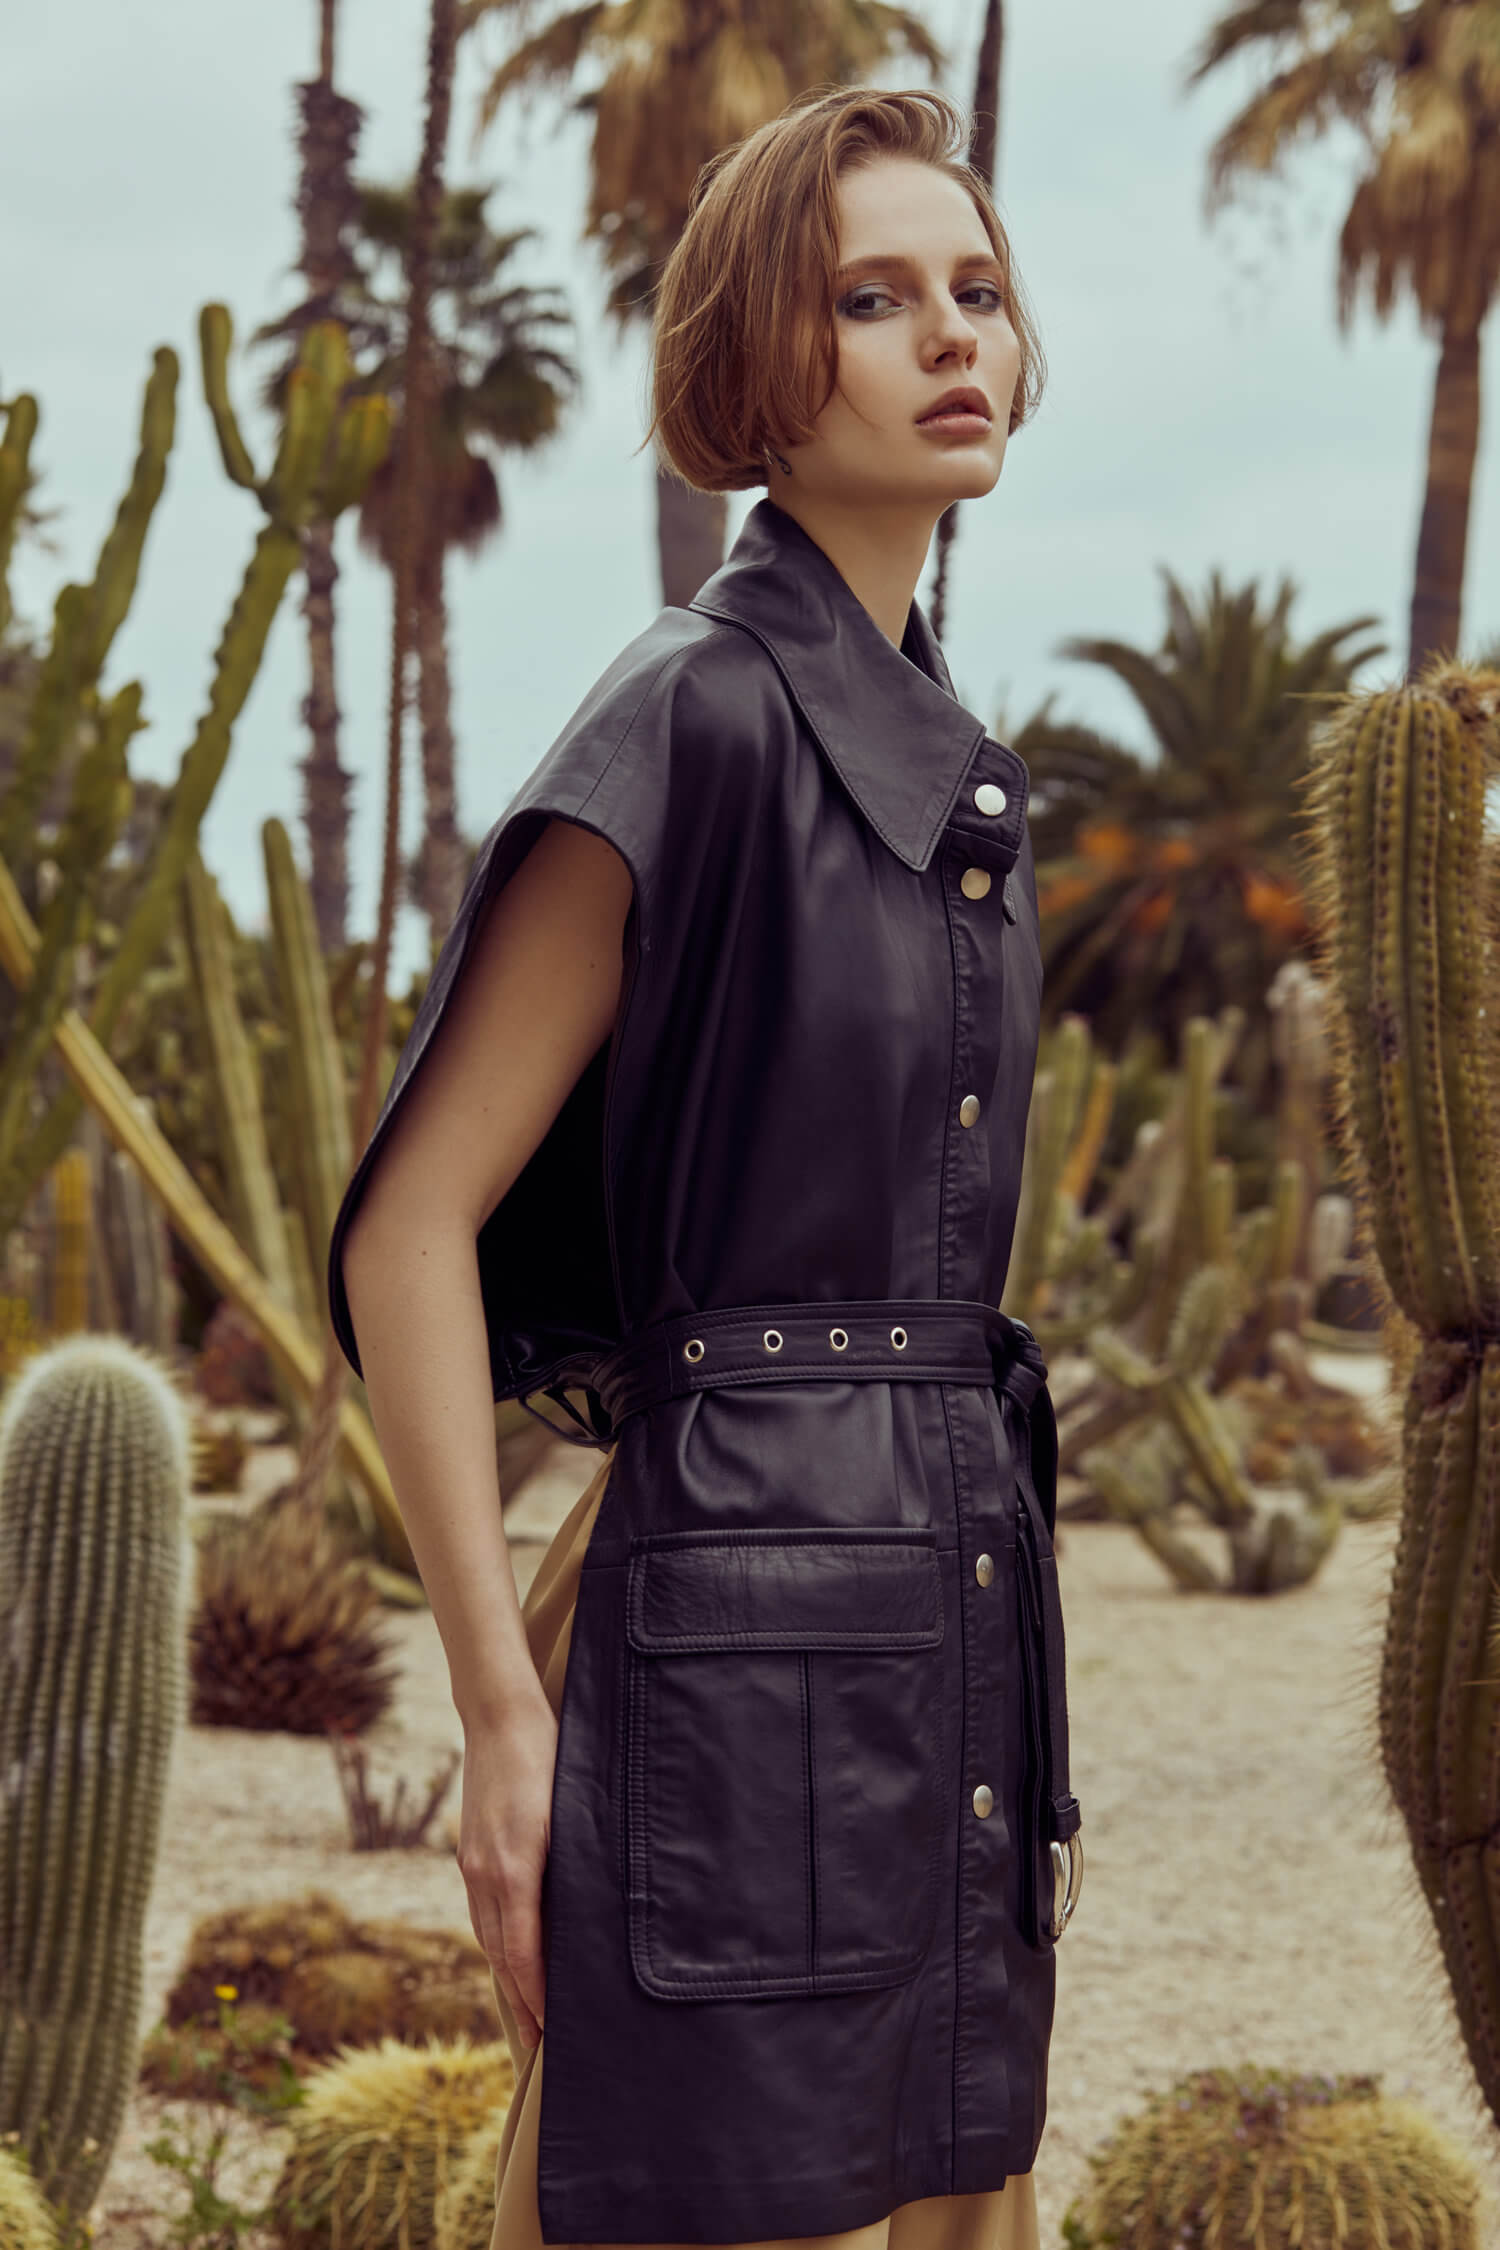
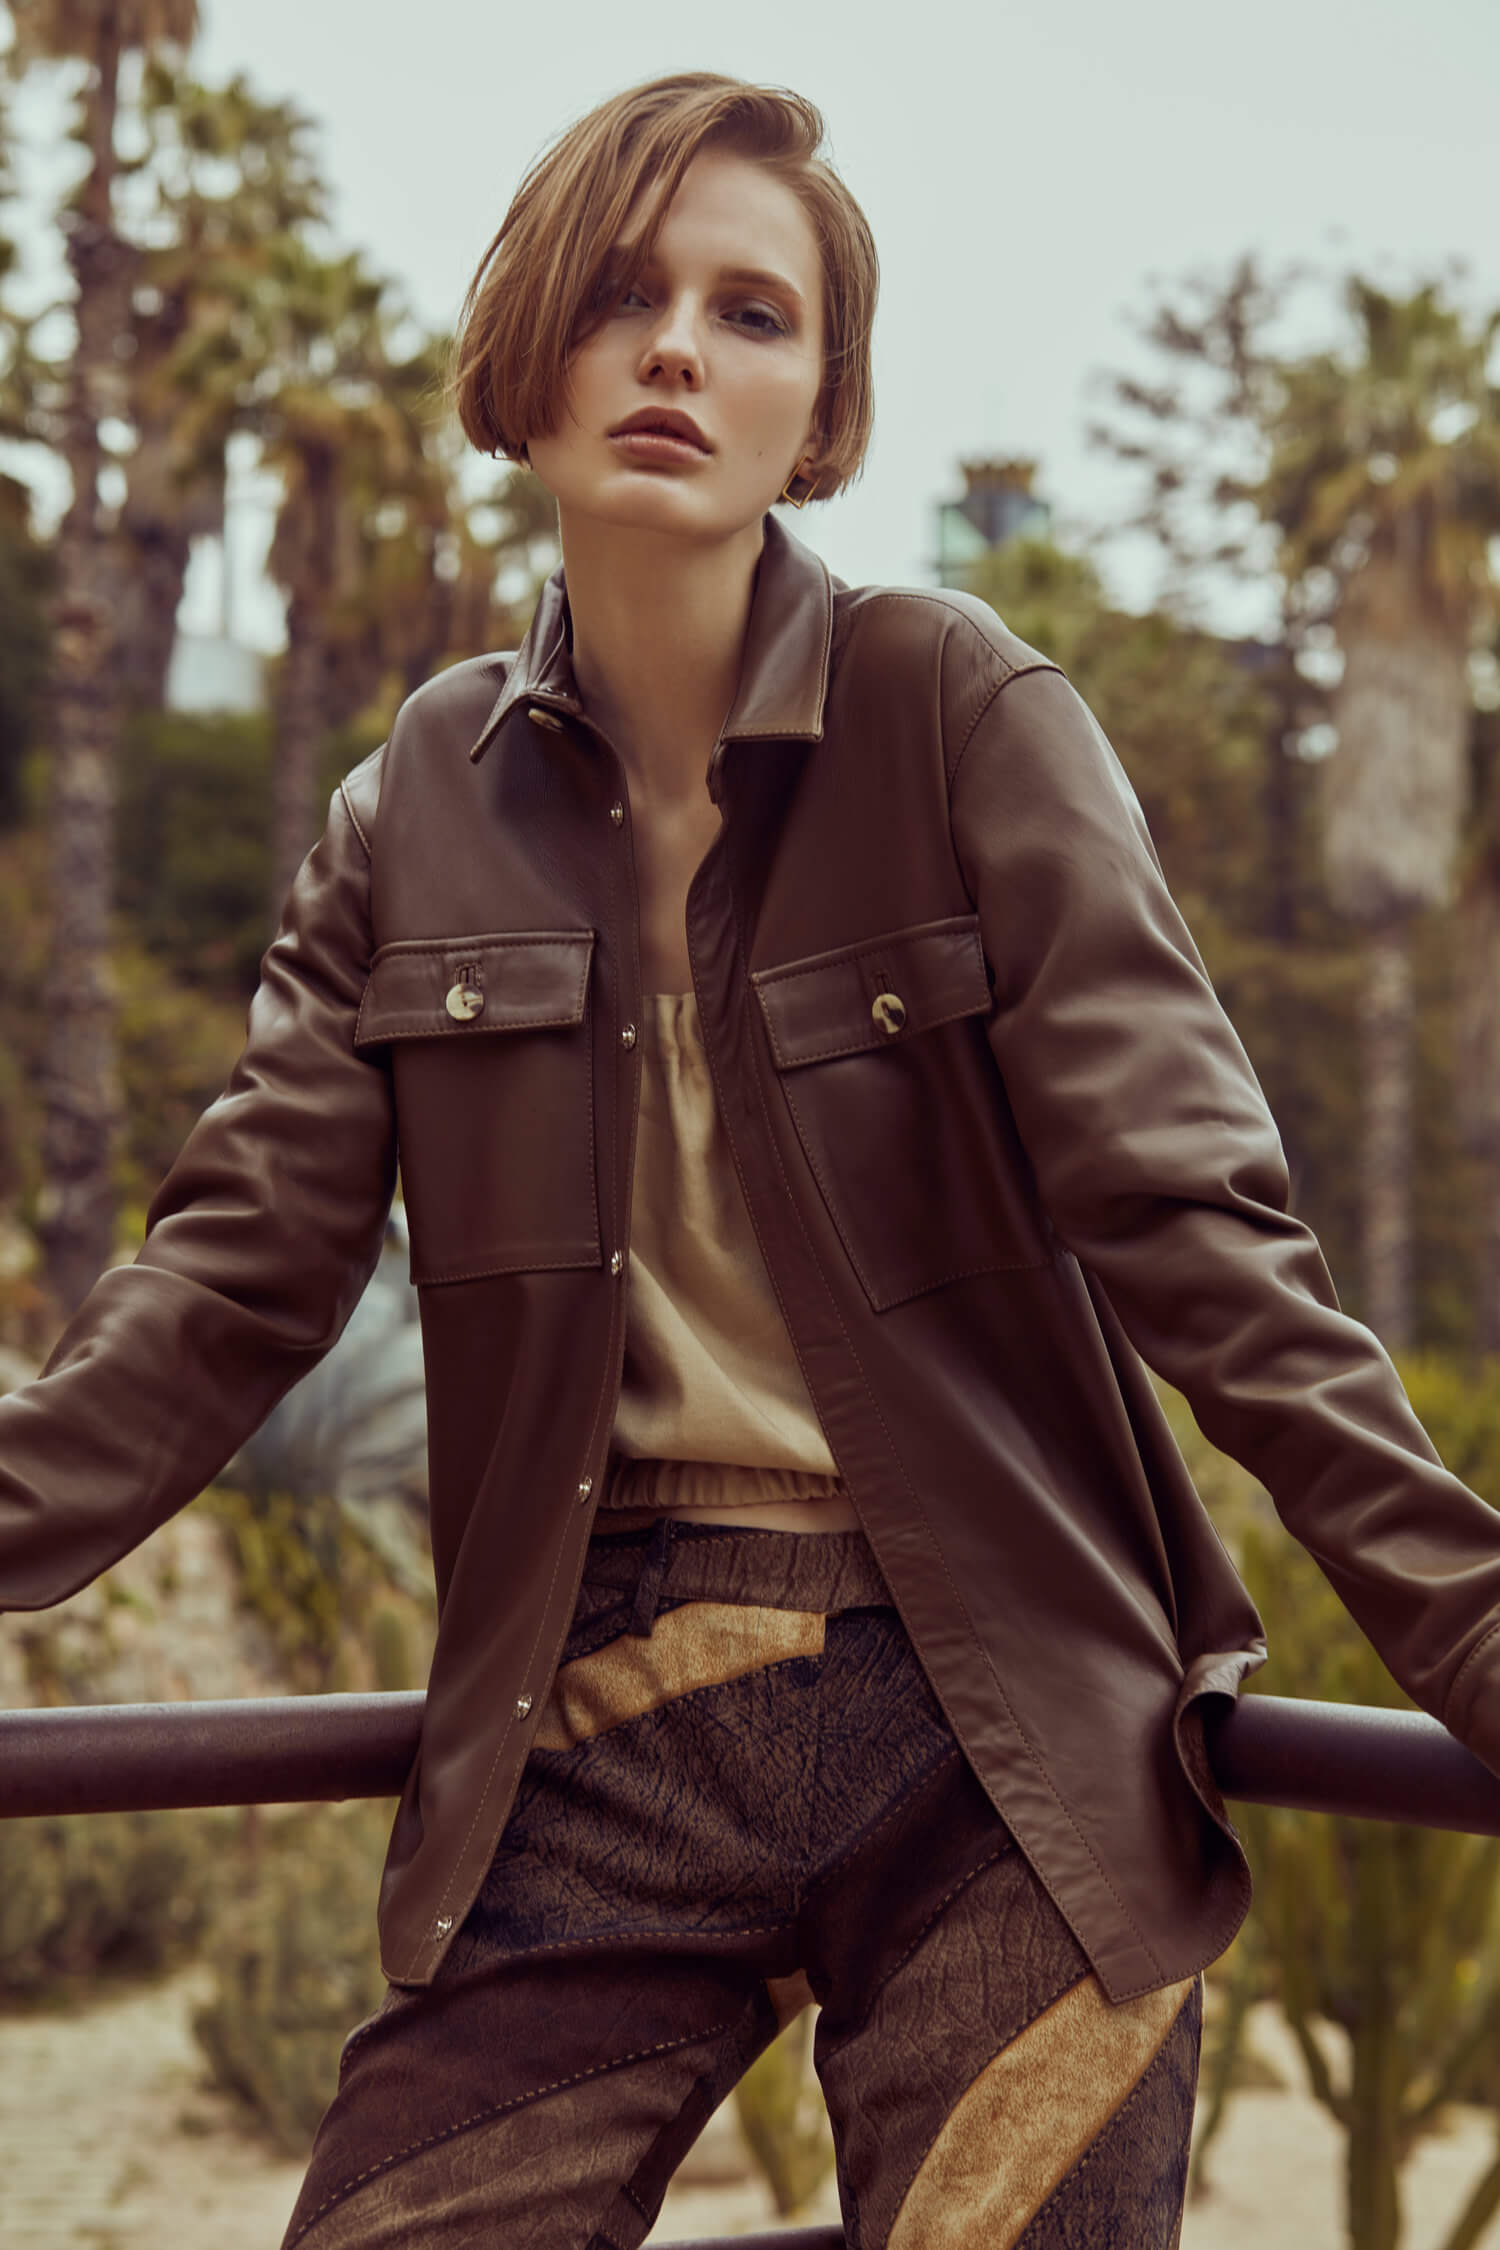
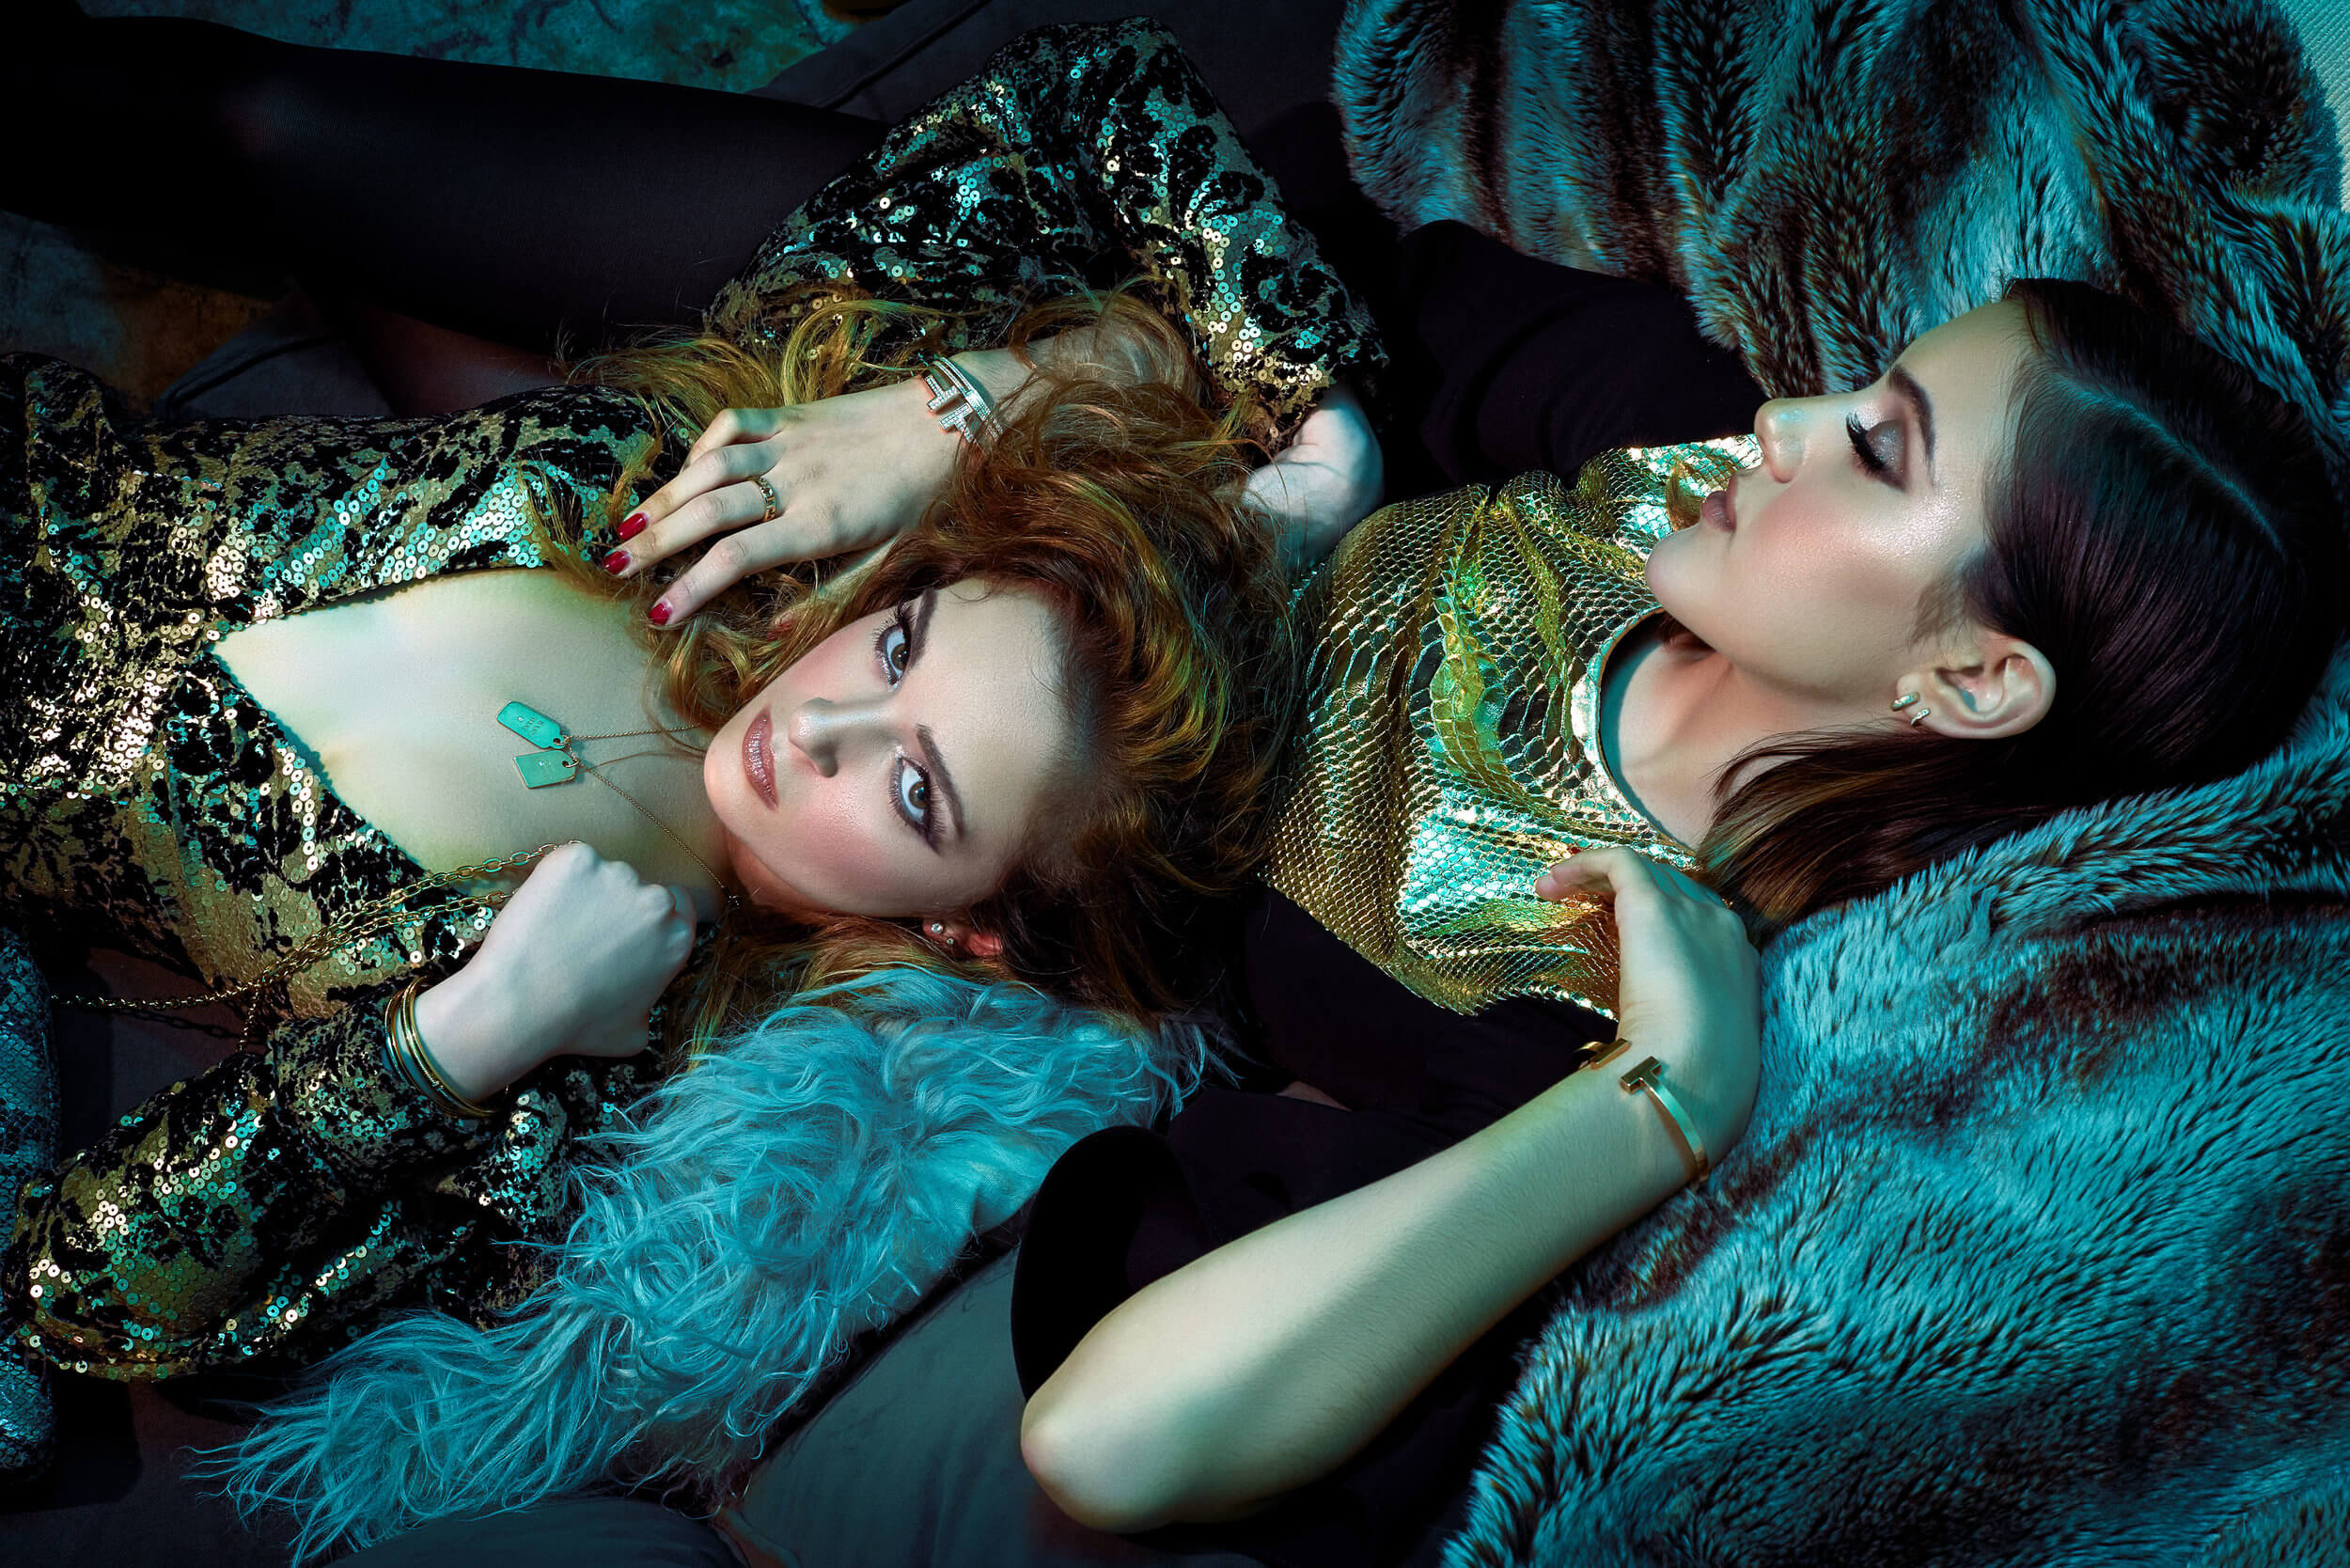
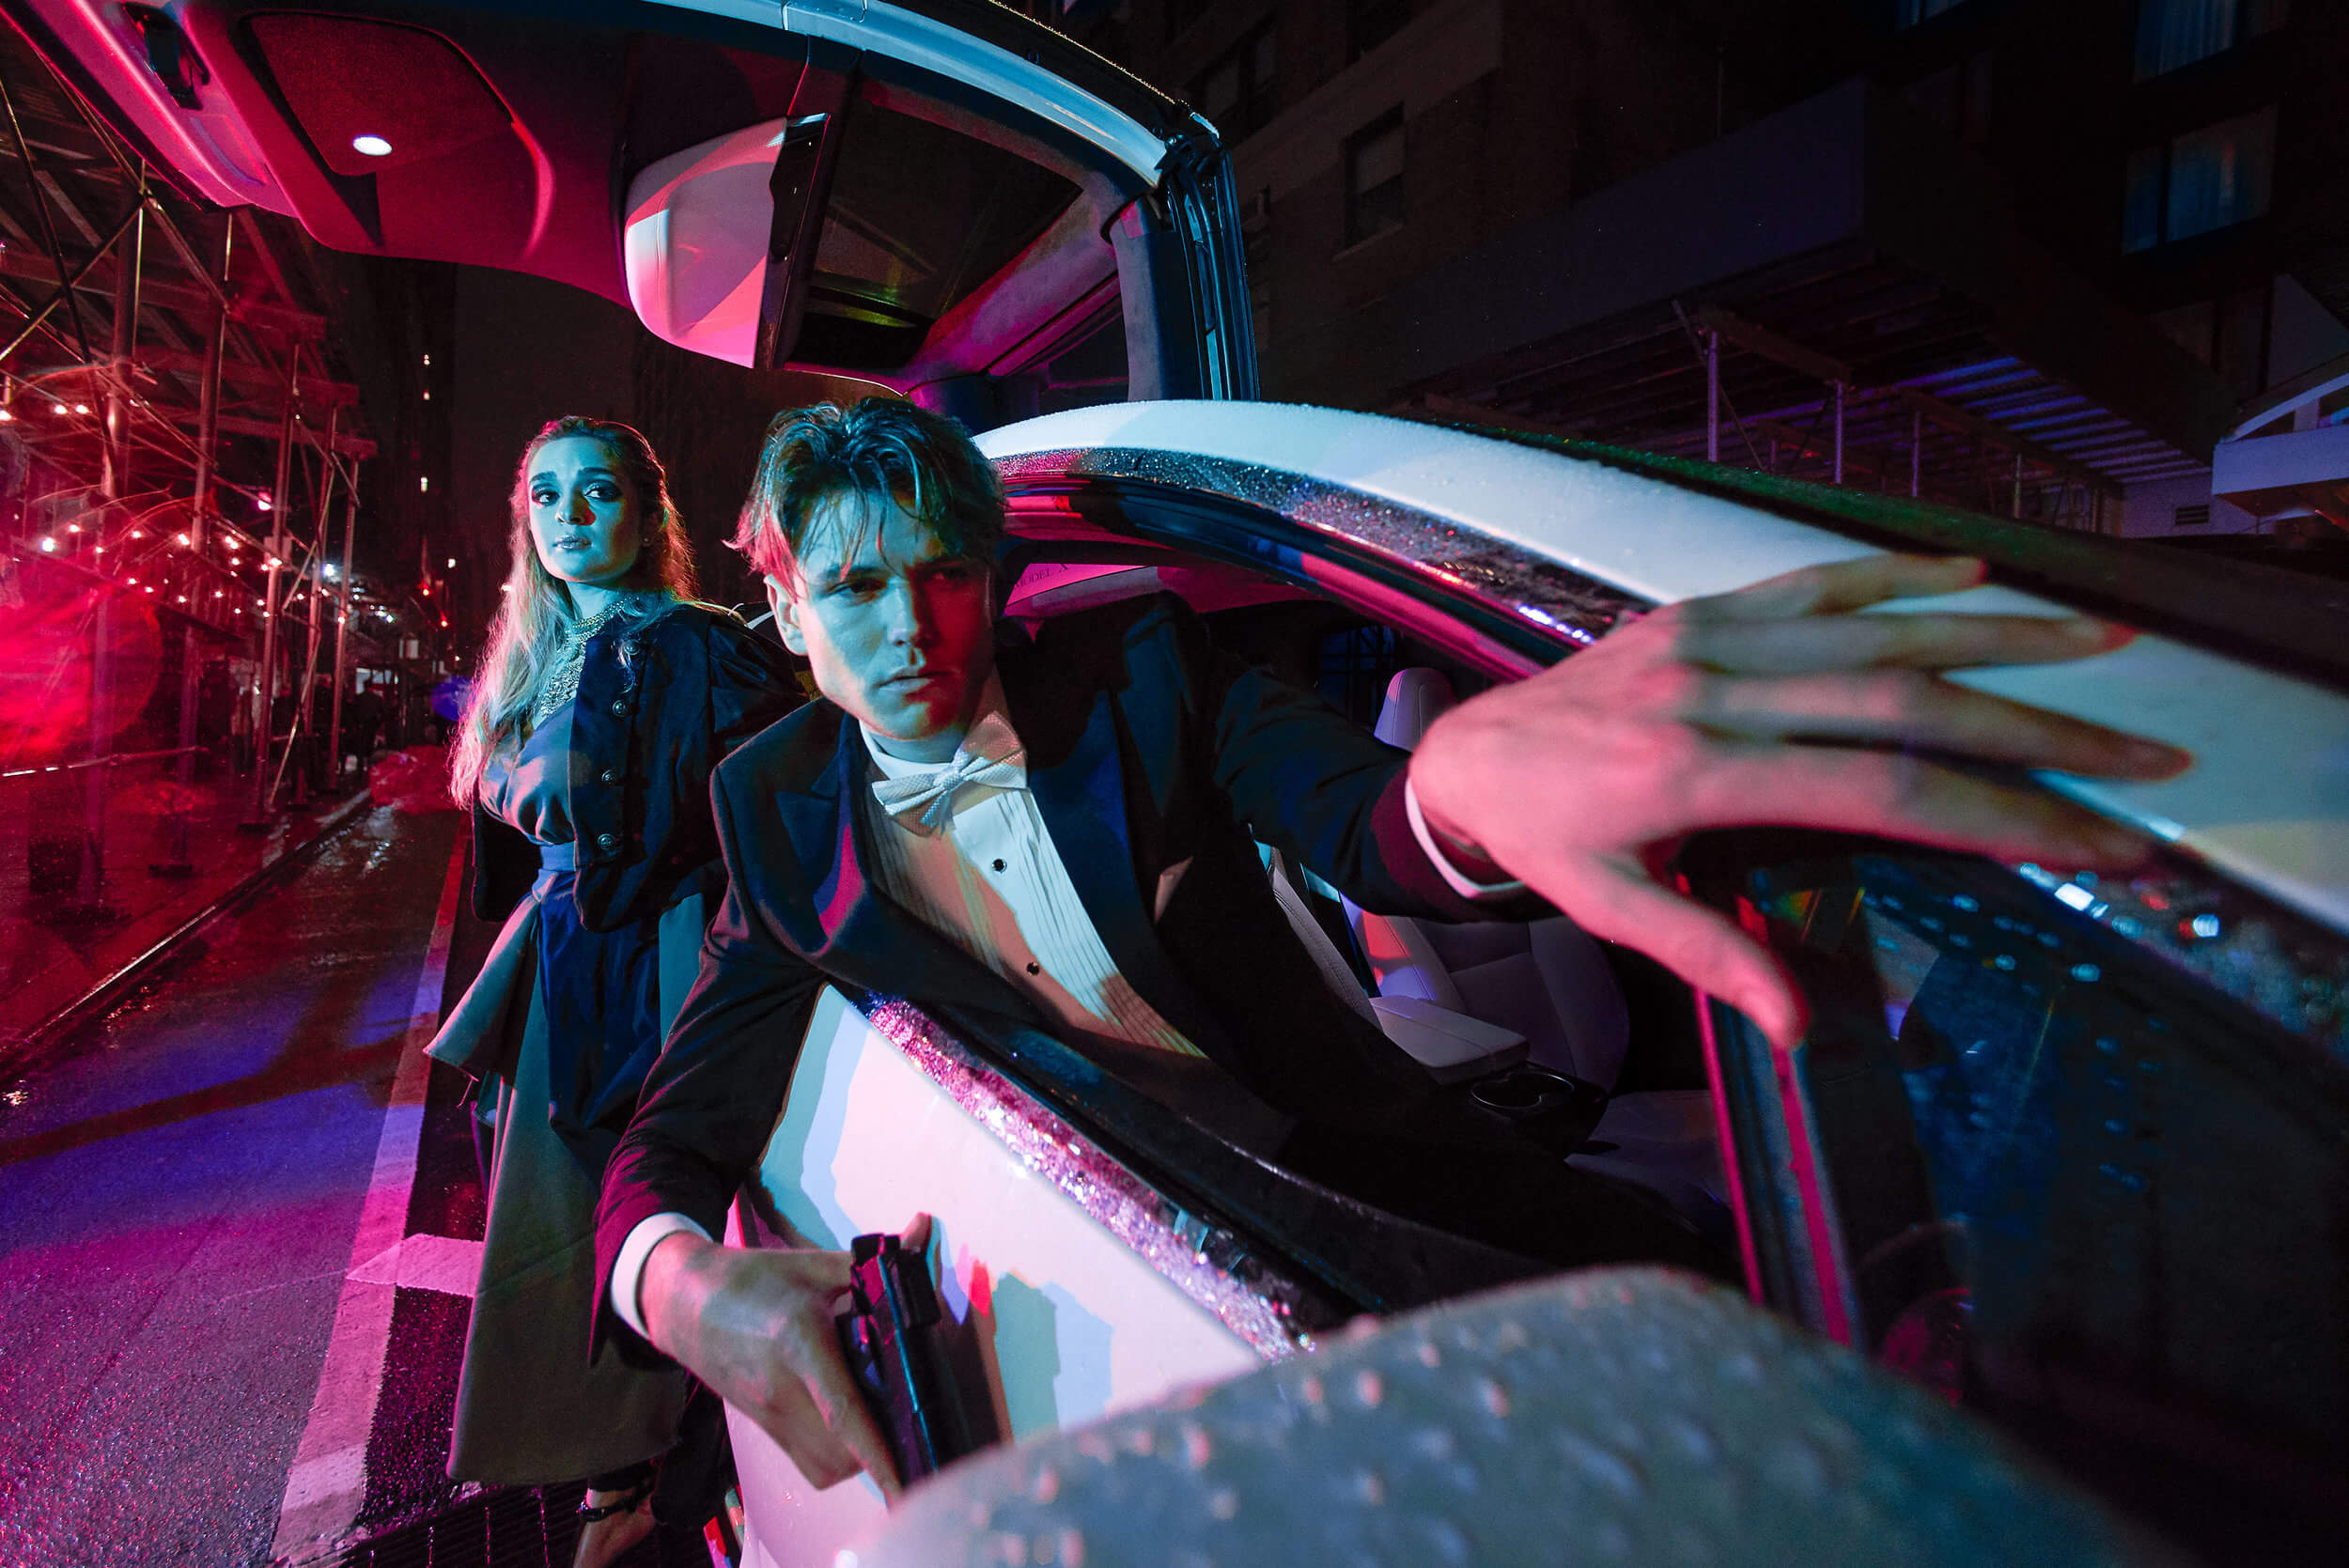
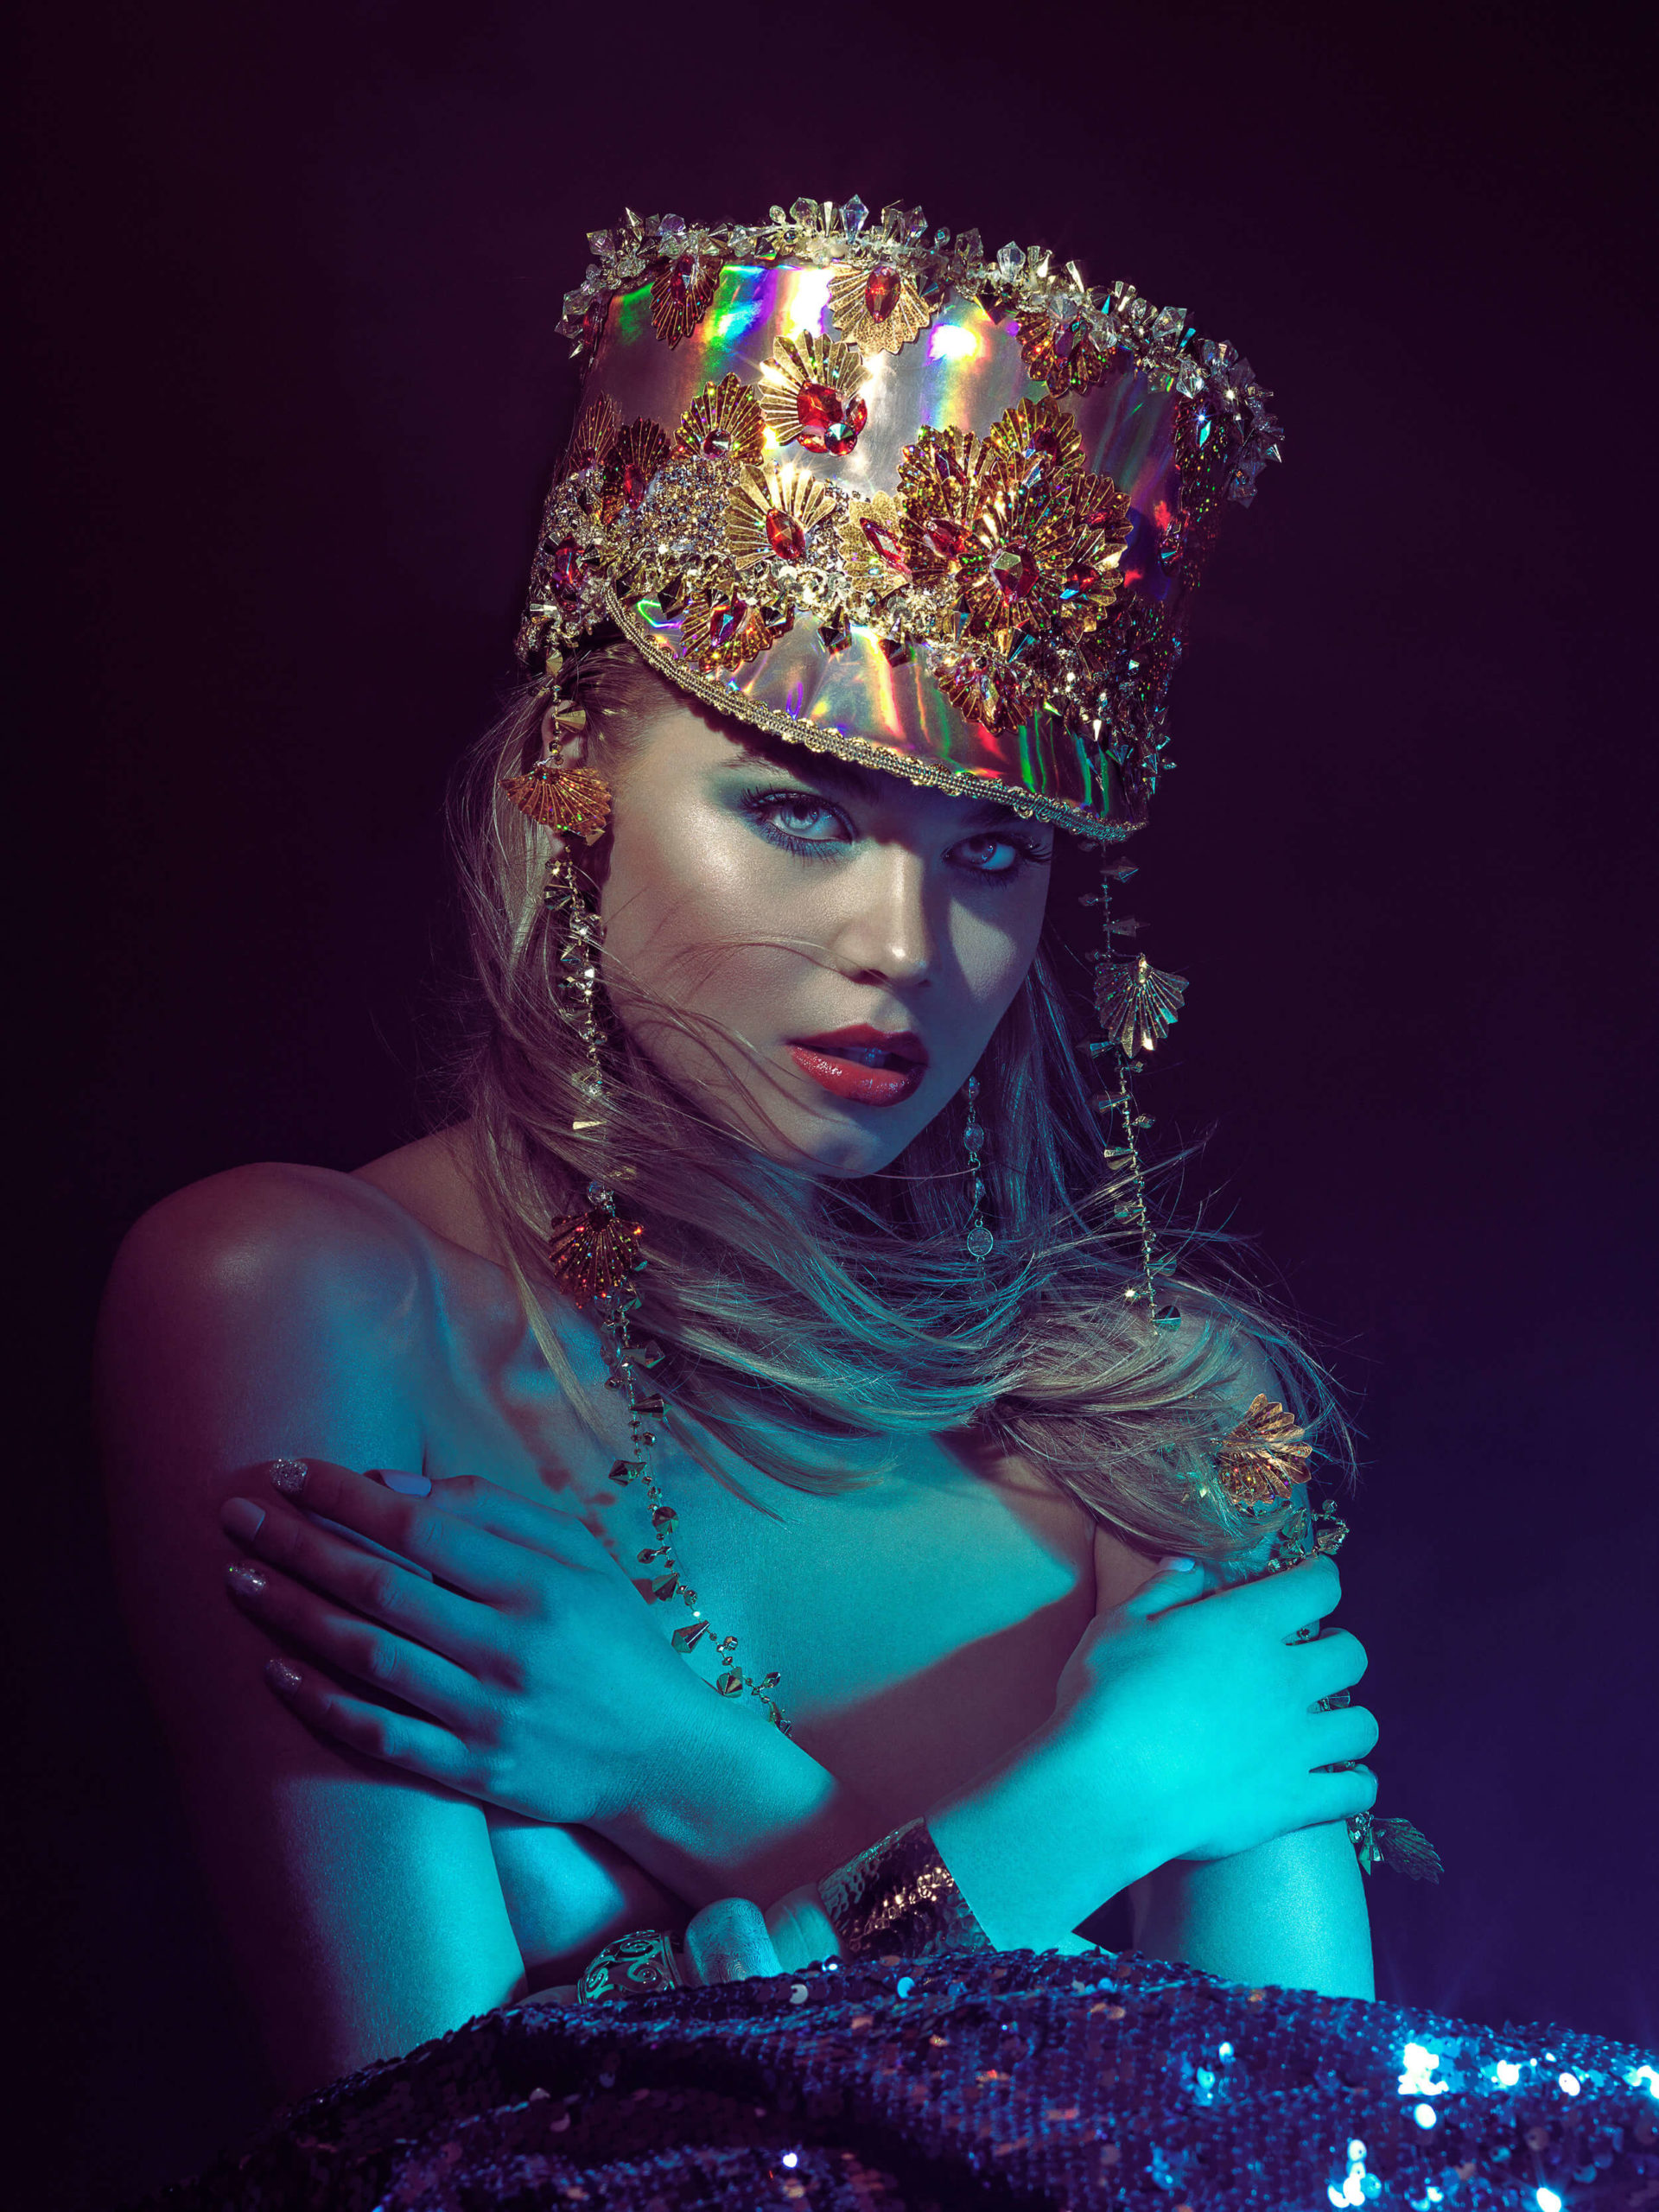
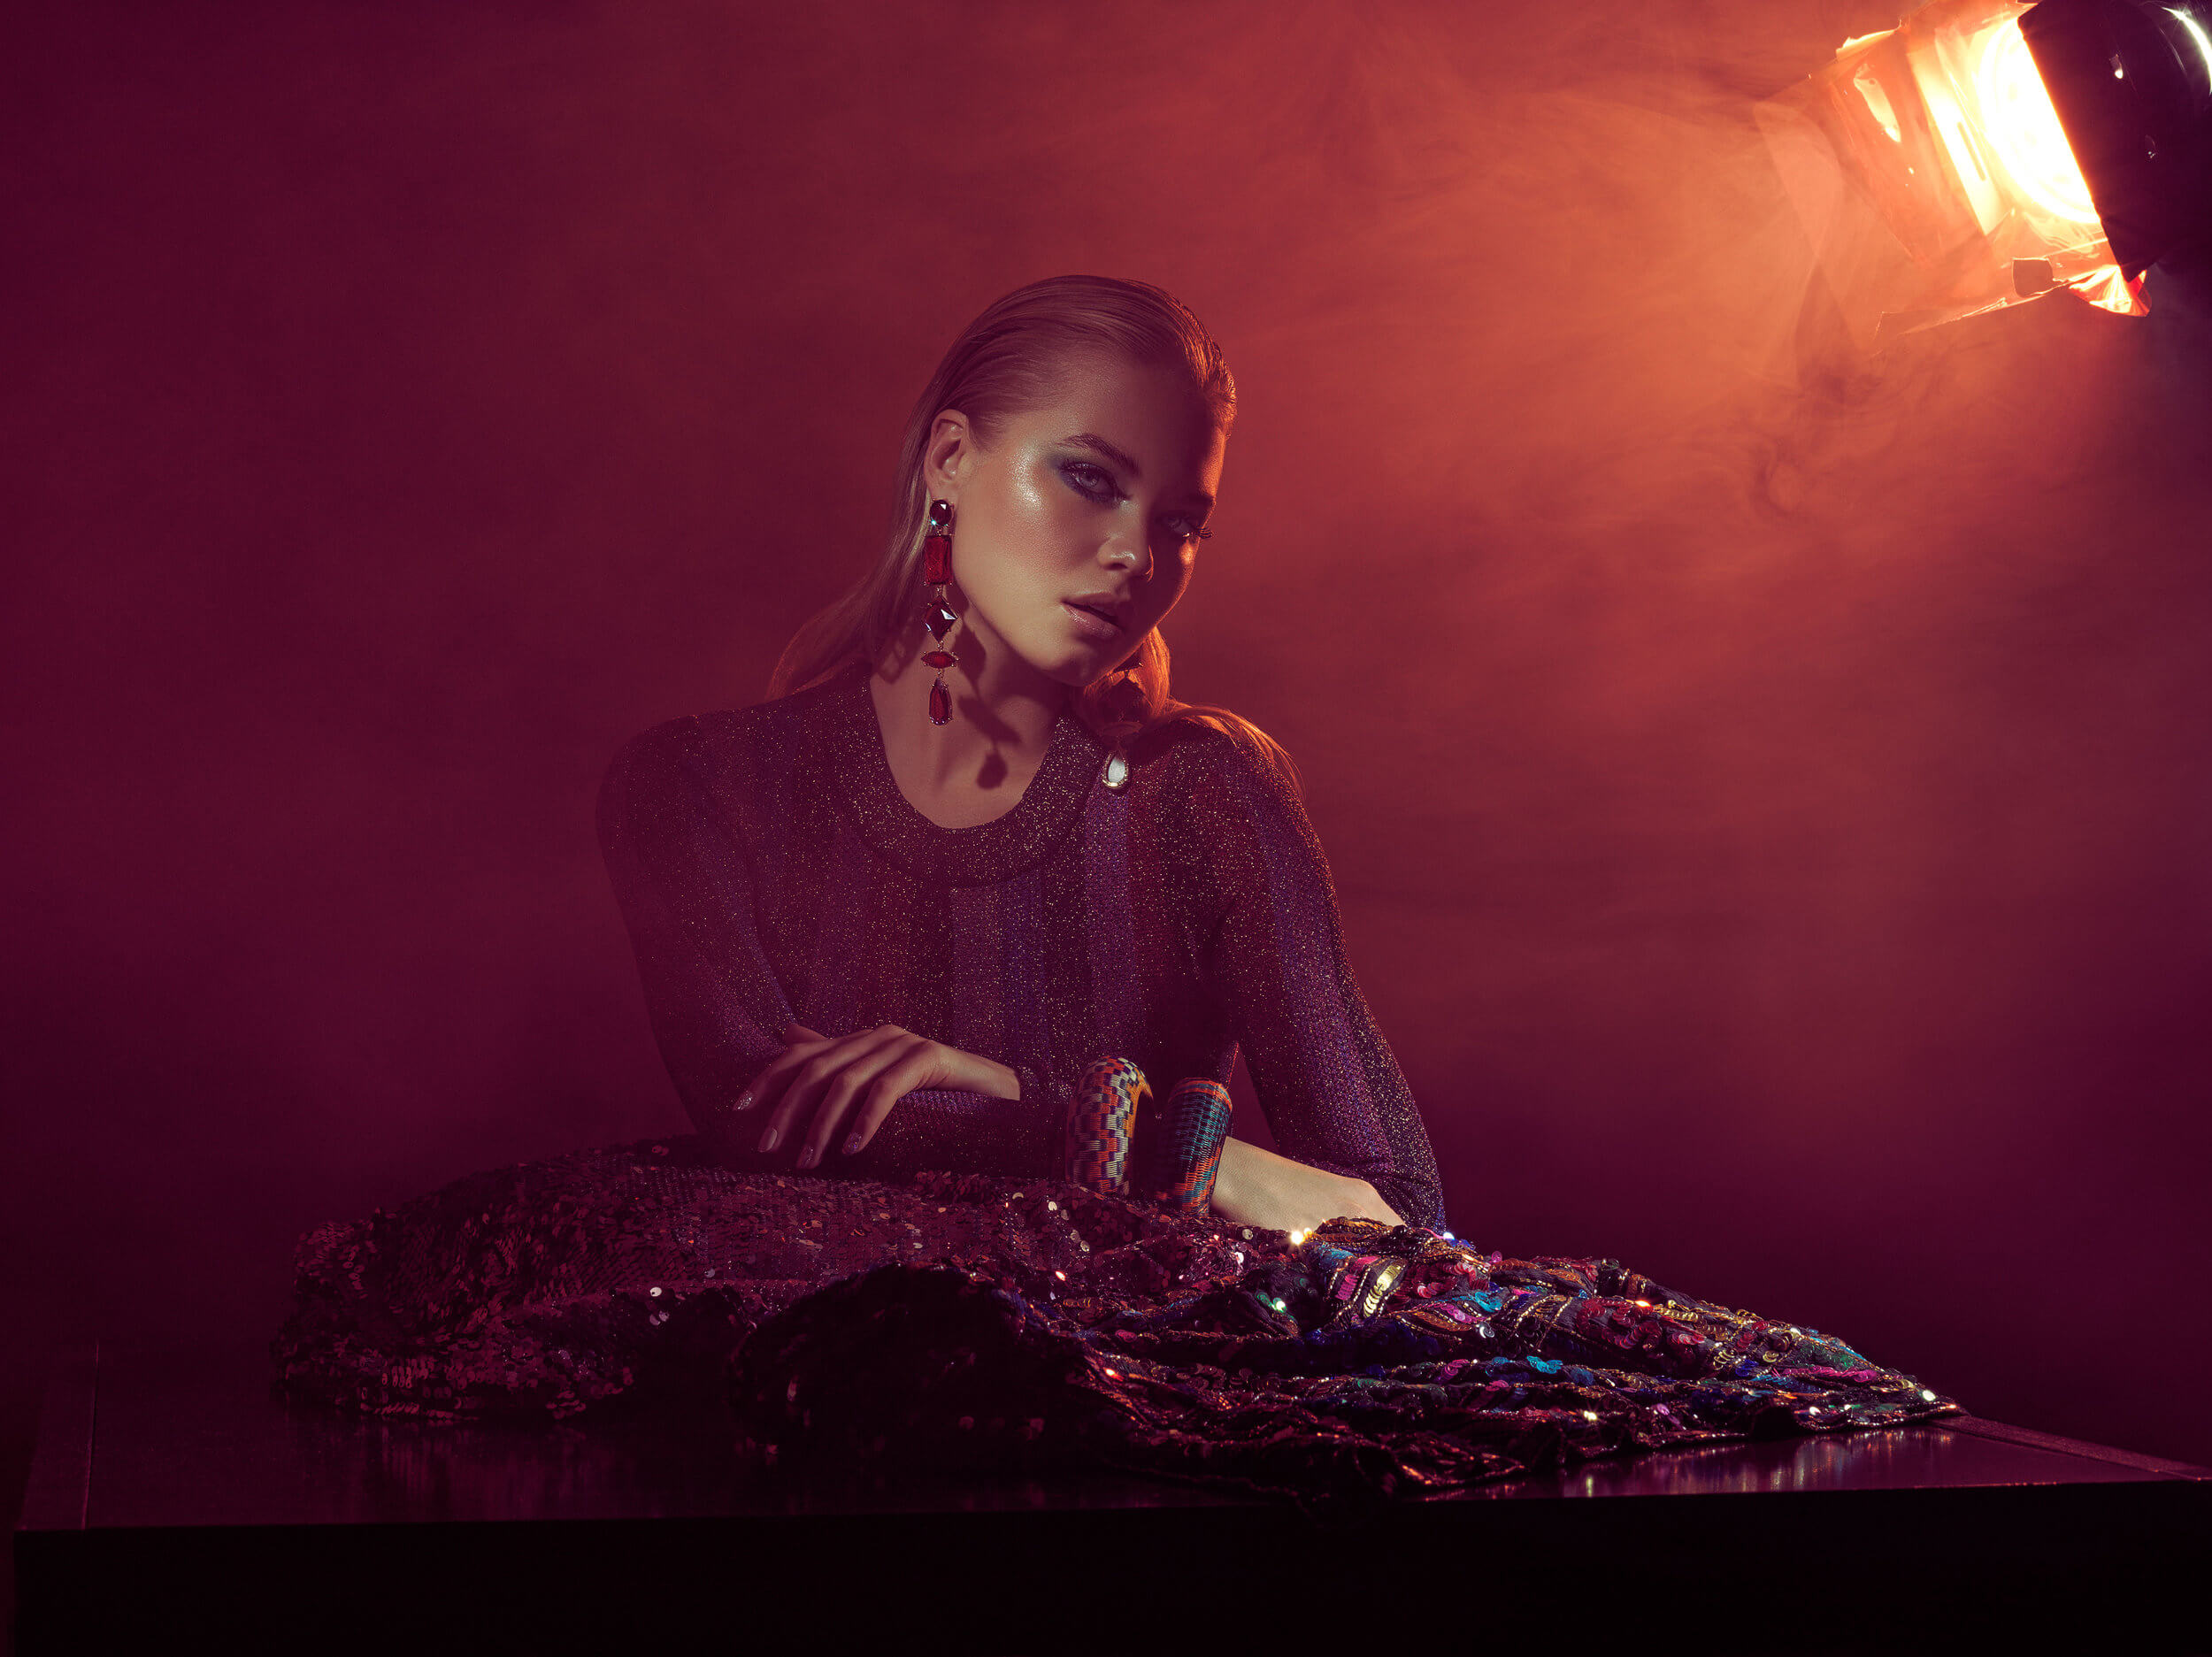
With Color Grading
Follow Erika on Instagram or browse more of her work on her website.
Have you tried the panel yet? We’d love to see your creations! Get in touch on Instagram @infinitecolorpanel or the Facebook Infinite Color Panel group and show us your work.
If you haven’t tried the panel yet, get started here: https://infinite-tools.com/infinite-color-plugin/